Soaring Paper Plate Kite Instruction | Easy Craft for Kids!

Introduction
In this article, we will be showing you how to make a paper plate kite easily. Using a few art materials, you and your kids will be able to make an amazing kite that you can fly in the sky.
You start by making the body then attaching the strings and tails. It’s a neat looking kite, and it’ll be something you’d want to try on a warm and windy summer day.
Good luck, and have fun making and flying this kite.
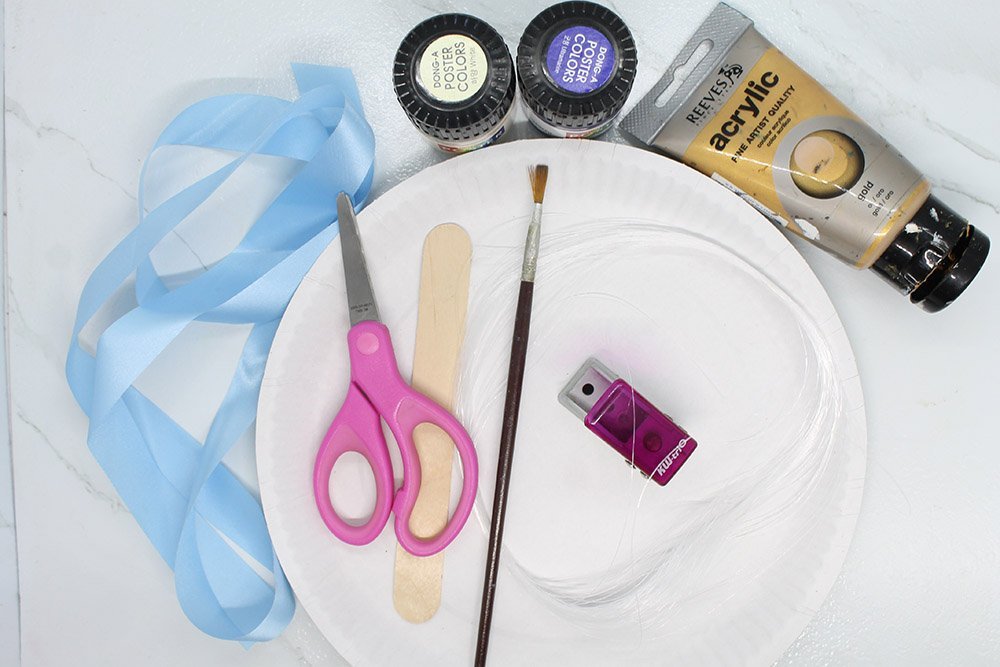
Tools
- Paint brush
- Small puncher
- Scissors
Supplies
- Paper plate
- 2 Poster Color (Blue and White)
- Acrylic art paint (Gold)
- 3 Strips of cloth ribbon (Blue)
- Popsicle stick
- Nylon thread
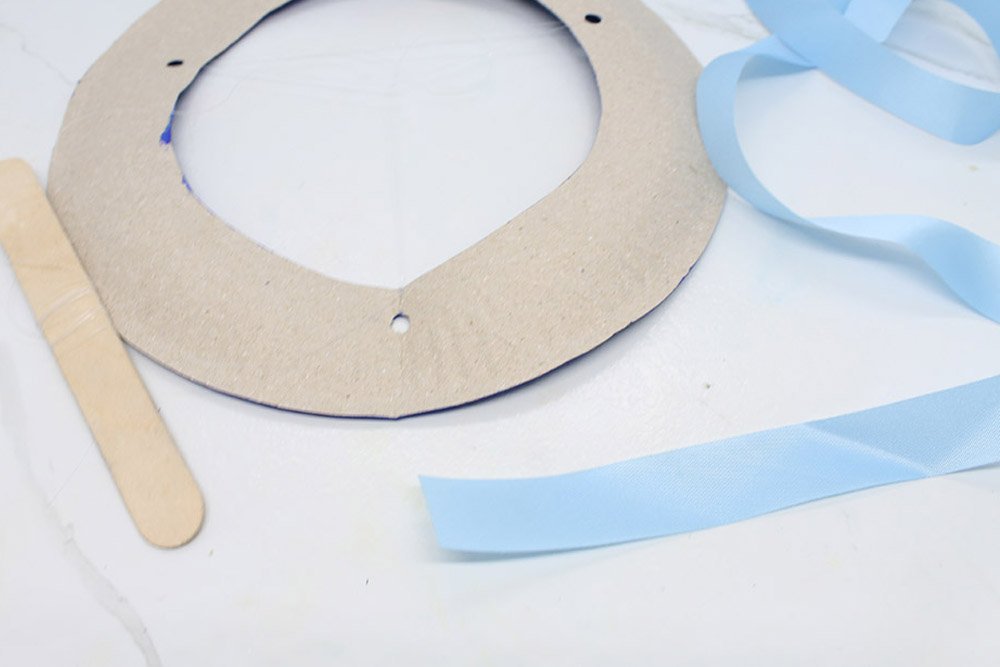
Make the Body of the Paper Plate Kite
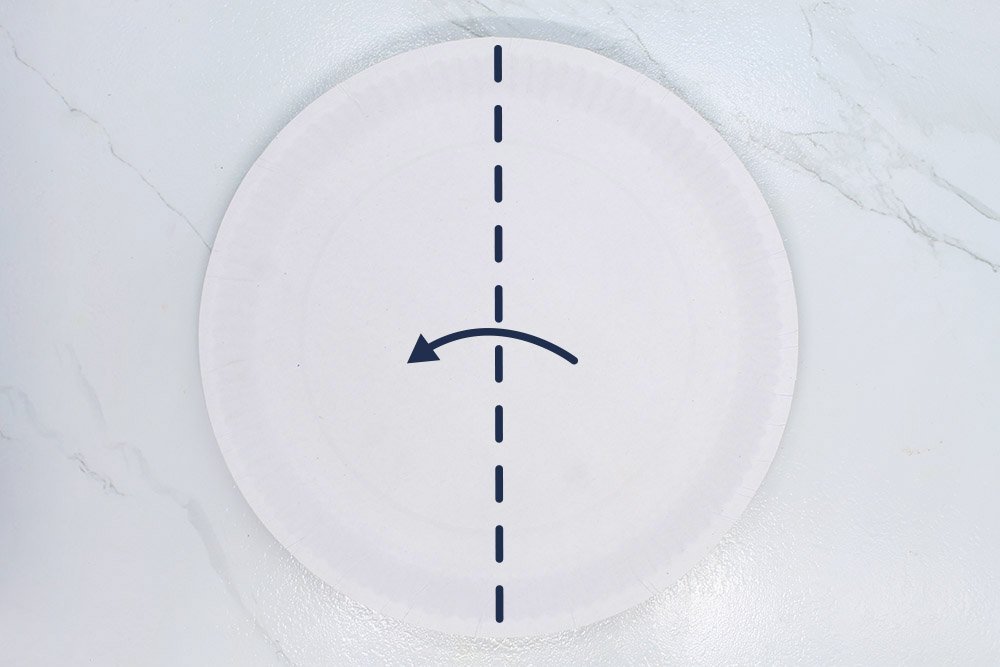
Fold the paper plate in half vertically. Use the dash line as a guide when folding.
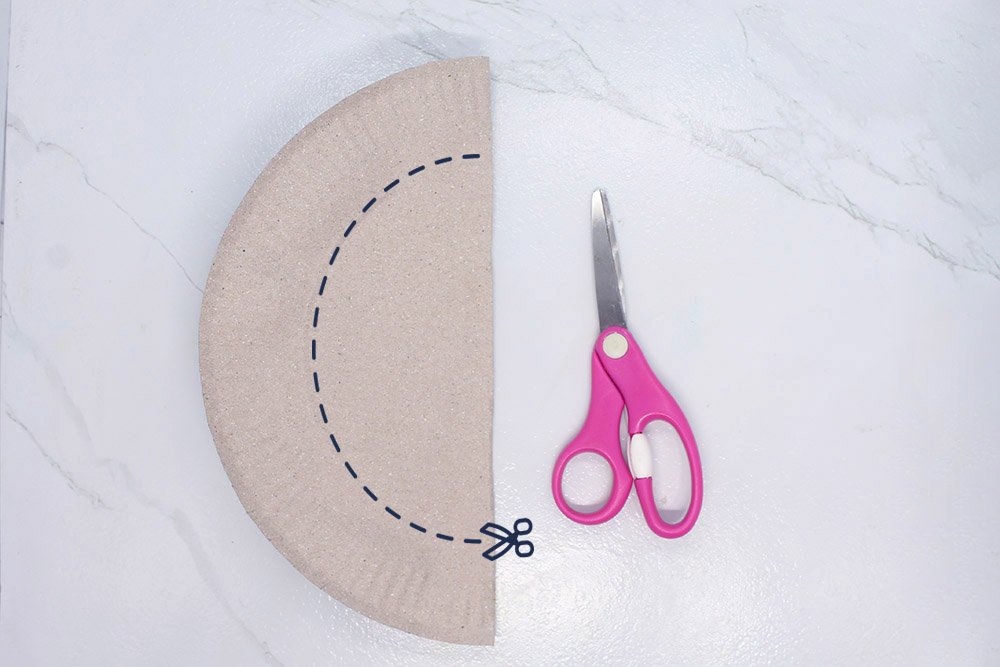
Using a pair of scissors, cut a semi-circle by following along the dashed line.
It would be much better if draw the semi-circle first. Having a guide will make cutting easier.
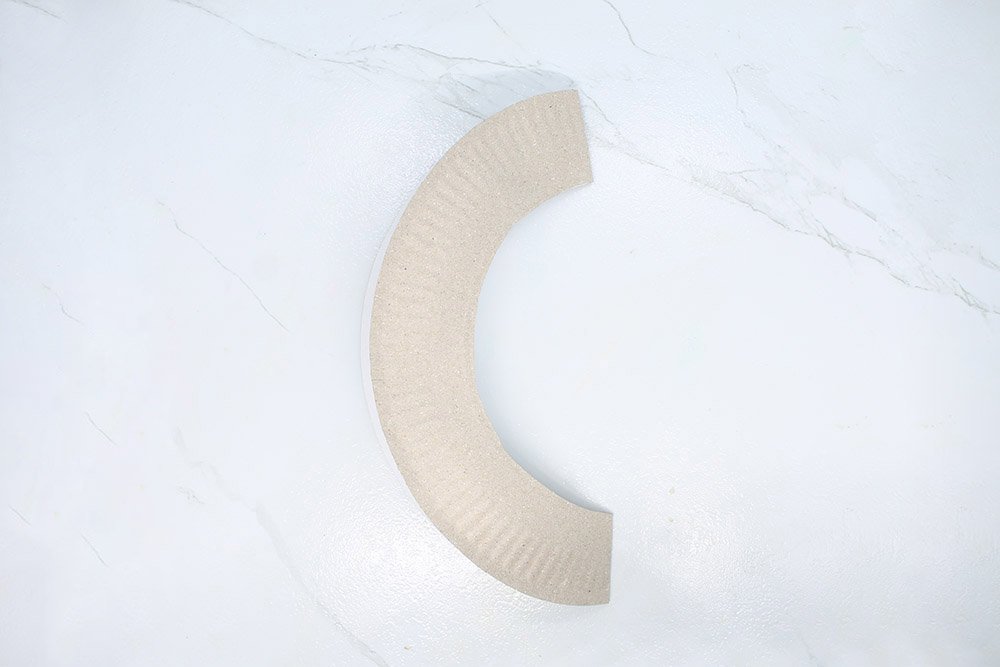
It should now look like the image above. It's important that the cut is smooth.
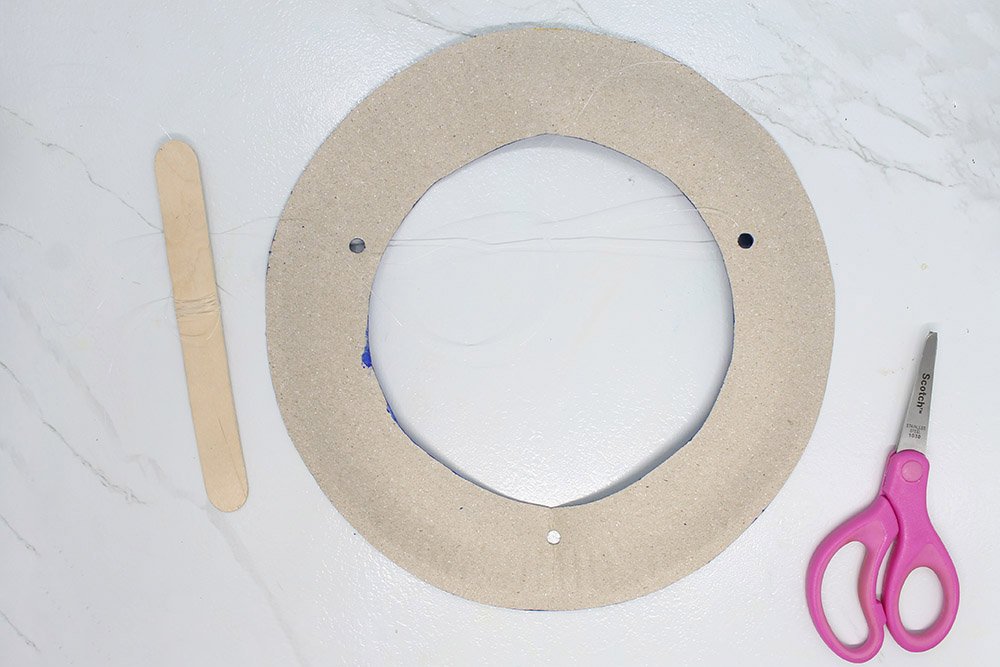
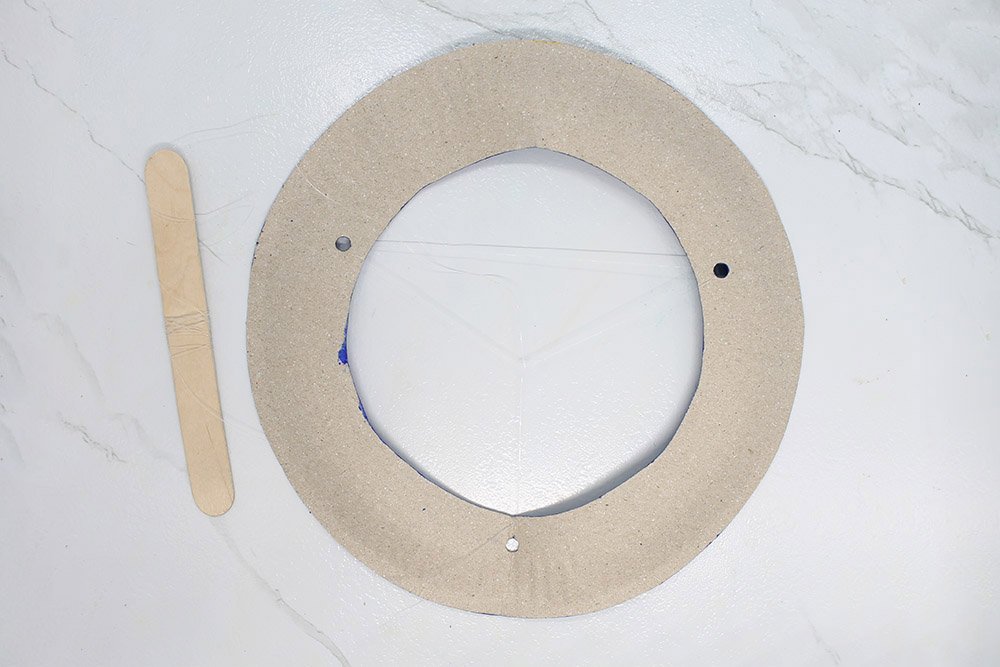
Unfold the paper plate and you should have a nice hole in the middle.
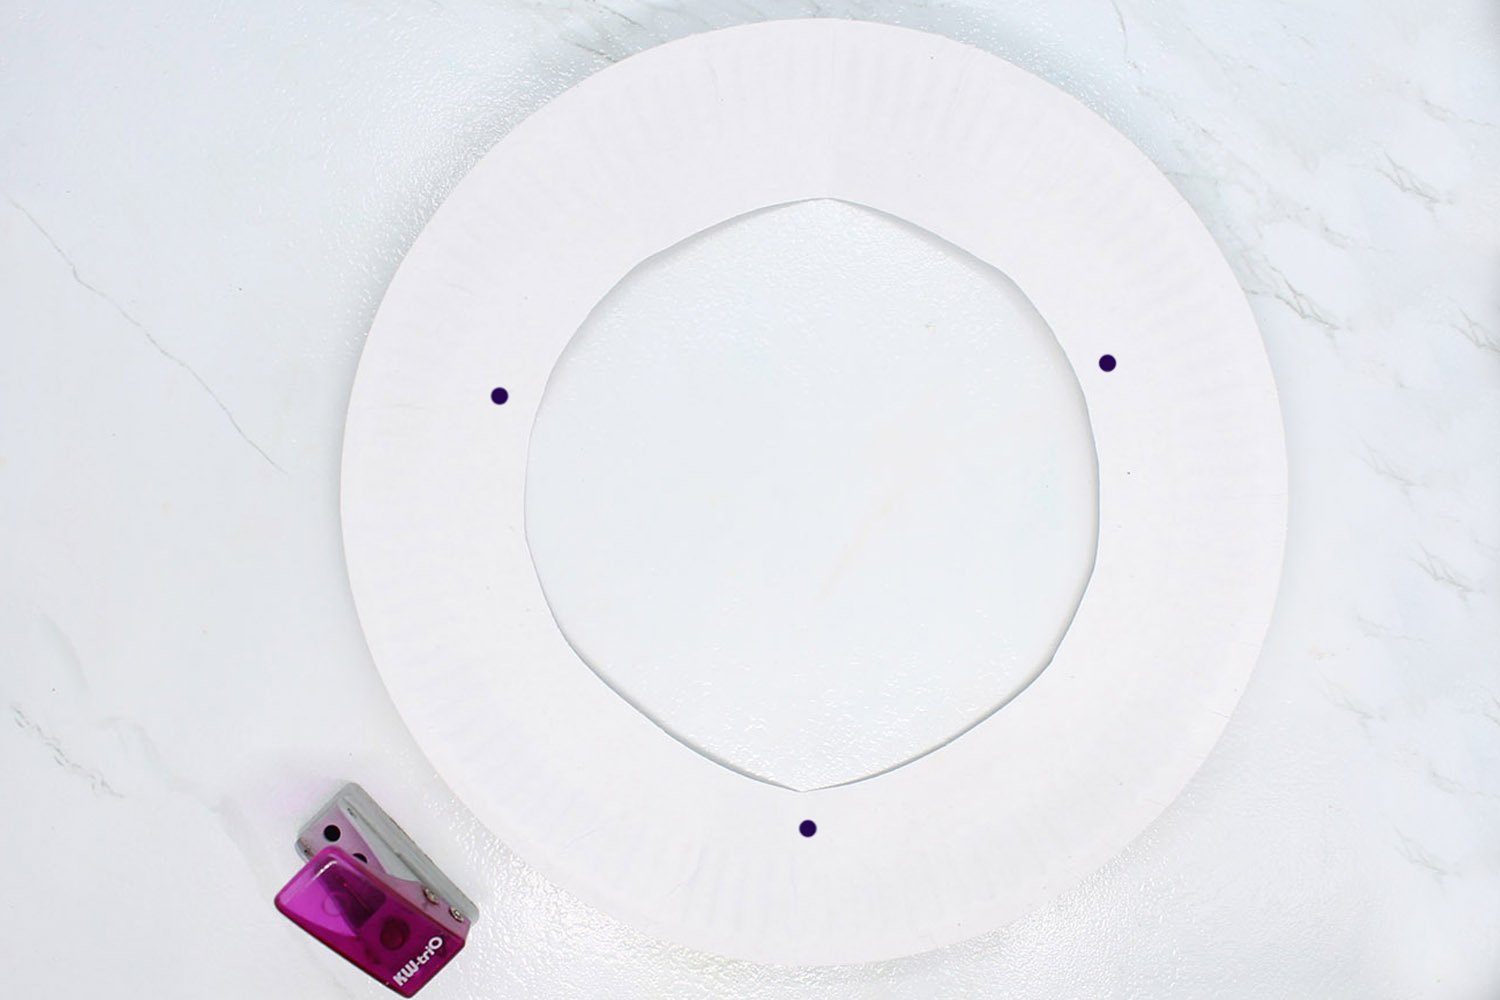
The last step is to make three holes with the puncher. It'll be used for attaching the strings. Good job!
You might want to use a pencil before using a puncher. Check if the top dots are aligned and if the middle hole is at the center.
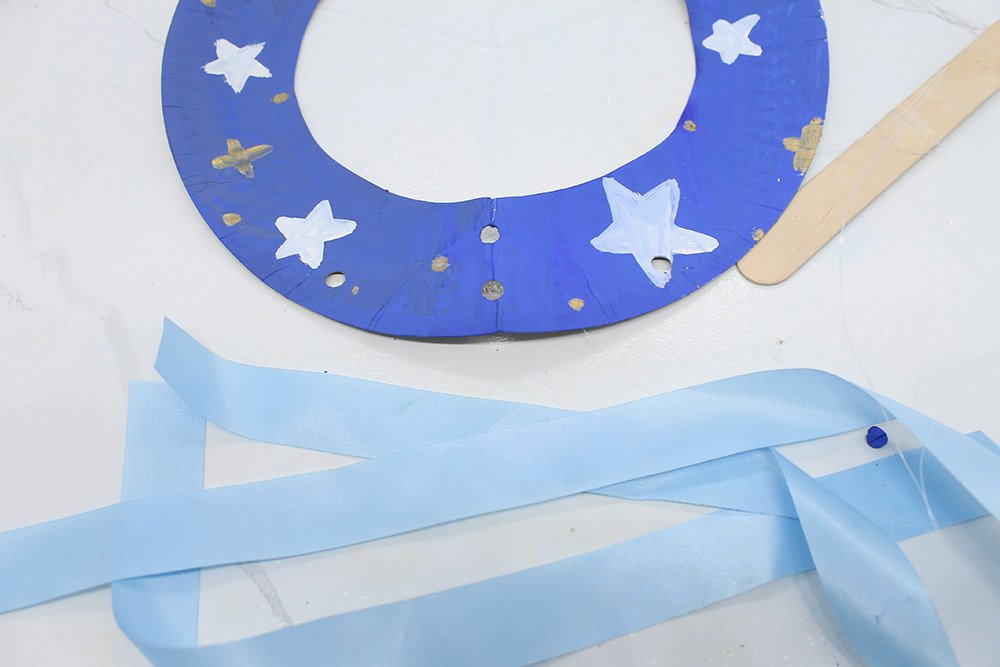
Paint the Body of the Paper Plate Kite
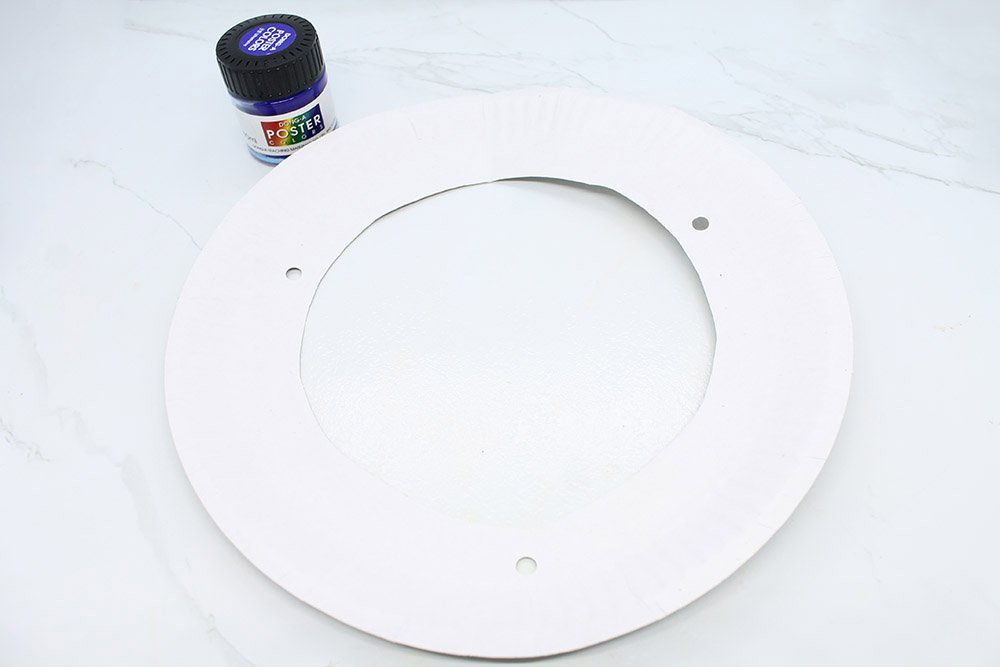
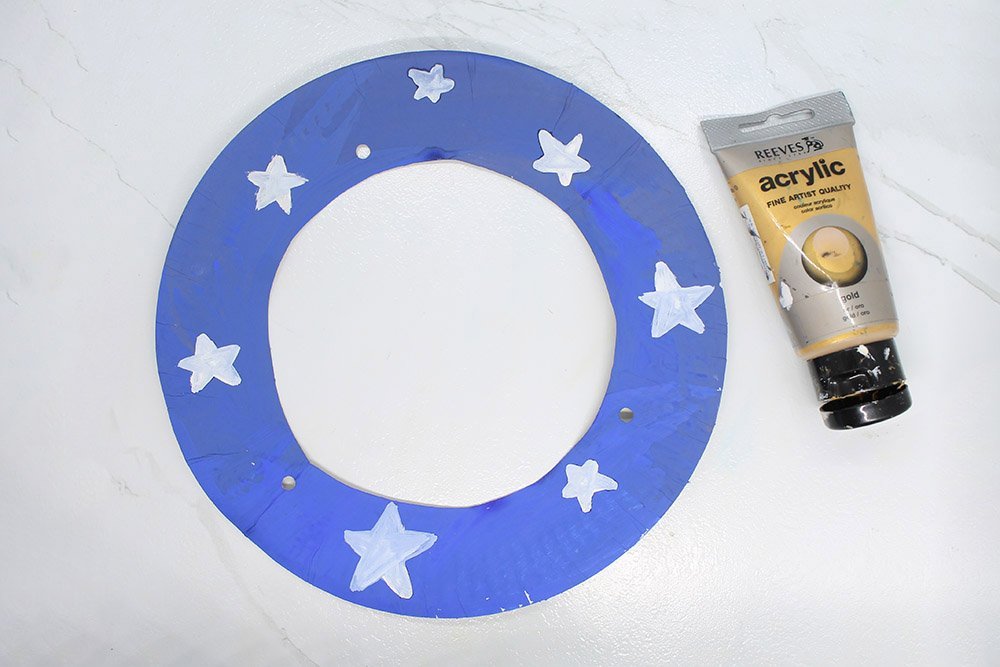
Ready your poster paint and painting skills. Choose a color of your choice and start painting. Here, I used blue paint to color the body of the kite.
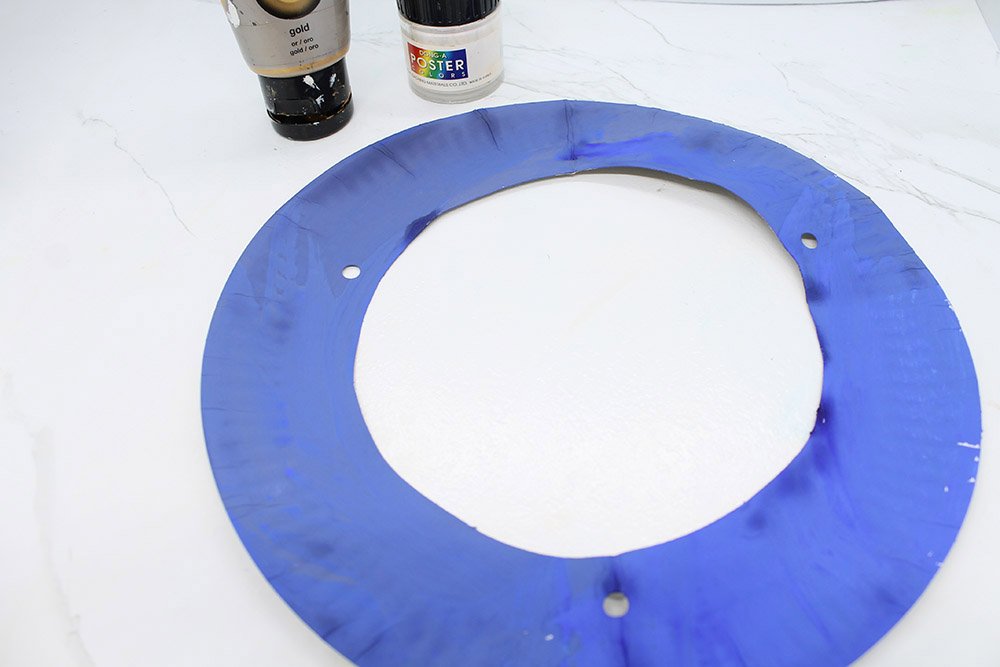
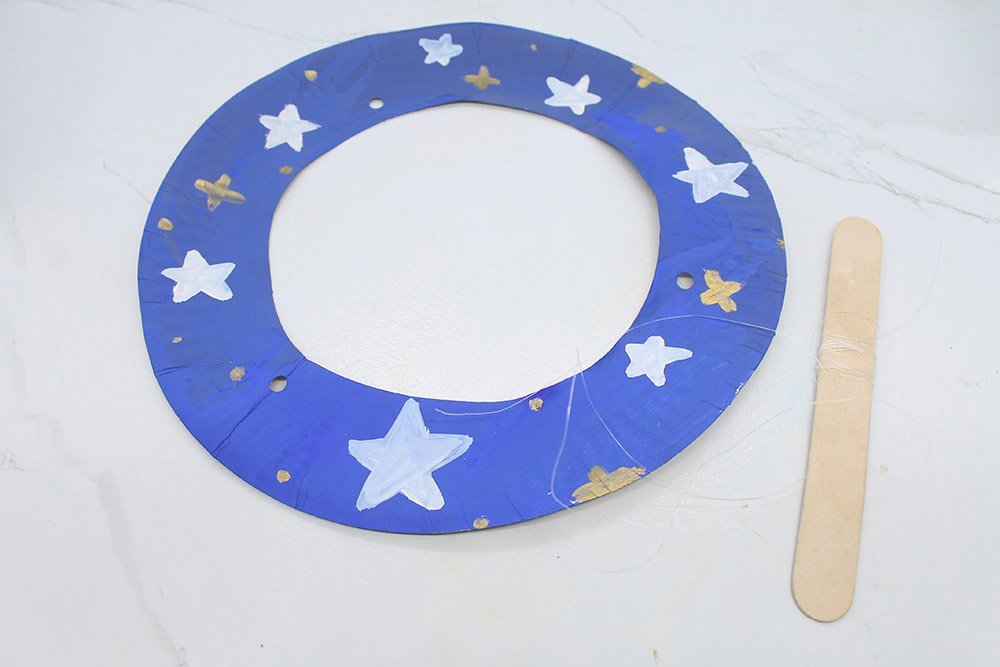
Wait for the paint to dry. Then use various art materials such as glitters, paint, and stickers to decorate your kite and make it look great.
In this kite, I used silver paint to mimic a beautiful night sky. You may follow how I did it, or you and the kiddo could come up with your own design.
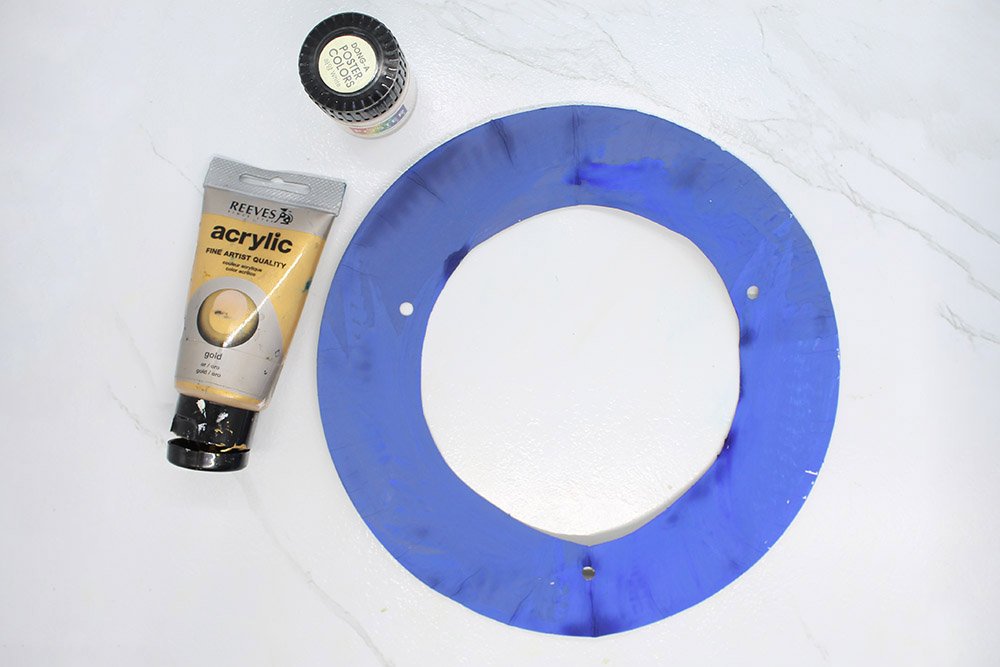
To make it even more striking, I added some details using gold acrylic paint.
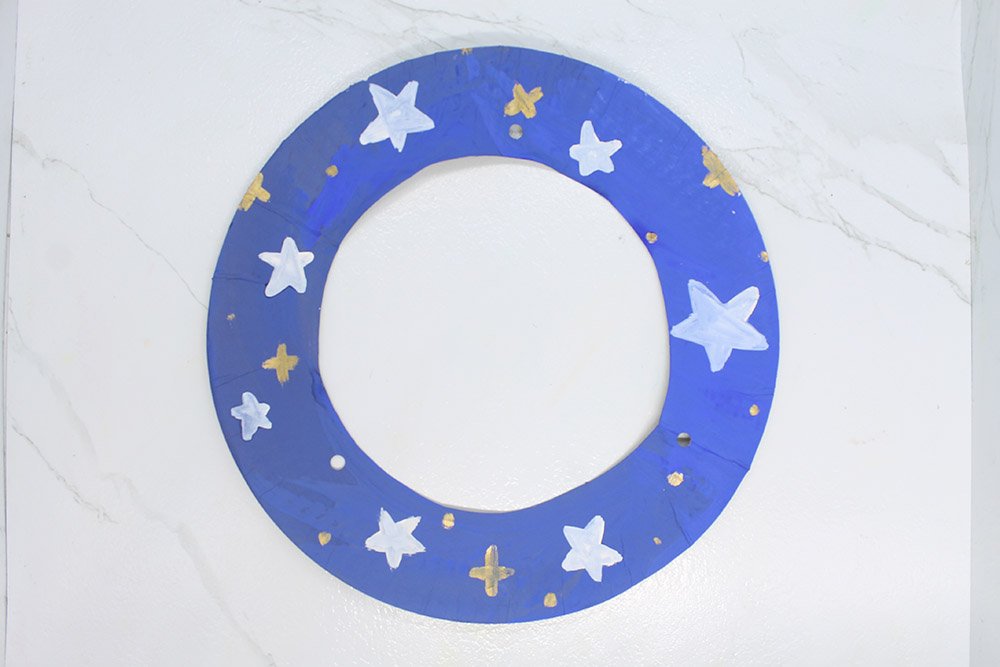
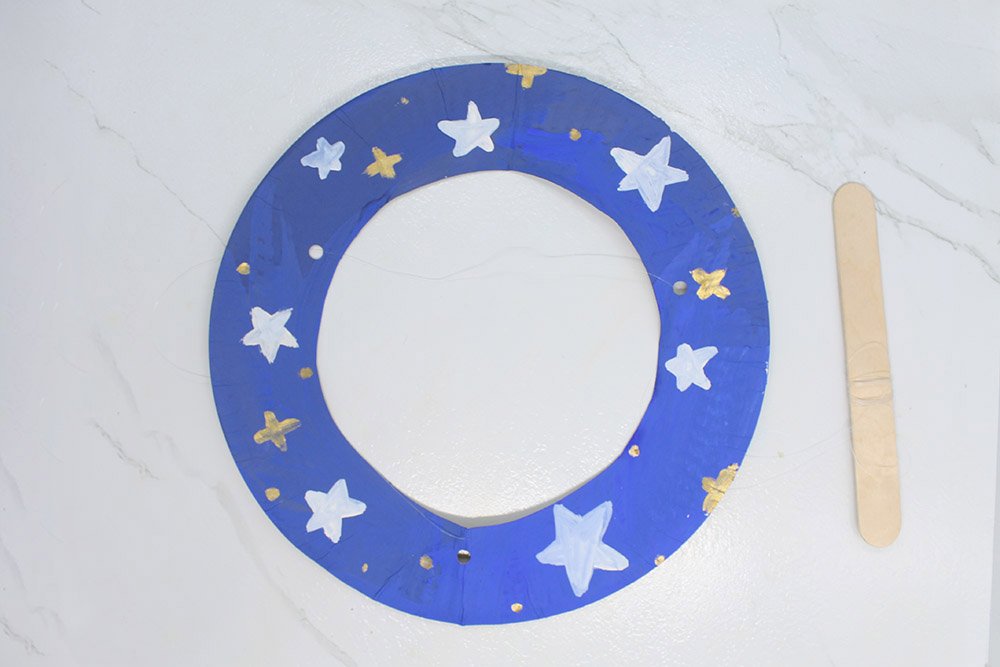
You are done with decorating the kite. Try making different designs with the kite using various kinds of art materials.
Next, we will work with the string. This is what will make our kite able to fly.
Attach the String to Kite Paper Plate Craft
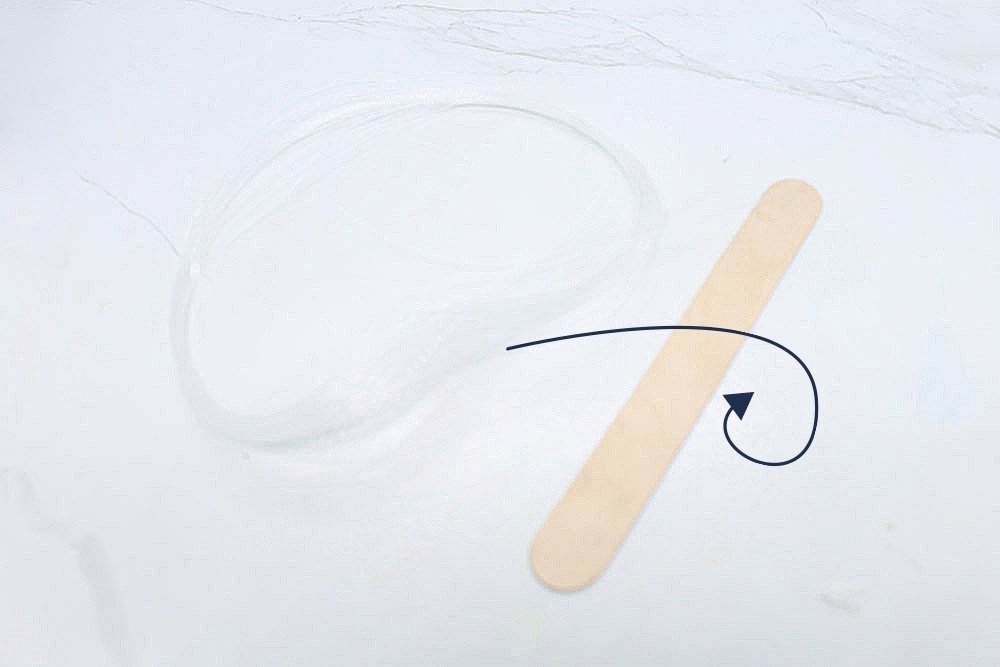
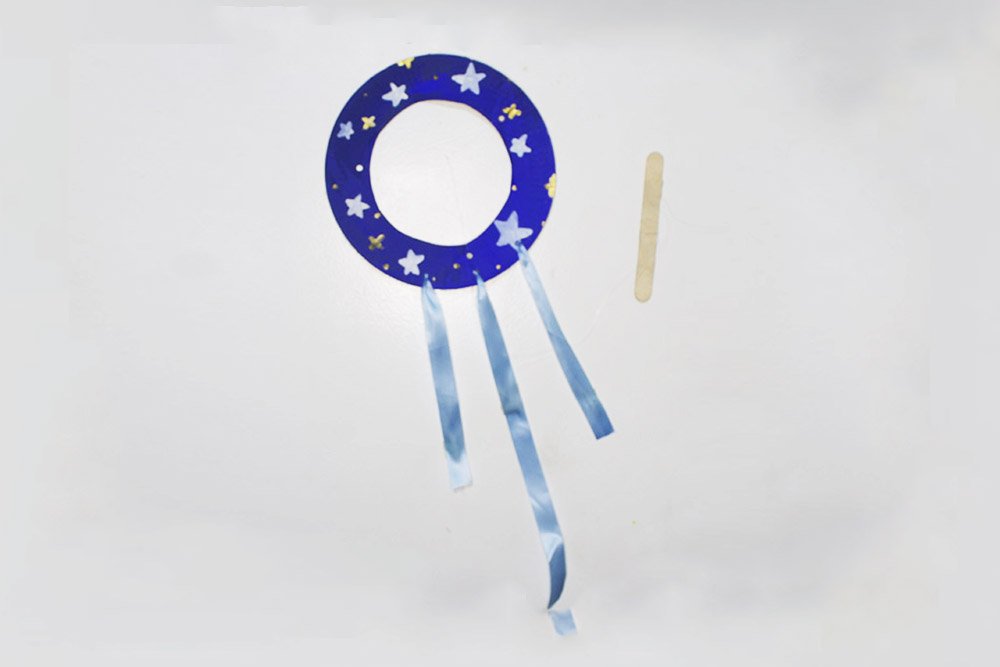
We will be using the nylon string and popsicle for this flat kite.
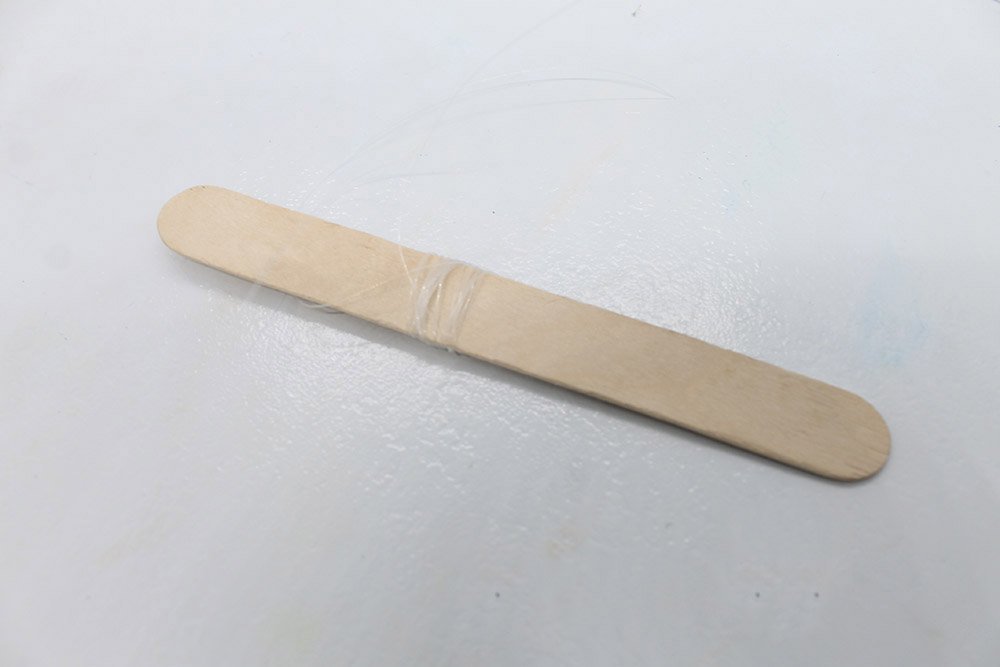
First thing to do is to continuously loop the string to the popsicle stick.
Around six and half feet of nylon string should be manageable for small kids.
Get the popsicle stick.
You need to attach the string into the three holes that you made with your puncher.
Loop the nylon string across the three holes.
Secure the string by tying a knot on the last hole.
Attach Tails to the Paper Plate Kite
Grab a ribbon to make a tail.

A flat kite needs tails. Prepare the cloth ribbon and the puncher.
Make three holes below the holes you tied the nylon string,

Insert the first strip of ribbon cloth into the right hole.
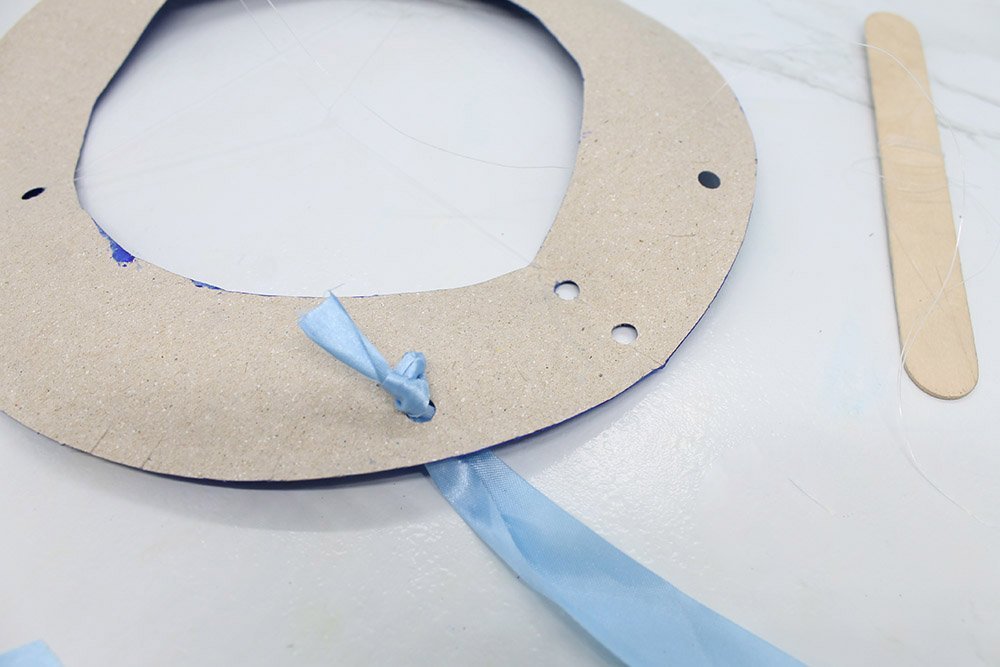
At the backside of the paper plate make a knot out of the ribbon. This will hold it in place firmly as the kite rides the air.
Do the same for the other two strips.
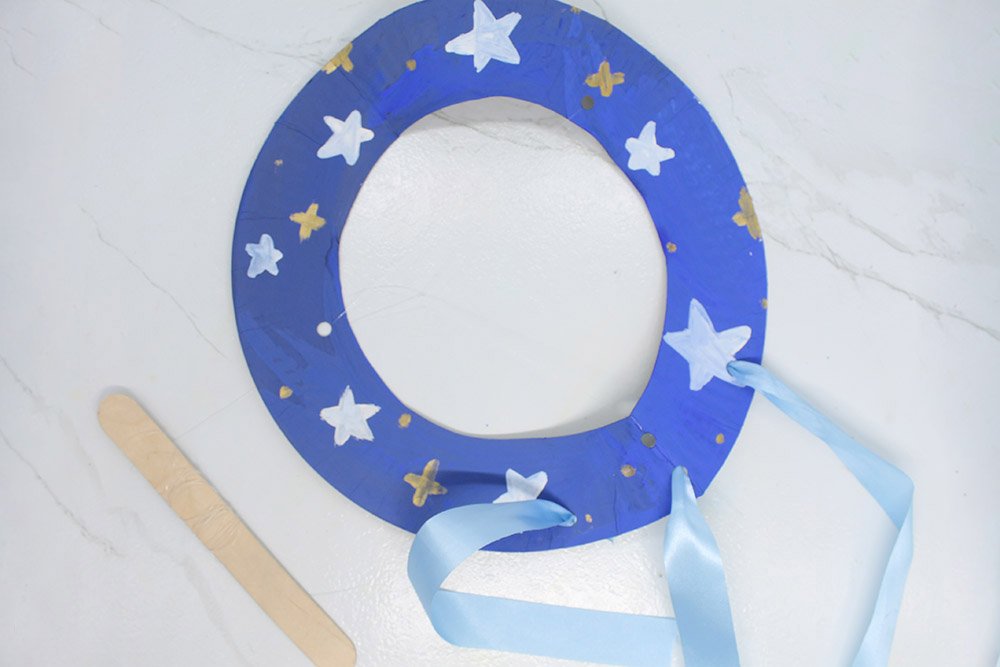
Congratulations!
The only thing left to do is to take it out into the outdoors and let it soar into the skies.
Extra Tips
- Using pins or sequins is not recommended as it will make the kite heavy. Try to make the kite as light as possible.
- This isn't exactly a tip but white paint is lighter than black paint and it reflects a lot of sunlight. So, if you want to paint your kite but want to be efficient as possible white is your color of your choice.
- The tails are necessary for flight and they also add more visual appea.


