Cute Koala Bear Paper Plate Craft – Ideal for Kids

Introduction
In this guide, we will show you how to create a cute-looking paper plate koala with this quick and simple instruction.
First off, we begin with making the ears of the Koala then we work on the face. Then we will work with the leaf. After that, it’s a simple matter of putting things together.
Have fun!
Make the Ears of the Koala Paper Plate Koala Craft

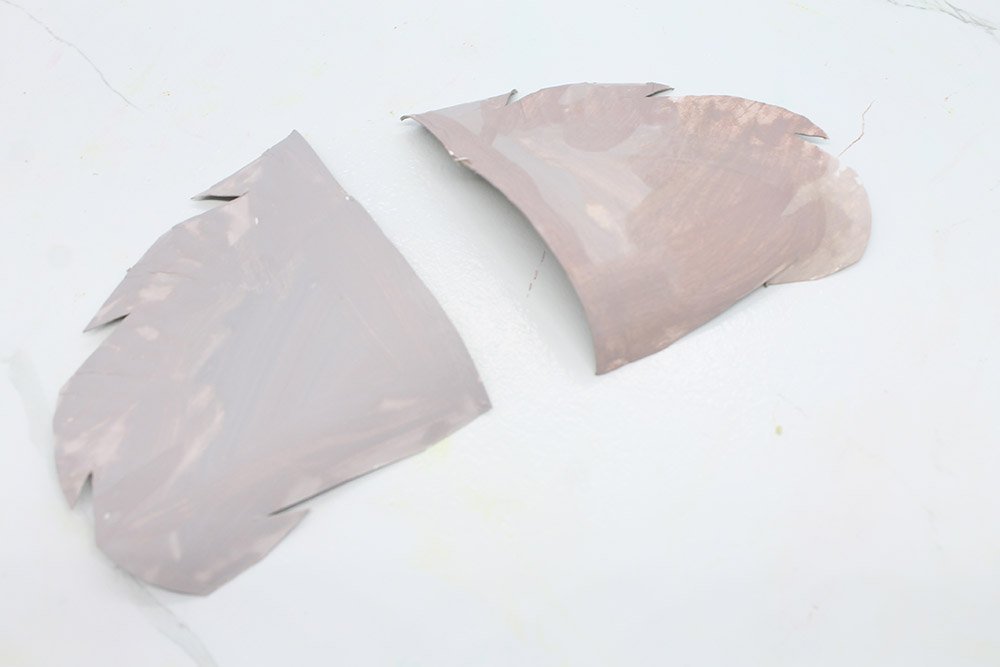
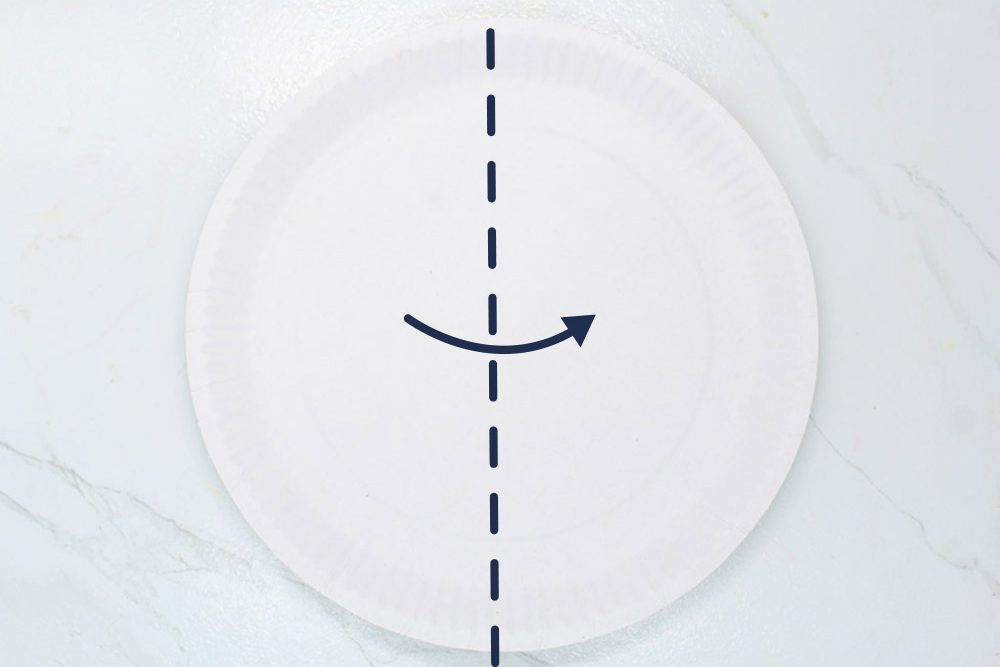
The first step is to cut a paper plate into two equal parts. You will only need one part to make those fuzzy ears. Tip:Making a line before cutting will make the process easier. You could do this by folding the paper plate in half or by making a line with a ruler and pencil.

Good. Now, fold the paper plate vertically inwards or bring the left edge into the right edge. Working on the brown side of the paper plate will make the next steps easier. So, fold it inwards.
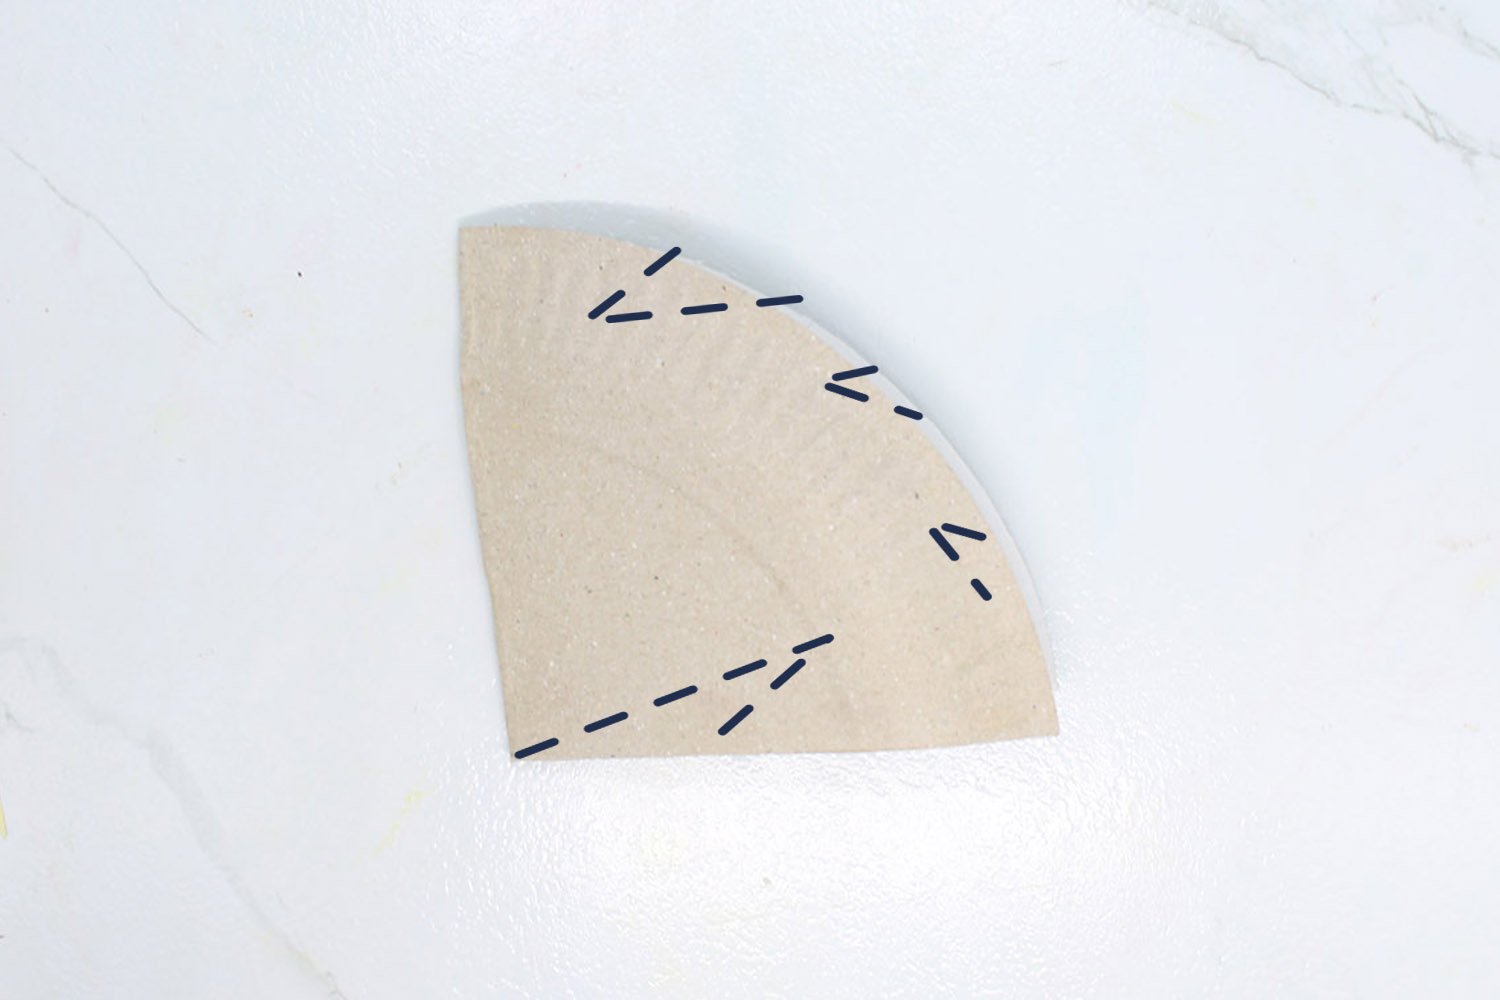
The next step is to make cuts by following the dashed lines in the. You will make the ears appear furry because doing so would make the ears more realistic. Tip: Using a ruler and pencil to draw the lines will make this step easier but it is only optional.
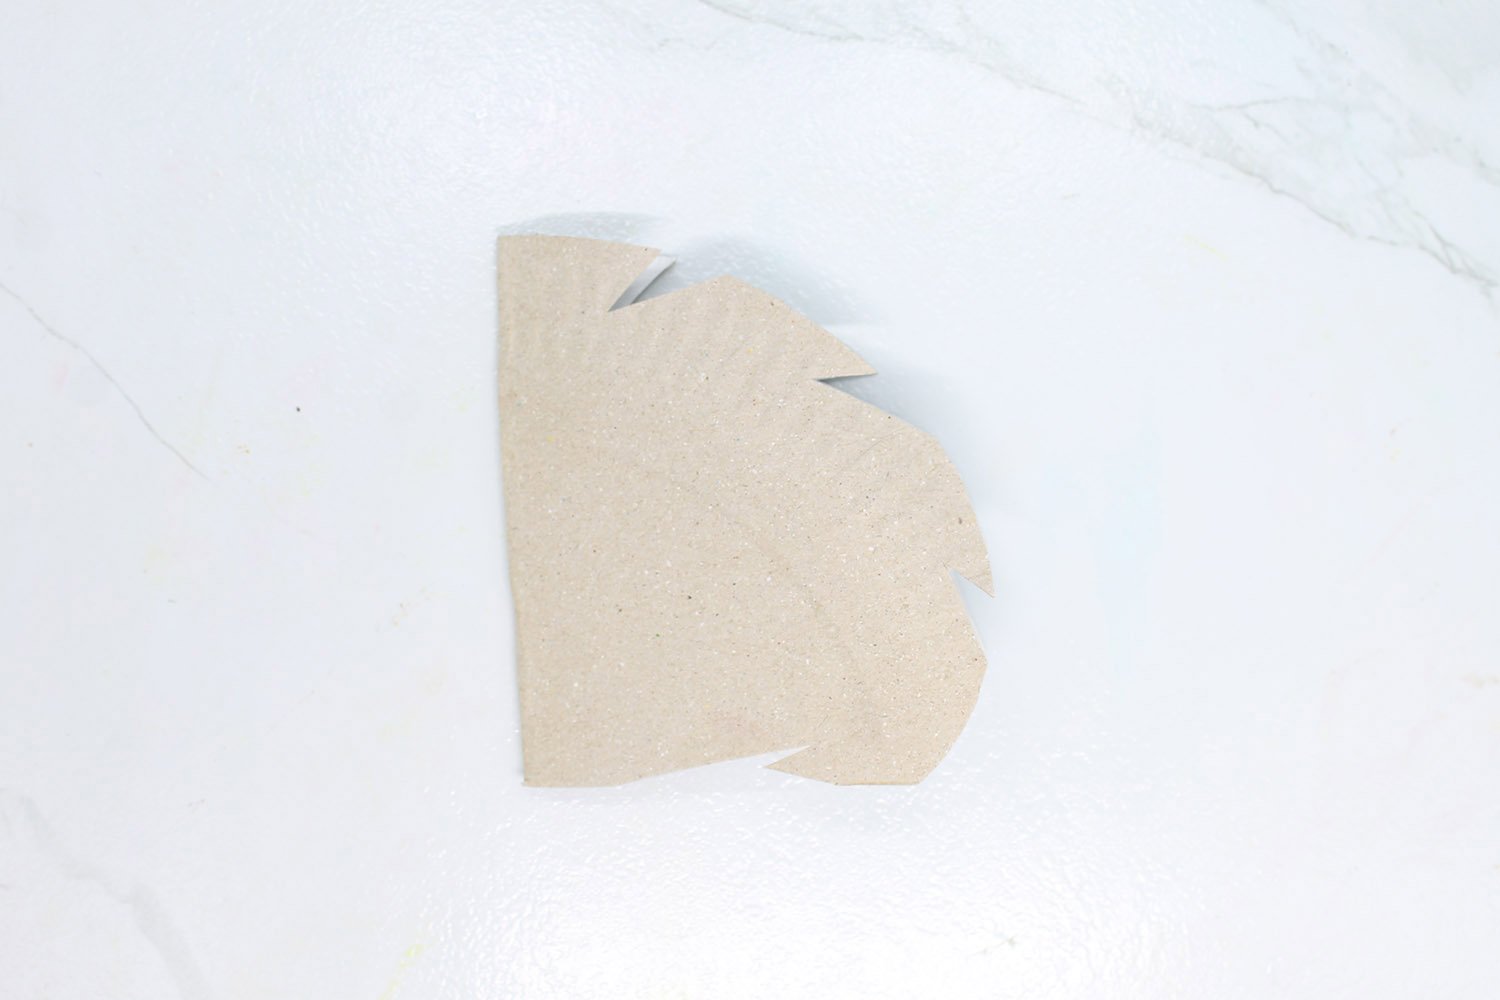
After making the cuts, you would then unfold the paper plate.
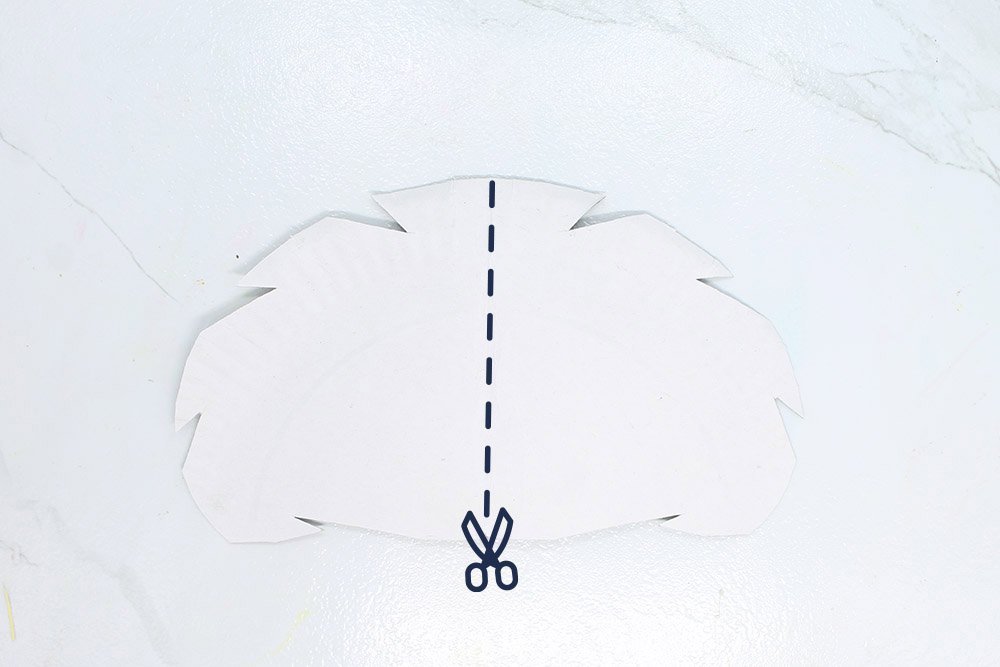
Next, cut the paper in the middle vertically so that you would have two symmetrical ears.

Now, it's time for some painting. Please have your white and black paints ready. Alternatively, you could just use a grey paint if you have one.
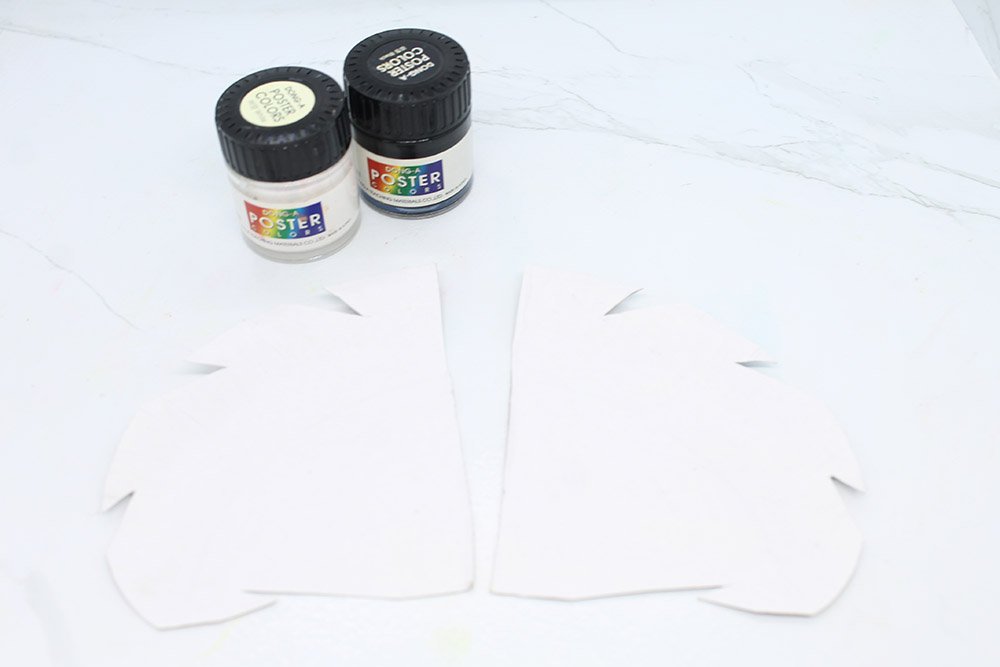
Color the ears grey. Mix the black and white paint first if you don't have grey paint. Brush evenly, and make sure that both ears are entirely well painted.
Good job! Next, we will work on the face of our lovely koala bear.
Make the Face of Our Paper Plate Koala Craft
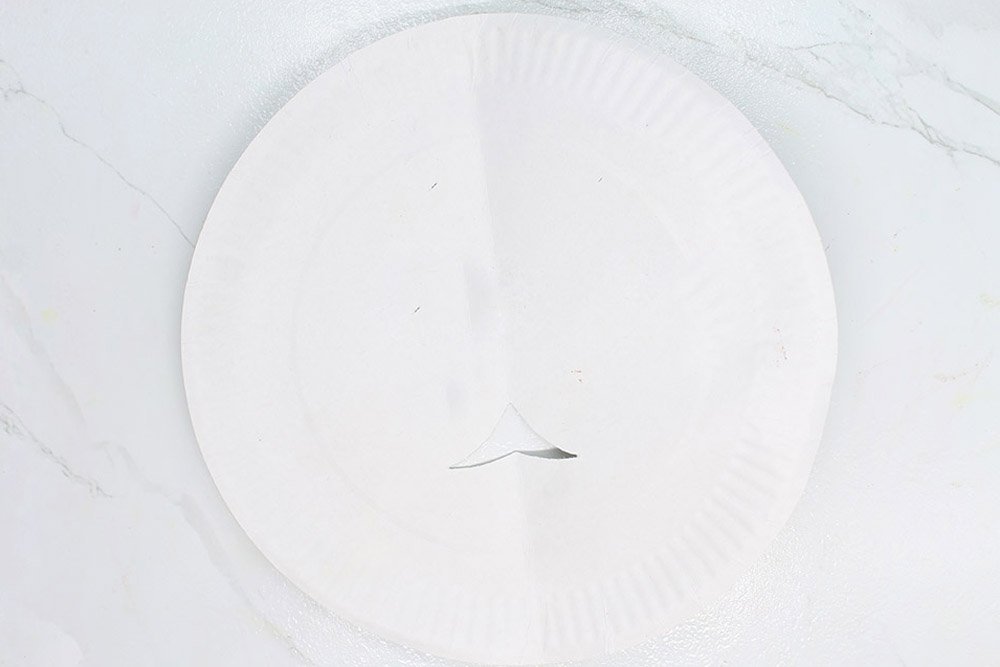
You will use the other paper plate this time. Fold it in half by bringing the left edge of the paper to the right.
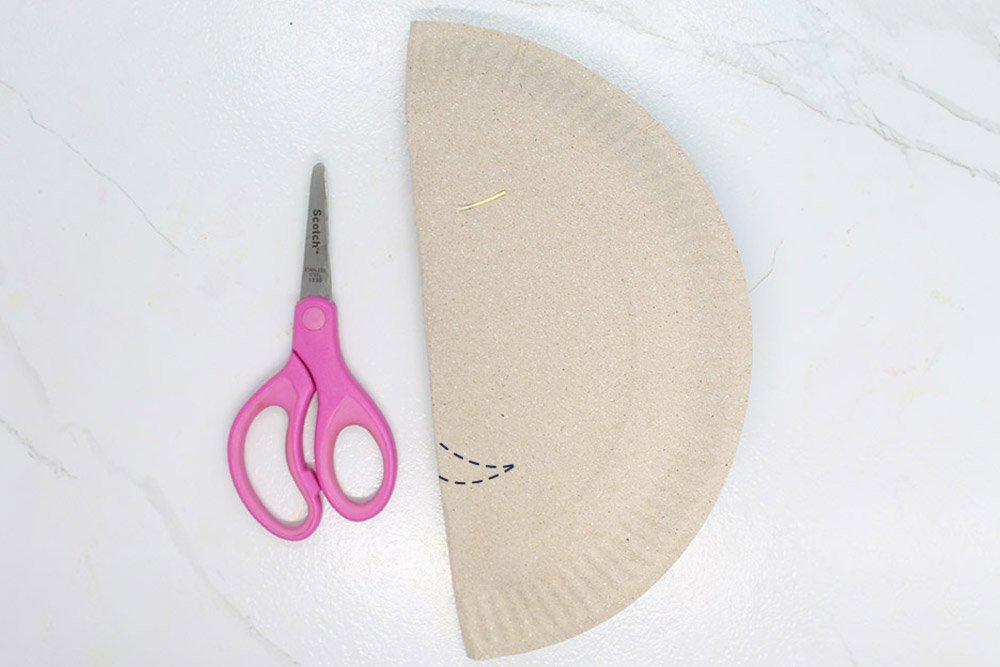
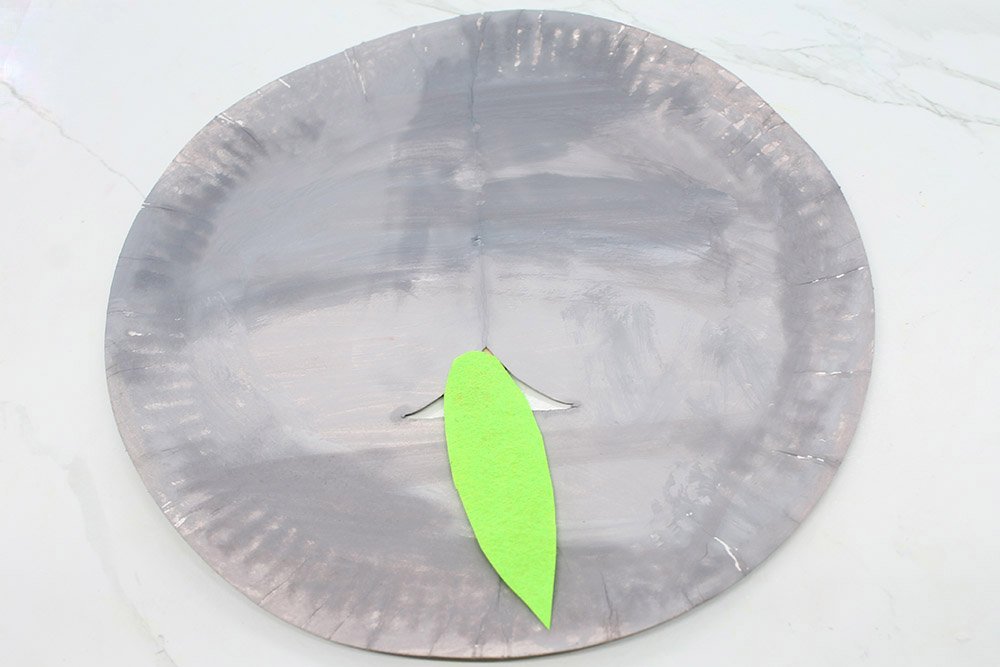
Making the mouth of the koala is easy. Cut a small piece out of the paper plate using the dashed lines in the picture above as a guide.
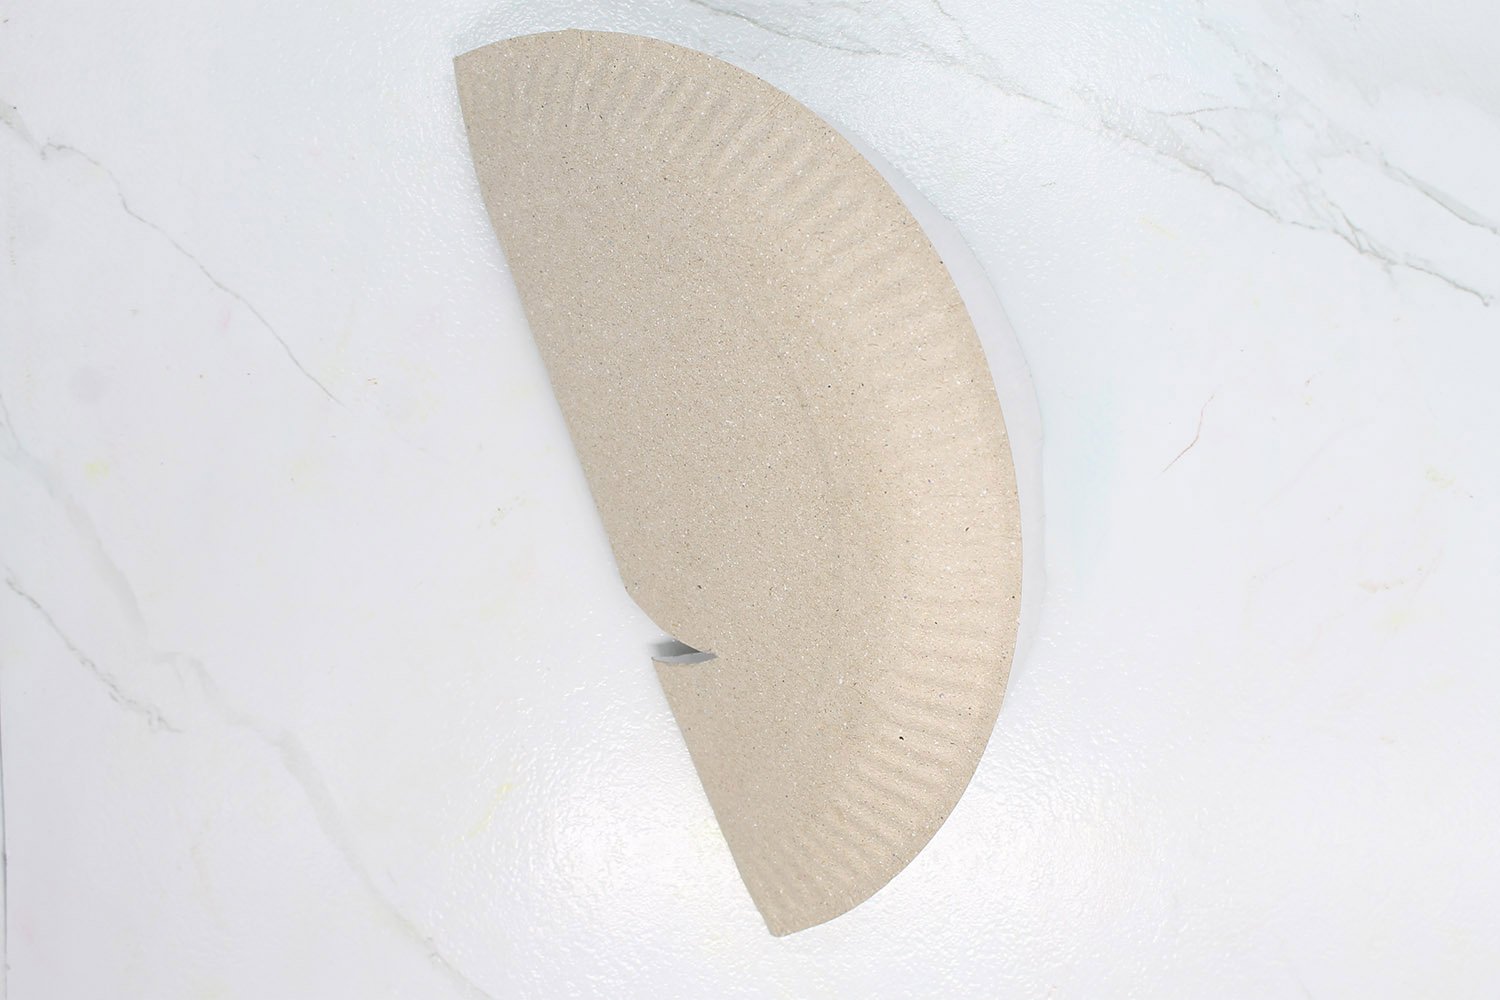
Unfold the paper plate. As you can see there is a symmetrical and narrow opening which would be the mouth.
Prepare your grey or black and white poster paint .
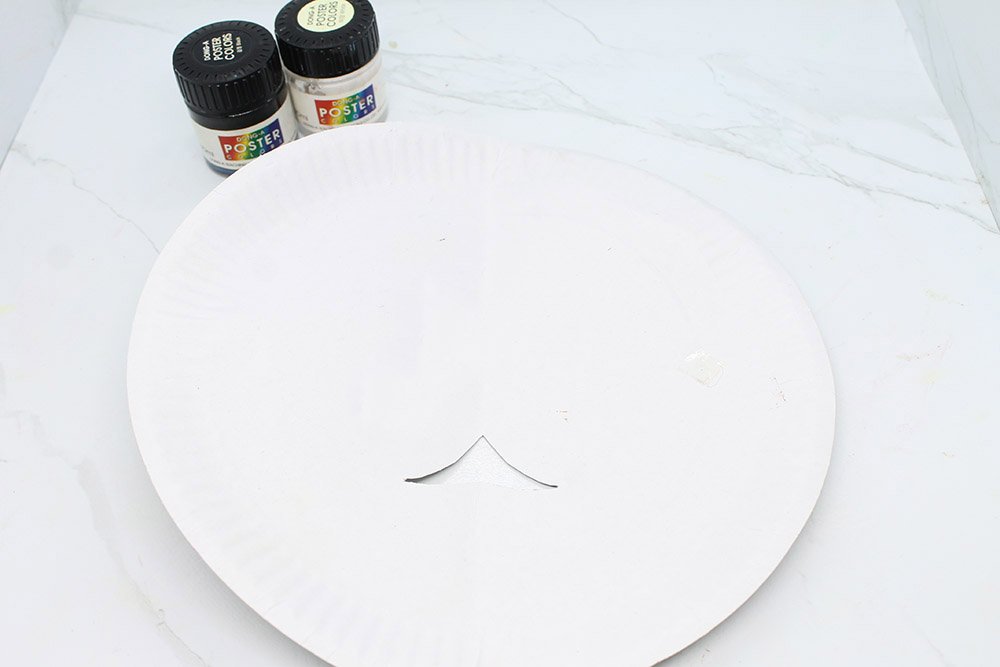
Paint the entire paper with grey. Make sure to paint the area entirely.
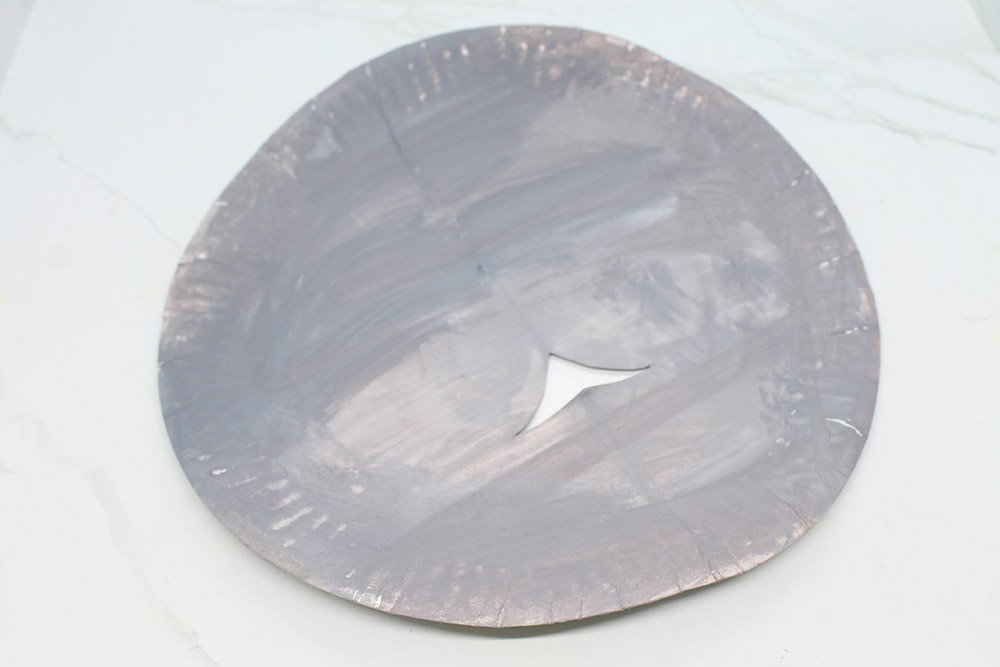
And start painting the paper plate. What we have made is the base of our koala paper plate. You are halfway through with our project!
Make the Leaf that Sticks Out from the Tongue
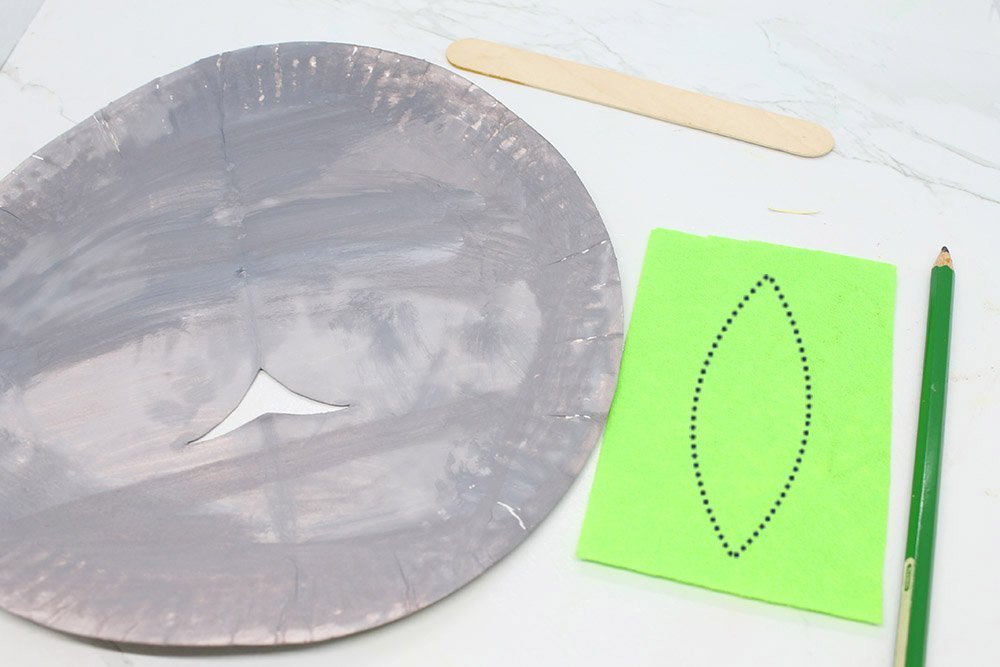
Draw a leaf on green construction paper. Specifically the eucalyptus leaf. Adding a leaf will make the craft look so much cuter!
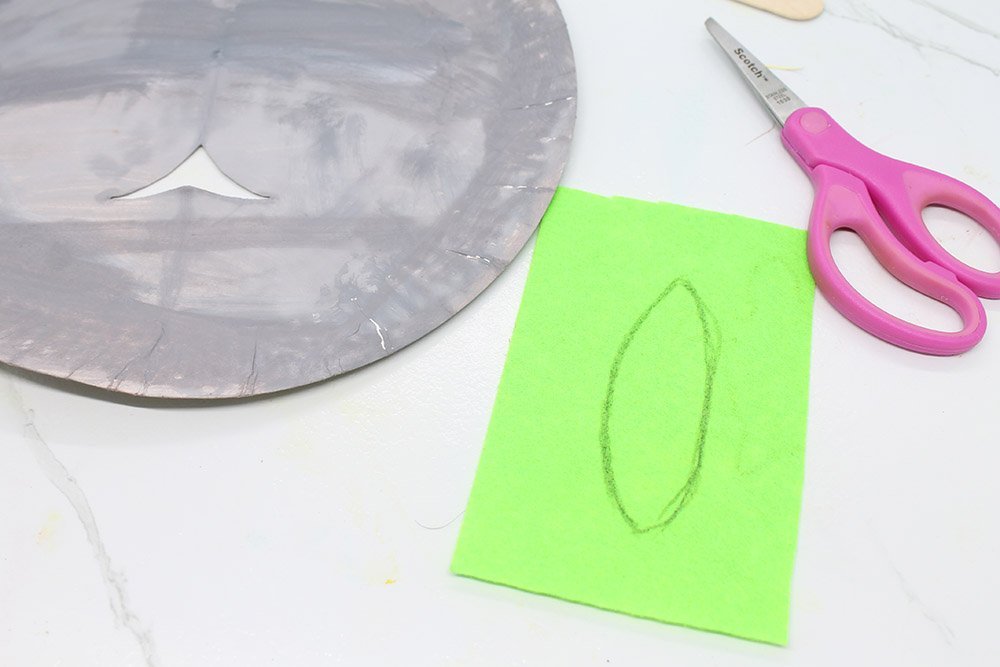
After drawing a leaf, use a scissor to cut the leaf out of the paper.
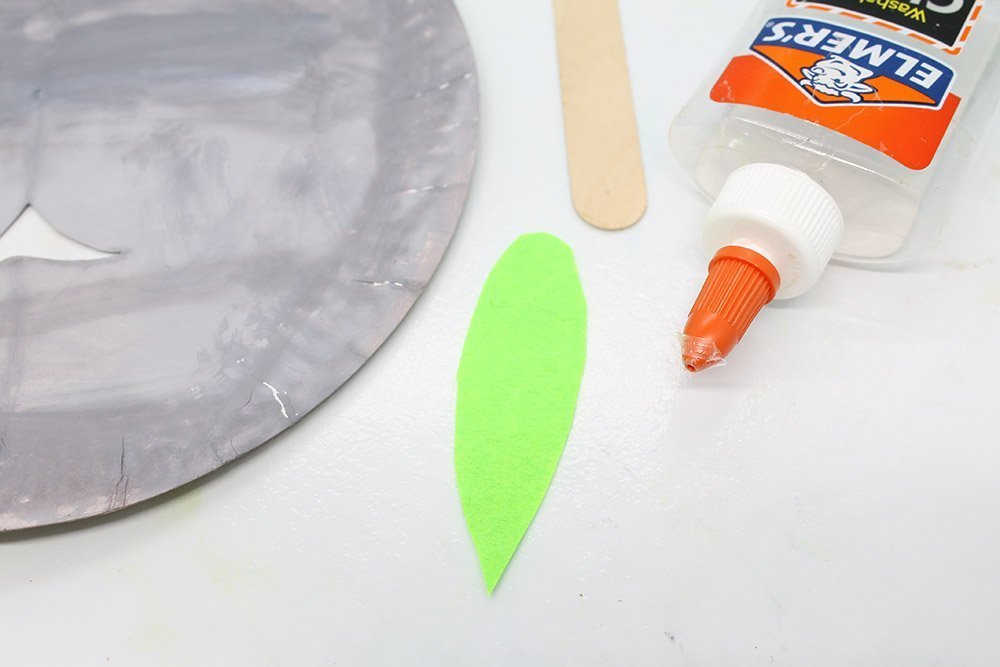
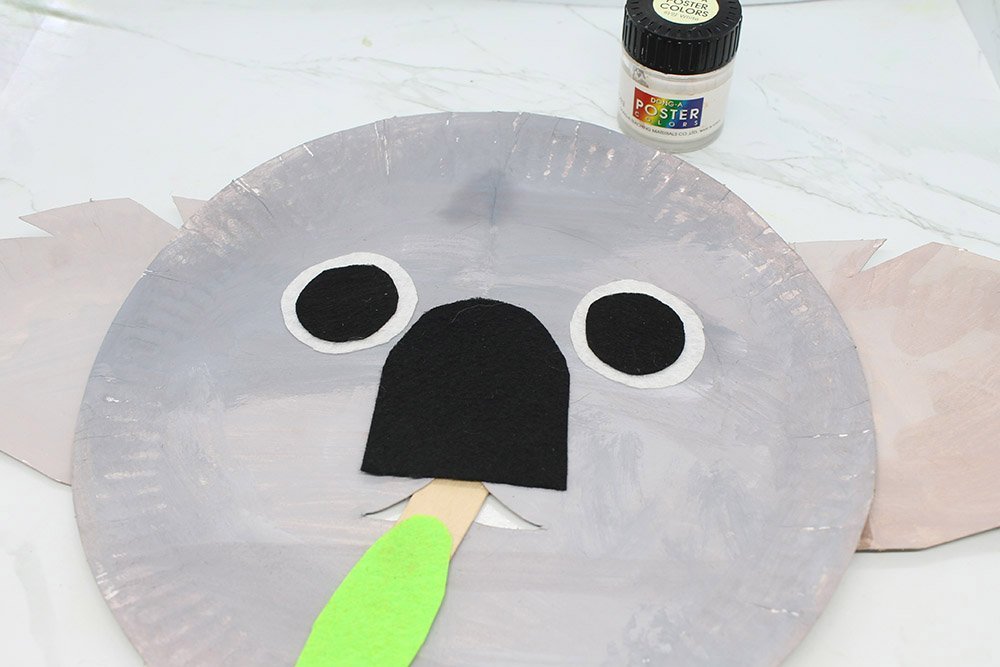
Then, stick the leaf into a popsicle stick. About a third of the leaf is should be hanging from the stick. You could try not using a popsicle stick but it's better to use one.
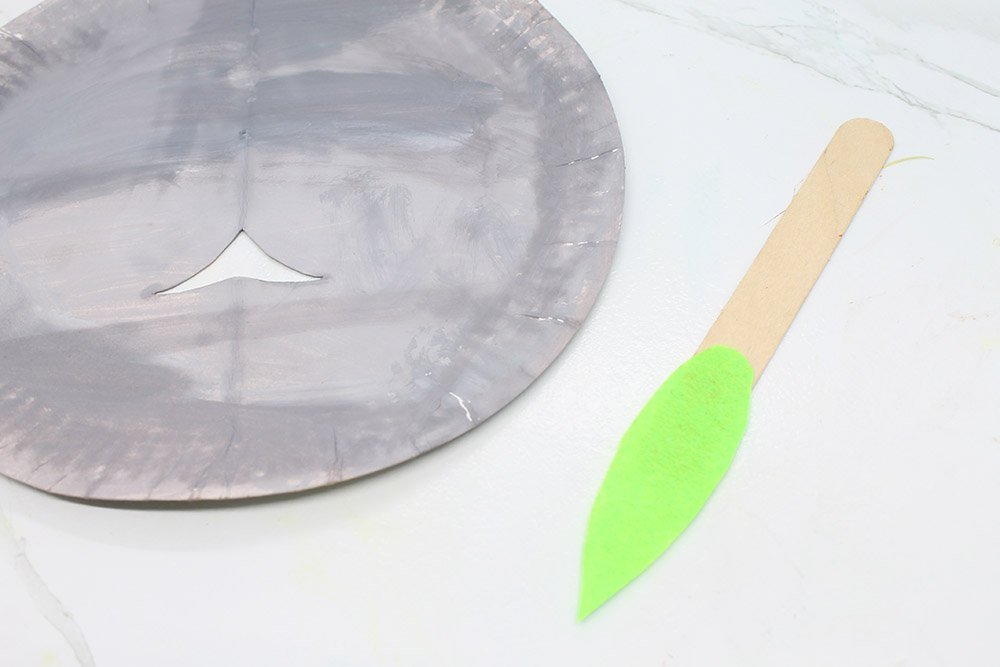
Insert the stick and leaf into the opening.
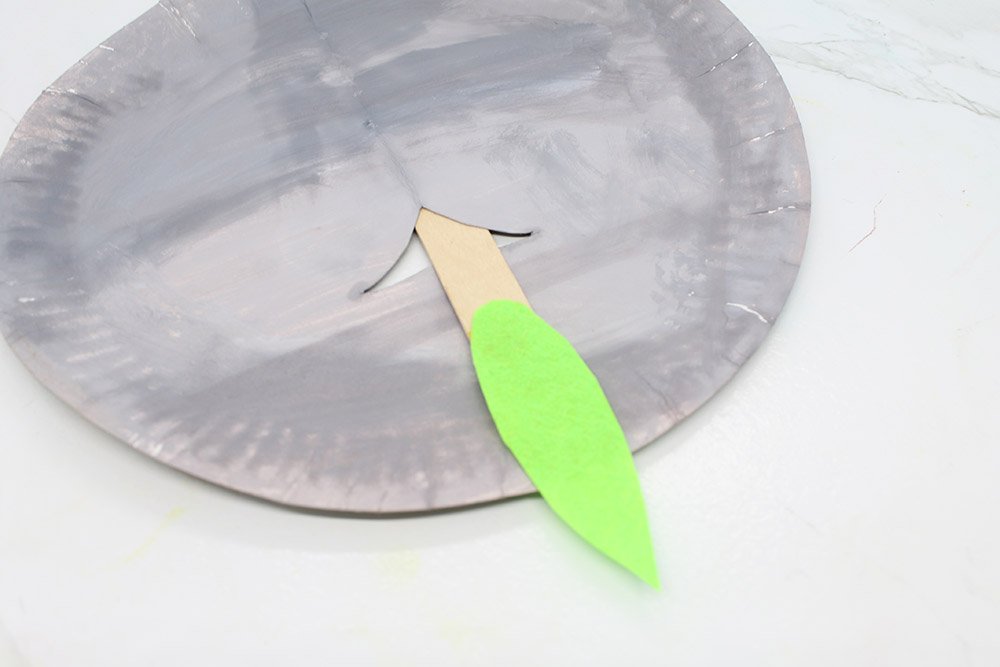
And use glue to attach the popsicle into back of the paper plate. The leaf looks like it is held more naturally in place because of the popsicle stick.
You're almost done. Just a few more steps and you'll have a nice paper plate koala.
Attach the Ears of the Koala Paper Plate Craft

After getting the ears you made earlier, glue them to the sides of the koala.
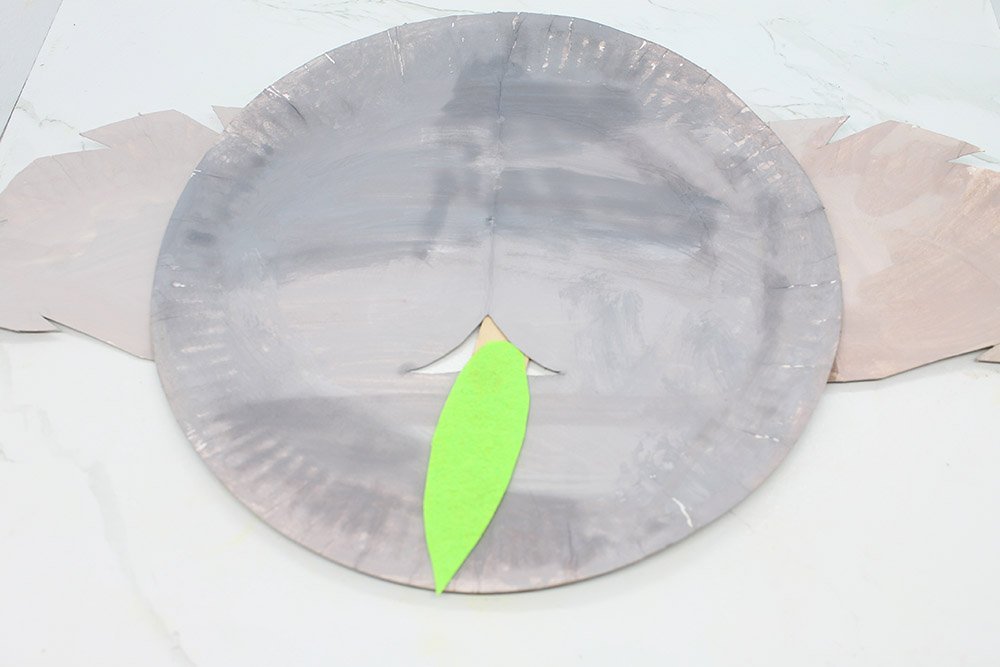
Good job! Only a few more steps to go.
Finish the Face of the Koala
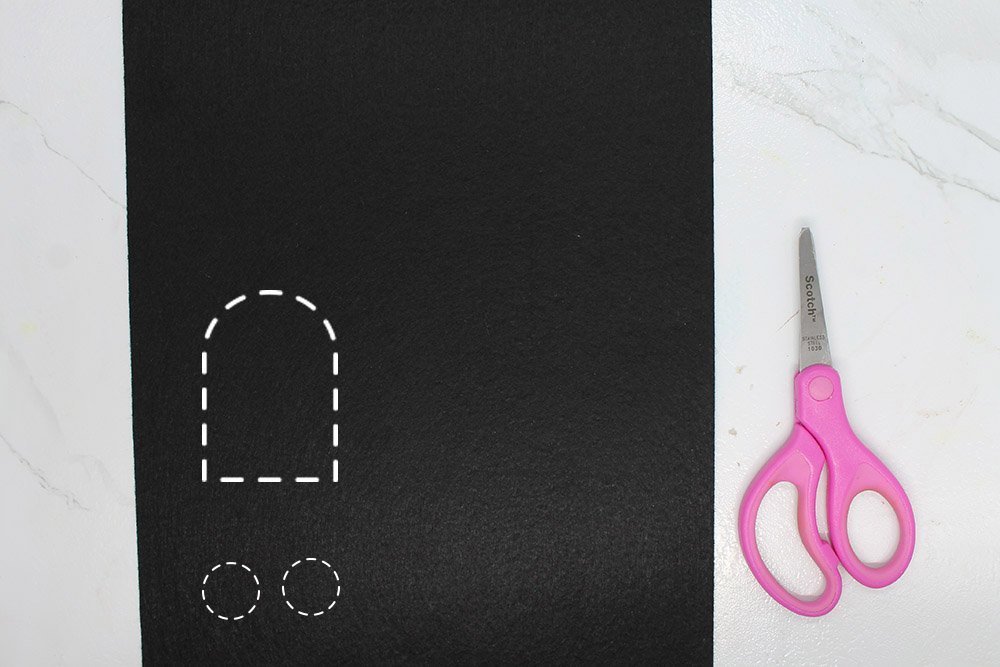
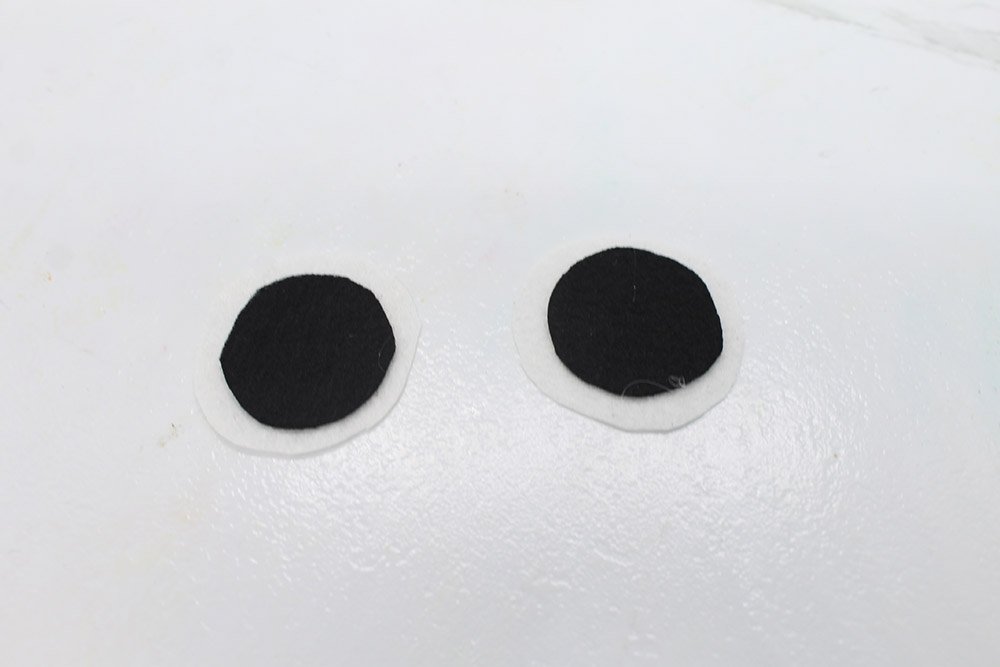
Cut the shapes found in the image above. These will be the eyes and nose. And if ever you made a mistake, you could use the same paper to make new shapes.
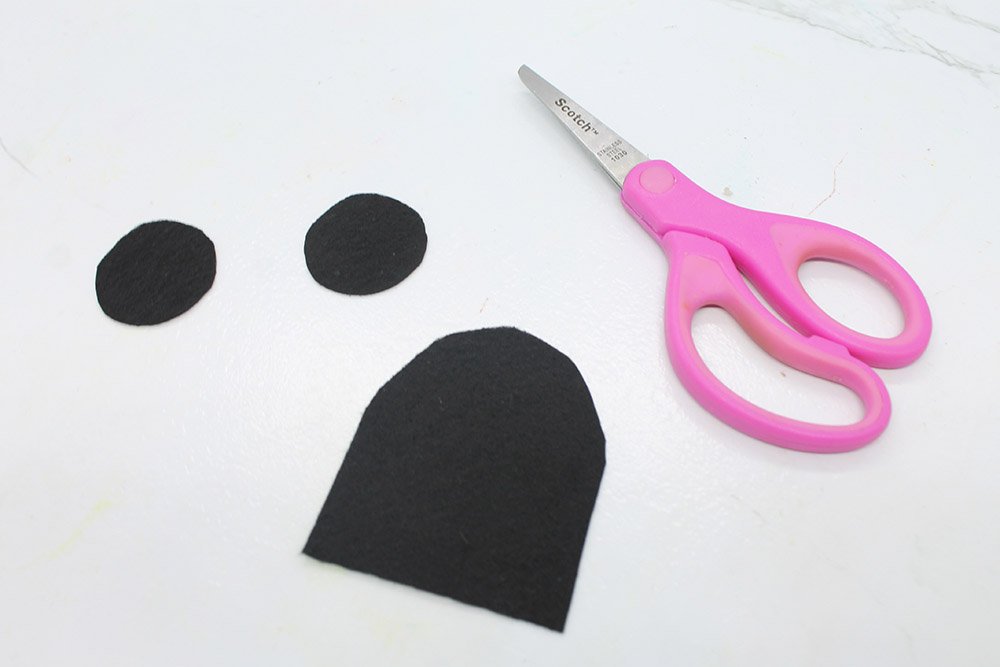
Get a white paper, and prepare to cut two circles/
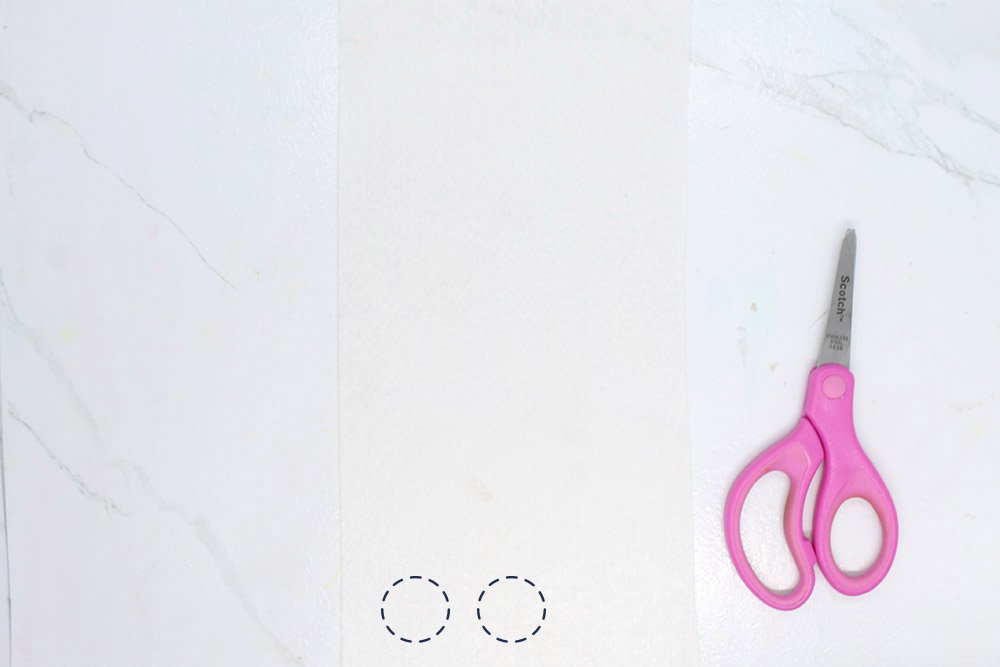
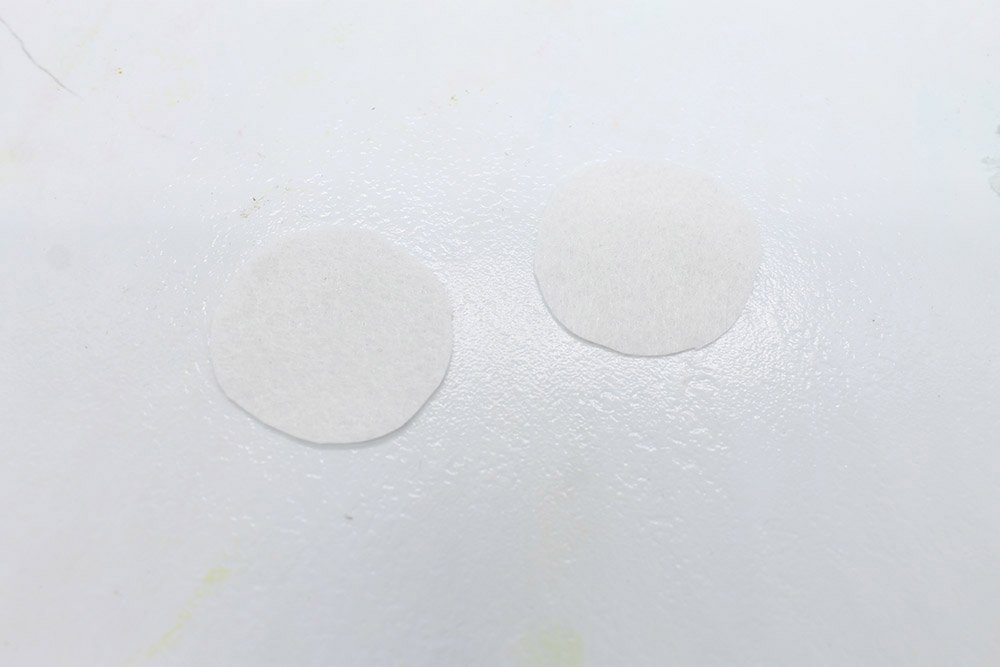
Cut two slightly larger circles out of the white construction paper.
Complete the eyes by placing the black circles inside the larger circle. Glue them after into the face of the koala. Tip:The way you place the black circles into the white ones will affect the expression of the koala a lot.
Place and glue the eyes into the face of the paper plate koala.
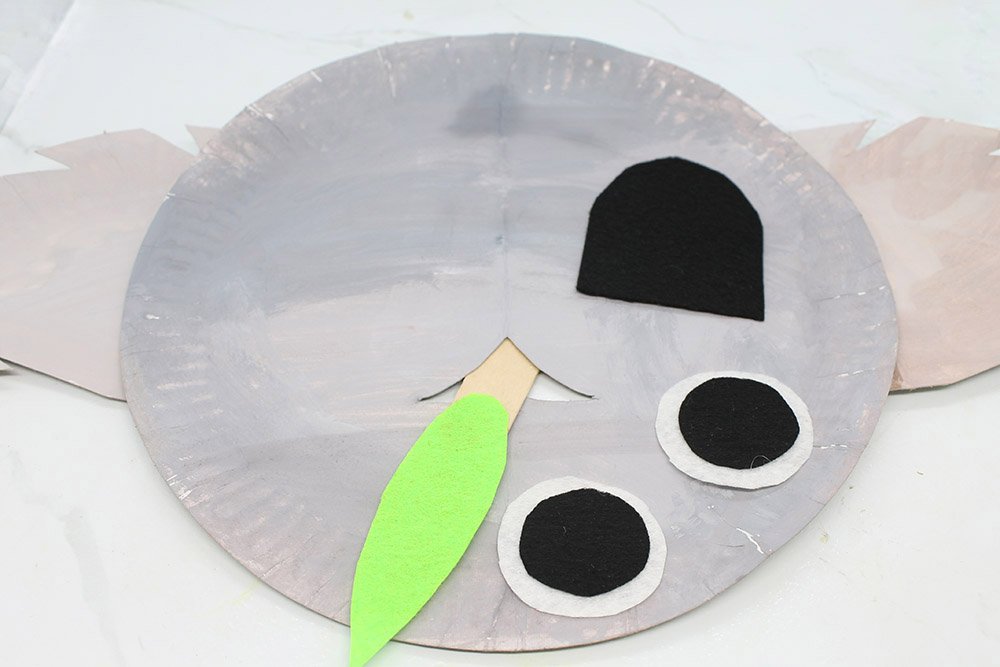
Then place and glue the nose to the face.
Try to see if there are things you could do to improve your artwork otherwise proceed to admire your work. You deserve a pat on the back.
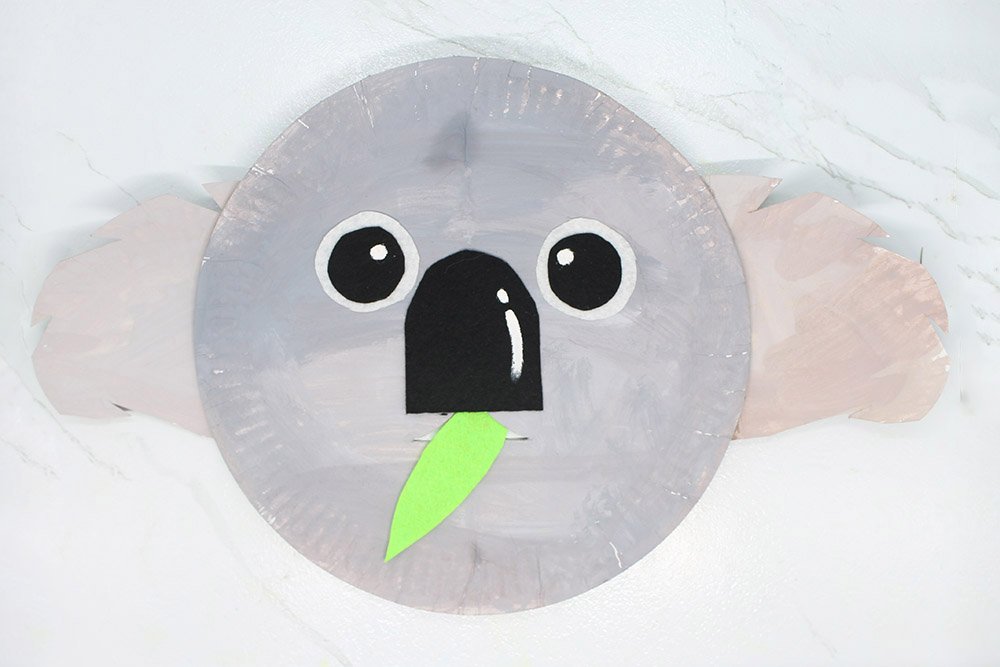
Wala! Your DIY koala paper plate is done. I hope you and your kids had fun making this artwork. And be sure to check out some of our other crafts.
Extra Tips
- The placement of the smaller black circle inside the larger white circle will affect the expression of the koala.
- Remember, when using the scissors focused on the task at hand. A lot of accidents involving scissors can easily be avoided by taking simple precautions. Even older kids should be reminded to be attentive and careful to avoid injuries.


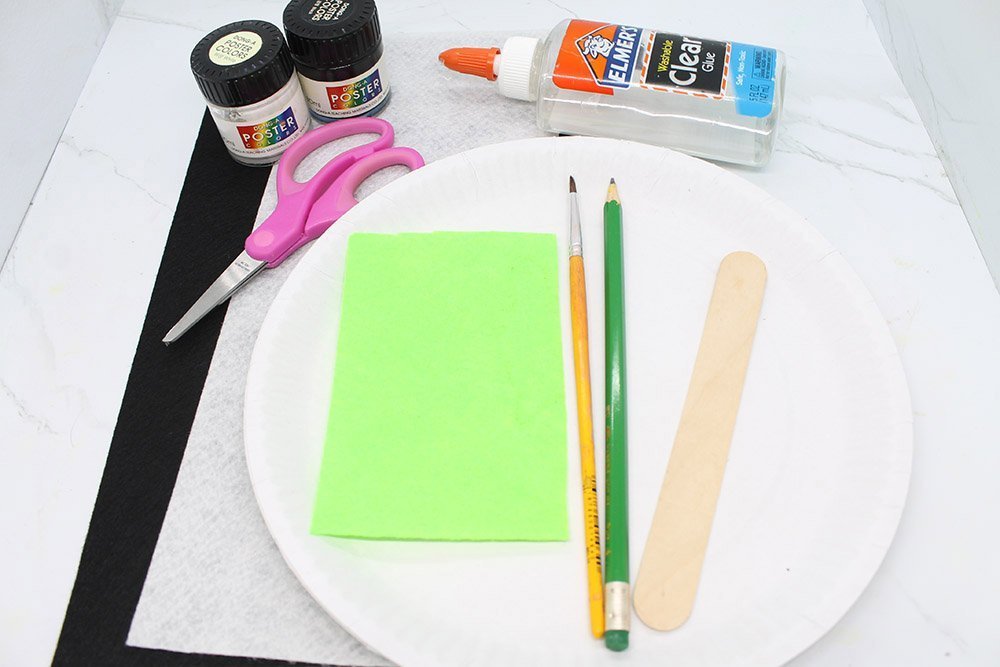
Tools
- Scissors
- Pencil
- Paint brush
Supplies
- Paper plate
- Poster color (Black, and Grey)
- Glue
- 3 Construction papers (White, Black, and Green)
- Popsicle stick
I wish you also had a brown bear 🙁 but it’s a good guide 🙂
I like the pun at the end ahaha, thanks for the craft
It’s a cute clittle craft – will find a way to put it into my room after i’m done making it
Nicee, I know they aren’t the cleanest of creatures but they are really cute <3
How to make this look more like Nom Nom? 🤔