Cute Paper Plate Leprechaun Craft

Introduction:
Learn how to make a paper plate leprechaun with some help from our instructions below. Not only is this a fantastic arts and craft project to make for St. Patrick’s Day, it’s also a cut-and-paste activity where kids can develop their scissor skills and learn how to visualize and assemble.
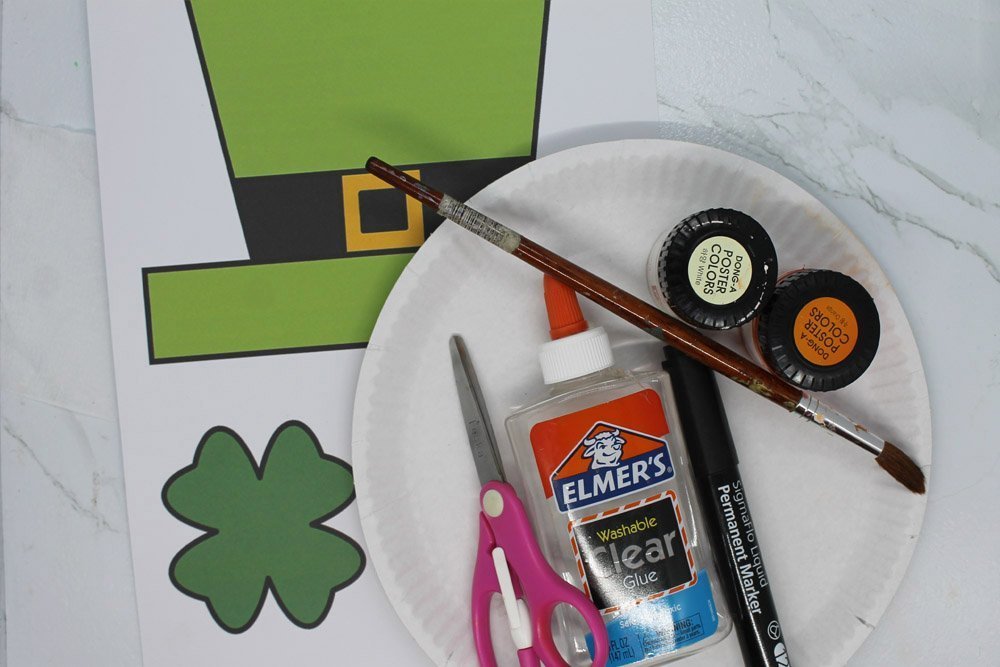
Tools
- Scissors
- Black Marker
Supplies
- Paper Plate
- Poster Paint (orange and white)
- 2 Black Buttons
- Glue
- Printable We recommend downloading the printable in an A4 thick vellum board, but a regular bond paper will do!
Download Area
Download TemplatePaint and cut the base of the paper plate leprechaun

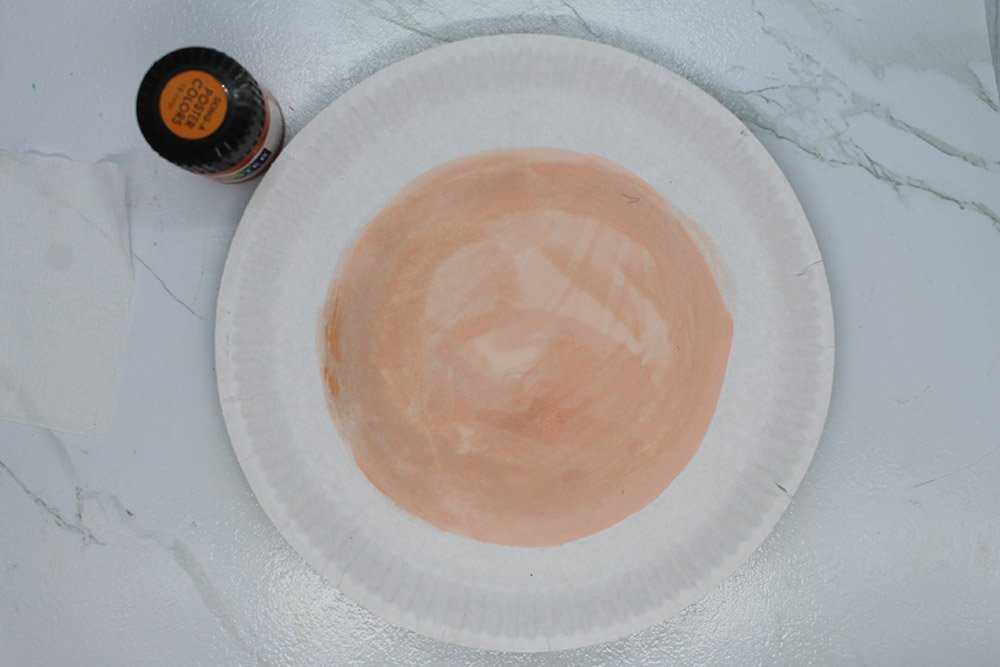
Paint a flesh color on the center of the paper plate. Use the dotted line as a guide on until where to color.
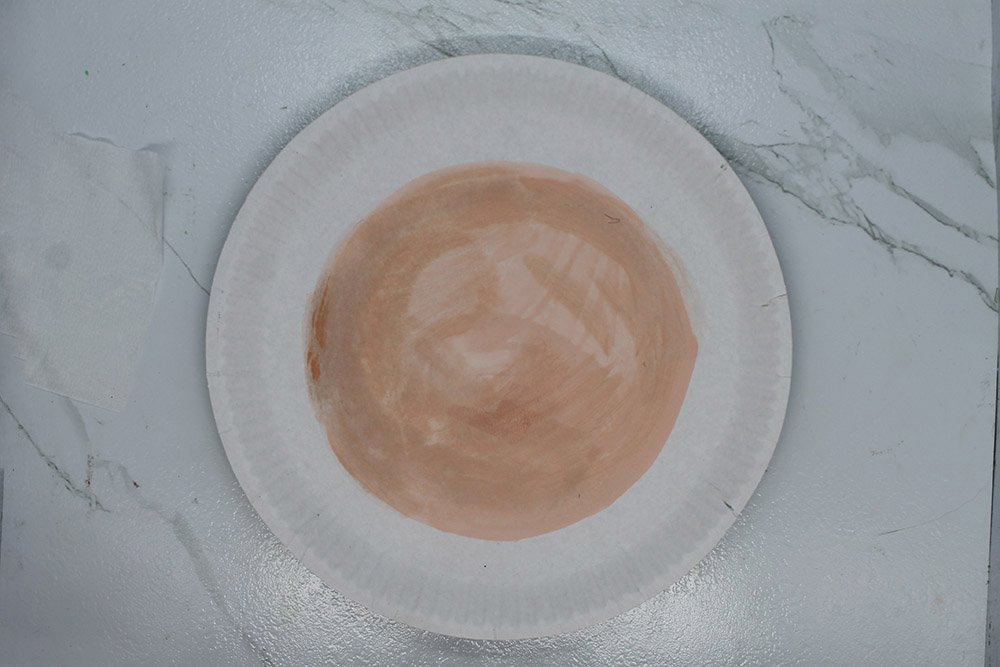
The painted circle should look something like this.
You can make a skin tone color by mixing orange and white.
Paint the outer area of the paper plate to make the beard of the paper plate leprechaun.
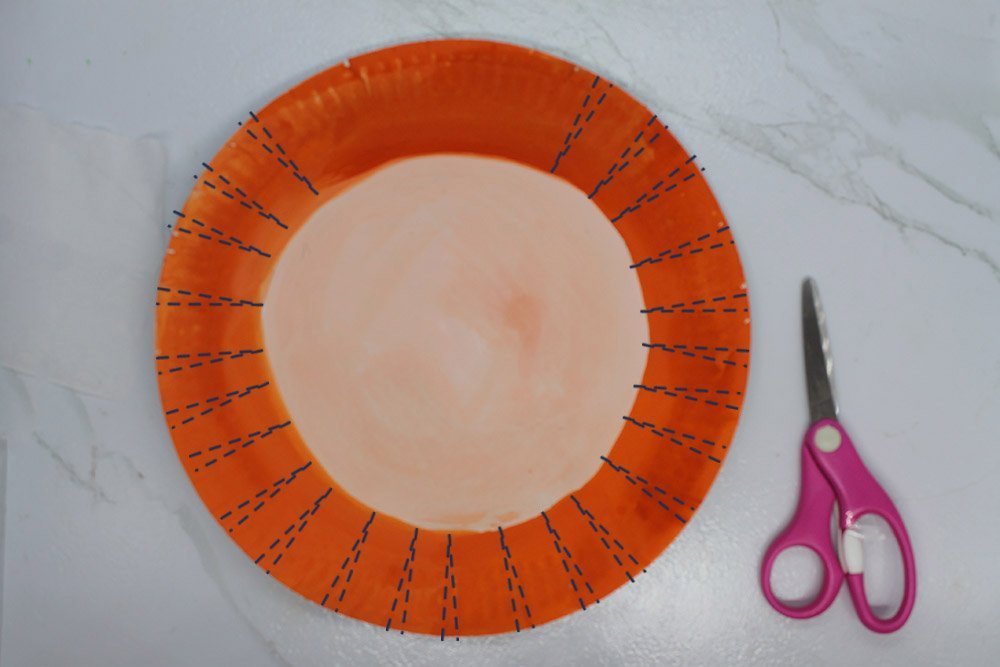
Snip along the dashed lines to complete the beard.
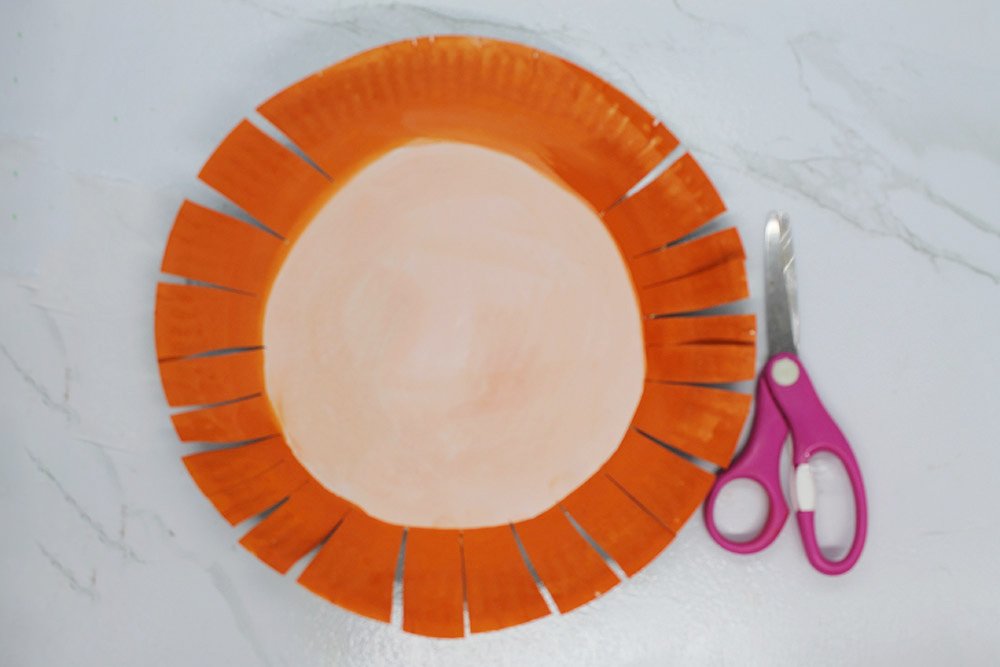
The base of the paper plate leprechaun is done!
Download, print and cut the printable
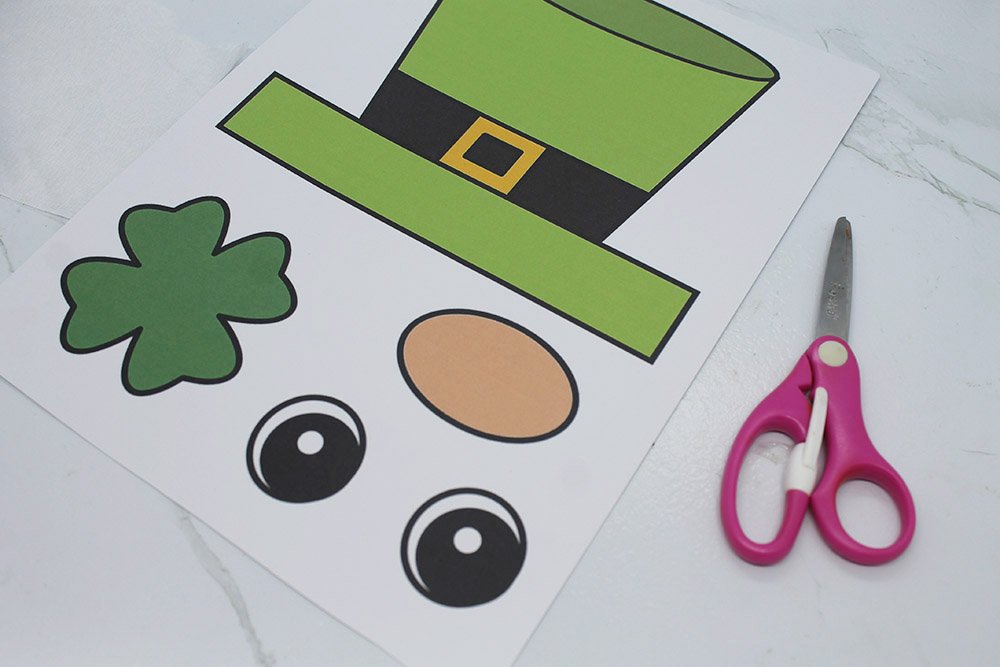
Print the free printable by clicking the yellow download button above. Cut along each edge of the element on the printable.
Use this activity to practice scissor cutting.
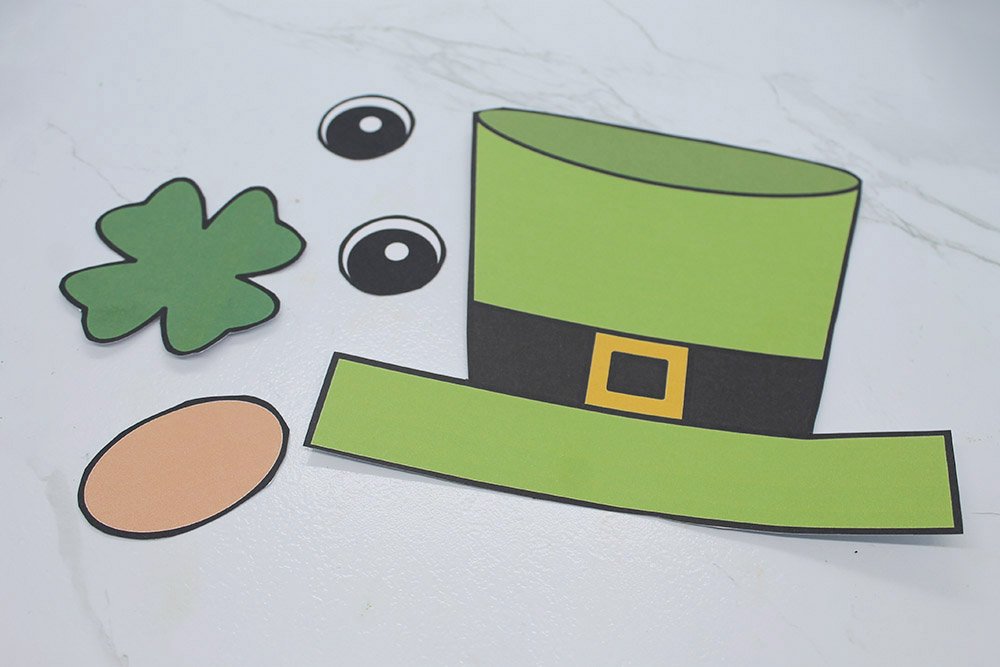
Once cut, it should look something like this. It should consist of 5 cutouts.
Assemble the eyes and nose of the leprechaun
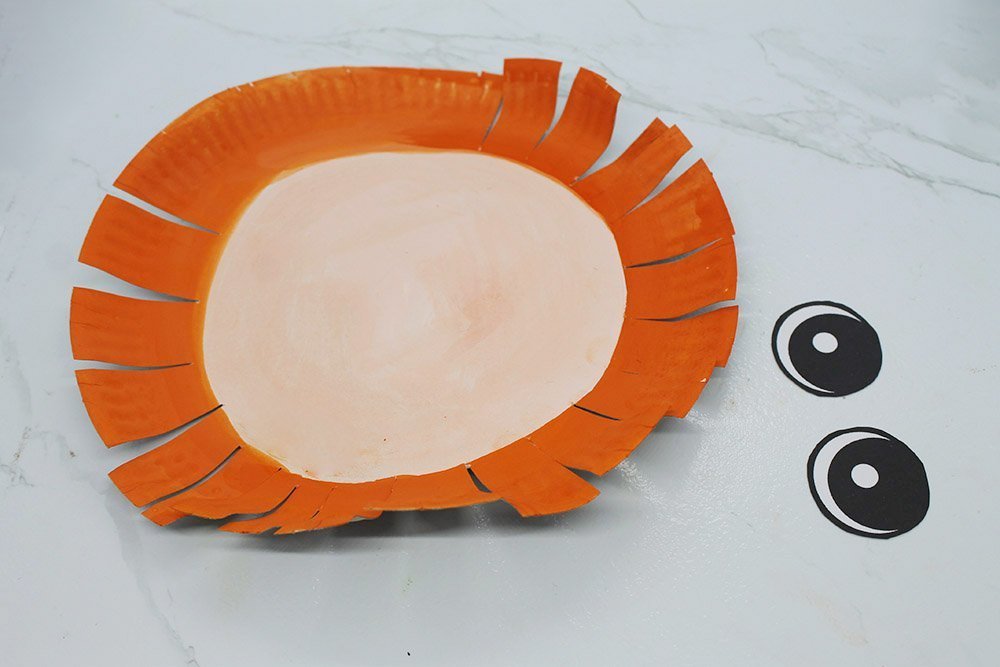
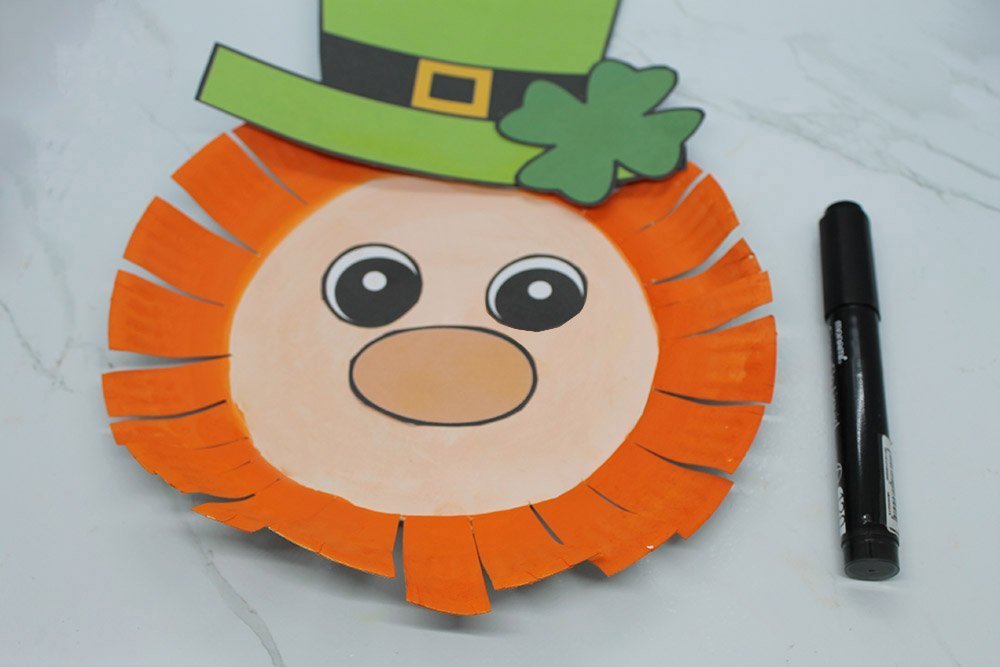
Stick the eyes on the top side of the paper plate.
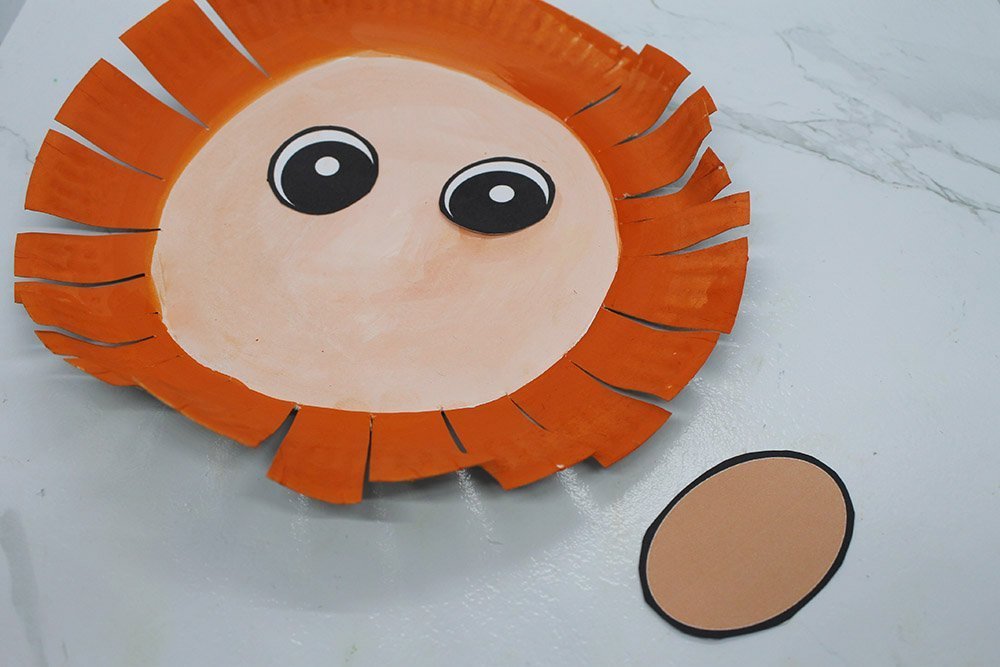
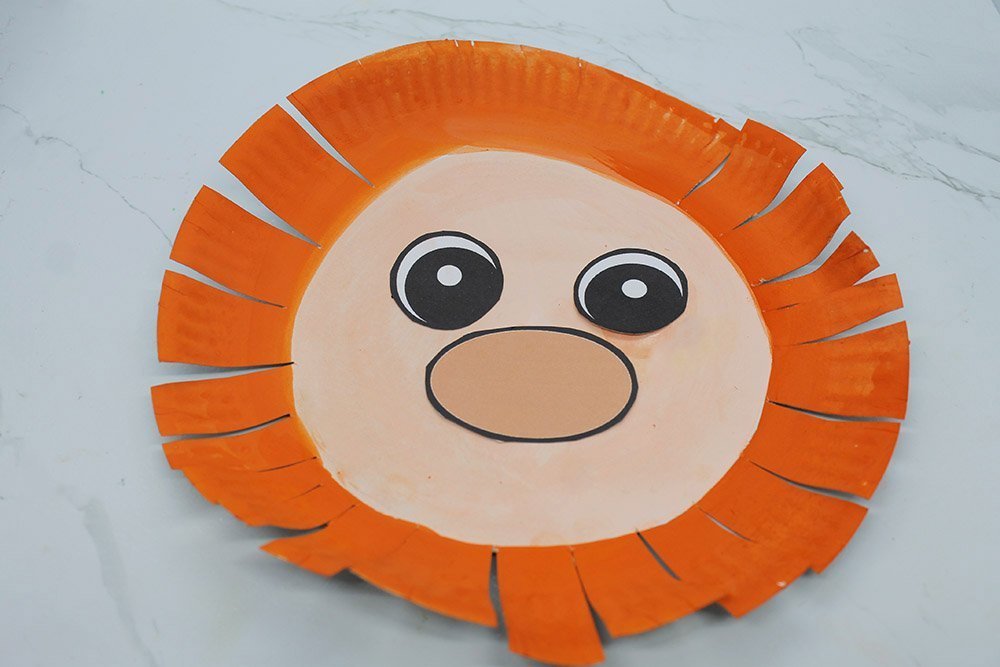
Paste the oval shape on the center of the paper plate. This will be the nose of the leprechaun.
Time to assemble the hat.
Stick the hat of the paper plate leprechaun
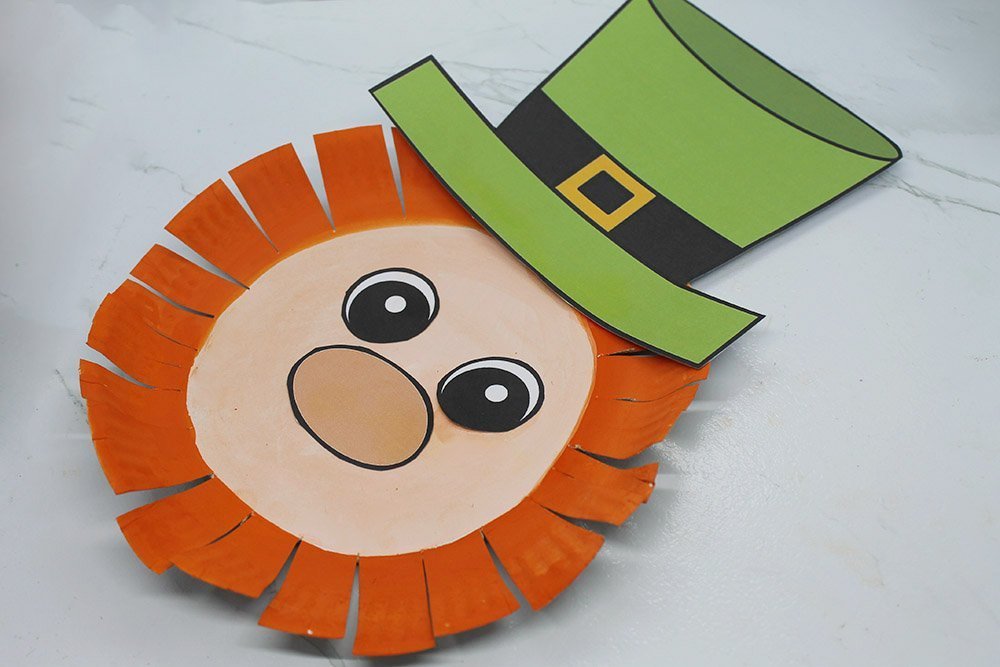
Paste the hat above the eye area.
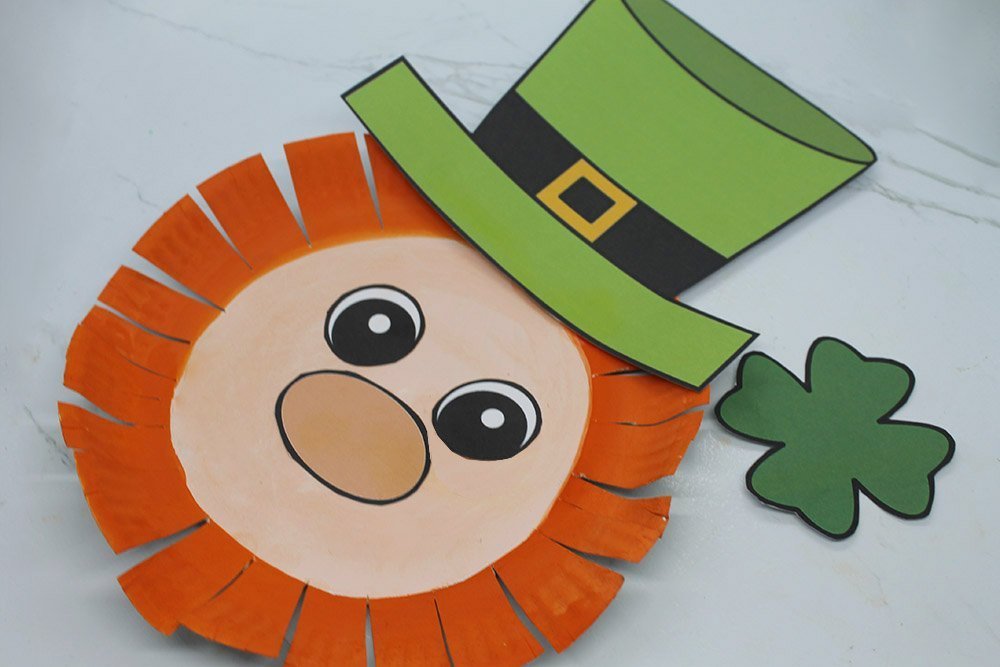
Stick a four-leaf clover on the hat to decorate it!
Draw a smile
Lastly, give him a smile using a black marker.
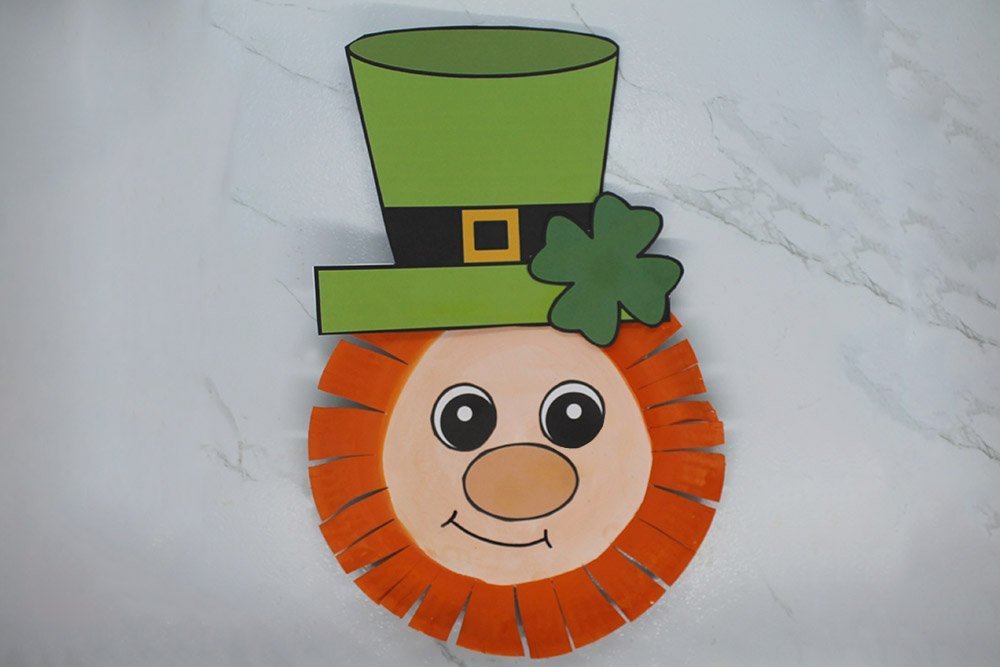
The paper plate leprechaun is done!


Made my leprechaun chubby
LOL 😂🤣
Susan and me made this as our very first craft using this site as the guide – just sharing to y’all. have a good day
The printable is a blessing, thankss
WOuld recommend it to my friends- good job in demonstrating 👌