Paper Plate Menorah Craft | Painting Ideas for Kids

Introduction
Are you looking for a simple way to make a paper plate menorah craft? You have come to right place.
This guide will provide clear and straightforward instructions. The first step is to make the candles which would involve painting popsicle sticks.
We then make use of the paper plate to put it all together. This can be used as a decoration as it can be hang on a wall.
Paint the Burning Part of the Candle

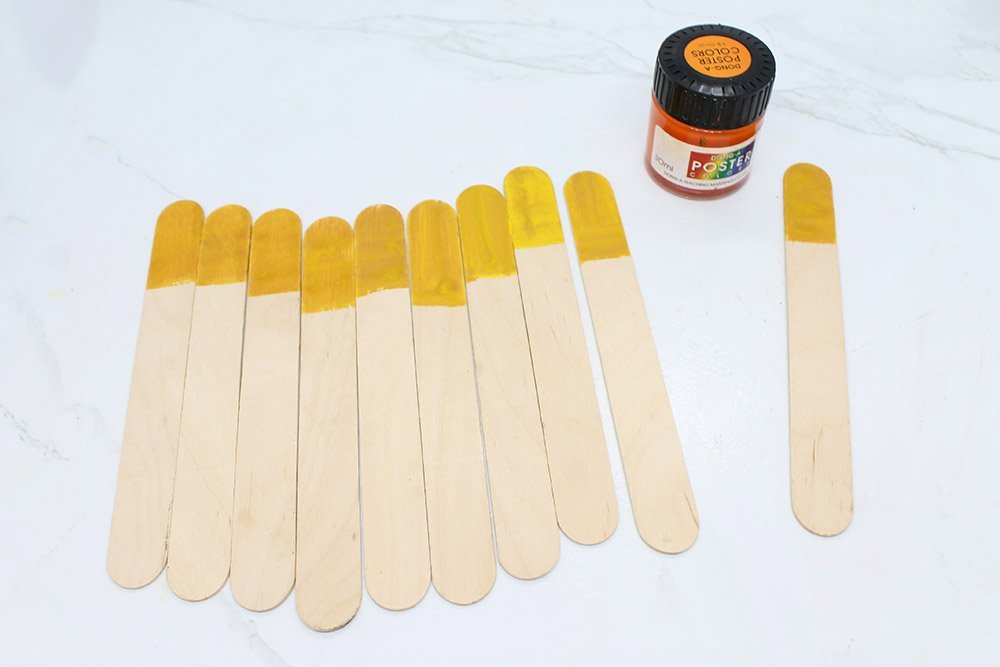
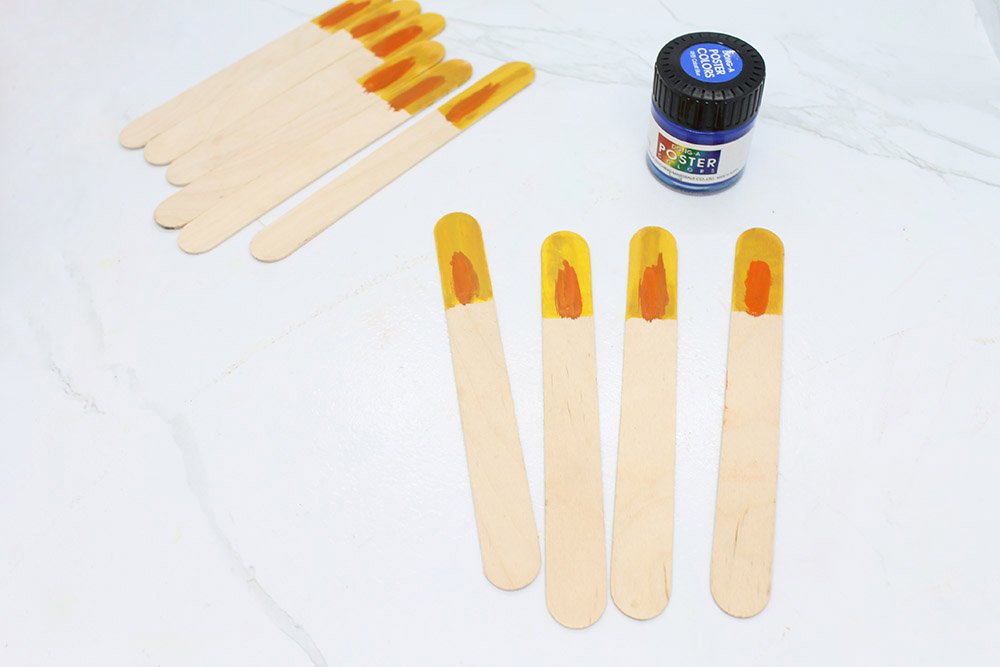
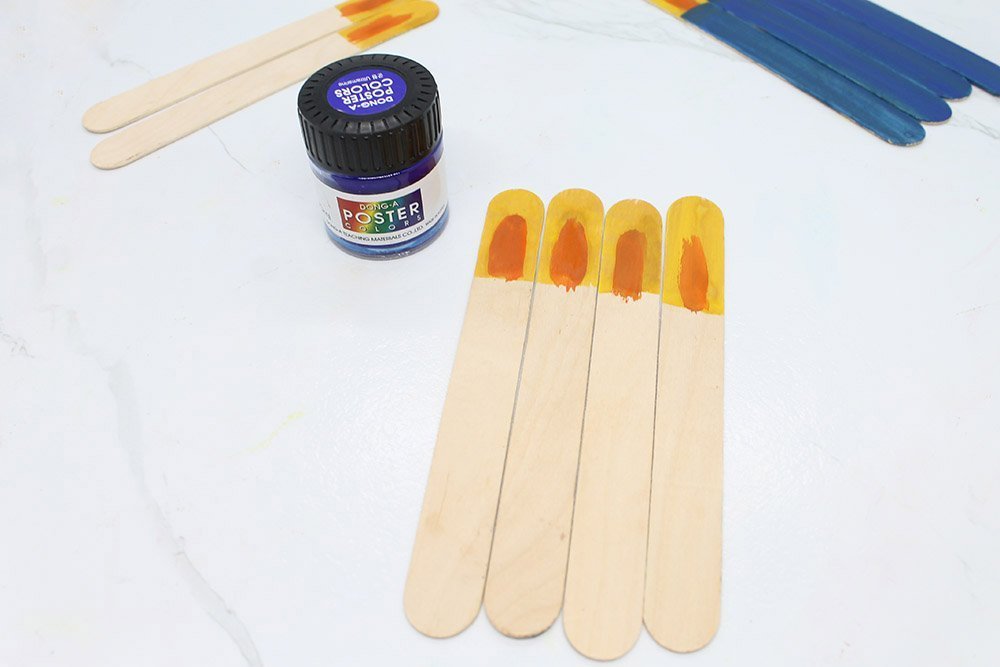
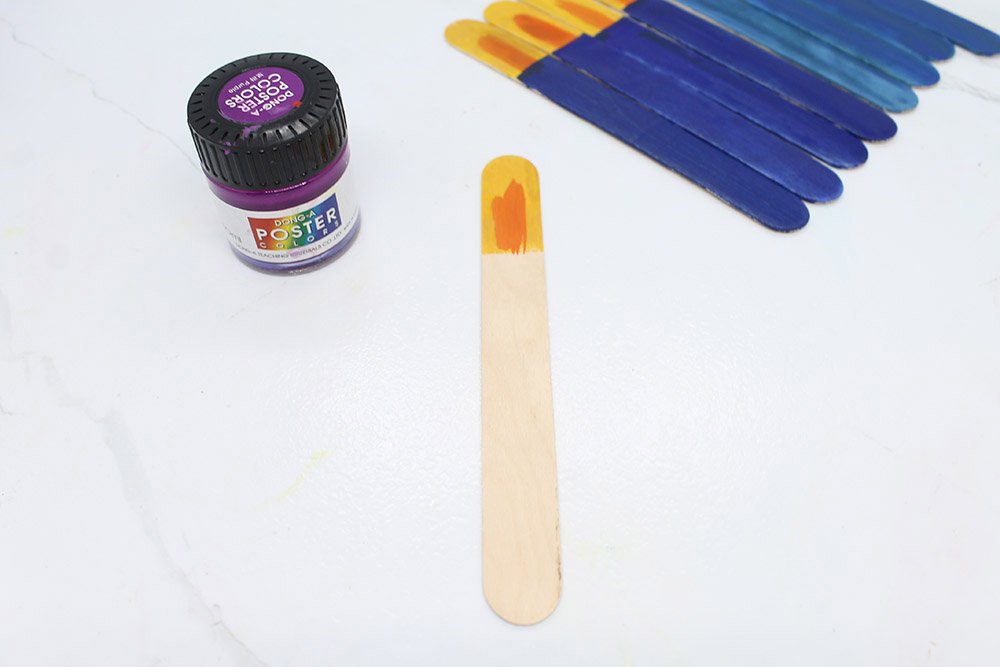
Get your yellow poster paint and brush. By using yellow, you can imitate the color of a wick that's burning.
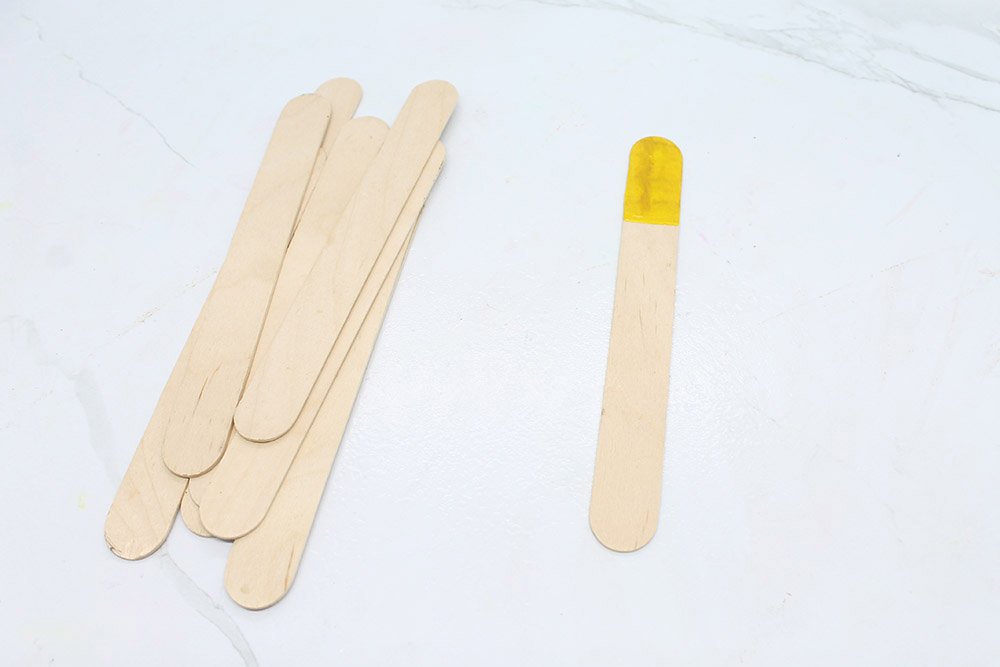
Paint about 3/4 inch the top part of a popsicle. Doing so would make the popsicle sticks look more like candles.

Keep painting until all ten popsicle are painted.
Ready your orange paint. The orange, aside from adding visual appeal, makes the project more realistic.
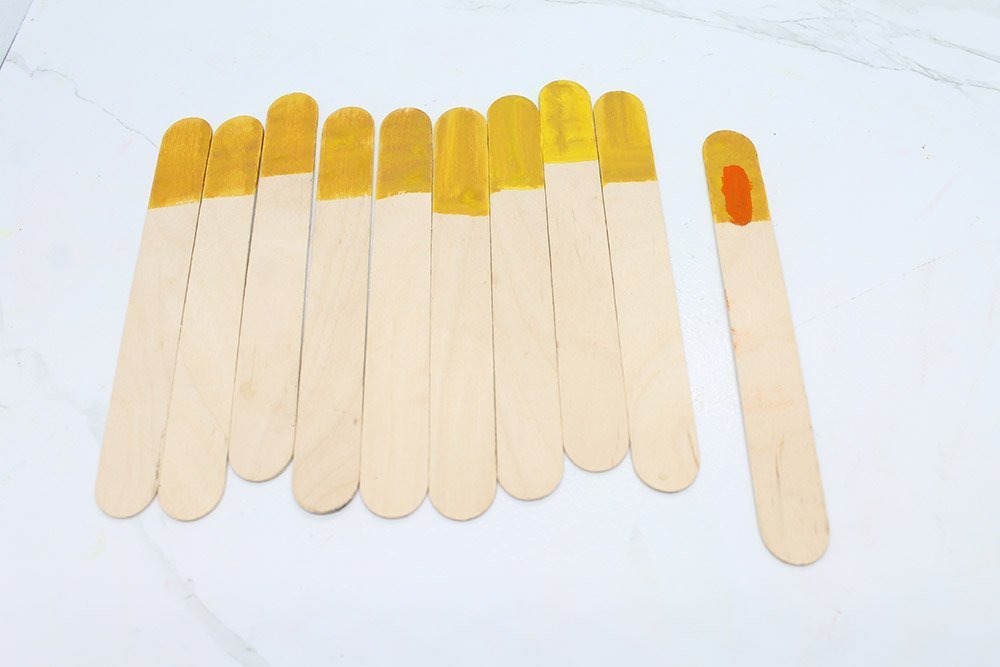
Start painting the center of the yellow parts for a candle. As we all know, the center of a fire is hotter so the colors of the outer and inner parts are different.
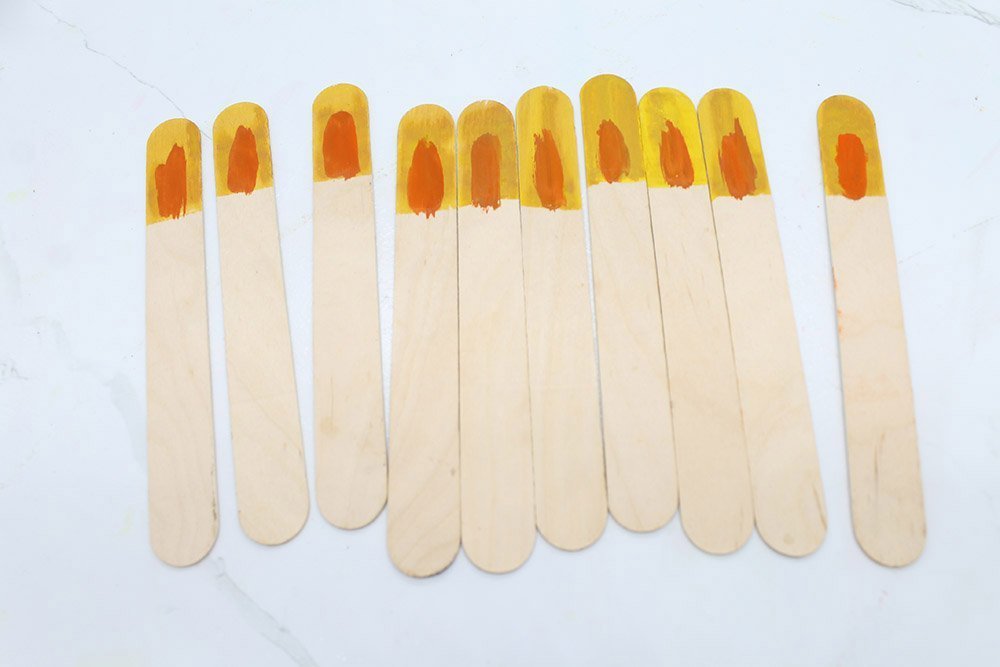
Repeat the last step ten more times. We will only be using nine but it's good to have extra popsicles because we might make a mistake later on.
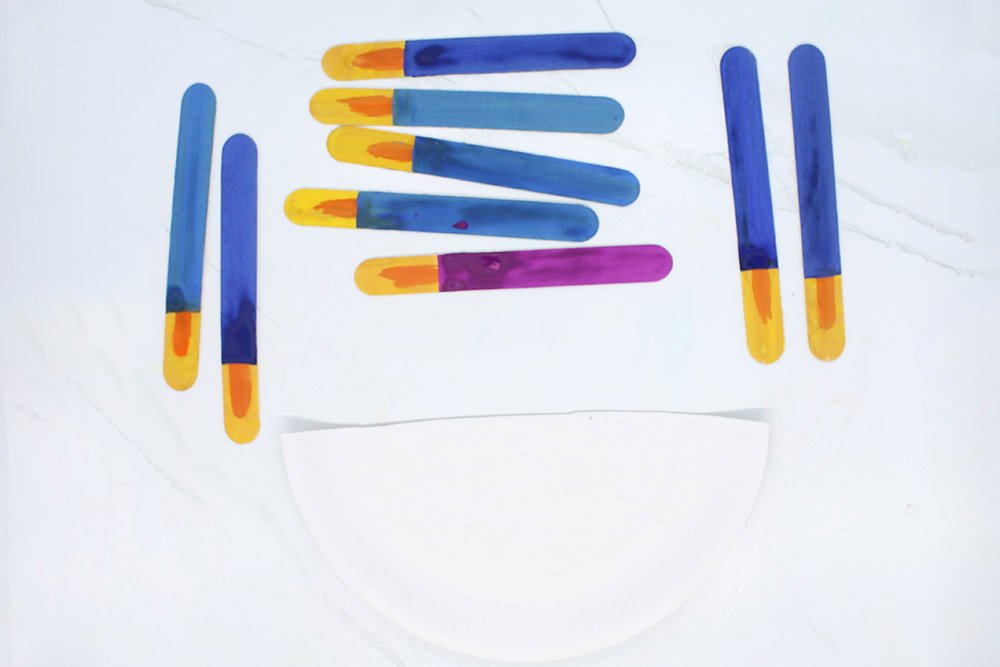
Complete Painting the Popsicle Candles for Our Paper Plate Menorah
Get your blue poster paint and brush. It's time to make the body of the candle. Blue is my color of choice for this craft. You and your kid can choose a different color for this step. There are certainly good candidates.
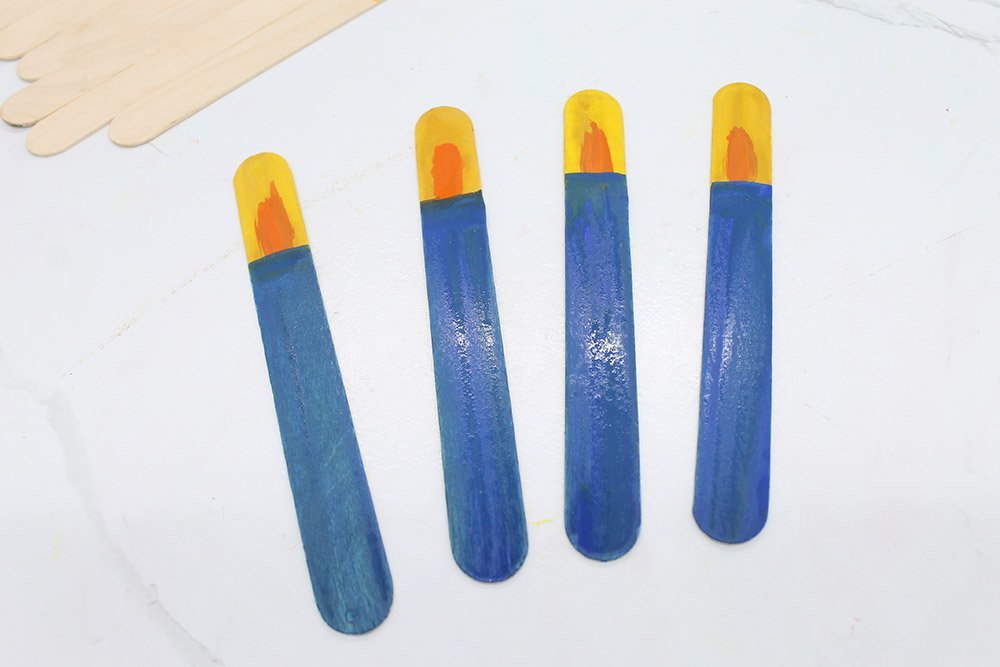
Paint blue four popsicles. The other popsicle sticks will be painted with a different color. In this example, I choose dark blue.
Get your poster color with a darker shade of blue. Of course, you could opt with the color of your choice.
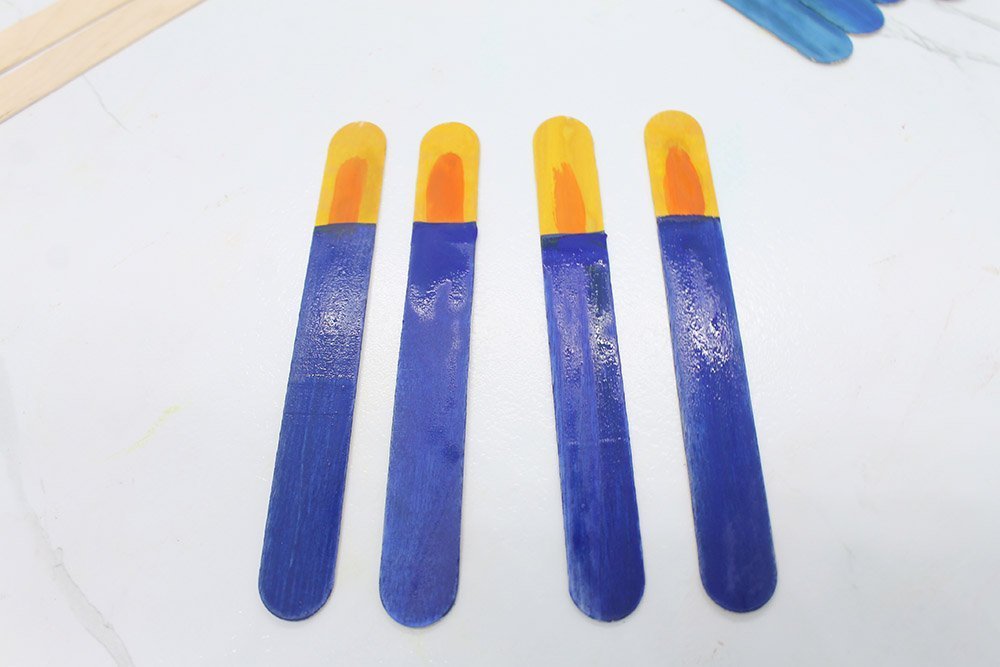
Go ahead and color four other candles. You are almost done with painting all the candles. There's one more to go.
Finally, get your purple paint. Blue, dark blue, and purple make up a good combination of colors. In this step, you must make sure that your last color is compatible with your two other colors if you chose your own colors earlier.
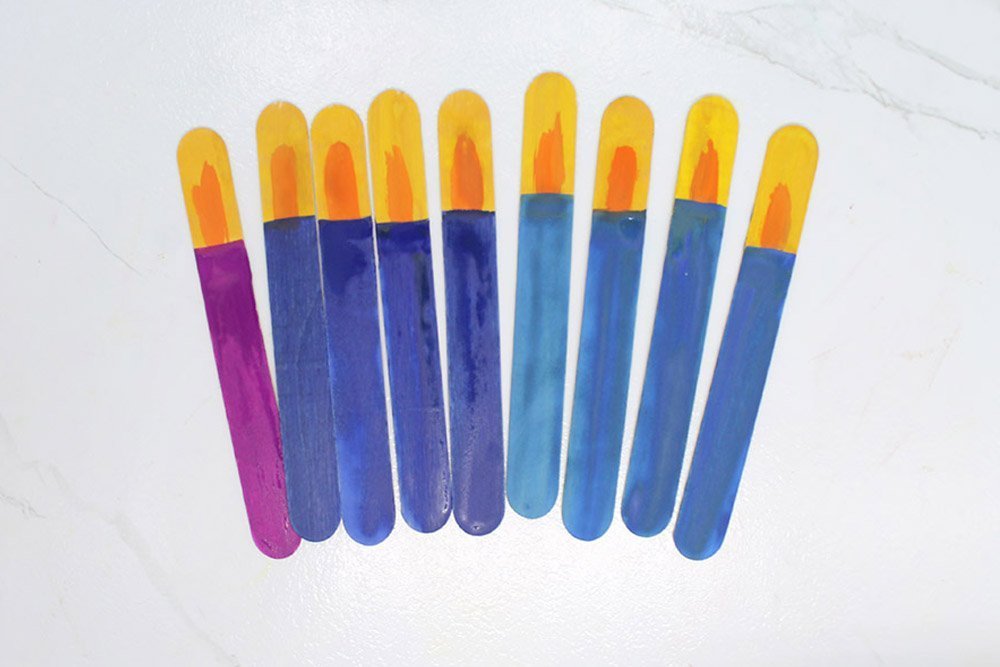
Then paint the last popsicle stick. You'll have something like the image above if you arrange them side by side.
Good job! You are halfway through with the project..
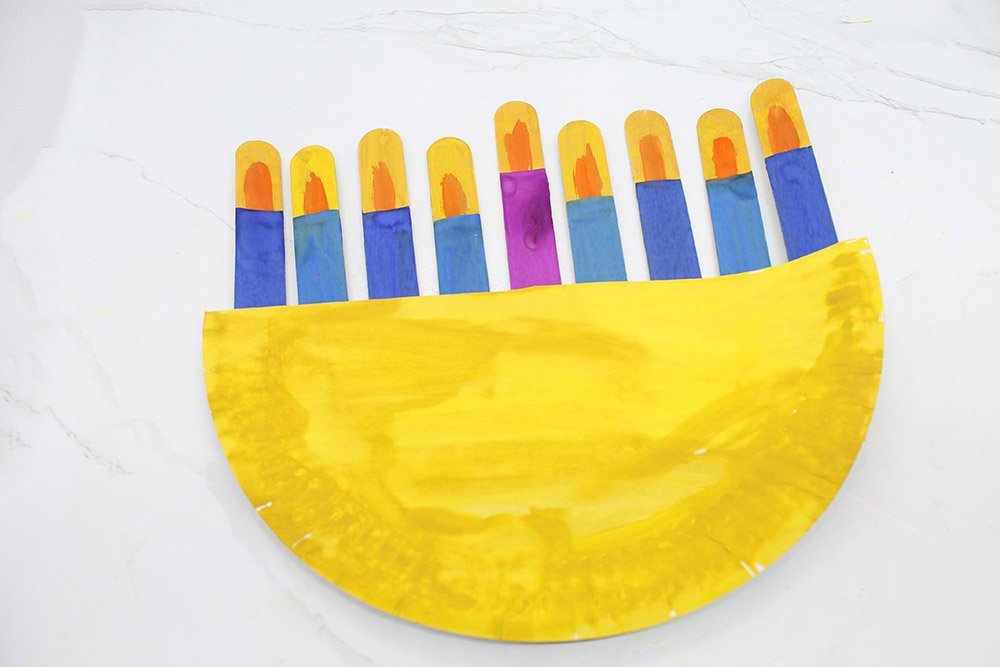
Glue the Candles onto the Paper Plate
It would be better to mark the paper plate with a pencil first before cutting. Making a straight horizontal line increases the chances of getting that perfect cut rise. Alternatively, and perhaps just as effective, you could fold and then unfold to make a crease. This crease would then serve as the guide.
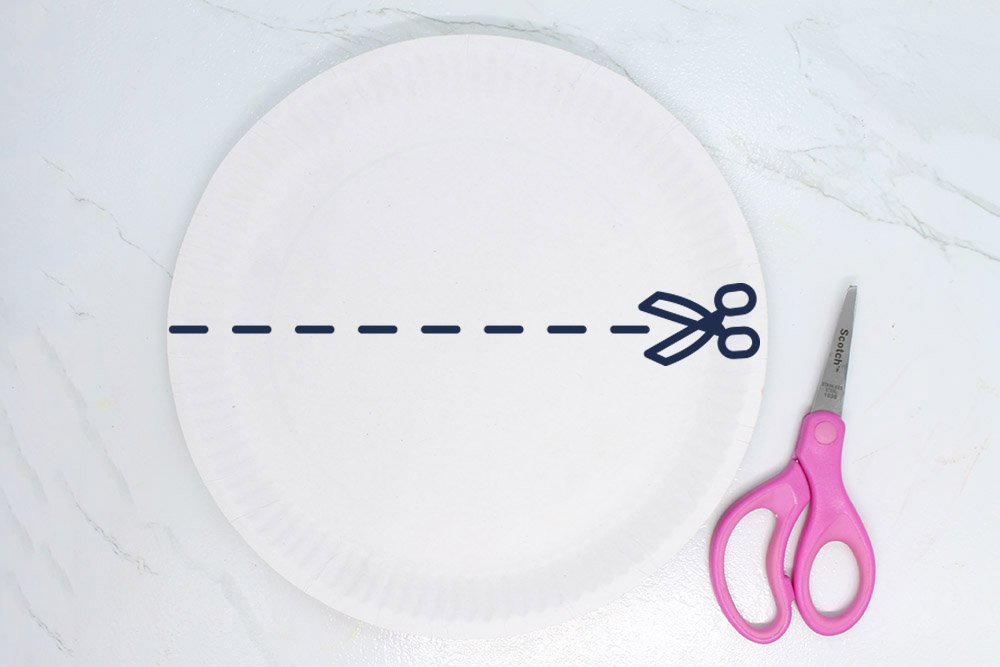
Cut in half a paper plate. You'll use them both but for now, set aside the other.
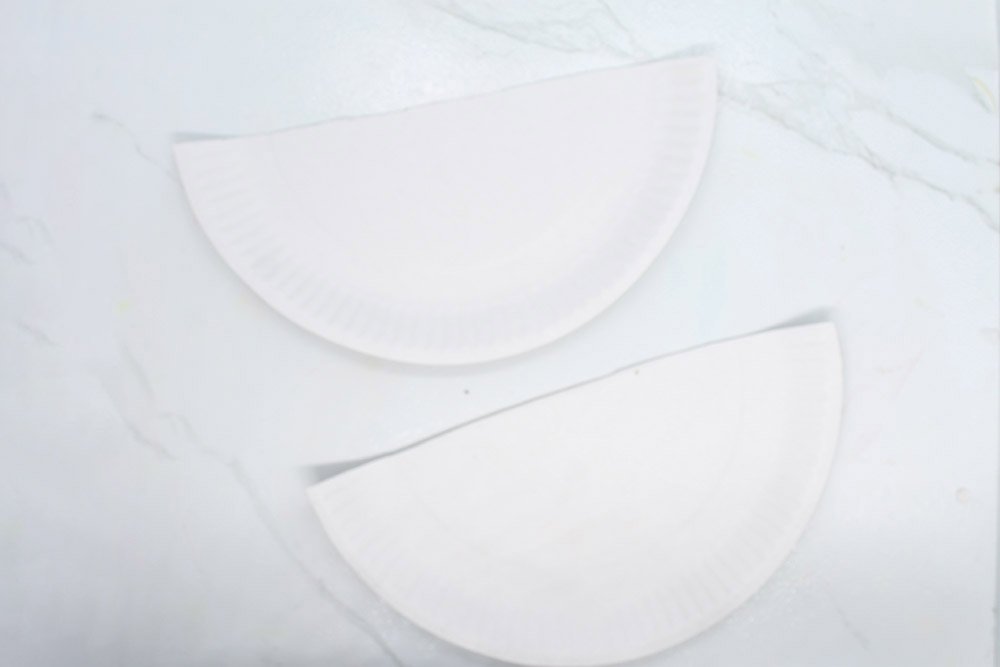
Prepare the candle popsicle sticks and one half of a paper plate.
Before we use clear glue, it is important that the candles are arranged first. You would the purple candle to be in the center. Then, you would get two pairs of blue and dark blue candles.
The outer candles that would be glued will be dark blue candles. And the inner ones would be light blue candles. But first, we arrange the candles first before gluing.
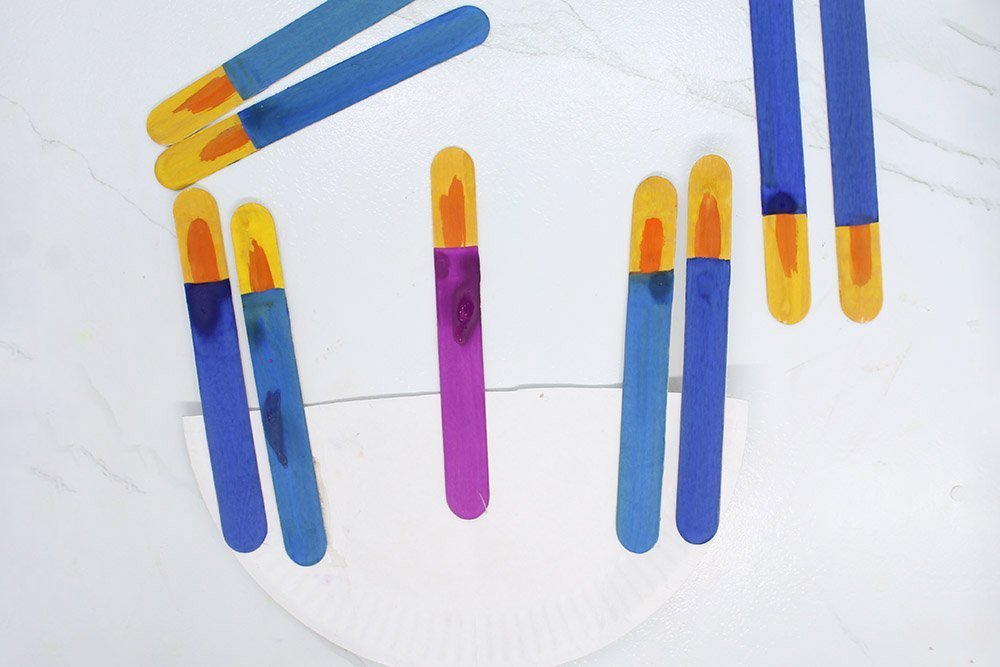
Then we would glue the next four candles. From right to left, dark and light blue candles would alternate. But first you should arrange and finalize the placement of the candles.
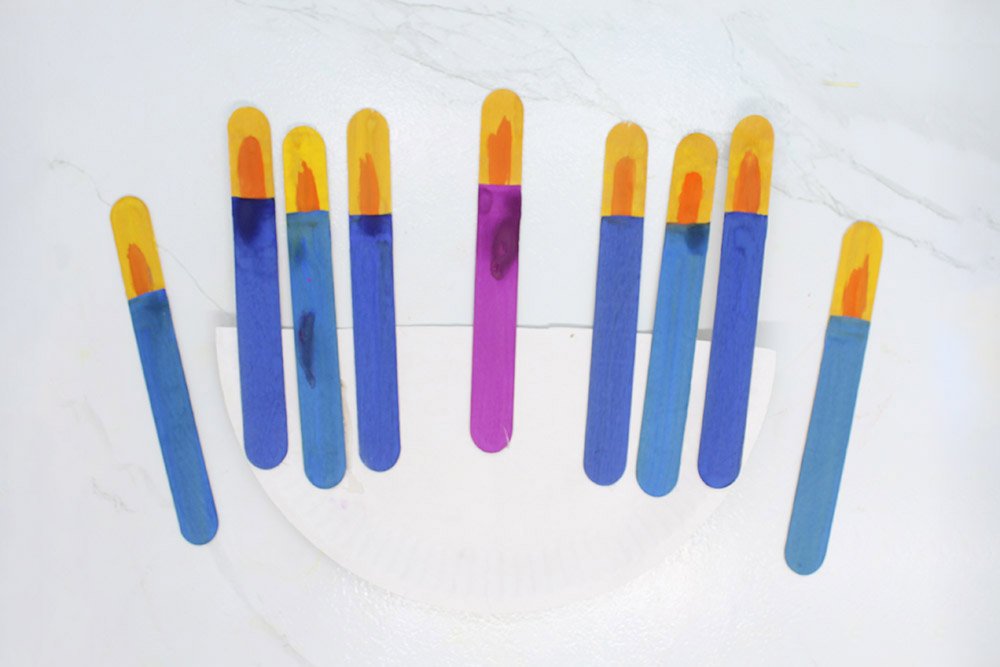
Glue the last four candles.

You are almost there! The next few steps will be easy.
Glue the Paper Plates Together to Form the Base of the Menorah
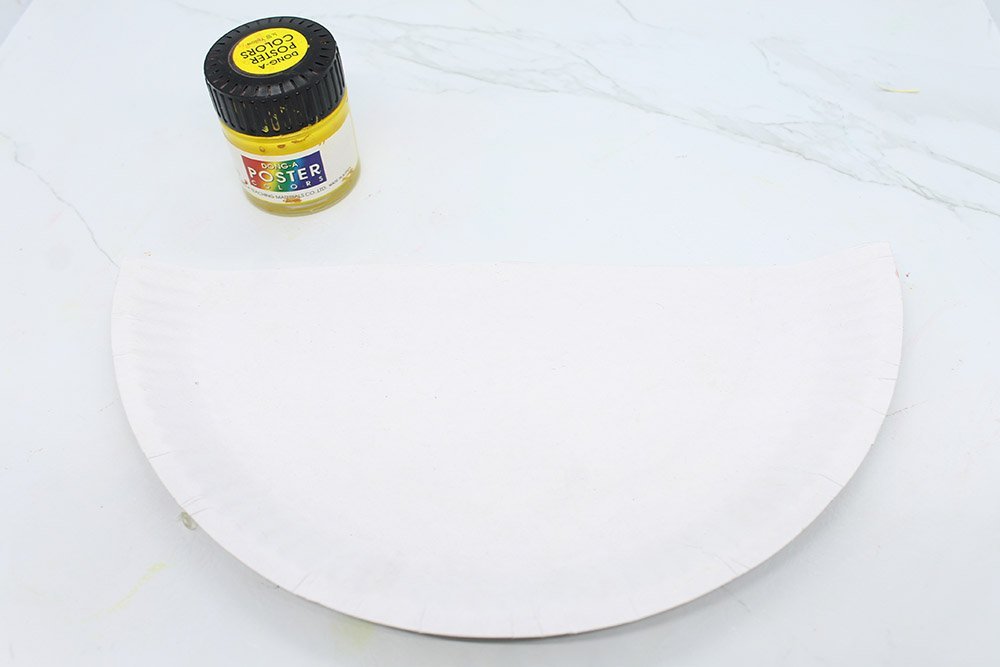
Get your yellow paint and get ready to paint again the other half.
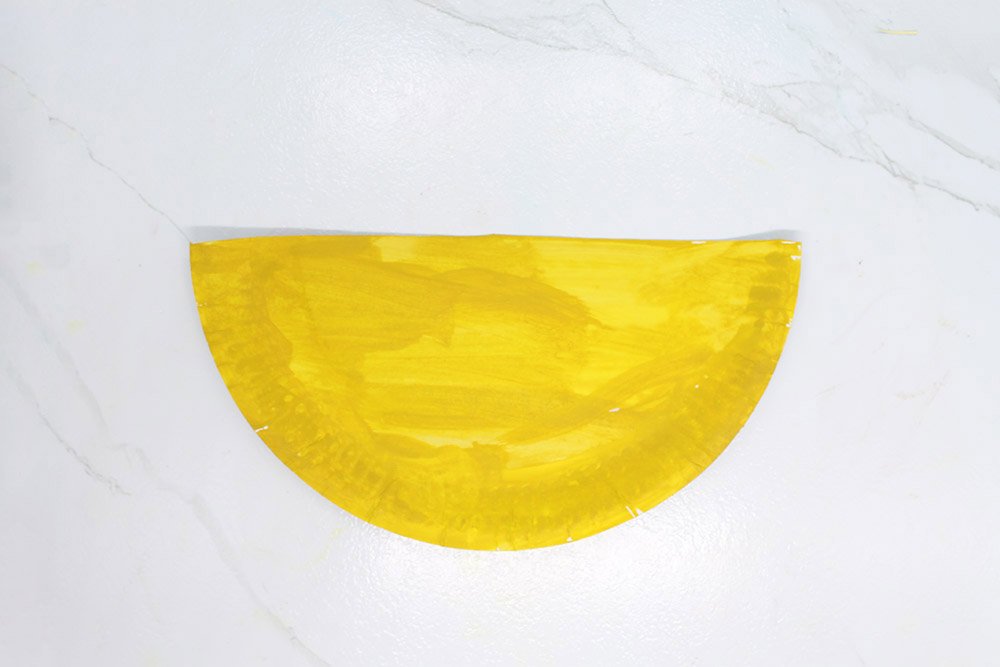
Paint the paper plate. Yellow is a nice and bright color. It resembles gold menorahs though other color paint might look better.
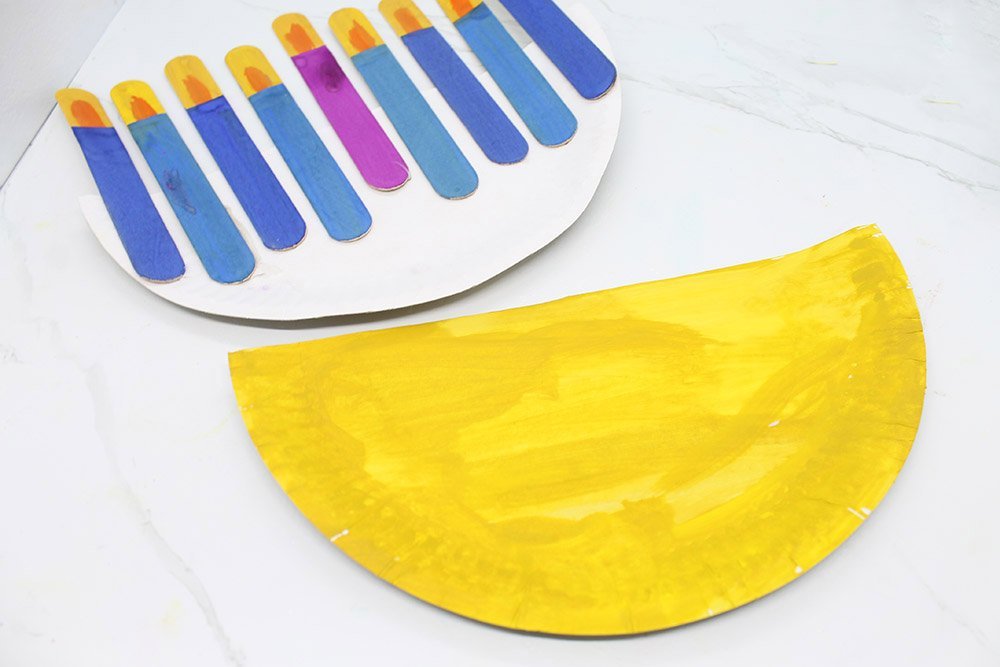
Get the other paper plate with the candles.
And use glue to attach the two paper plates together.
Add details and A String to the Paper Plate Menorah
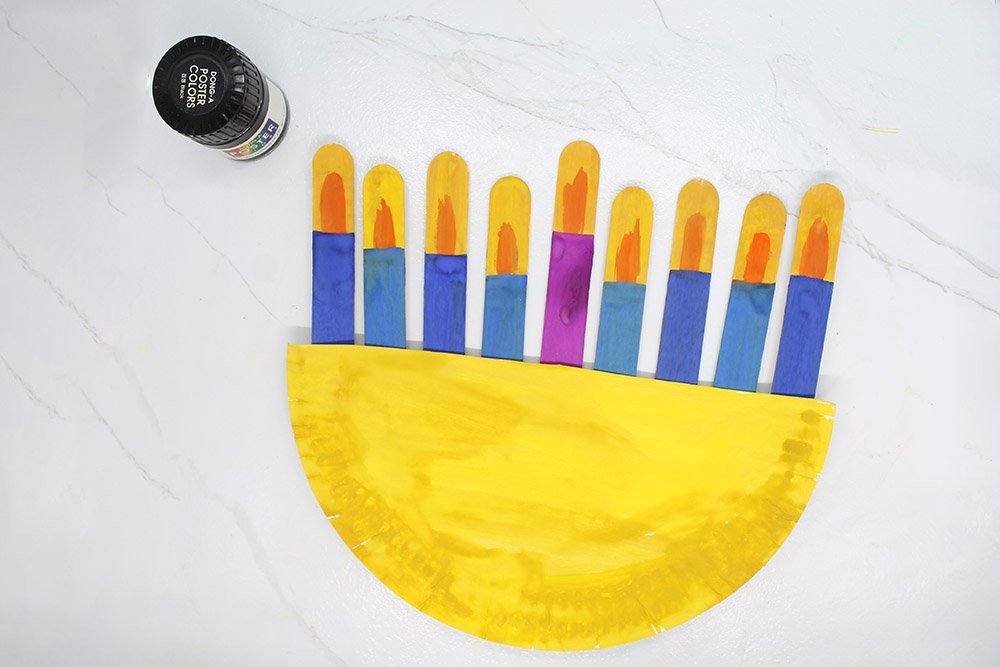
Our last paint job involves black paint. Making horizontal semi-circles adds necessary details to the menorah.
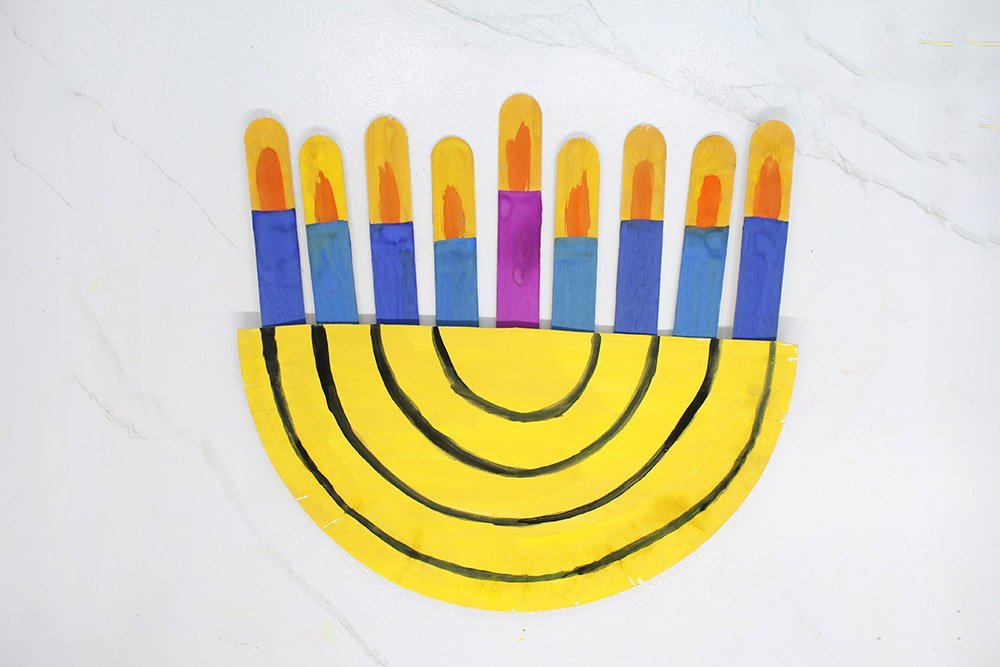
Make bigger and bigger semicircles starting with a semi-circle that connects the two innermost light blue candles.

We want to attach strings to our menorah. Doing this, we can attach the paper plate menorah to a wall.
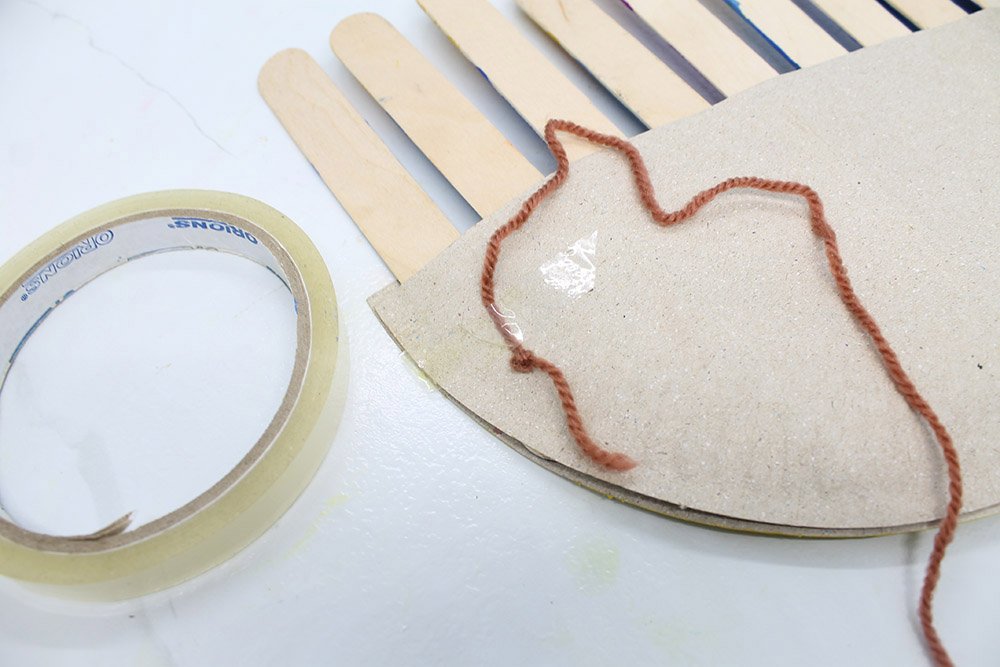
Attach the strings with the use of tape.
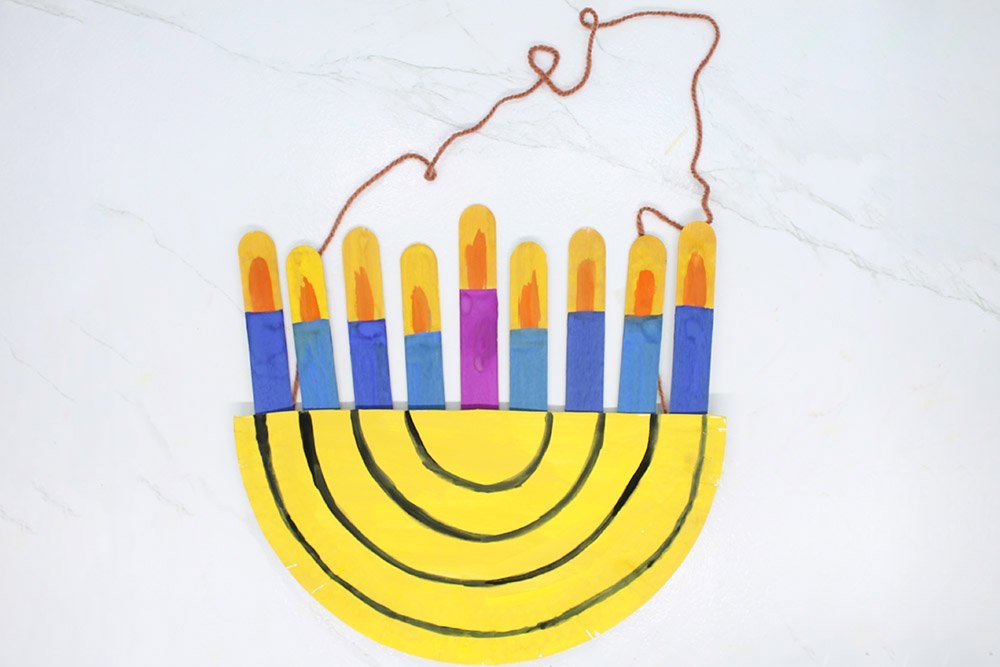
You have successfully made the menorah paper plate. Great job! We have other paper plate kids craft on our site- be sure to check them out.


My two kids fight sometimes. so i make them do stuff together and art activities like this are one of those. they both made a paper plate menorah together and i think that helps
After making this for myself I made my first graders do this. Thank you DIY<3 t
Awesome craft guys
Mine looks pretty good, satisfied reader here so i gave this 5/5
It looks good already. But i would want the bottom part to look better 🙁