Lovely Paper Plate Seashell Craft | Done in 10 Min

Introduction
Hello, and welcome to our guide on how to make a paper plate seashell. This is an easy way to create a seashell craft with just the use of common art materials.
It’s bright, and even has a funny surprise for those who will open it.
The first thing to do is make the shapes. Then, we form the the pieces together and paint. Lastly, we put some finishing touches to complete the activity.
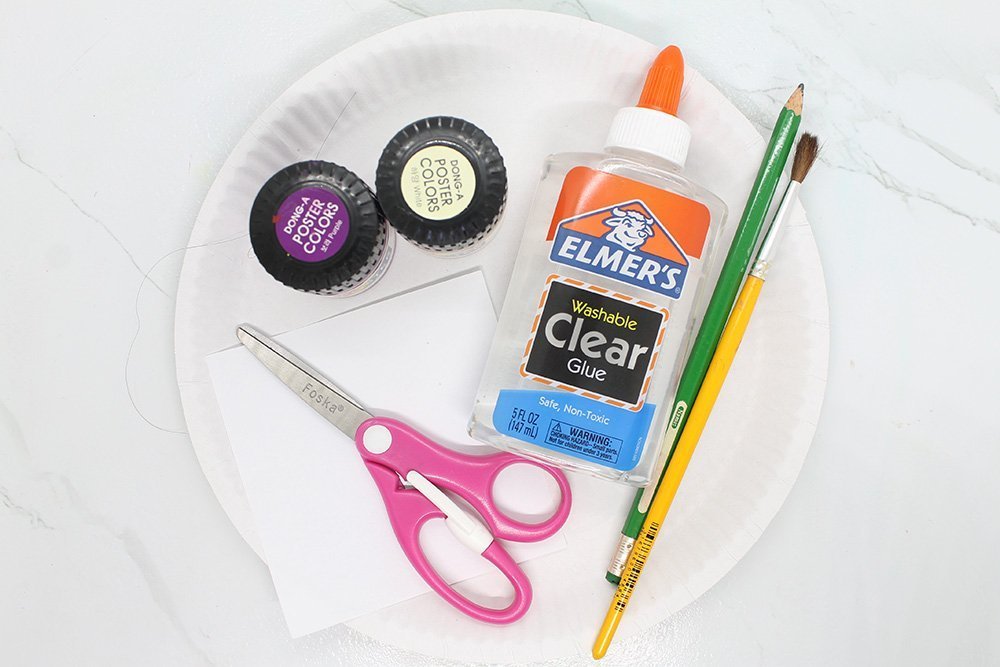
Tools
- Scissors
- Pencil
- Drawing Pen (Dark Violet)
Supplies
- Paper plate
- Poster color(Pink, Red, and White)
- Glue
- White paper
Use Scissors to Make the Different Parts of the Seashell Paper Plate
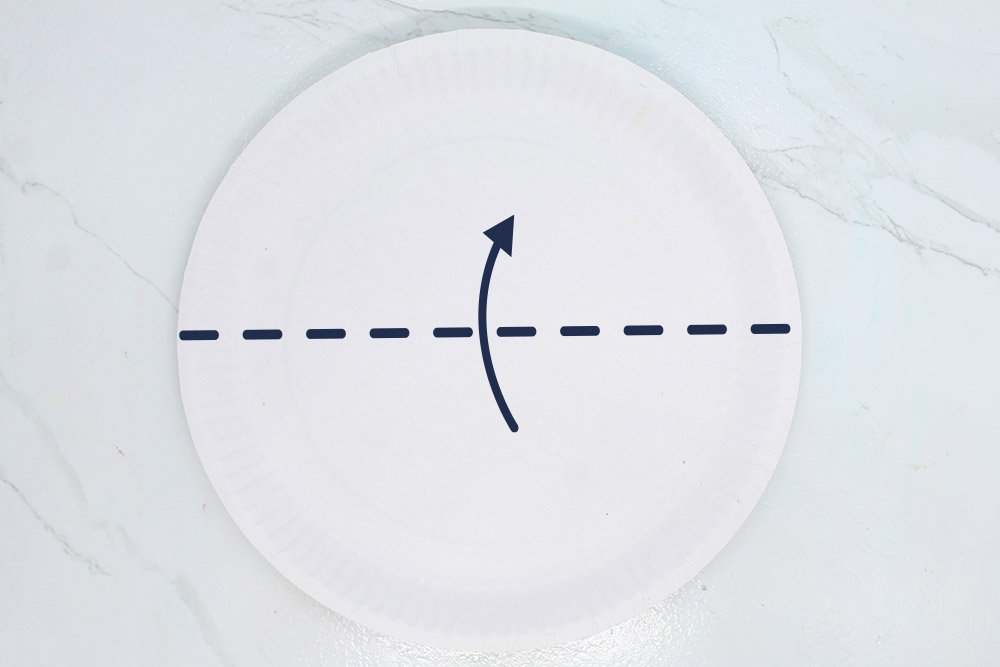
Fold the paper plate in half crosswise. Folding it lengthwise is alright as well. But make sure that the grey side of the paper would be exposed.
What's important is we get a straight center line that divides the paper plate in half.
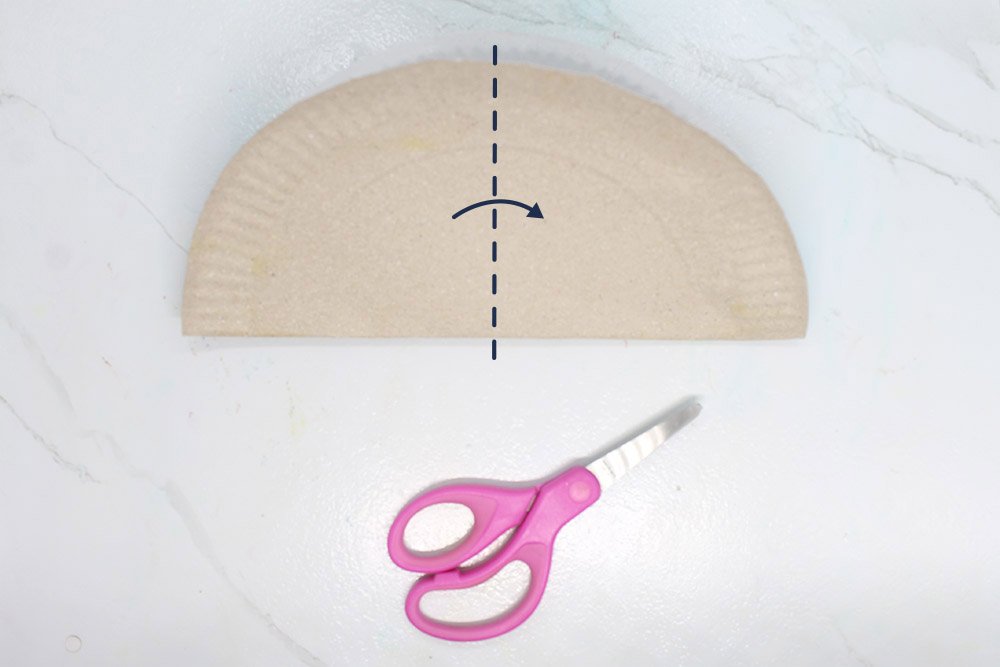
Fold it again. You might want to exert some pressure to fold it properly. The goal here is to create the body of the clam and symmetry is what you want to go for.
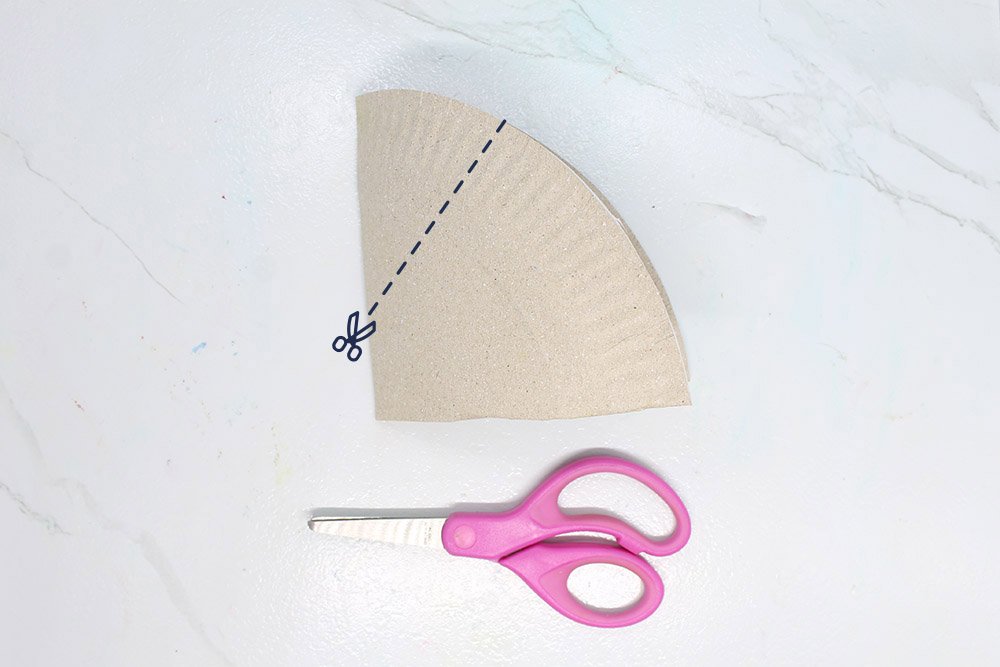
Cut diagonally as shown. One way to look at it is to cut from around one-third up the height of the vertical edge and proceed diagonally at an angle of 45 degrees.
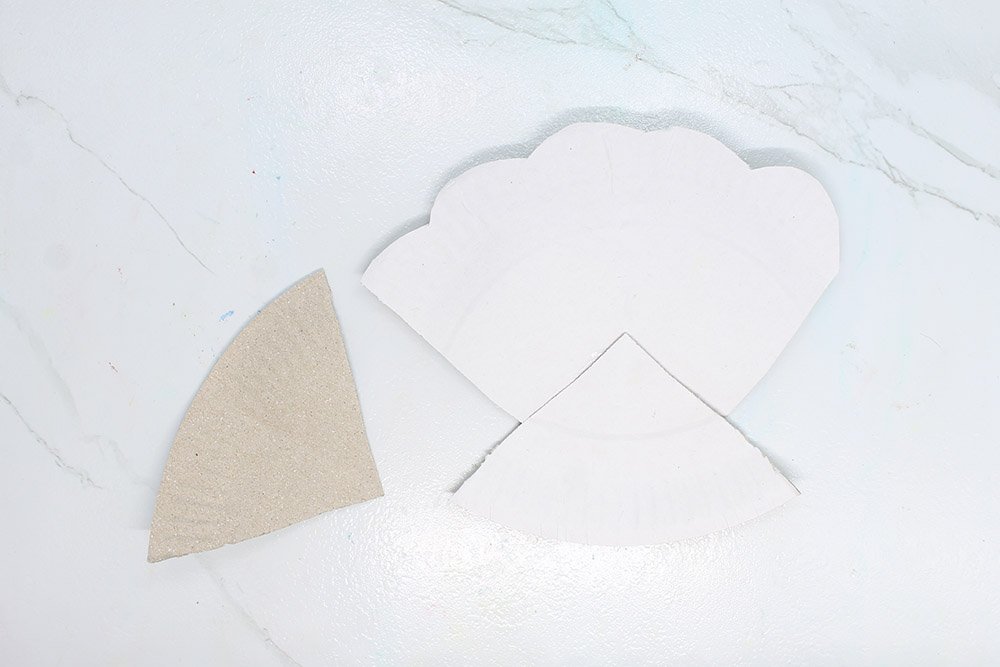
Now, you'll have two parts when you are done with this step. One is the body of the clam, and the other is supposed to be the beak(umbo) for all you bivalve enthusiasts out there.
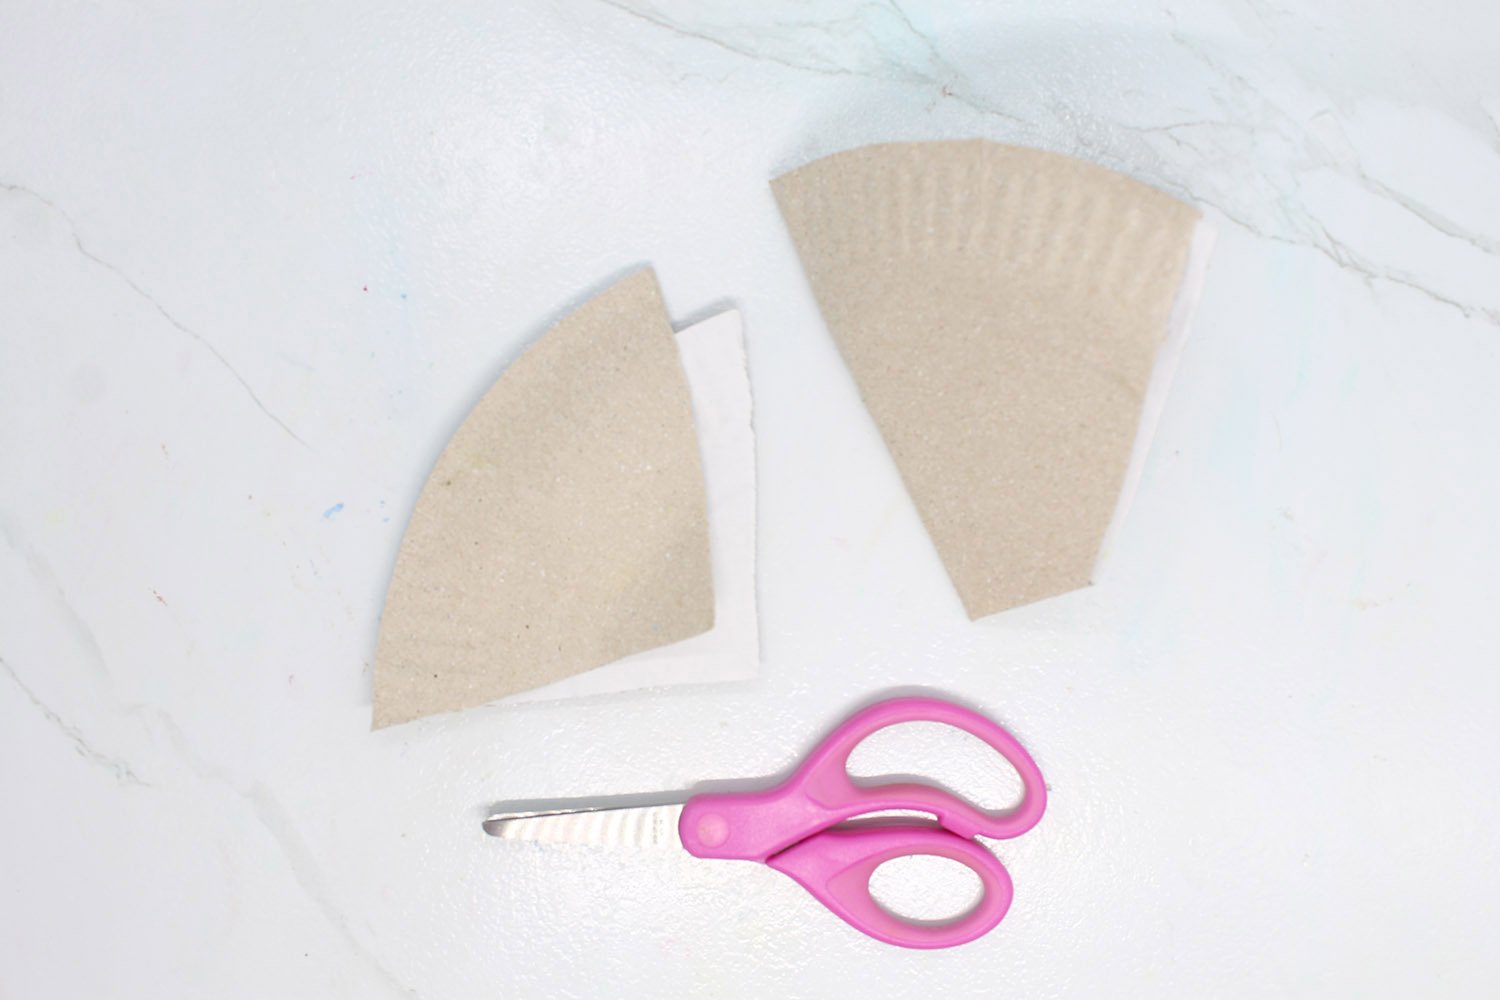
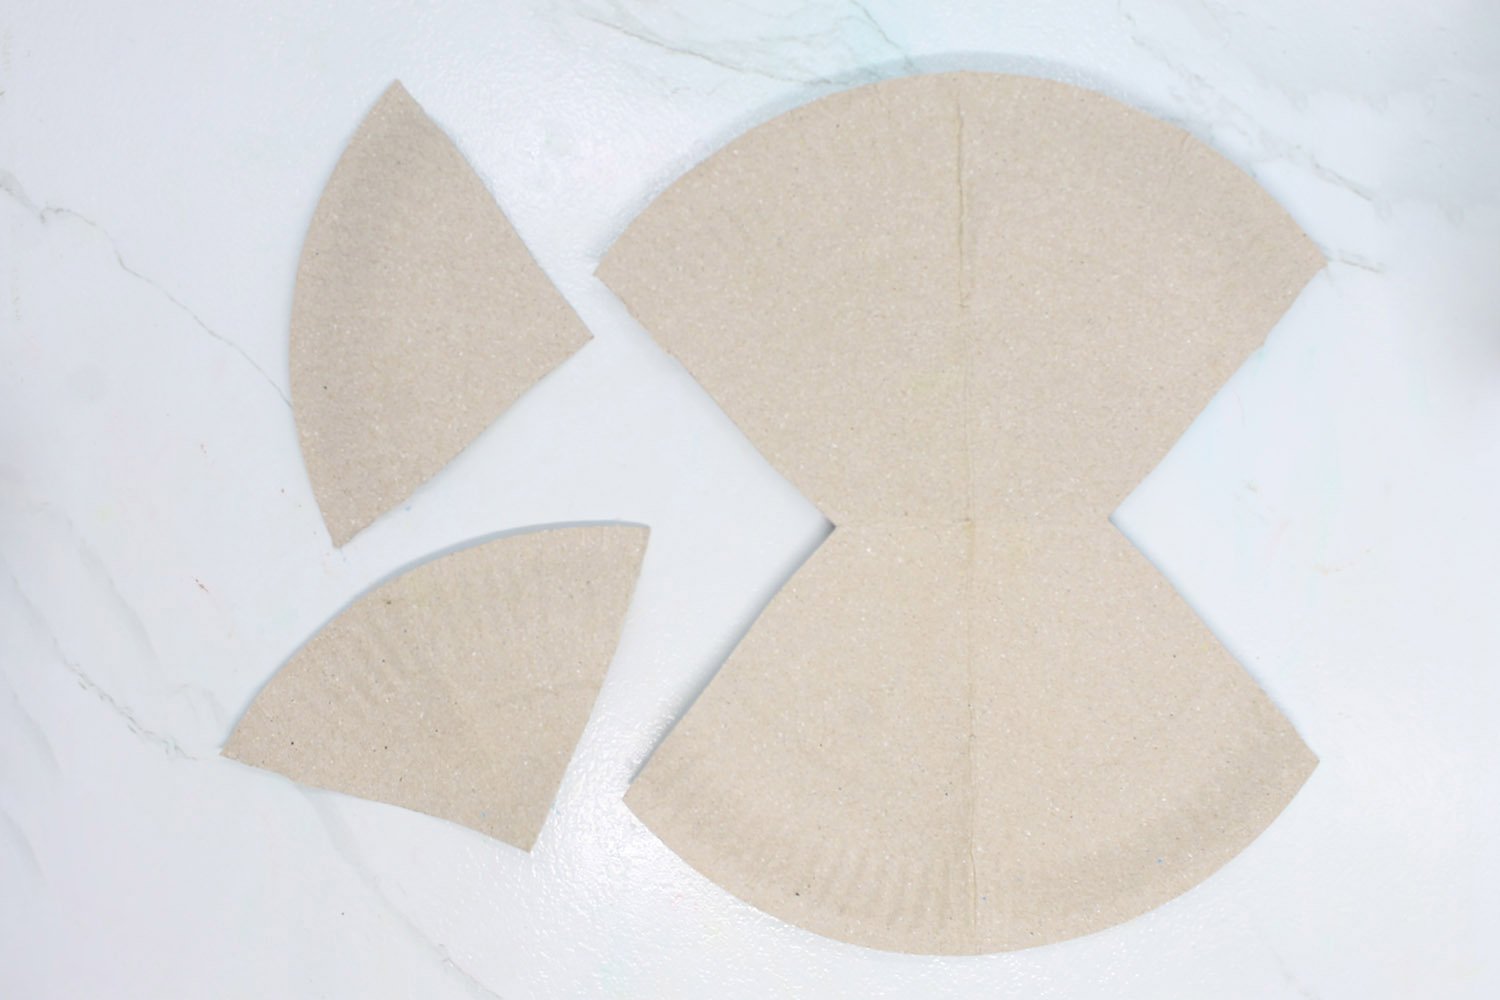
Good. You got the symmetrical parts down, and now it's time to cut the smaller piece again into two equal parts. You'll make a sector or a triangle with a curved bottom.
Unfold the bigger plate and flip it so that the white side will be facing you. Next, you would shape the paper plate so that it would look like a clam more.
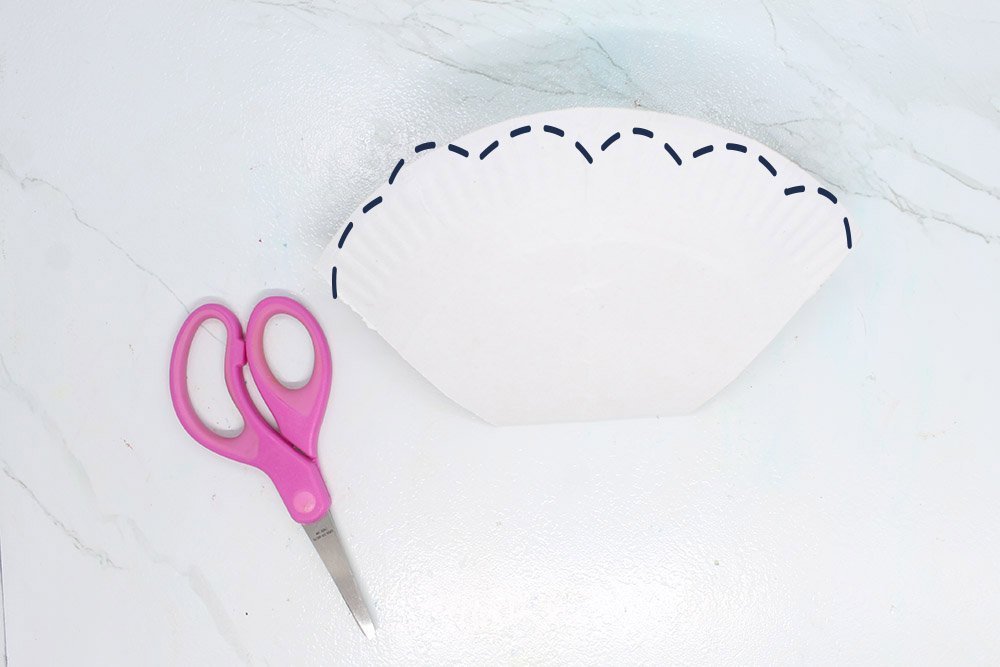
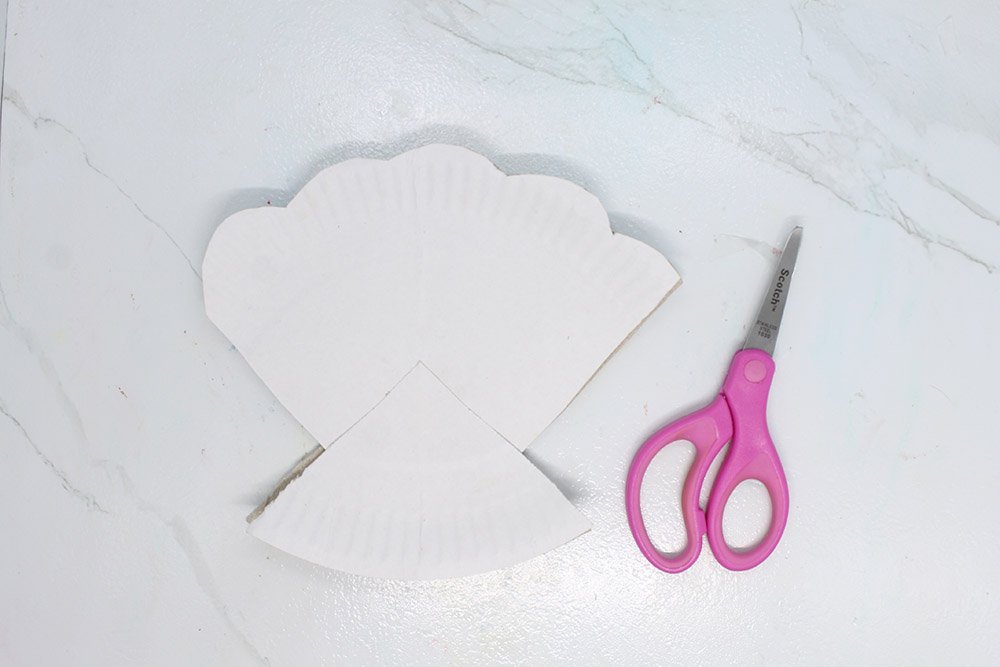
Trace and cut as shown in the image above. As an option, for all the little kids out there, you could let them draw and you could use the scissors.
It's safer this way. However, if you are confident enough you could draw and then let them do the cutting so that they will become better at using scissors. Anyways, you're almost there - keep it up!
Form the Final Shape of Seashell
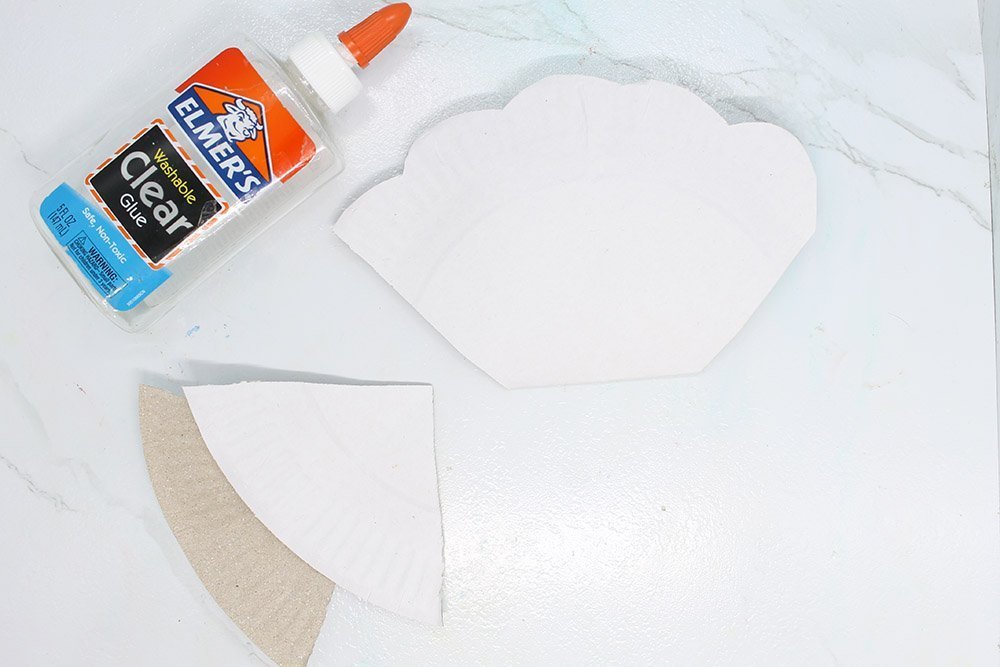
Prepare all the pieces. For this step, you are going to bring it all together.
Attach one triangle as shown to the bigger piece. The triangle will point towards the wavy edge of the bigger piece. Attaching this smaller piece will make the craft look better aesthetically.

Then, attach the other one at the back with the same process.
Get a scissor and prepare to make wavy lines at the bottom. At the left and right parts of the bottom, make them slightly curved. This has a nice compliment to the top part.
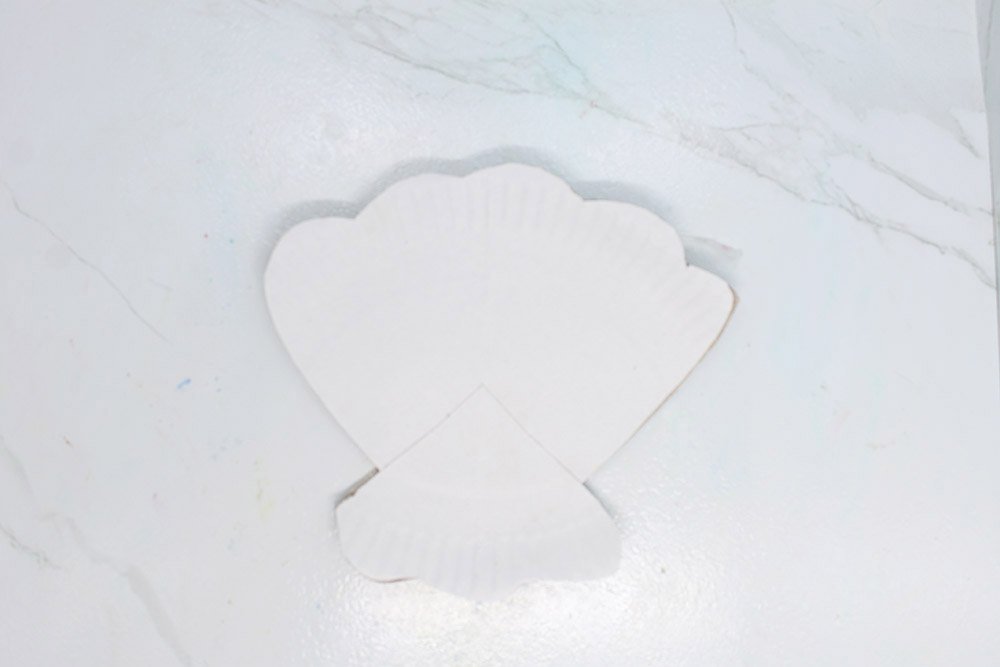
After cutting, your seashell paper plate should look like this. Great job! Now, if you love to paint you'll be ecstatic with this next step.
Paint the Paper Plate Seashells' Exterior and Interior
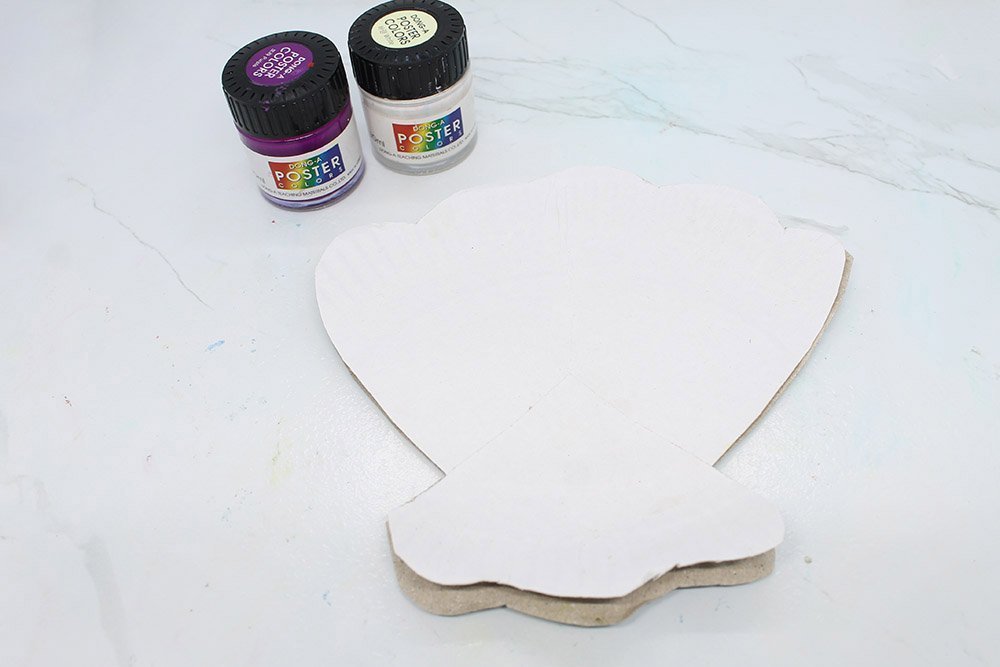
Ready your poster paint. In this example, the colors chosen were pink and purple. Purple and pink shells look wonderful by the way but there are many colors of shells. And whatever color you choose would be up to you! So, go for what will make you feel best.
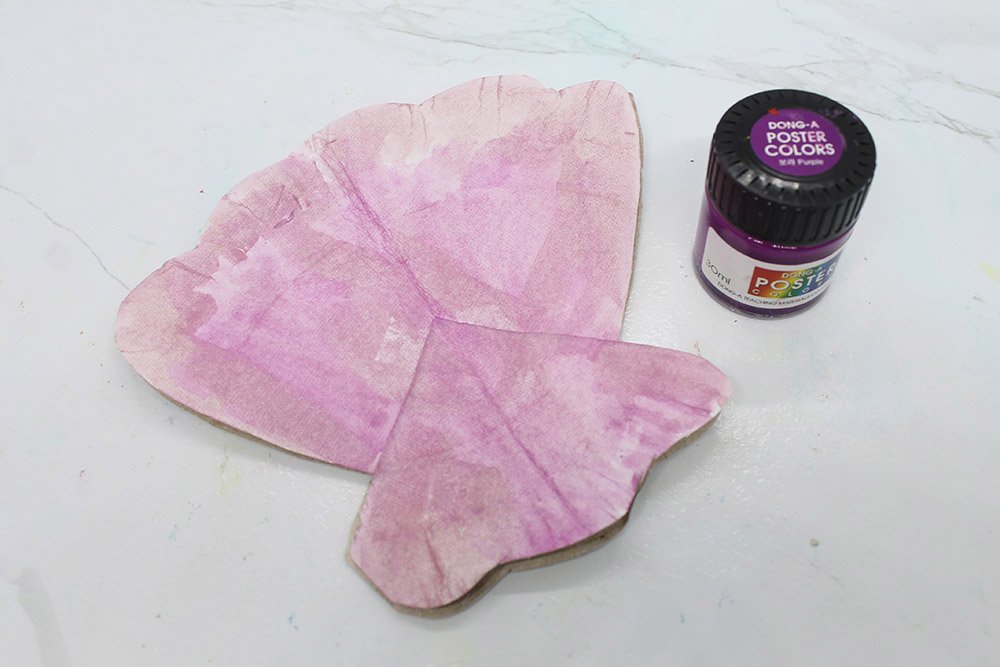
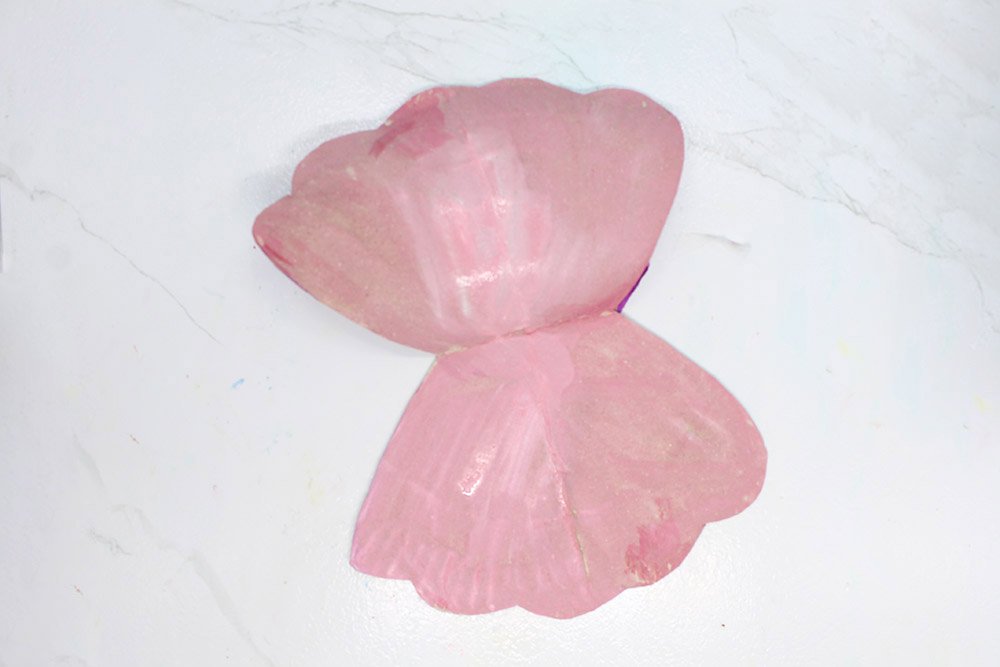
Paint the Exterior with purple and white paint(or the colors of your choice)to achieve a light purple color.
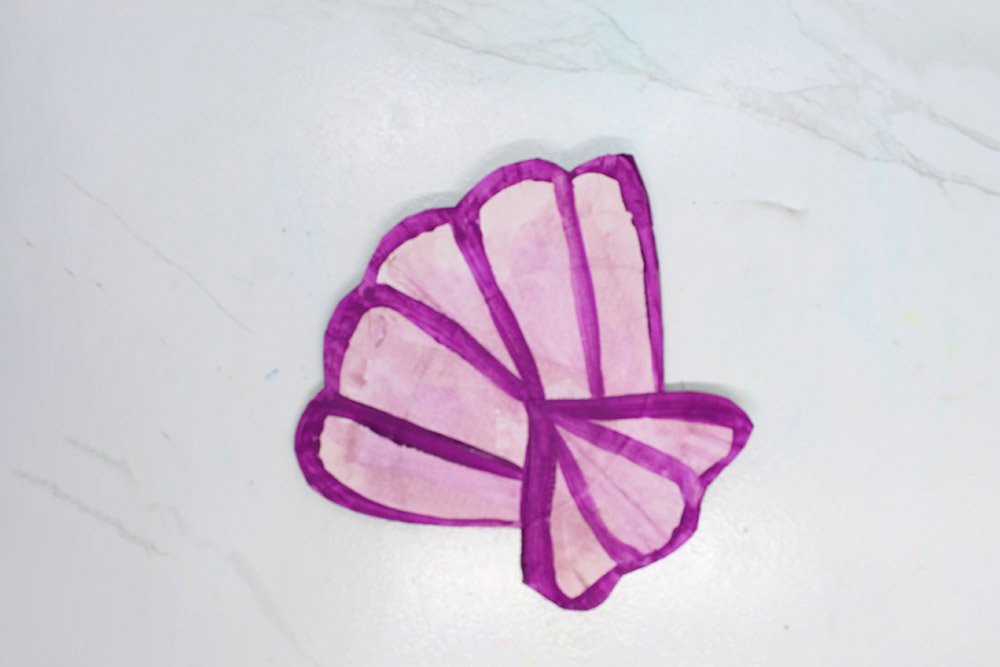
Use purple paint to make very bold lines to give the seashell a characteristic look. Think of straight lines being contrasted to wavy lines. Also, notice how the main color is pink yet the line color is a strong purple.
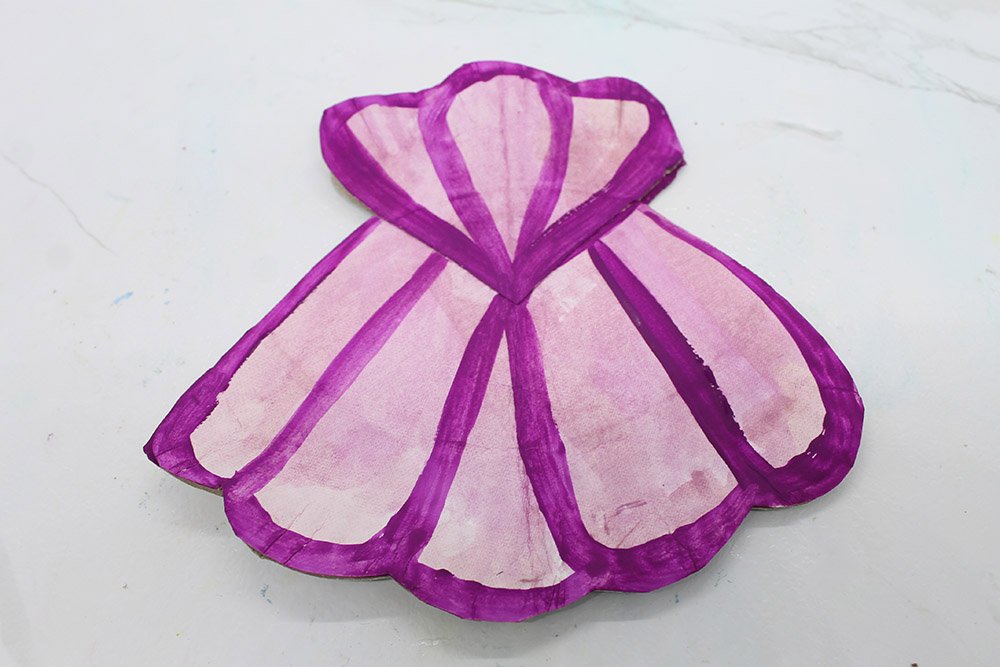
What you have right now is an almost complete work of art that's handmade and beautiful.
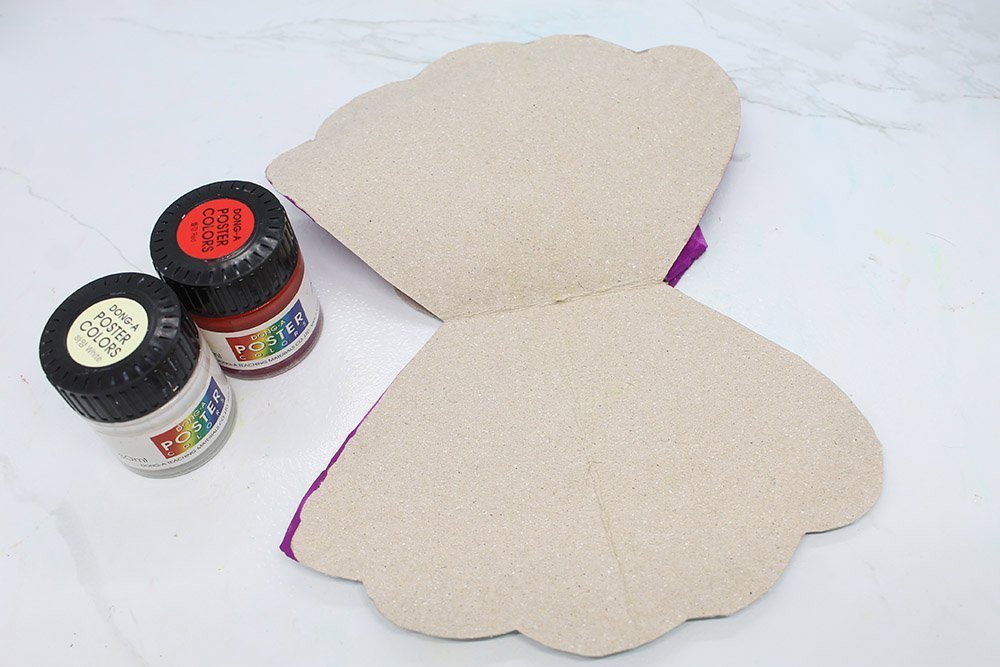
Open the shell. You would then paint the interior pink or again, the color of your choice. It would be great if the color combination is pleasing. Tip: Always paint evenly and make sure that the entire surface is painted.
Awesome. Do you know what would make this paper plate seashell pop even more? A lovely note that will make your loved one smile.
Finish the Bivalve Creature
We just need a few more things to do.

Cut a circle out of the white paper.
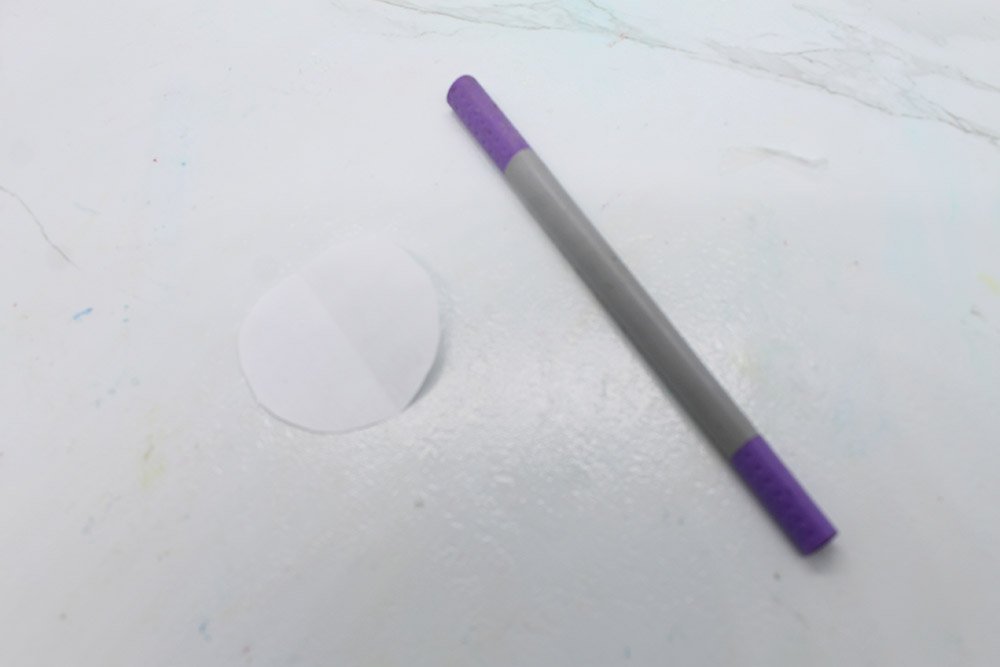
Get a purple-colored pen. Other colors are alright though.
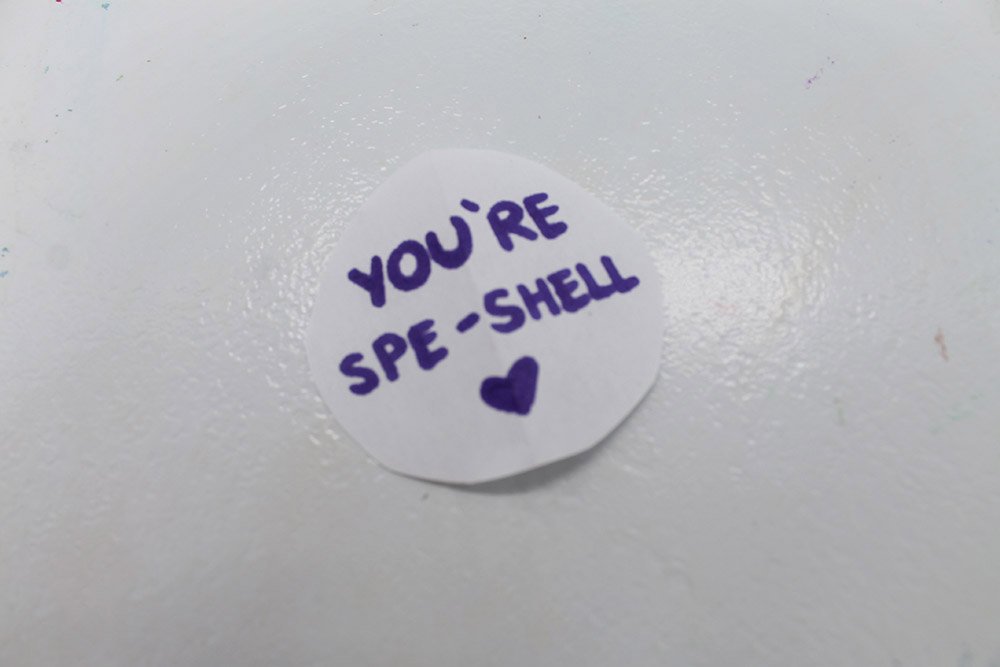
Write this pun. This is the bonus we were talking about. It should put a smile on whoever reads it. Of course, the message can be anything as long as it's not too long!
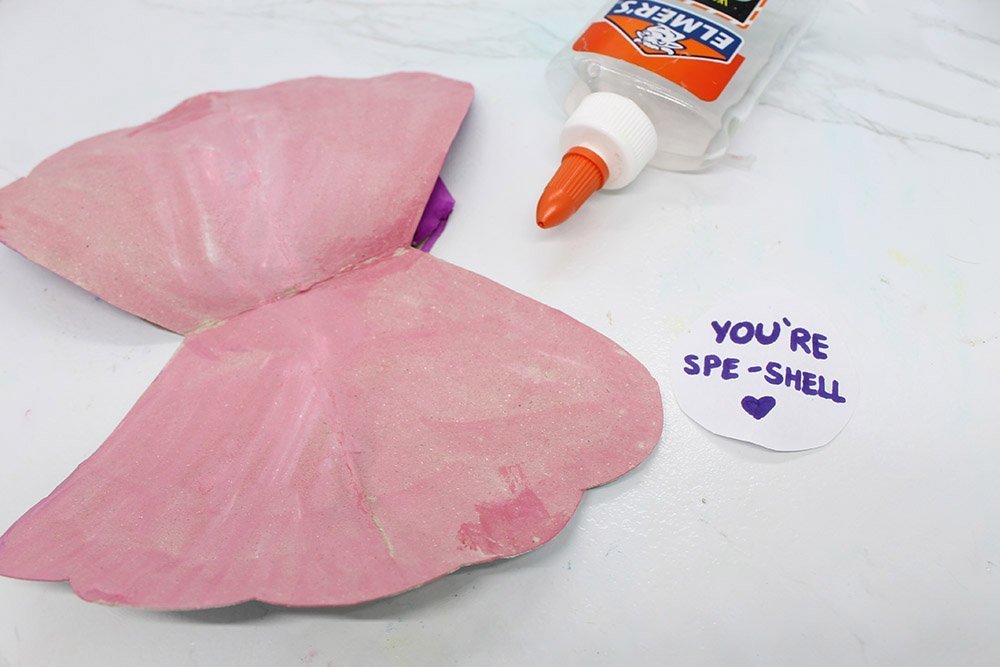
Glue the the circle into one side of the clam.
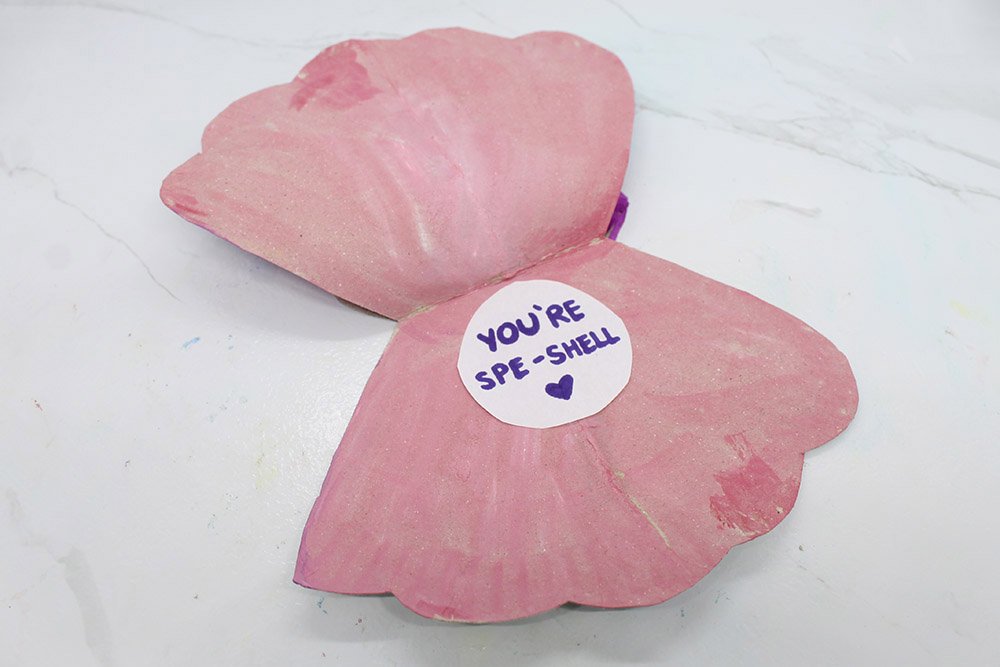
And you are done. Congratulations on making this seashell. Present this to a friend or family. You could even display it in your room. If you've found this DIY craft pleasing to make, please check some of our other guides! We are constantly making new DIY guides.
Also, if you have any questions or if you liked something in particular about this craft please drop a comment down below


I love the idea of writing a note in there. It’s as if not’s not sweet enough <3
Great job!! Looking forward to making your other crafts
I kept the note my ma gave me in paper plate seashell
Easy to read, and fast to make. Thanks DIY
There was a lot of painting in this instruction – i like that a lot
my fav part was trying to find a cheezy pun ahhaa 🙂