
Introduction
Create this super cute paper plate turtle using our downloadable printable sheet. What’s super cool about this paper plate crafts is that the arm and legs of the turtle move when you pull the attached string at the bottom end of the turtle. Learn how to make this 3D turtle by following the instruction below. Happy Crafting!
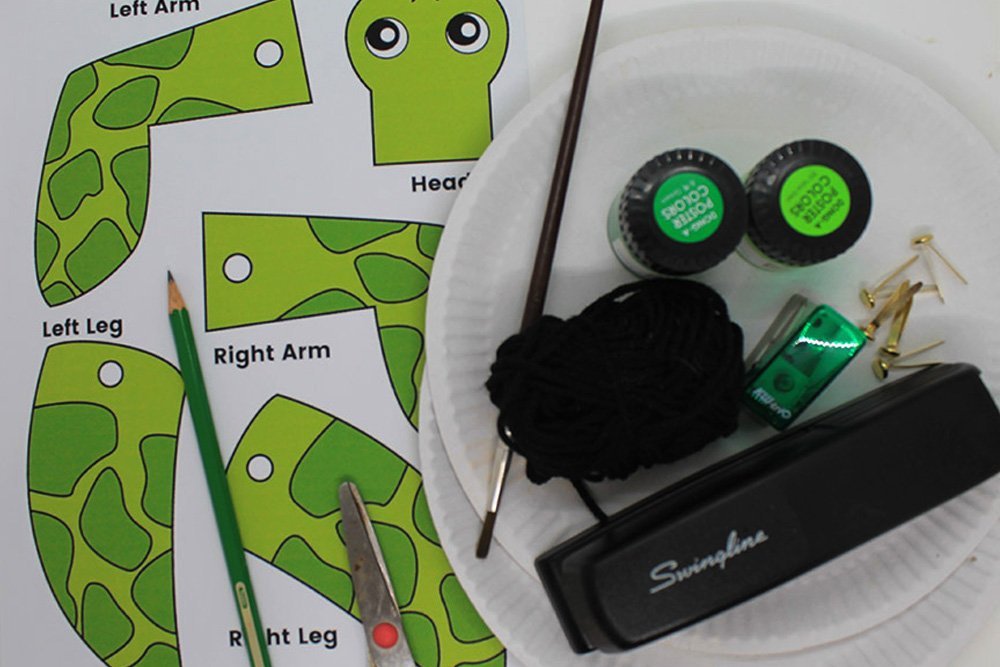
Tools
- Scissors
- Stapler
- Pencil
- Paintbrush
- Puncher
Supplies
- 2 pieces Paper Plate
- Green and Light Green Poster Paint
- String/Yarn
- Split Pins / Split Rivets
- Printable Turtle printed on thick/cardboard paper.
Download Area
Download TemplateMake the 3D turtle shell using a paper plate
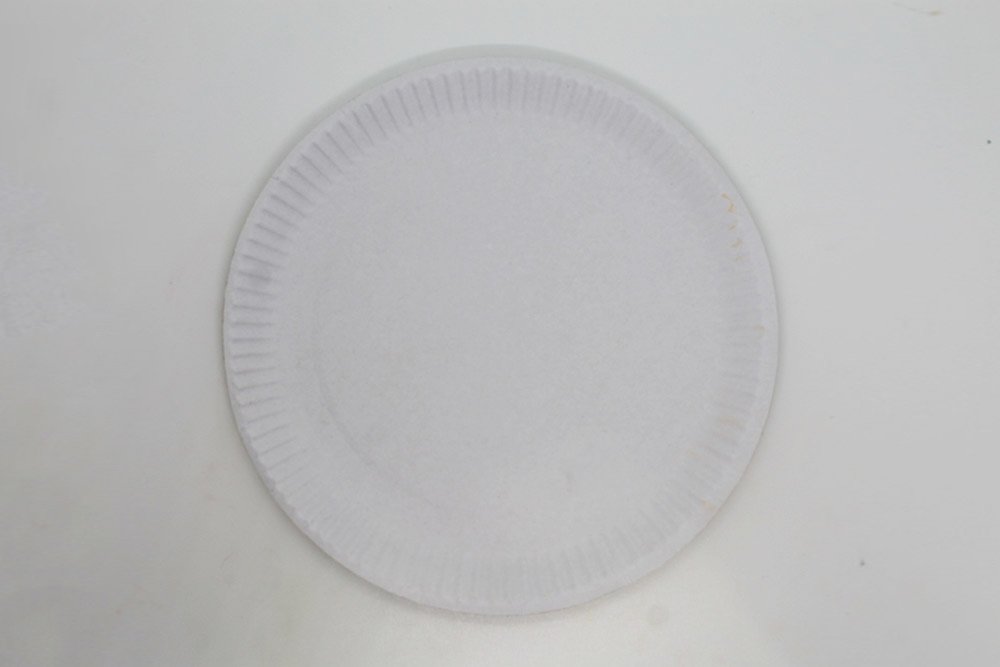
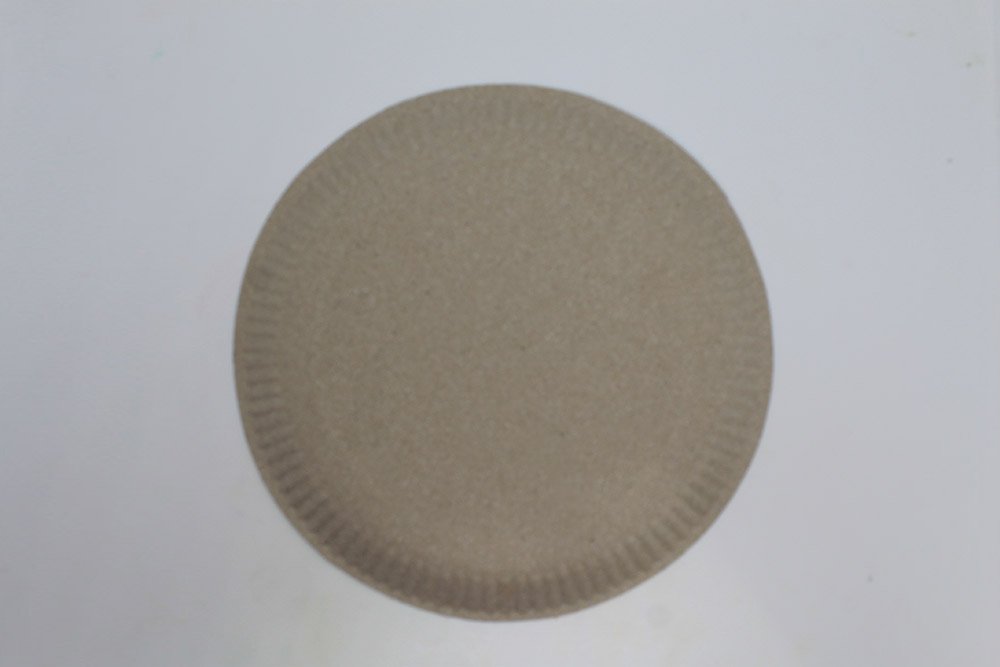
Get a paper and flip it to the other side. The outer part of the shell will be the white part which is why you need to flip it.
Fold the paper plate horizontally and vertically in half.
Fold it in vertically in half again.
Crease it well and unfold.
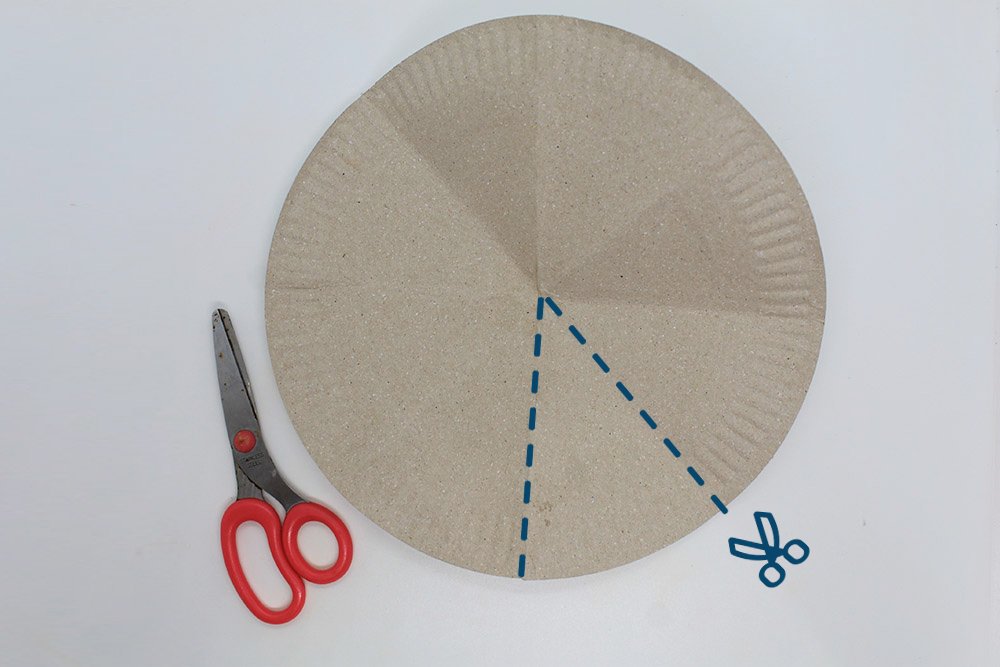
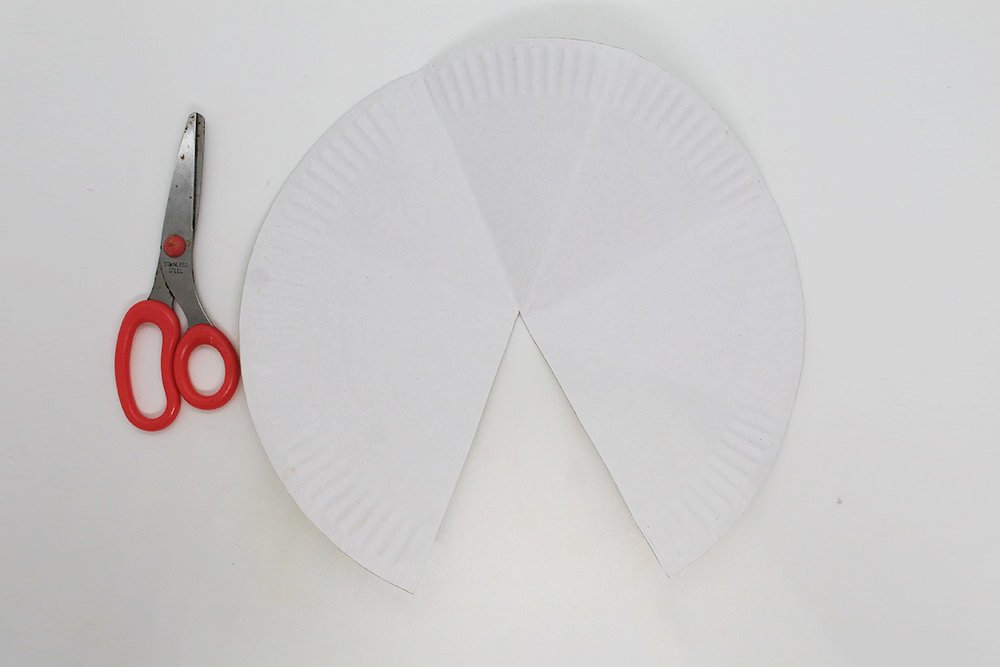
The paper plate is now divided into 8 parts because of the crease marks made. Cut 1/8 of the paper plate as illustrated in the picture above.
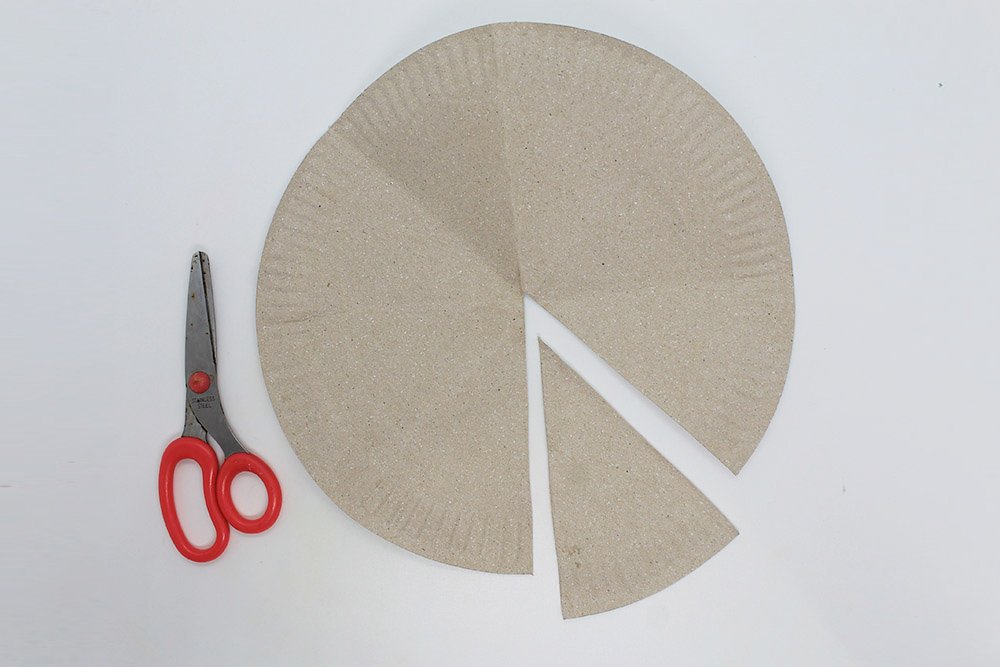
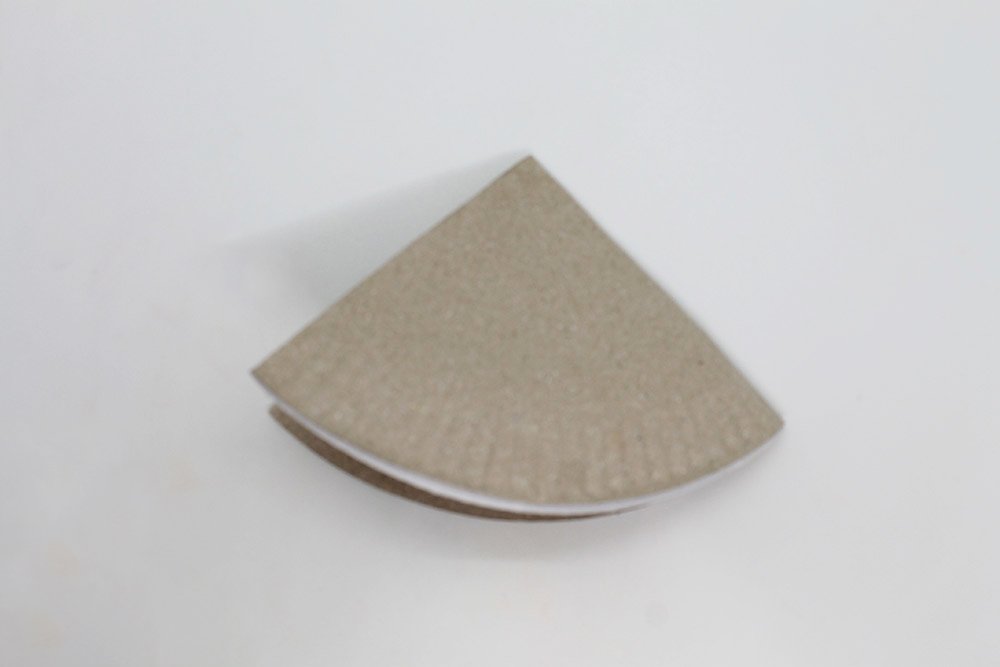
Once cut, it should look like this (kind of looks like you’re getting a slice of pizza). Flip it over to the other side.
To form the shell. Mold the paper plate into a cone.
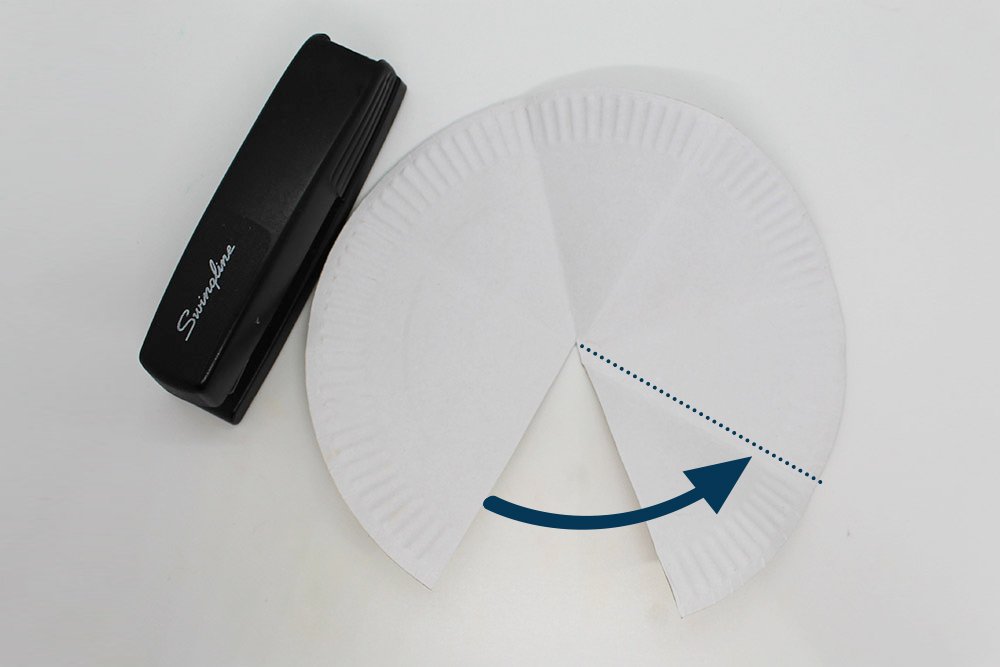
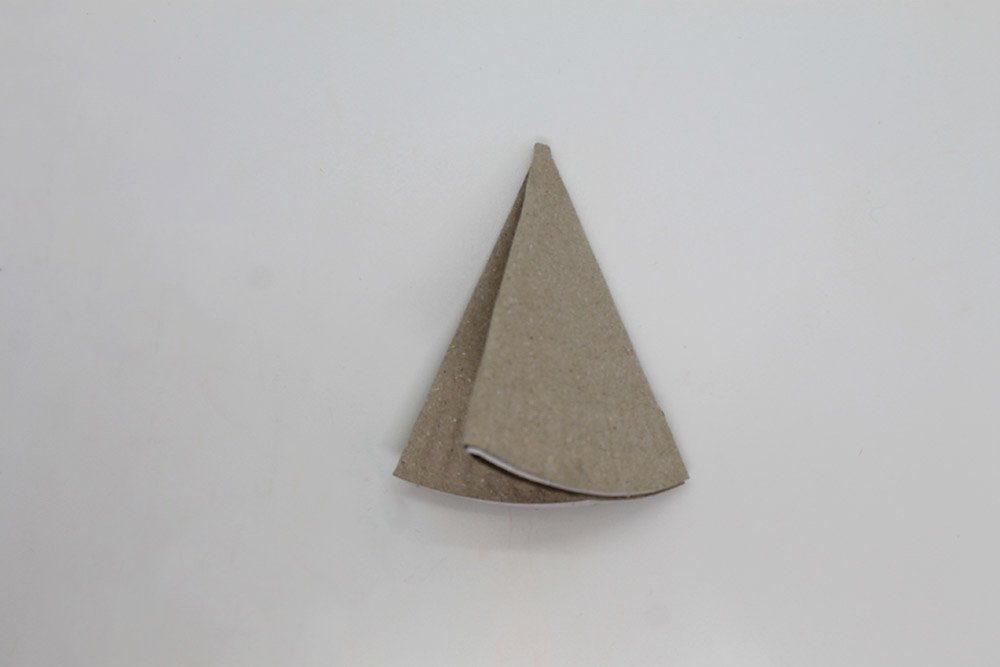
Bring the left edge to the crease line (dotted line) near the right edge to mold it into a cone.
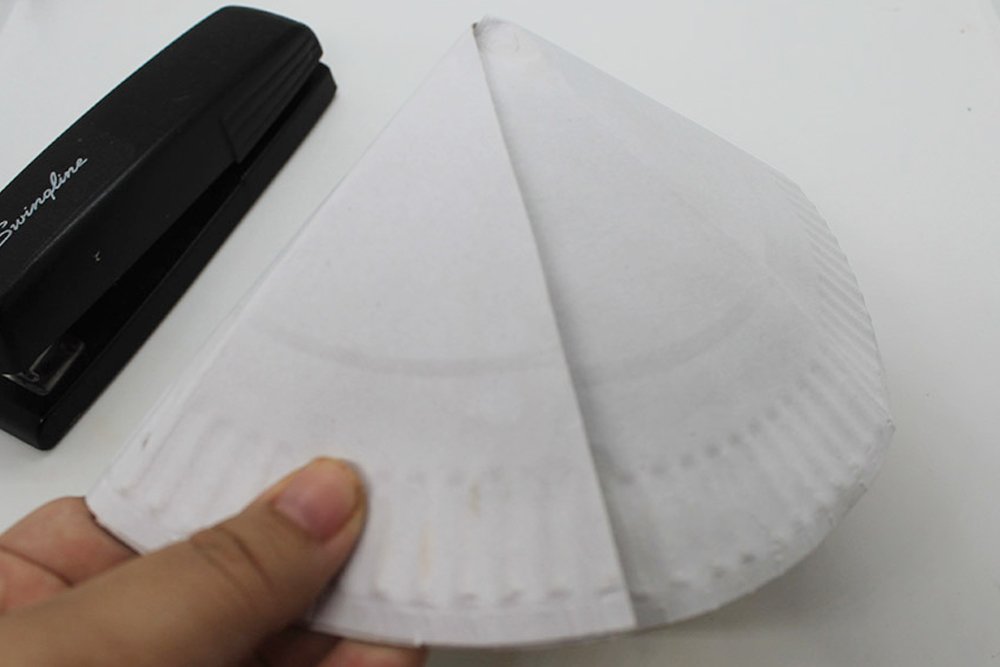
Hold it firmly in place and secure it with a stapler.
You may use glue, but it will take a while to dry and keep it in place completely.
Decorate the shell of the paper plate turtle
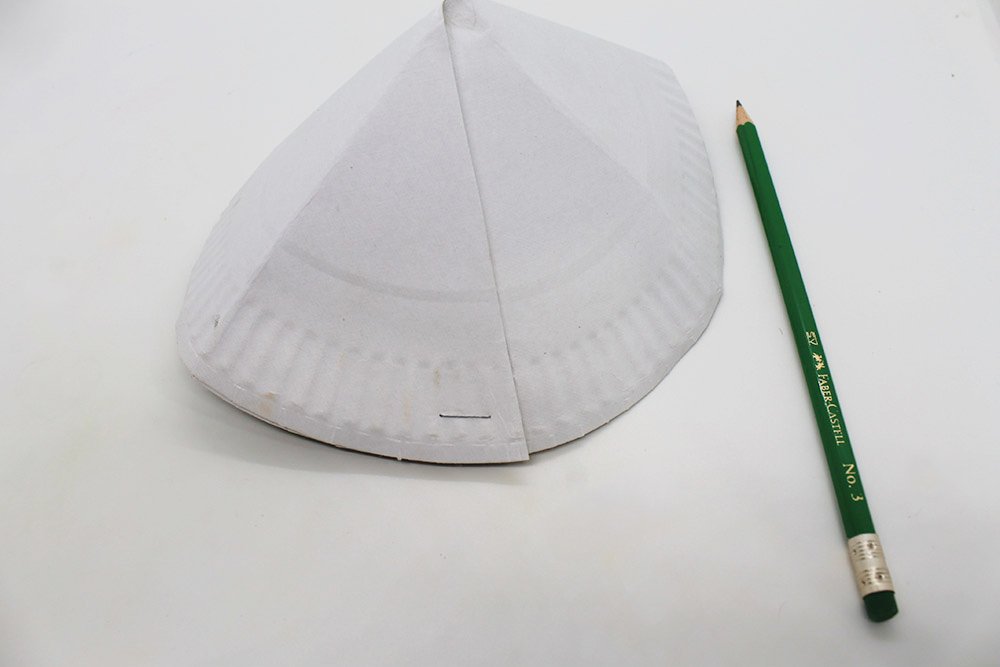
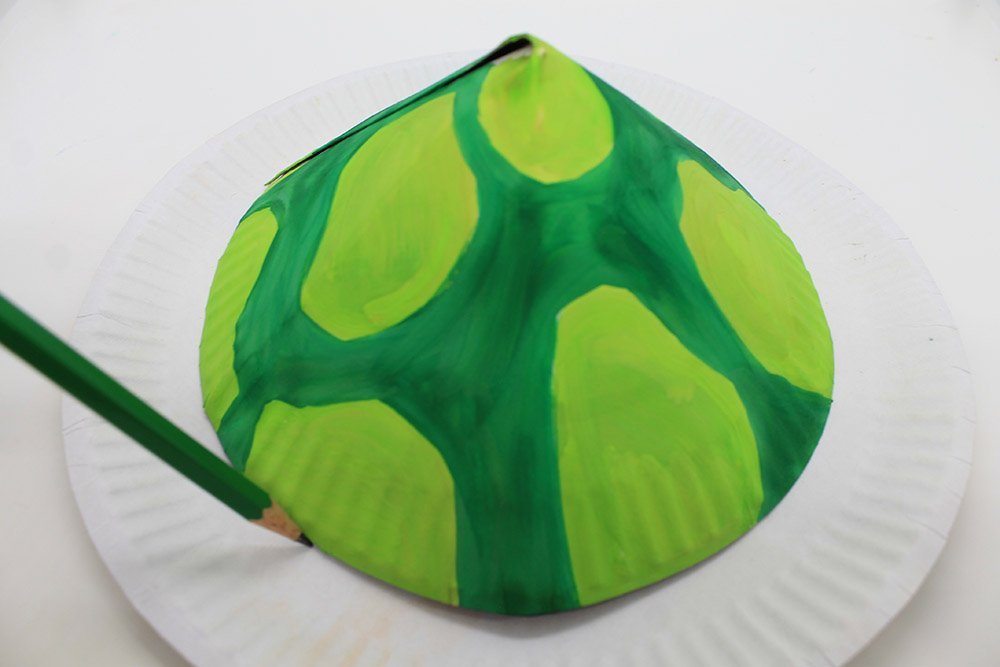
With a pencil, draw some patterns on the turtle shell.
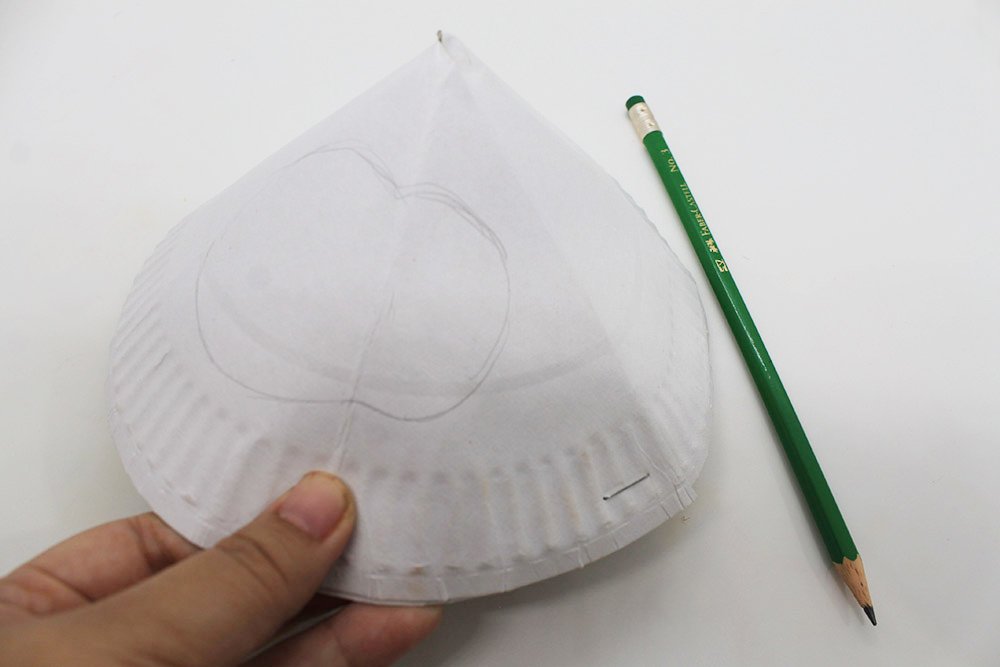
Any shell pattern is fine, or you may copy the one that we made.
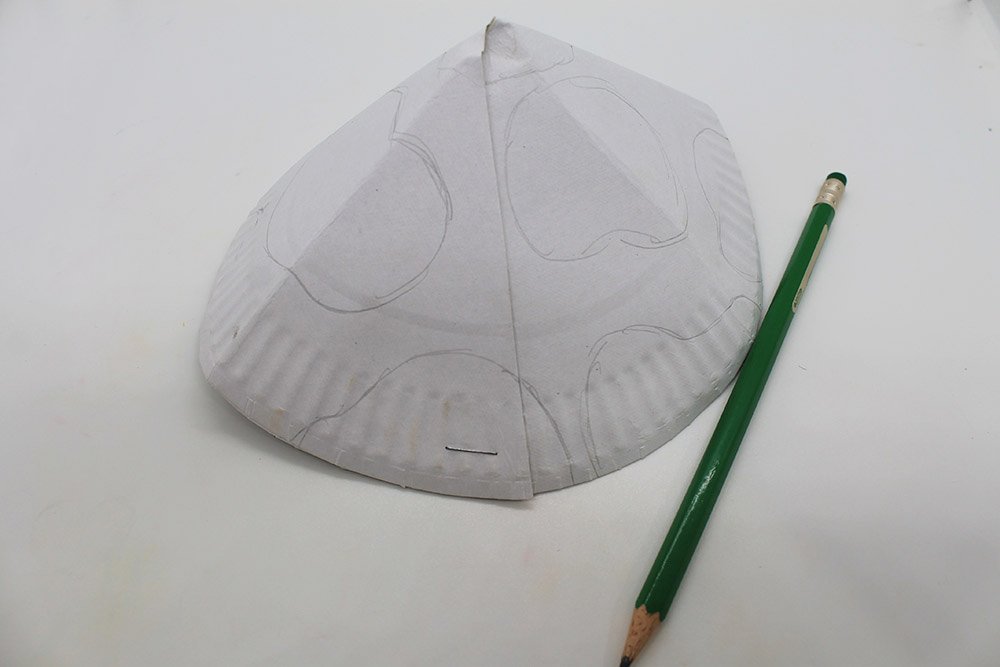
Cover the whole shell with patterns.
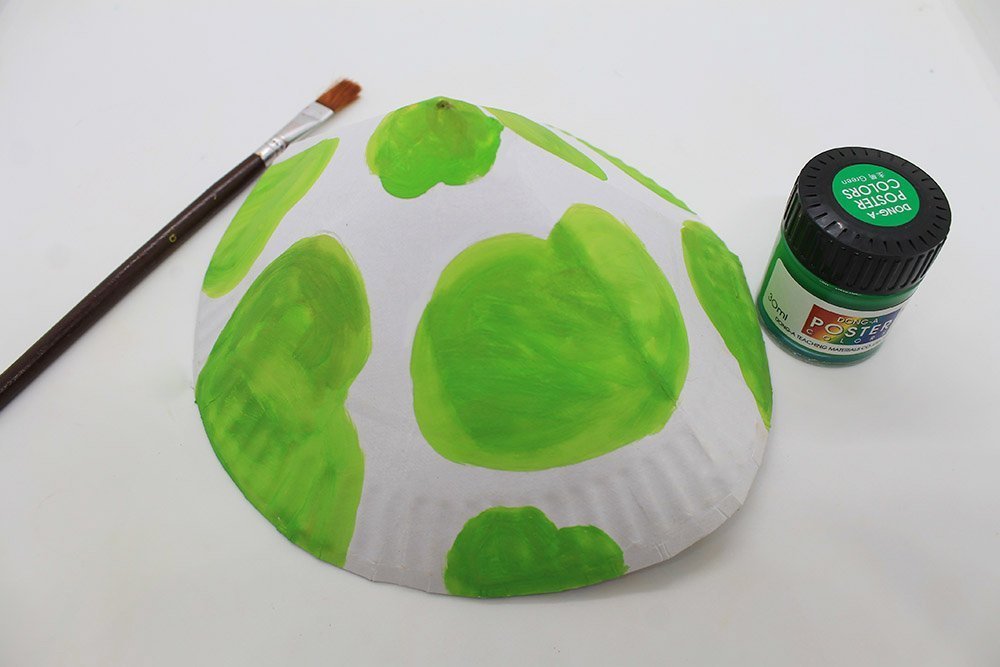
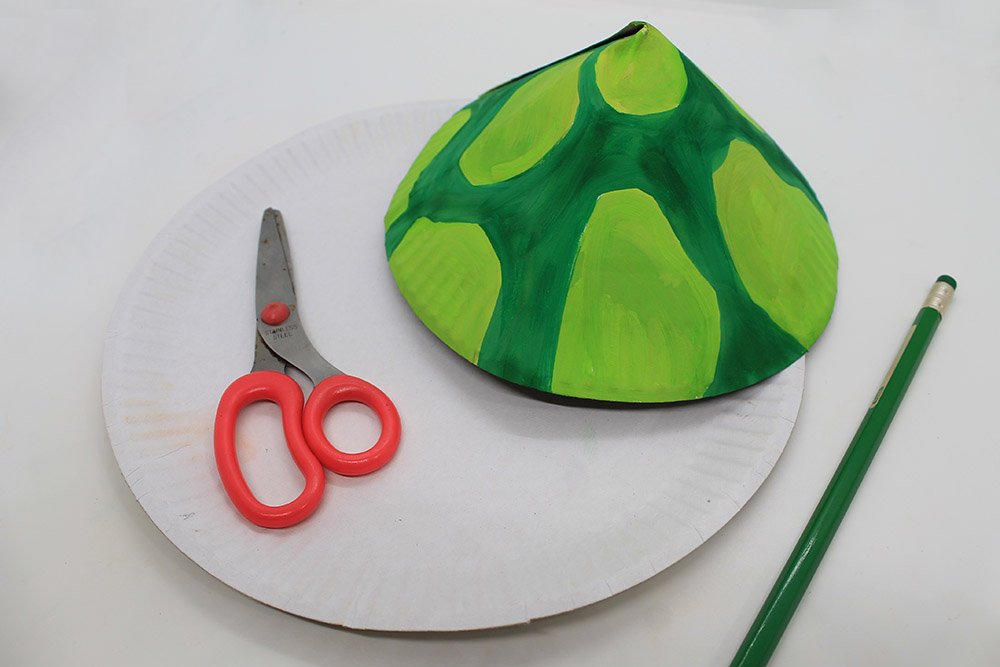
Time to paint! We used light green paint for the main details of the turtle shell.
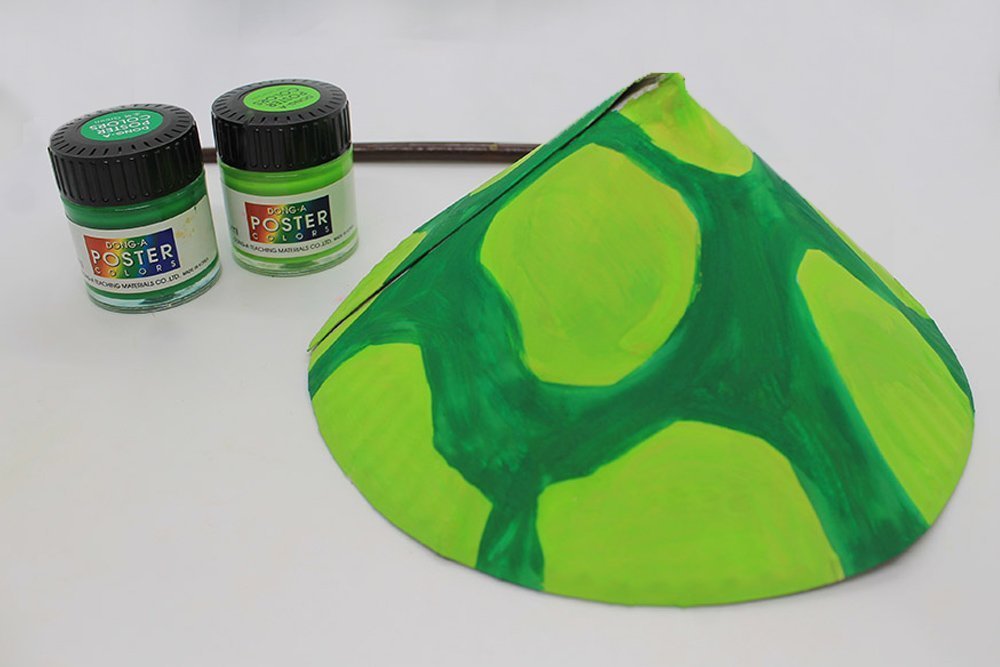
To finish off, we used green paint to color the background.
It’s up to you how you want to decorate the turtle’s shell. Get creative and color the turtle however you like!
Prepare the printable
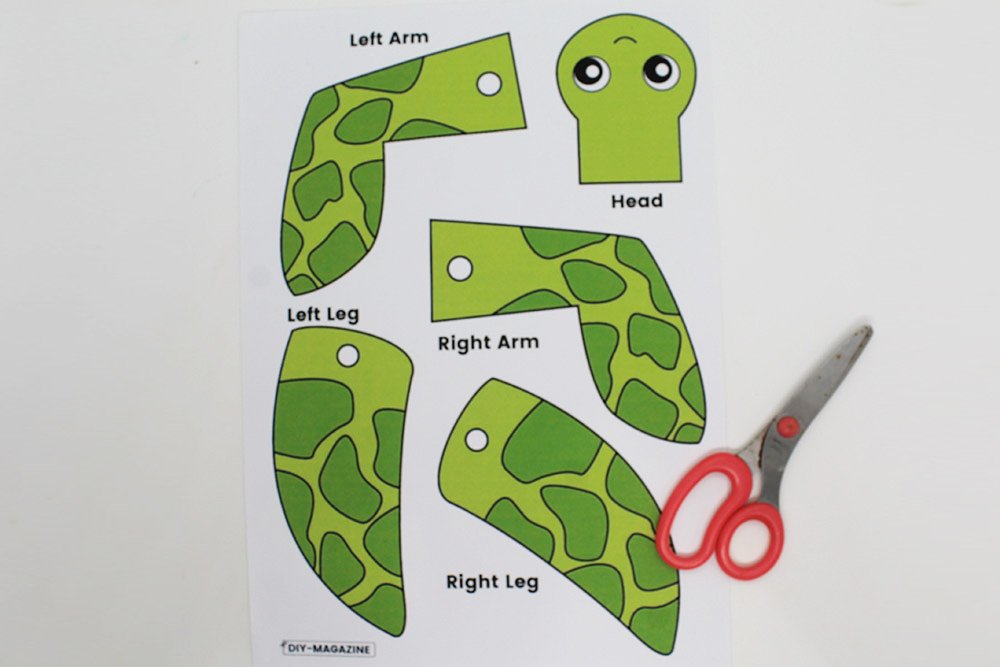
To make the arms, legs, and head, print and cut the printable that you can download above. Please print this on a thick piece of paper. The arms and legs need to be durable enough to withstand being pulled.
We have also prepared a free downloadable coloring sheet for kids to color.
See the white circle on each arm and leg. This is where you’ll need to make a hole for it to become a puppet.
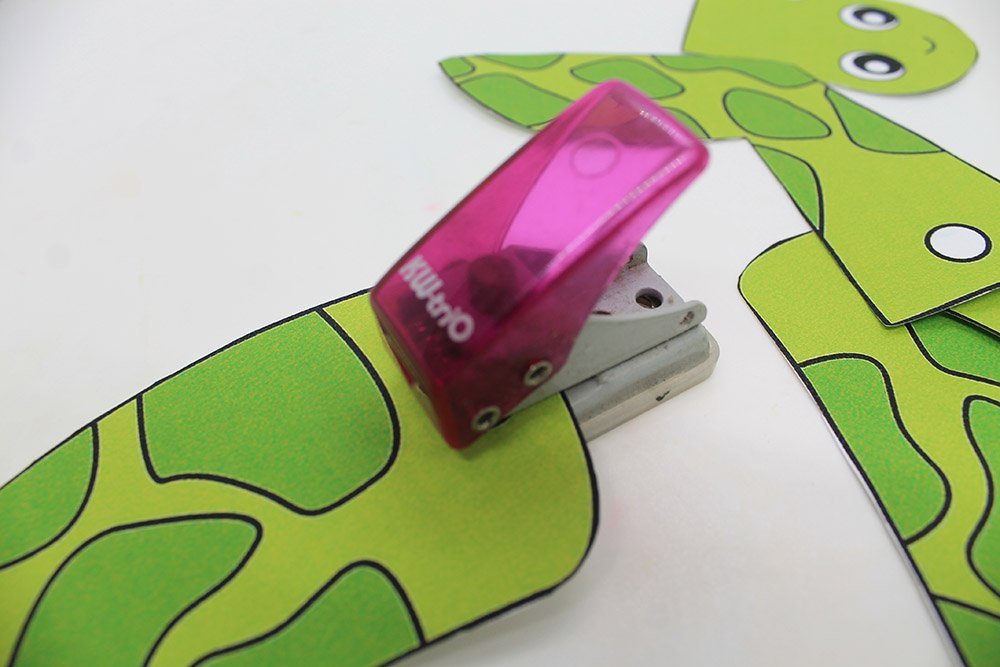
Punch a hole on each white circle of the arms and legs.
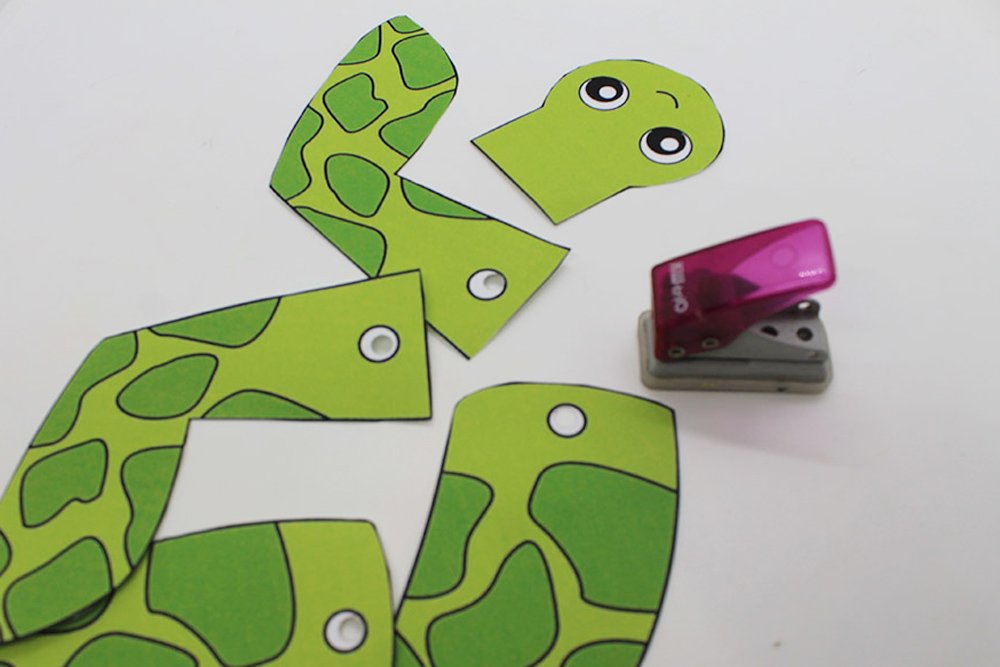
Once you have punched the necessary holes, set them aside for now.
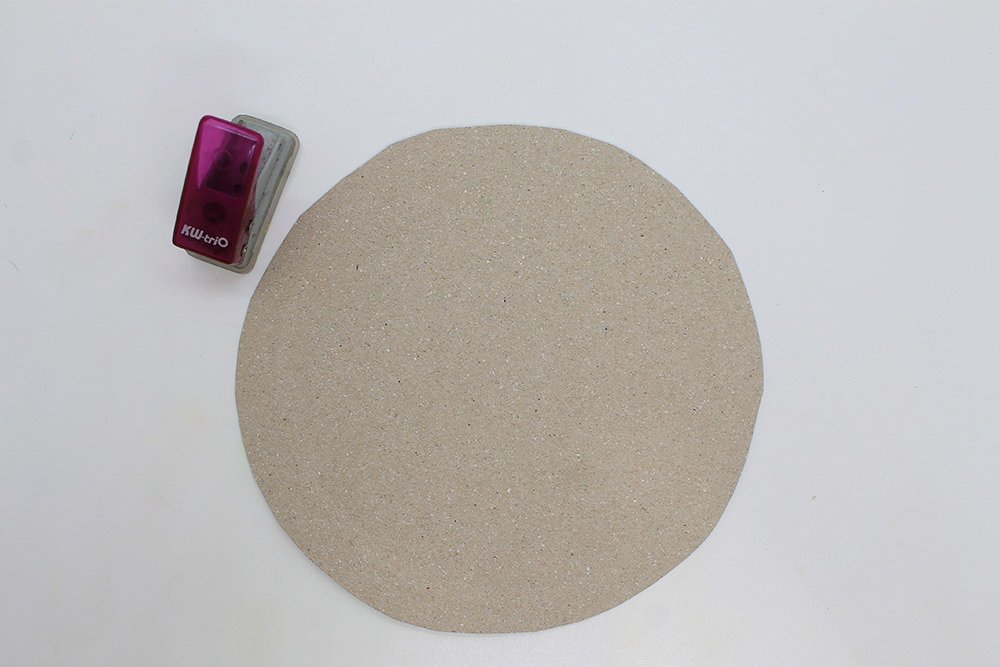
Make the base of the turtle.
The base will be where the head and limbs will be attached. To make the base, grab another paper plate and the turtle shell made on the first step.
Place the shell on top of the new paper plate. Trace the base of the shell on the new paper plate.
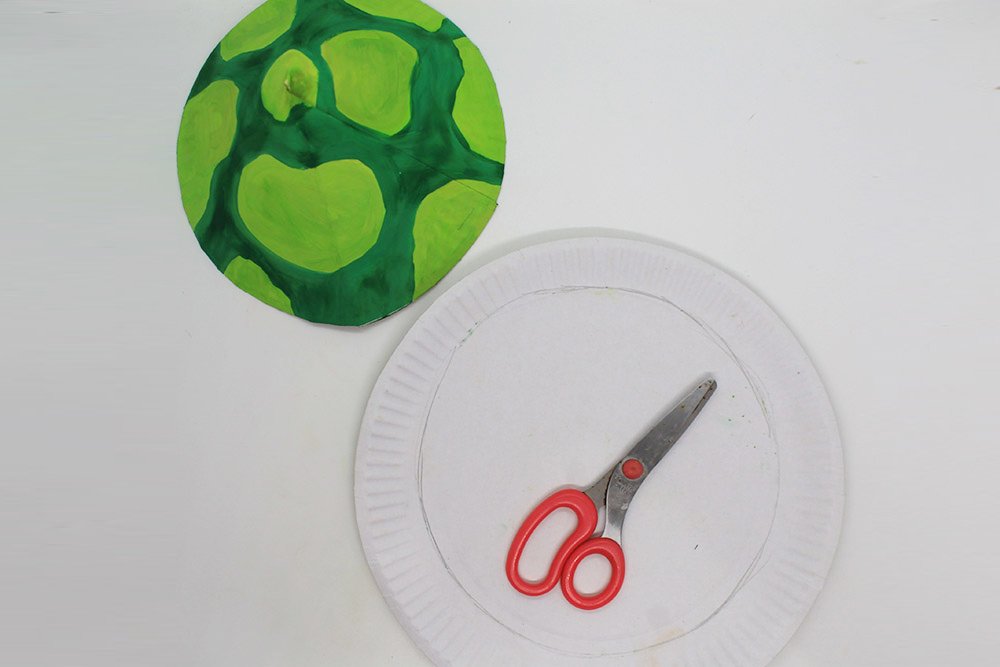
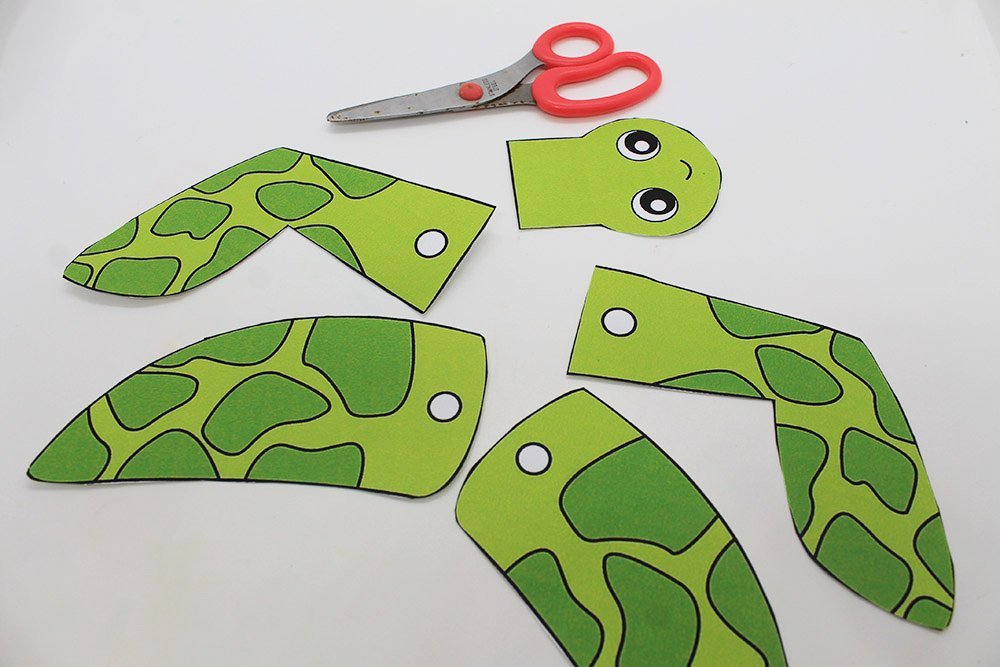
After finishing tracing, cut along the outline made.
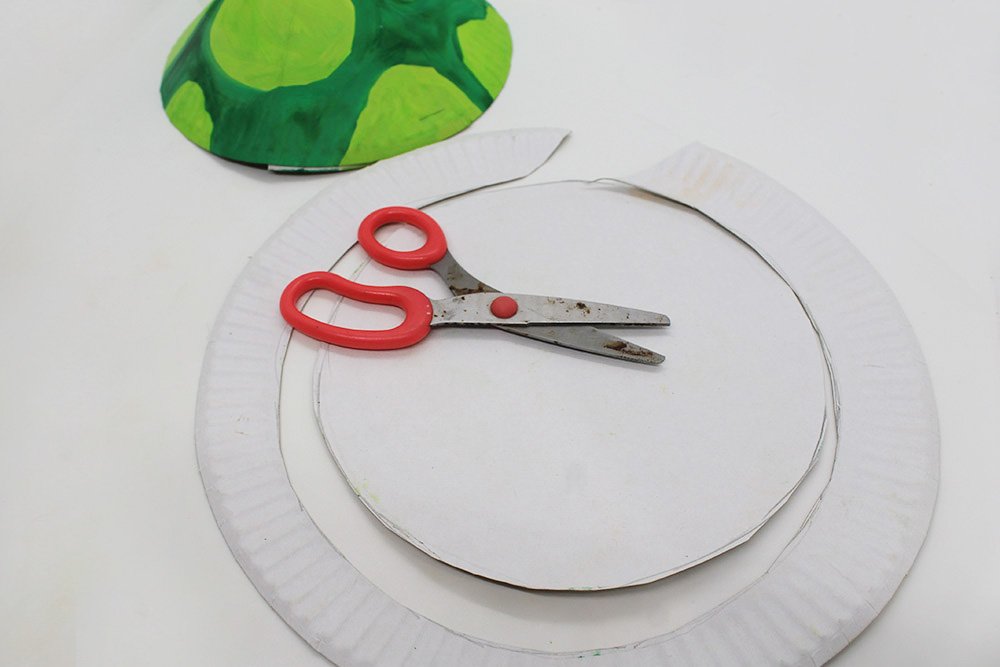
The base is now finished.
Attach the arms and legs of the paper plate turtle to the base
Punch 4 holes on the paper plate base. See the next picture on where to punch a hole.
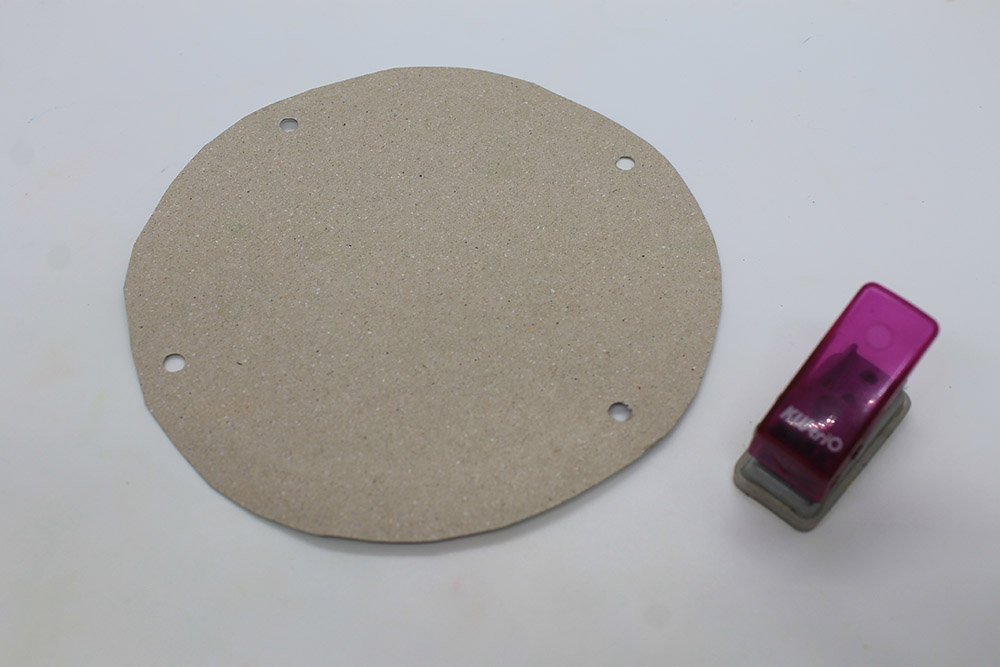
The holes made will be where each limb will be attached.
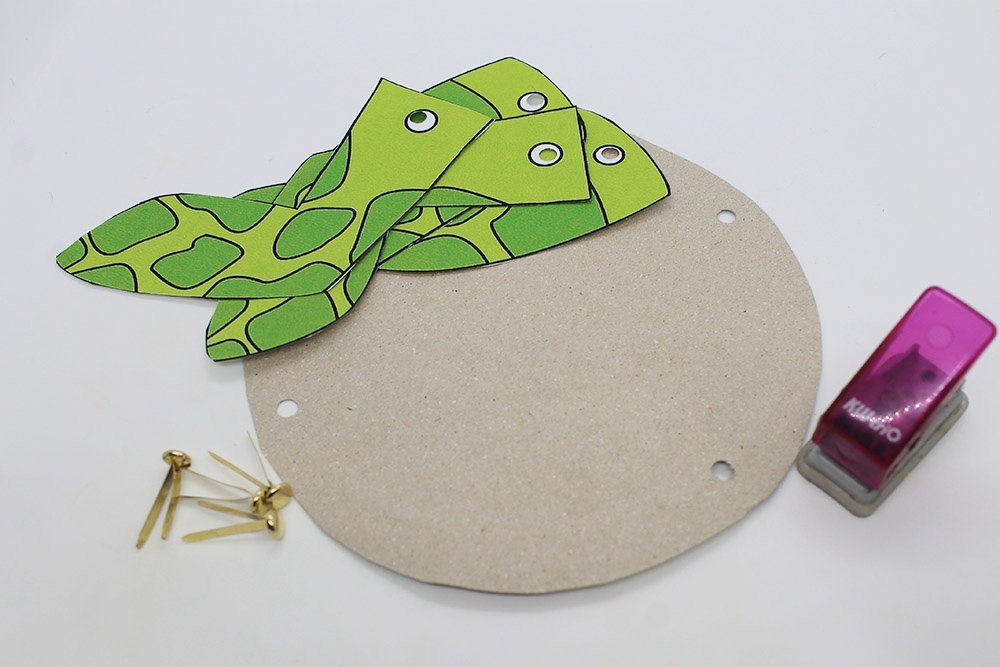
Prepare the arms and legs cutouts and four pieces of split pins.
Insert a pin on the hole of the right arm.
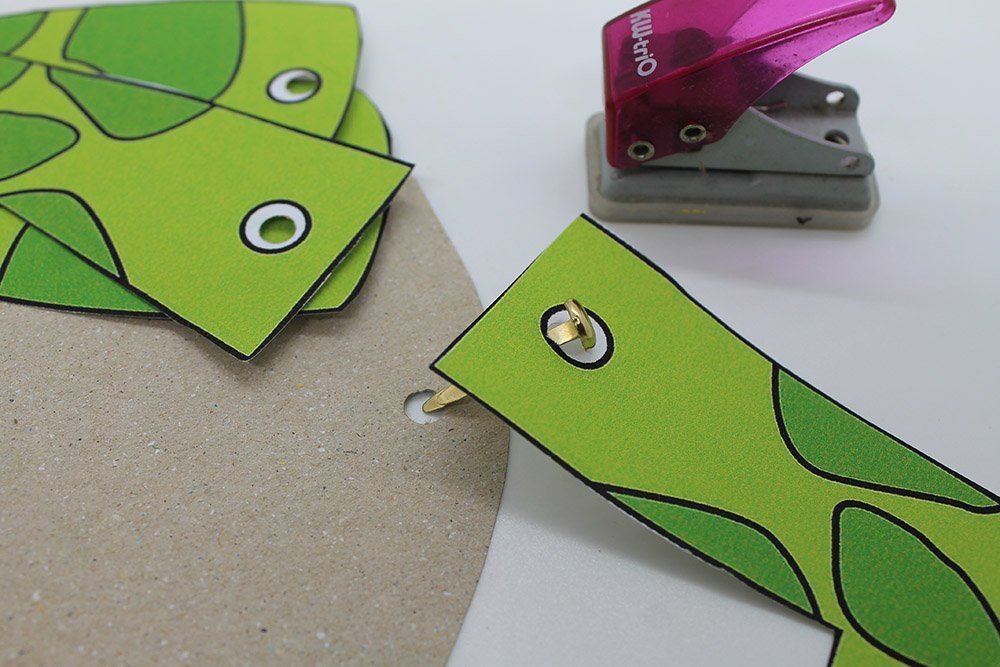
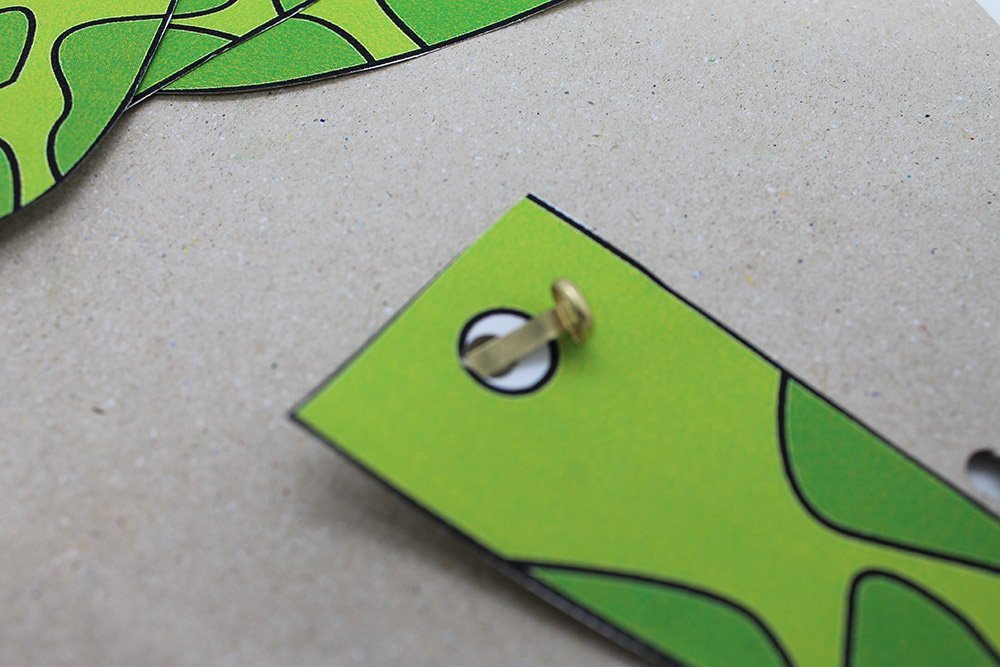
Now insert it on one of the holes of the base.
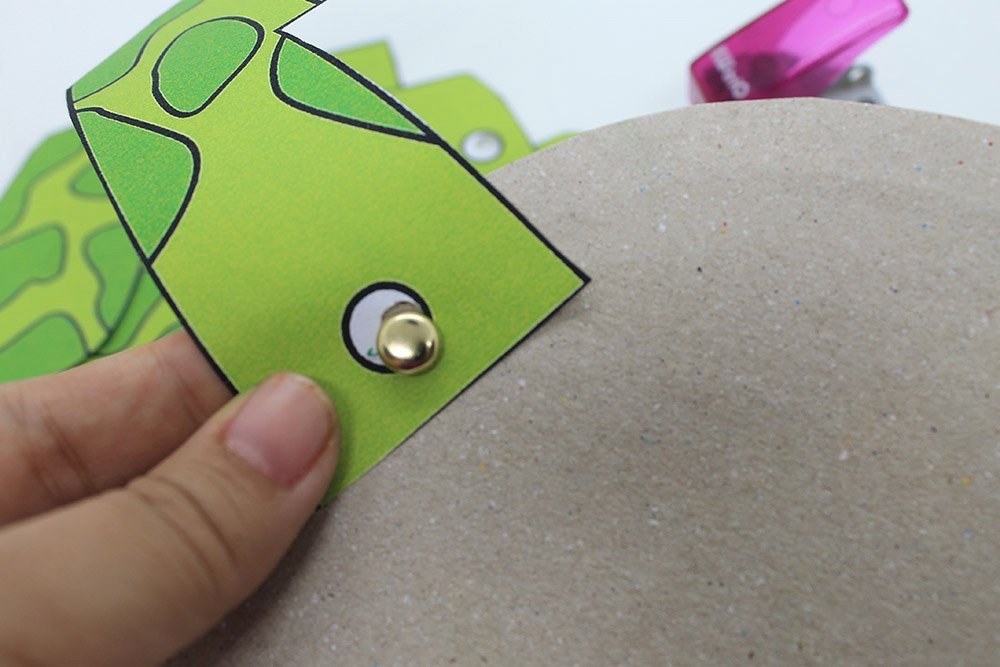
The split pin should look like this when it has passed through the arms and the base.
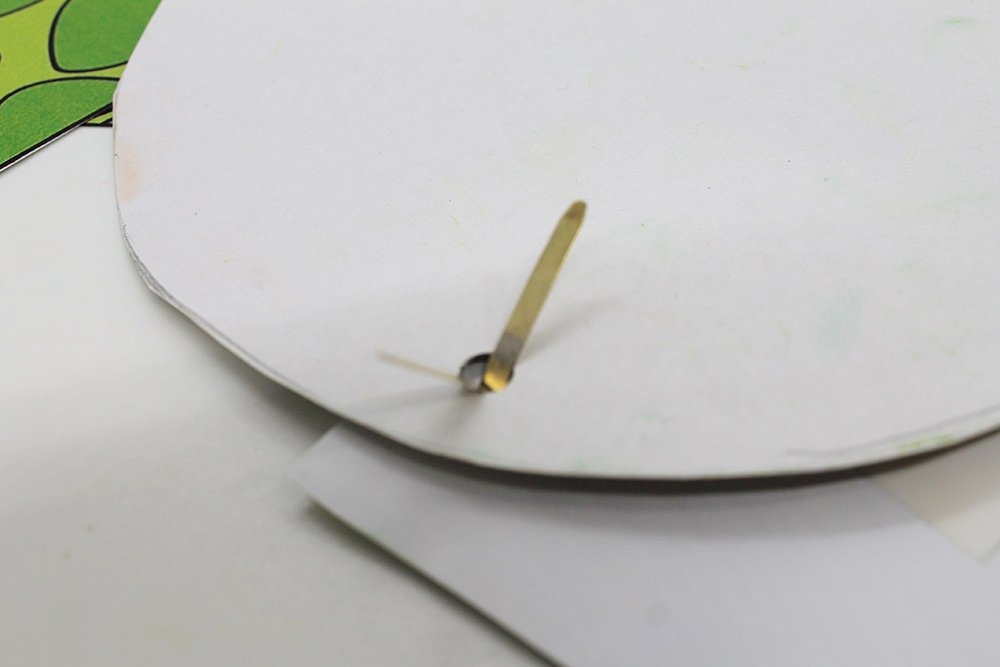
Secure the pin by lightly splitting it apart.
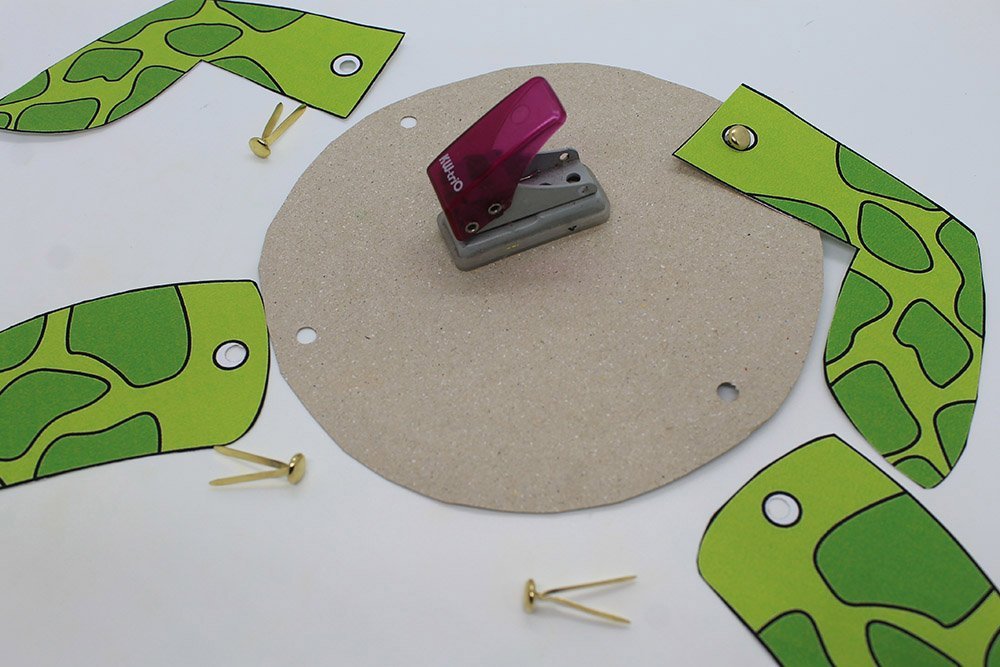
Repeat the previous steps to secure the other limbs to the turtle’s base.
Tie the puppet strings
You may skip these steps if you do not want the turtle to move.

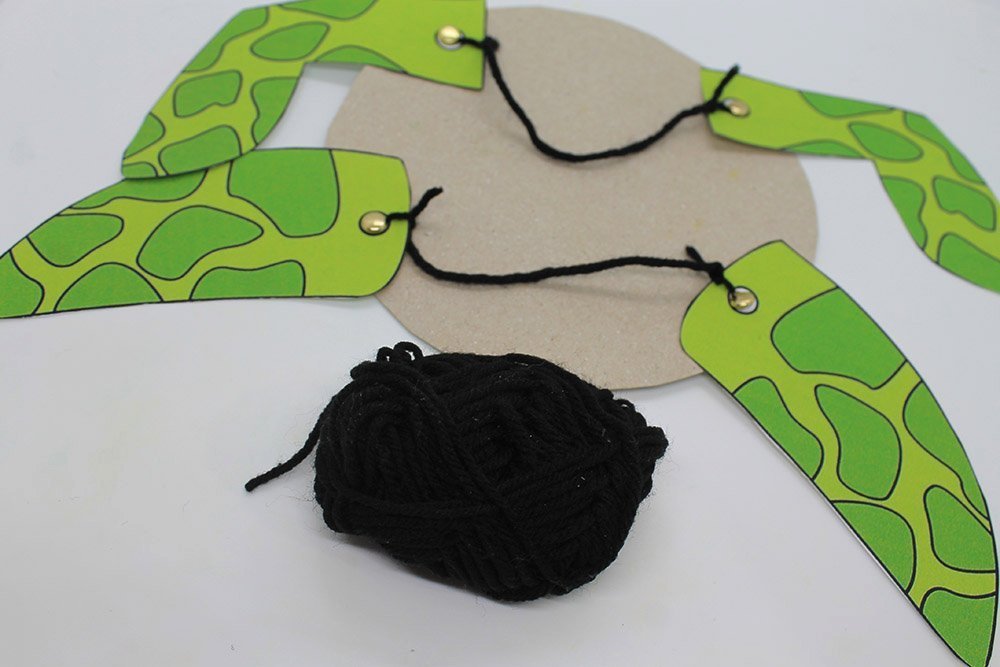
Grab some string or yarn. We will use a string to make the arms and legs move.
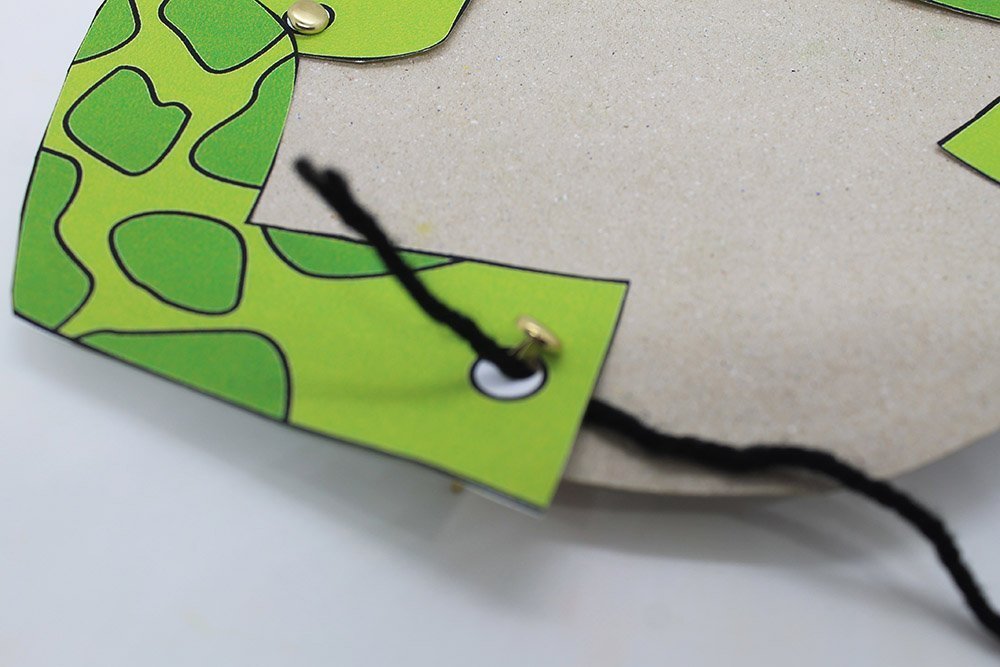
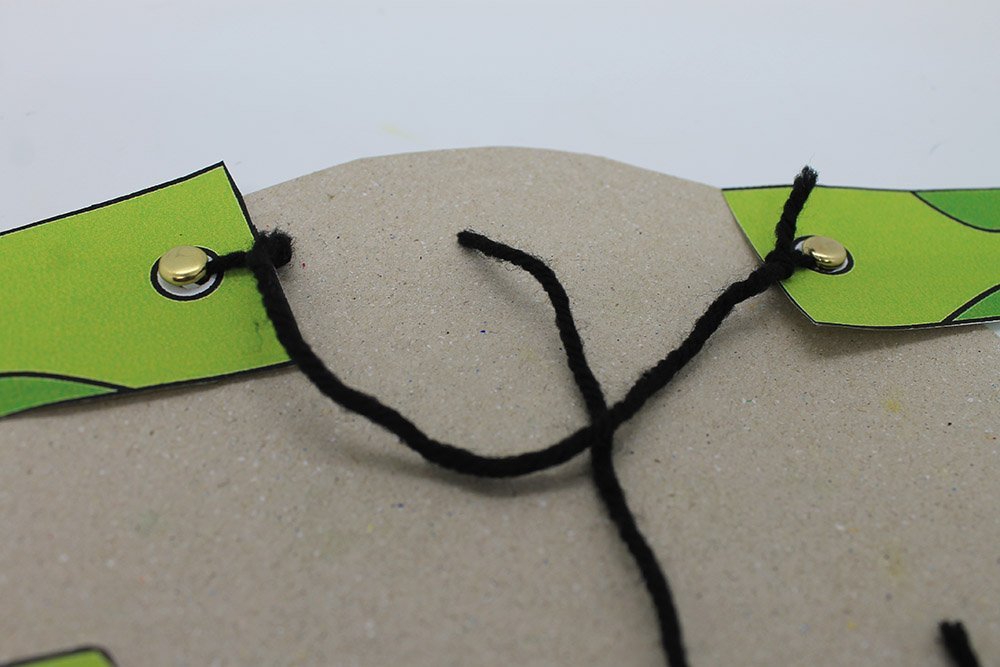
Insert the end of the string to the hole of the right arm ONLY. Do not let it pass through the base.
Secure the string to the arm by tying a double knot.
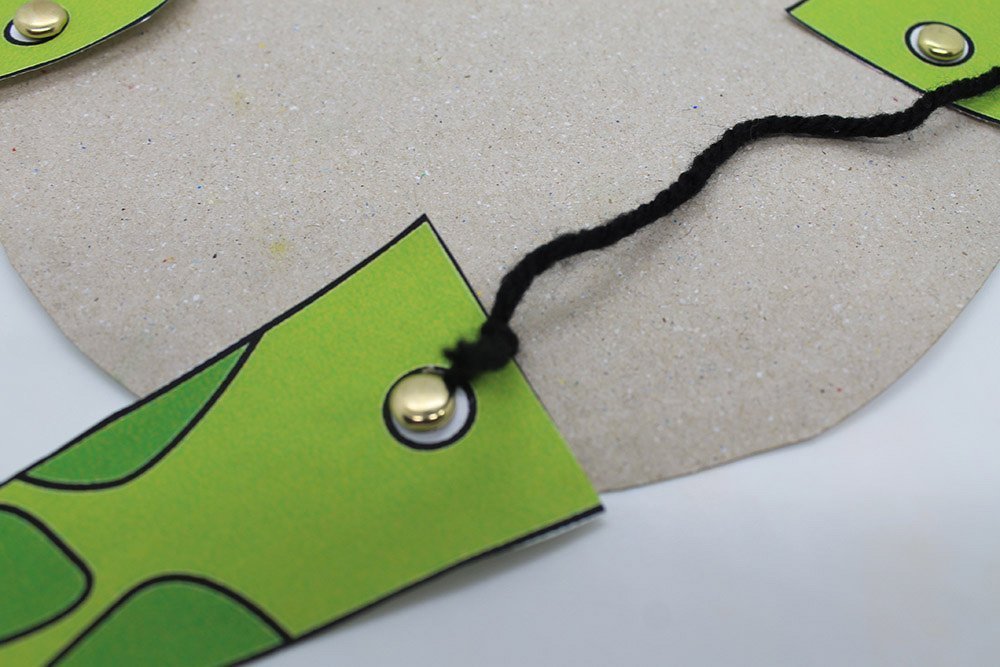
Tie the other end of the string to the left arm. Make sure that you do not let it pass through the base.
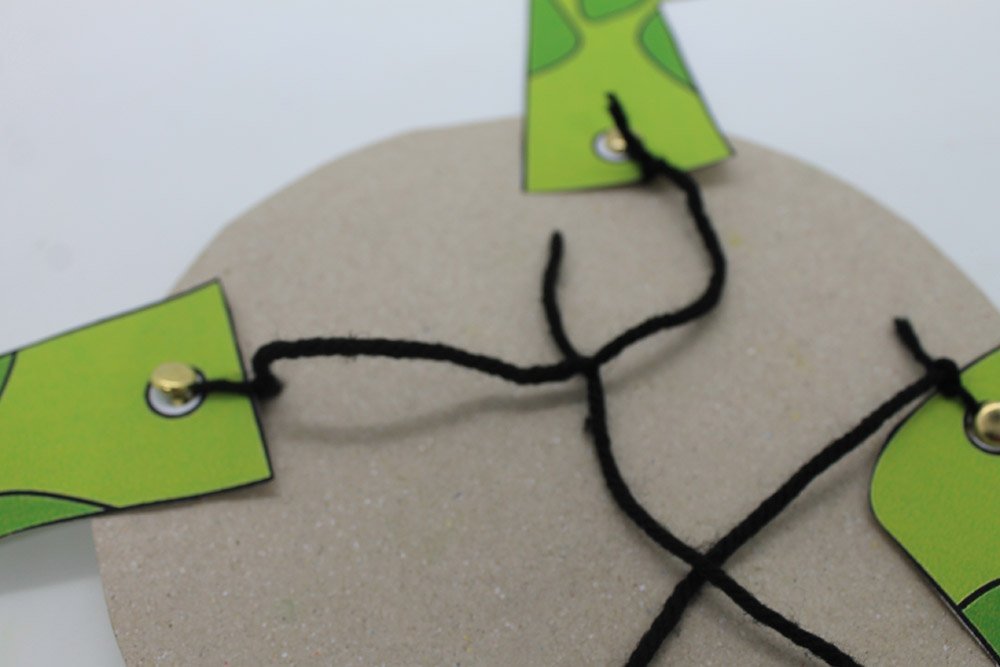
Keep the string loose connecting both arms, or else the arms will not move. Next, tie the left and right legs together like what we did on the arms.
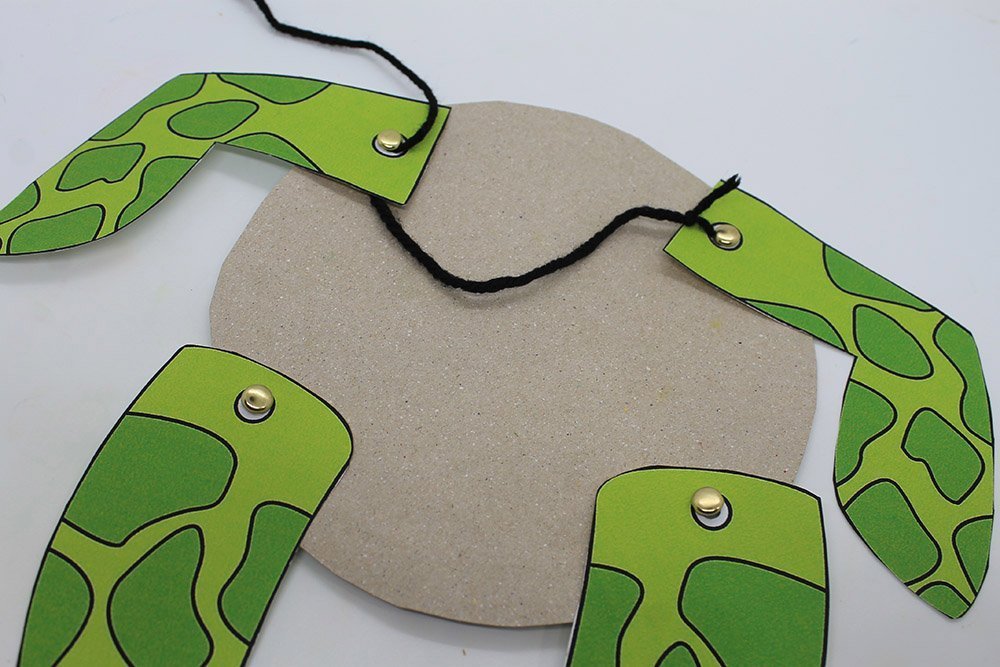
The string on each pair should look like this.
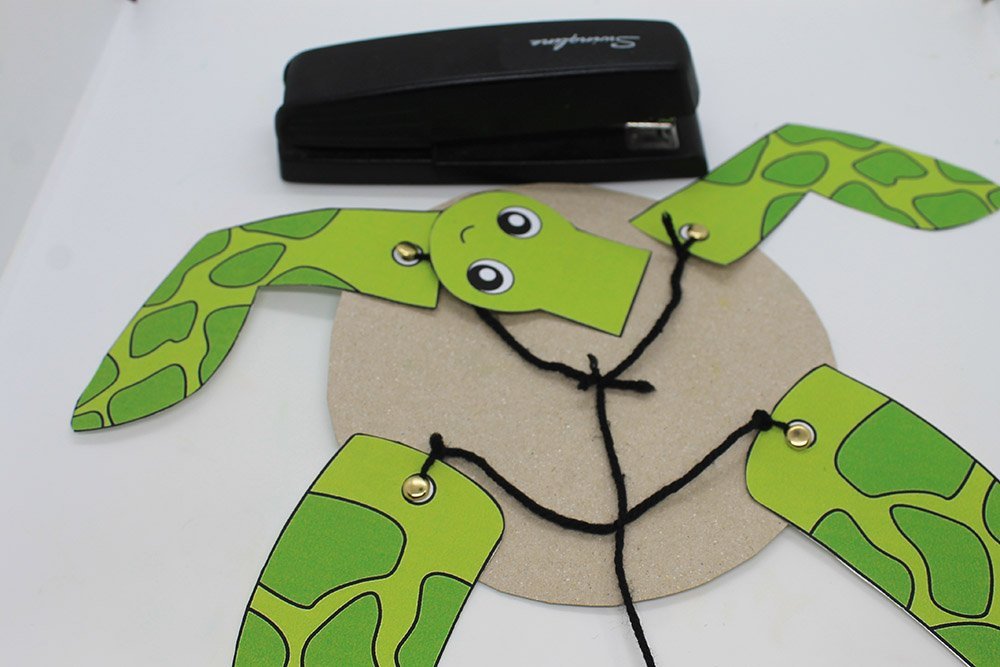
Tie another string on the string of the arms.
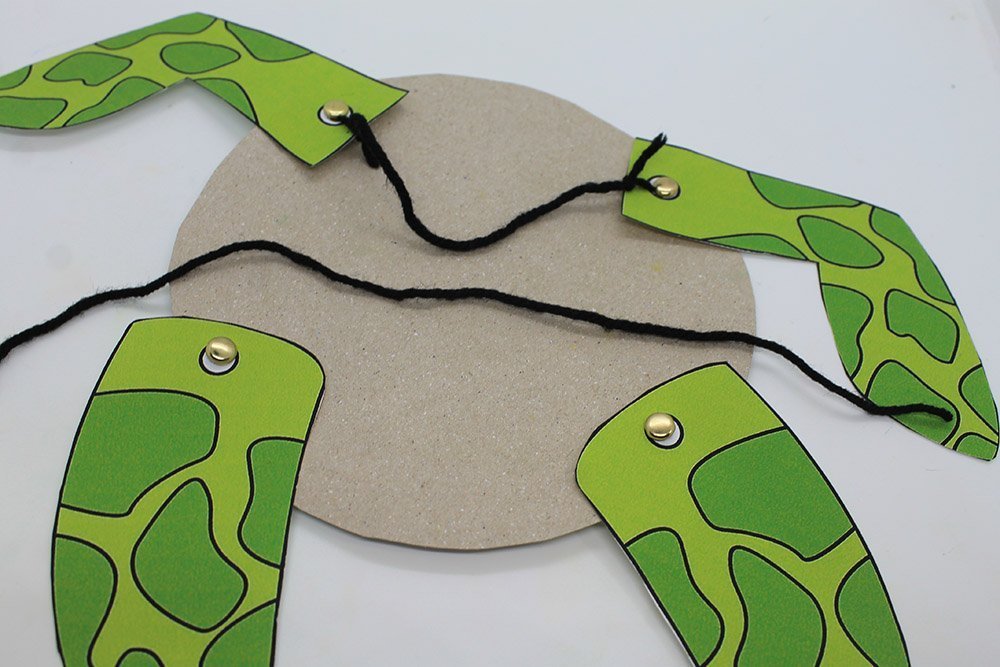
Using the same string, tie the string from the previous step to the string of the legs.
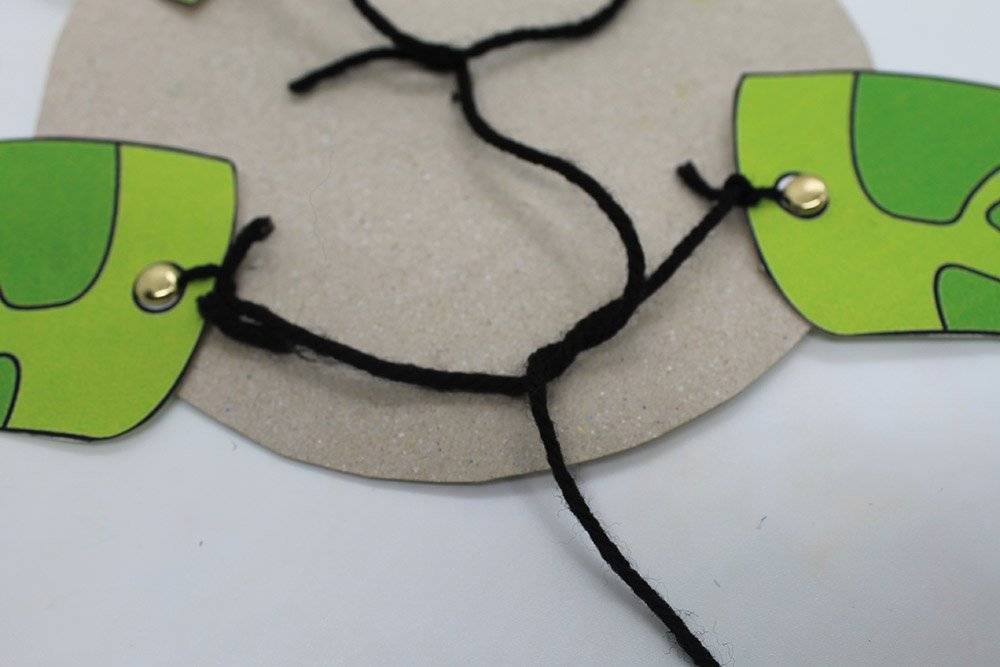
You have now connected the strings of the arms and legs.

The paper plate turtle is now a marionette! When you lift the base upwards, you should pull the middle string and move all parts.
Assemble the turtle
Staple or glue the head to the top part of the base.
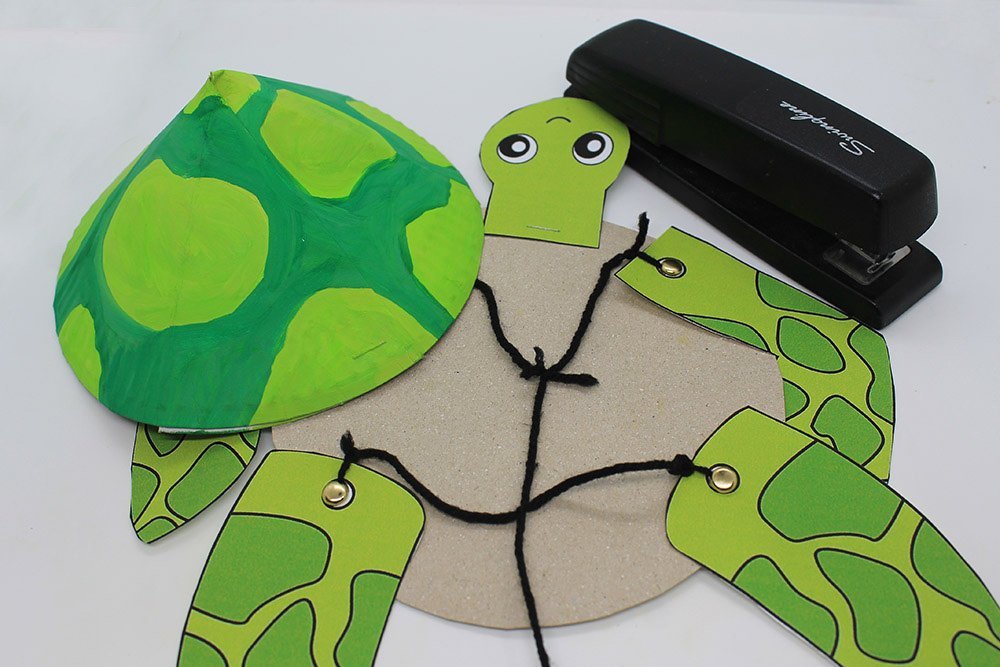
Place the shell on top of the base.
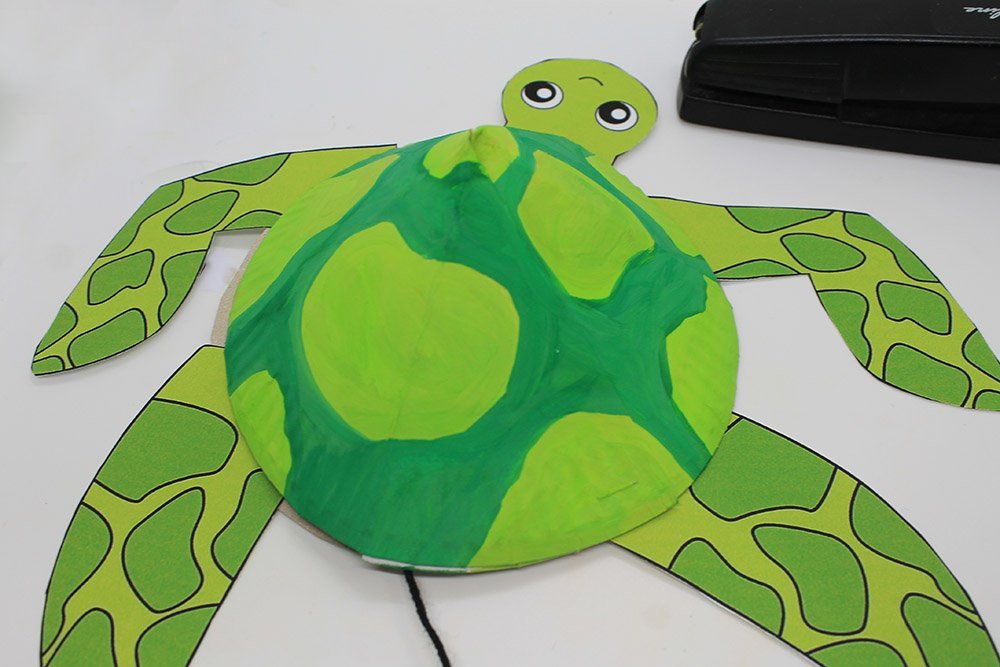
Secure the shell to the base using a stapler
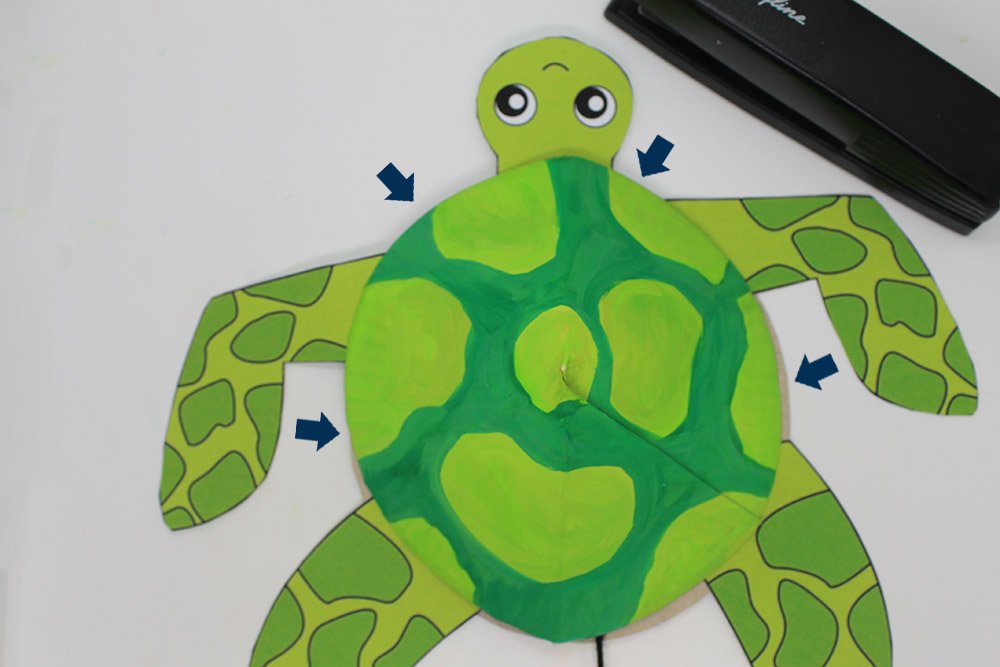
Staple only where the arrow is pointed. Make sure that the arms and legs are still movable after stapling the shell to the base.
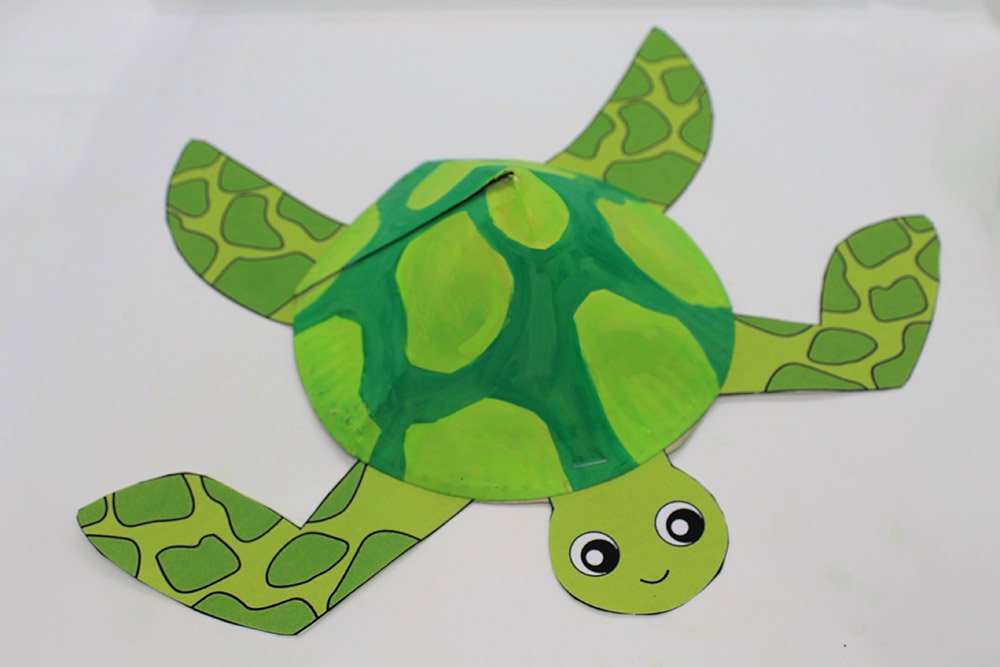
The paper plate turtle is now done. When you lift the turtle upwards, the arms and legs will move if you pull the string!
Extra Tips
- Be careful when tying the knots, and using the stapler so as not to damage the paper plate turtle.
- Enjoy, and explore different colors and patterns.


