Hungry Paper Plate Shark Craft

Introduction:
Learn how to make an easy paper plate shark with the help of our step-by-step instructions below. This project may look hard to do, but it is actually simple to make, thanks to the help of our printable. The activity printable sheet is also a fun activity where children can color.
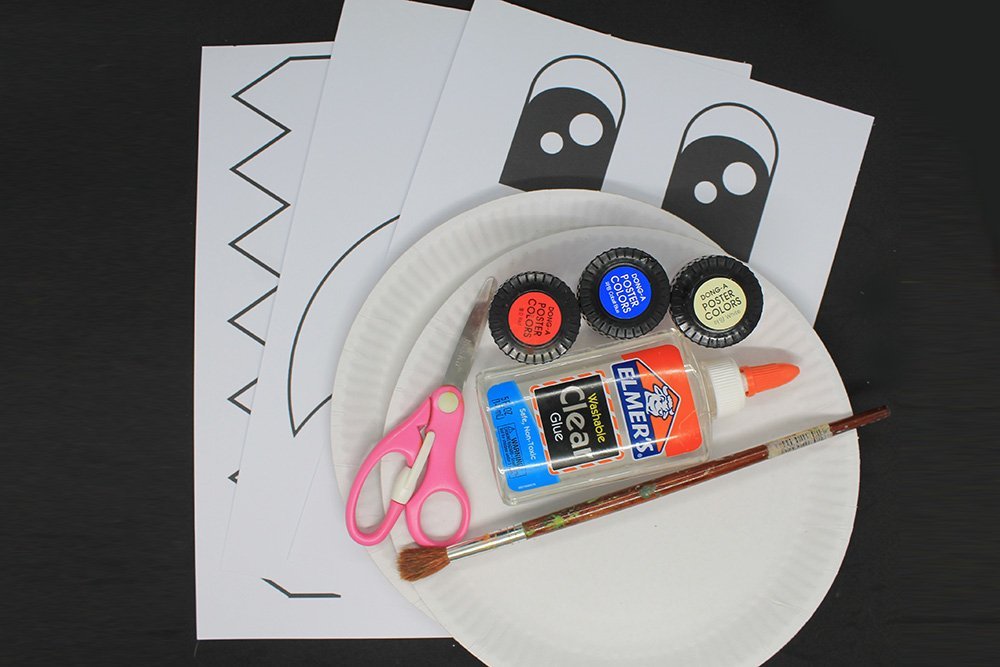
Tools
- Paintbrush
- Scissors
Supplies
- 2 Paper Plates
- Poster Paints
- Glue
- Printable printed on an A4 vellum board or bond paper
Download Area
Download TemplatePaint the paper plates
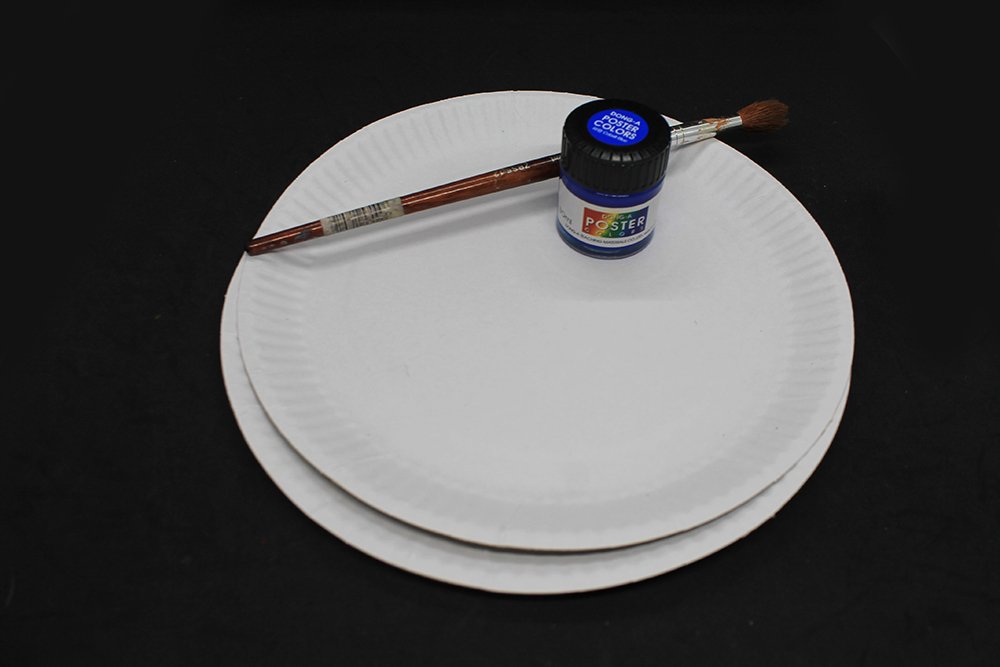
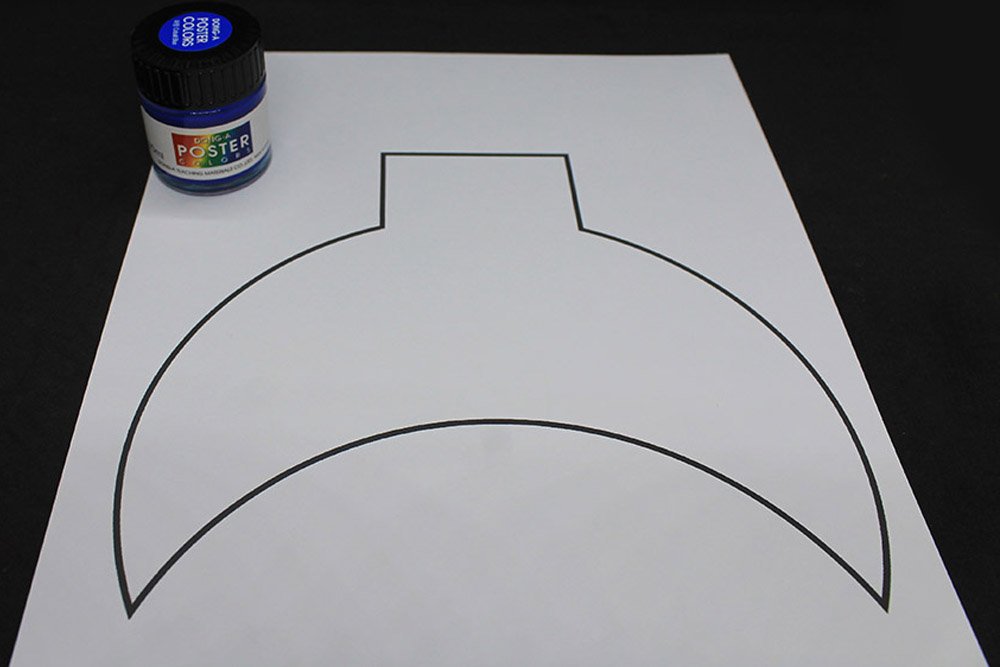
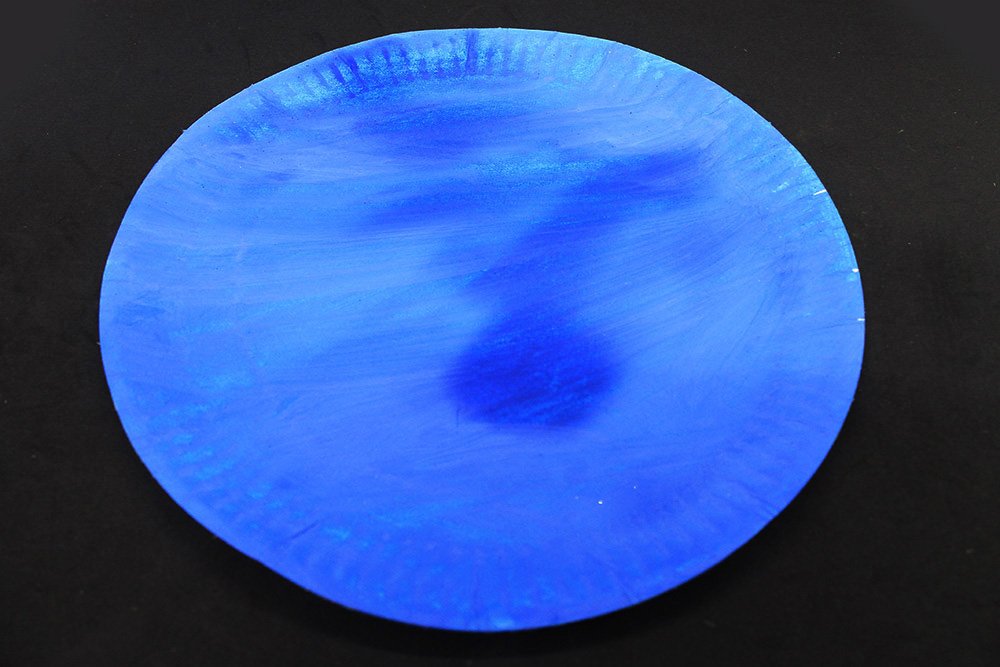
Grab some blue paint and two paper plates—color both plates blue on one side.
You may color the paper plates with a different color.
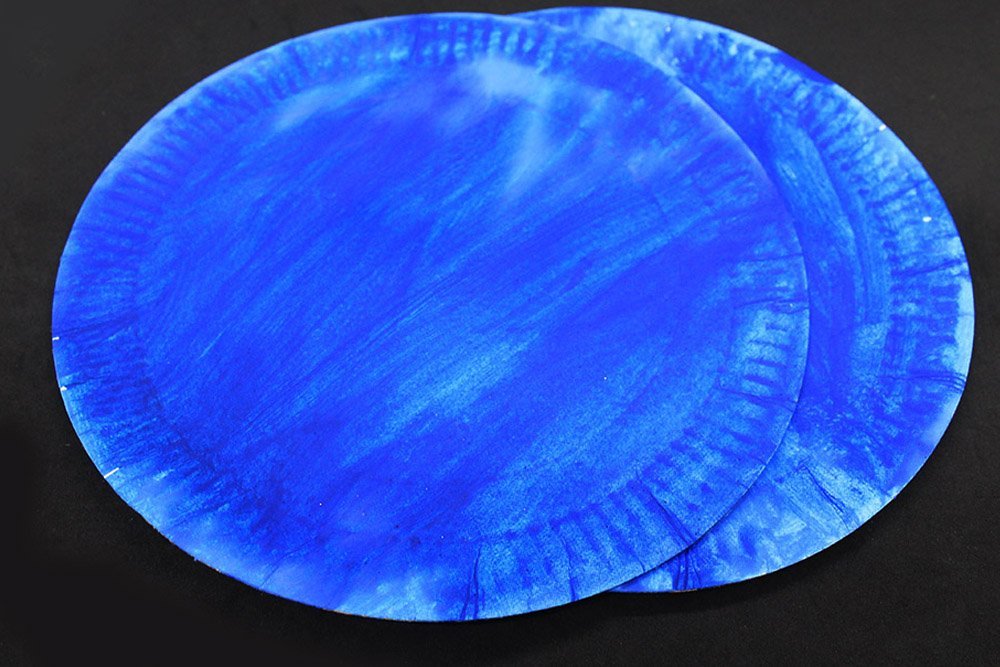
Once painted, set it aside to dry.
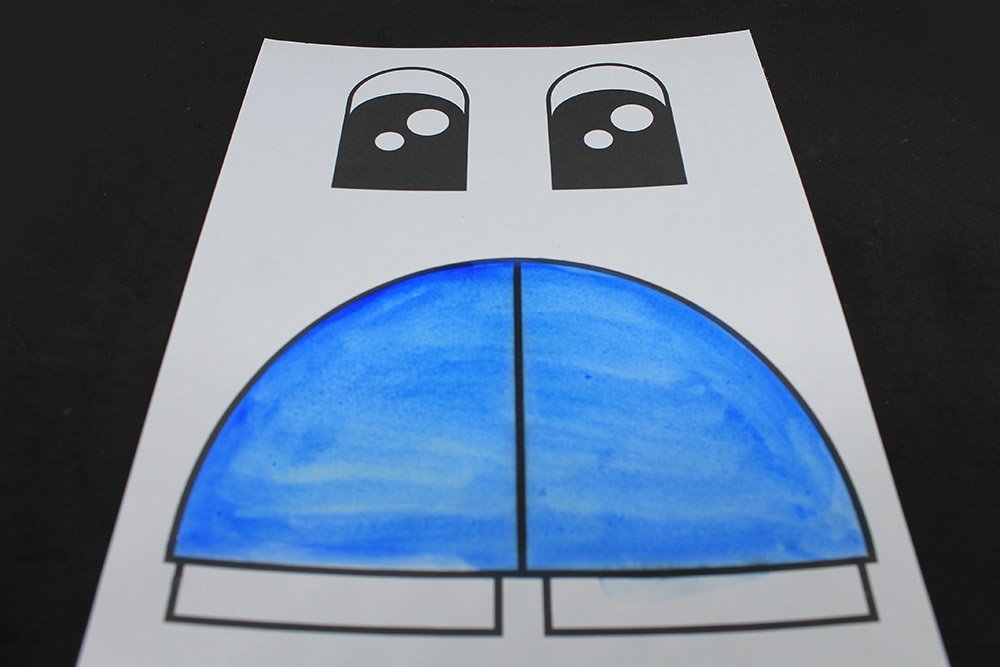
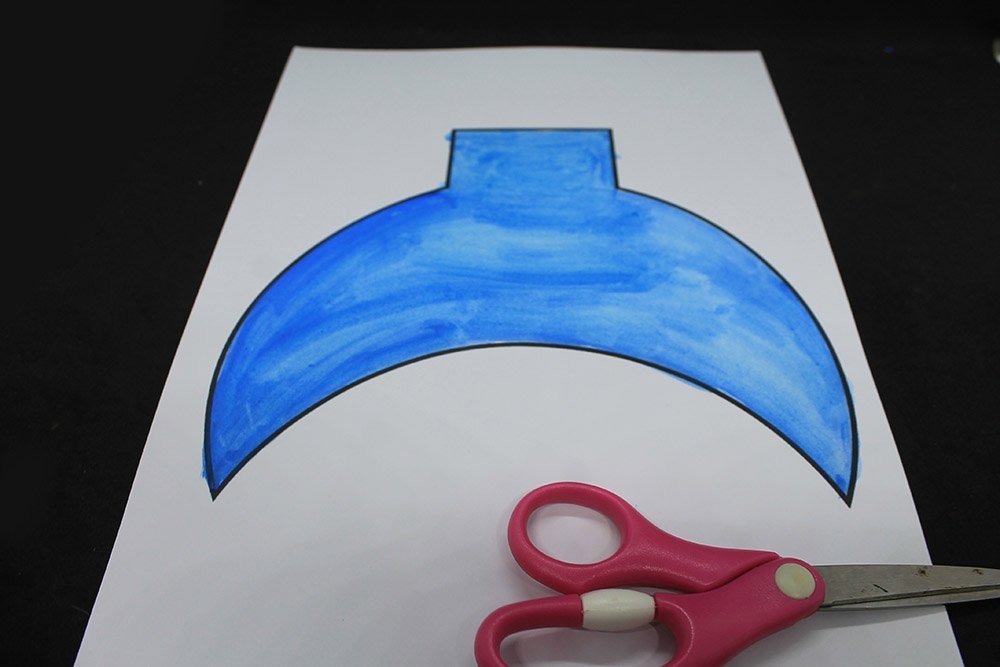
Cut out the paper plate shark paper plate.
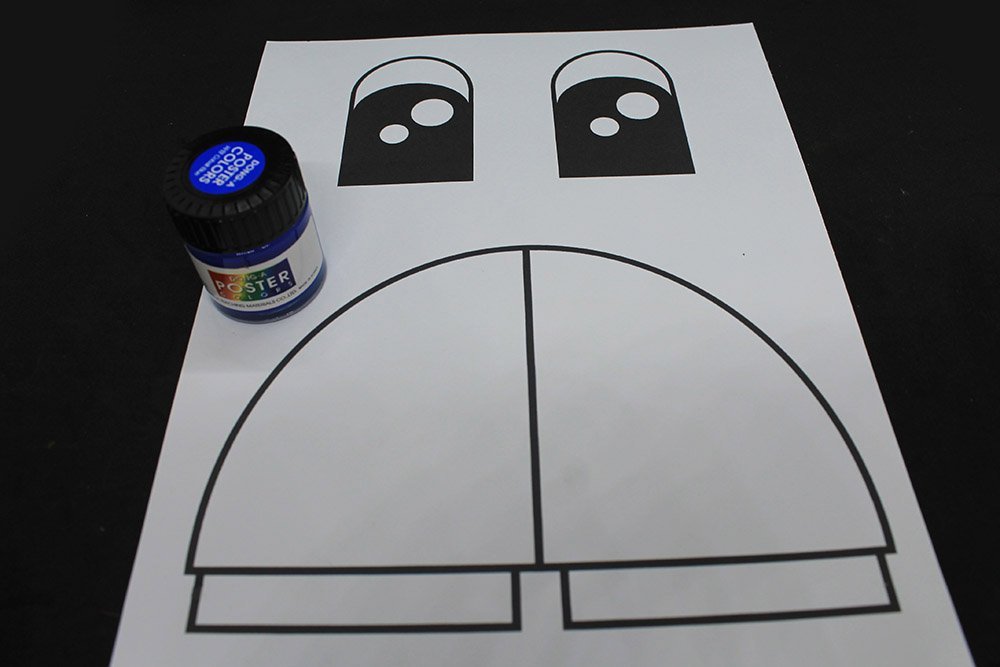
Download and print the free printable. Color the fin with the same color and as the paper plates.
It’s best to print the shark template on a vellum board or cardstock. That way, the paint won’t ruin the paper if you’re going to use bond paper. You may color the printable with a crayon, marker, or colored pencil instead!
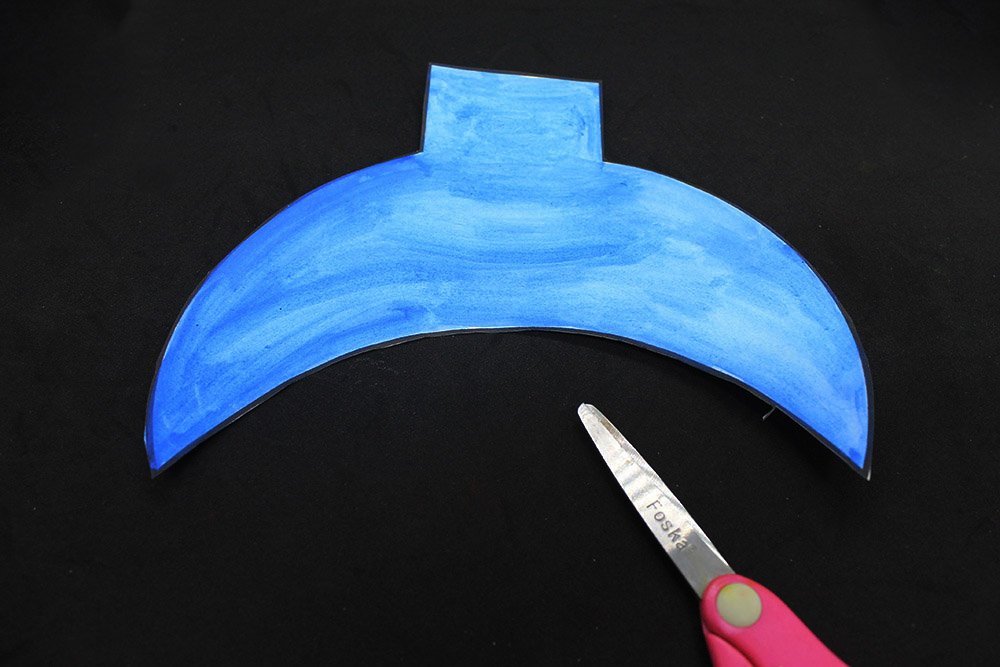
Let the paint dry for a bit.
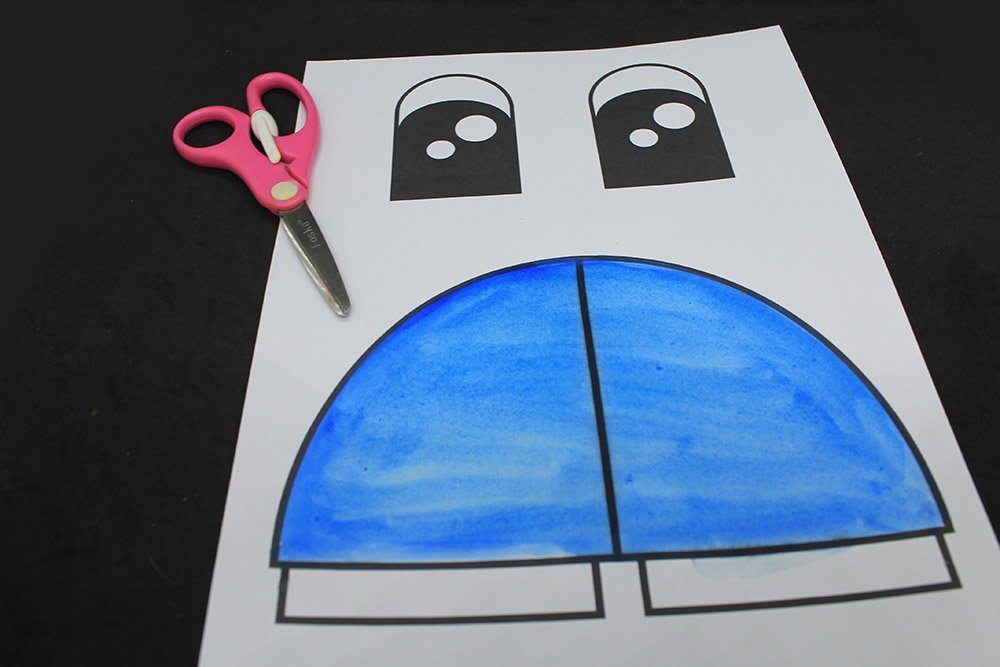
Cut along the outer edge of the eyes and fin.
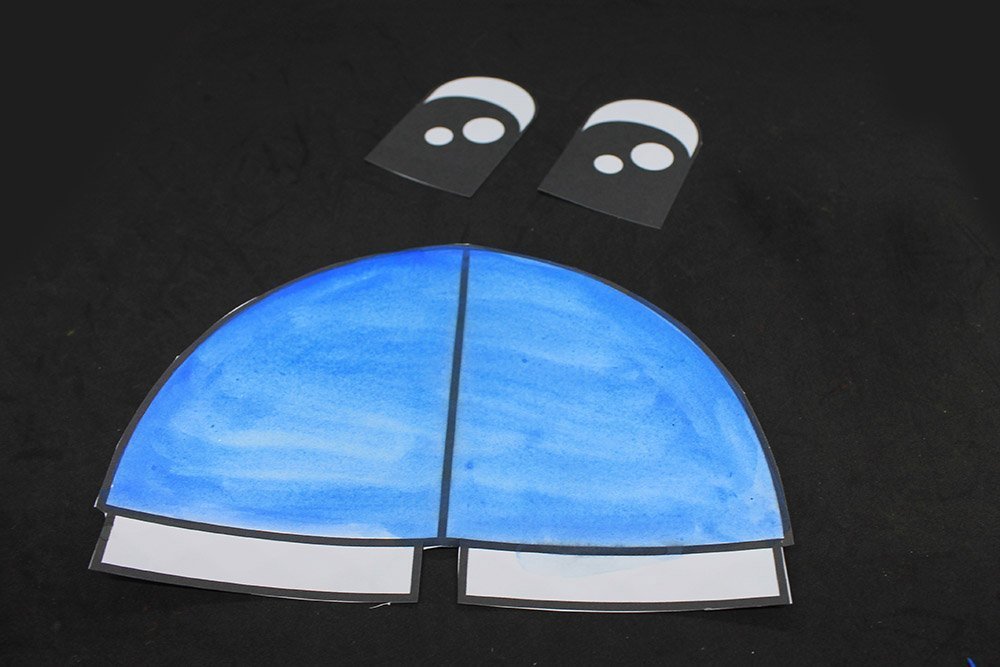
Once cut, it should look like this!
Again, color the tail with the same paint used in the paper plates and fin.
Let the paint dry and then cut along the outer edge.
Once cut, it should look something like this.
Create the head of the paper plate shark
Grab one of the blue paper plates and flip it to the uncolored side.
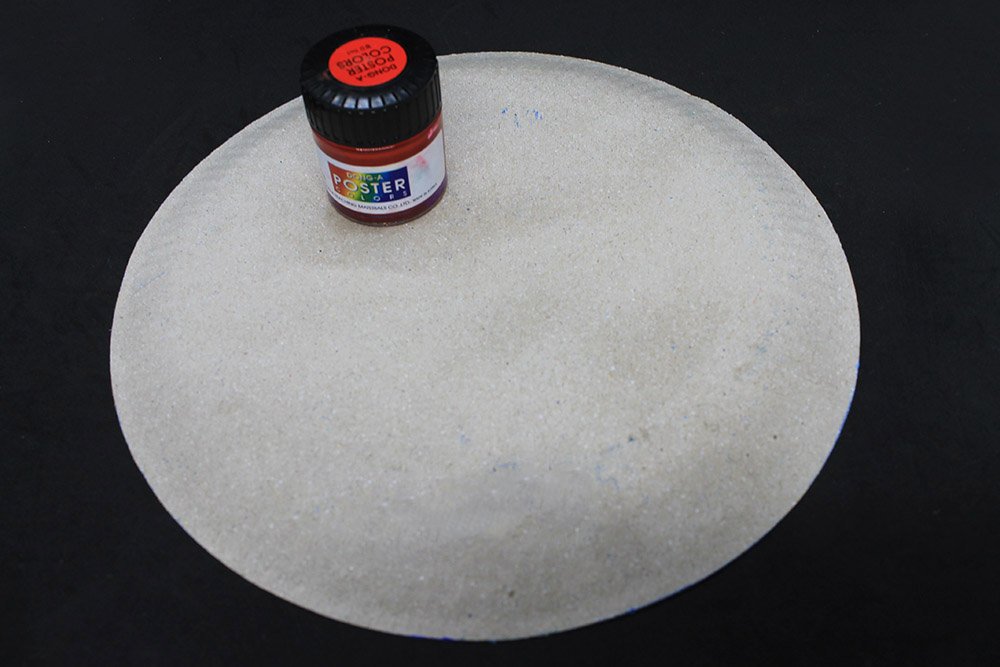
Color the other side with red paint.
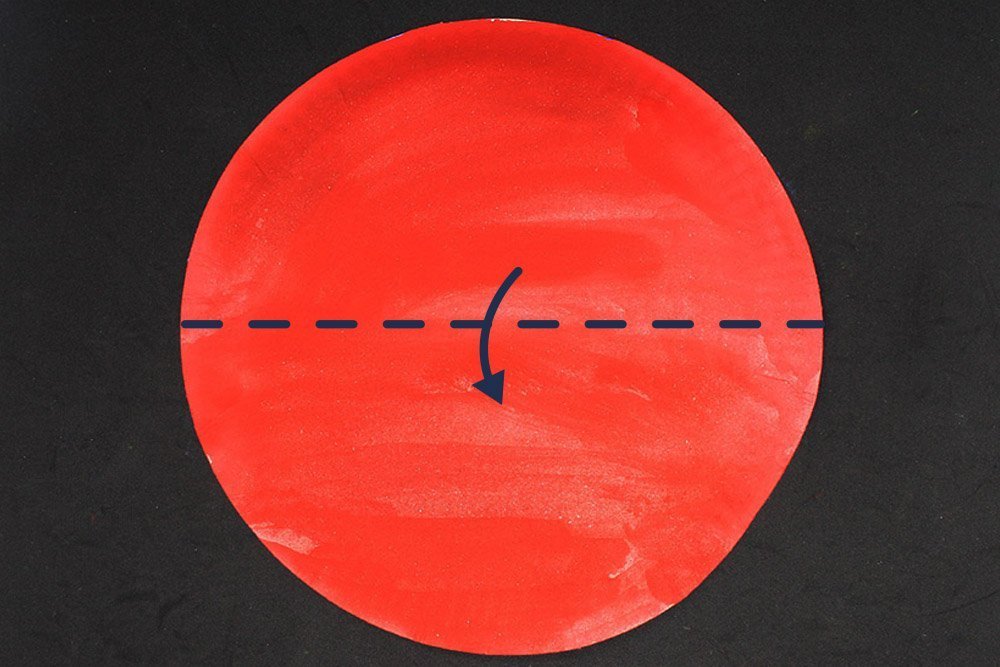
Fold it in half.
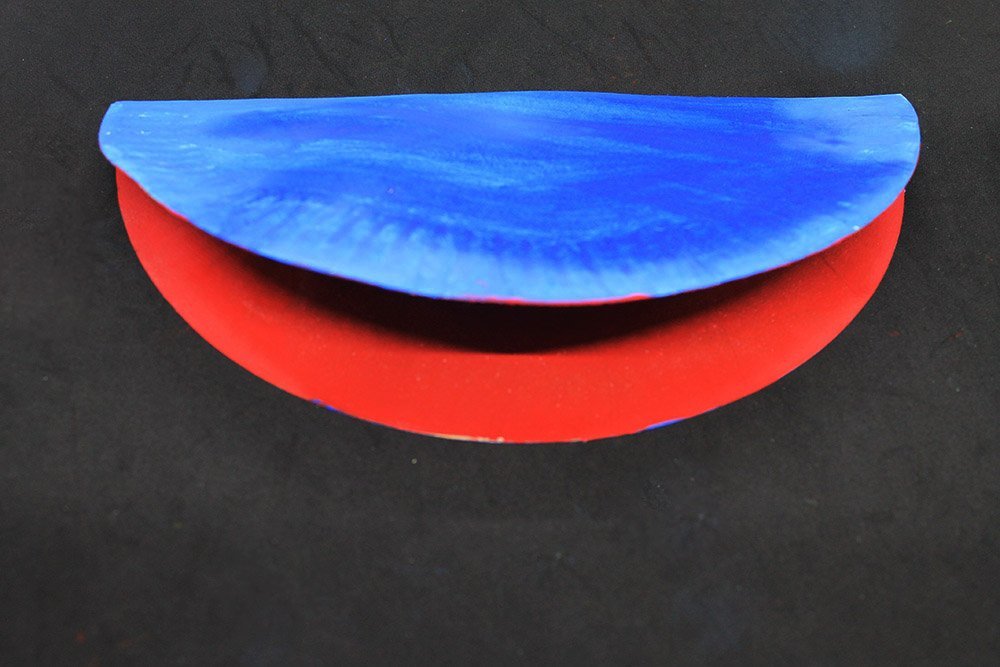
Once folded, this will be the head of the paper plate shark.
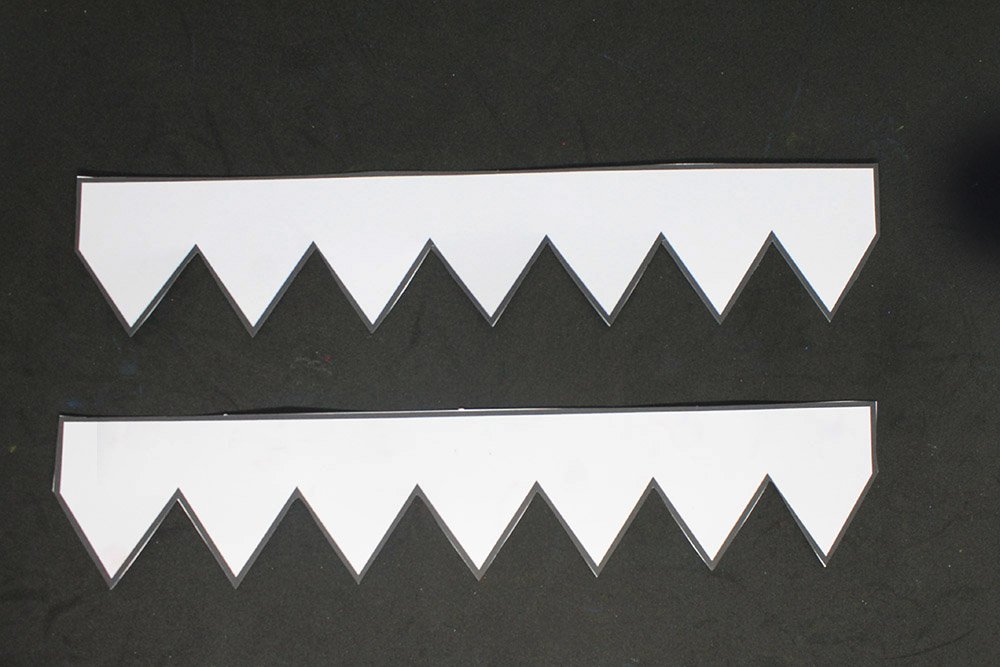
Make the teeth
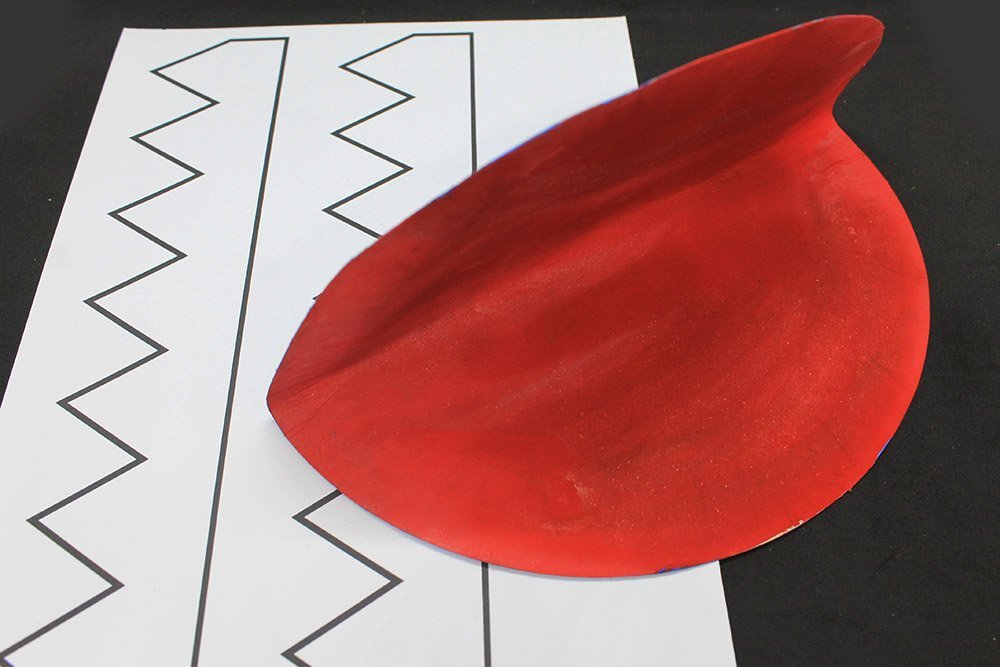
Cut the teeth outline on the second page of the printable.
Once cut, it should look something like this.
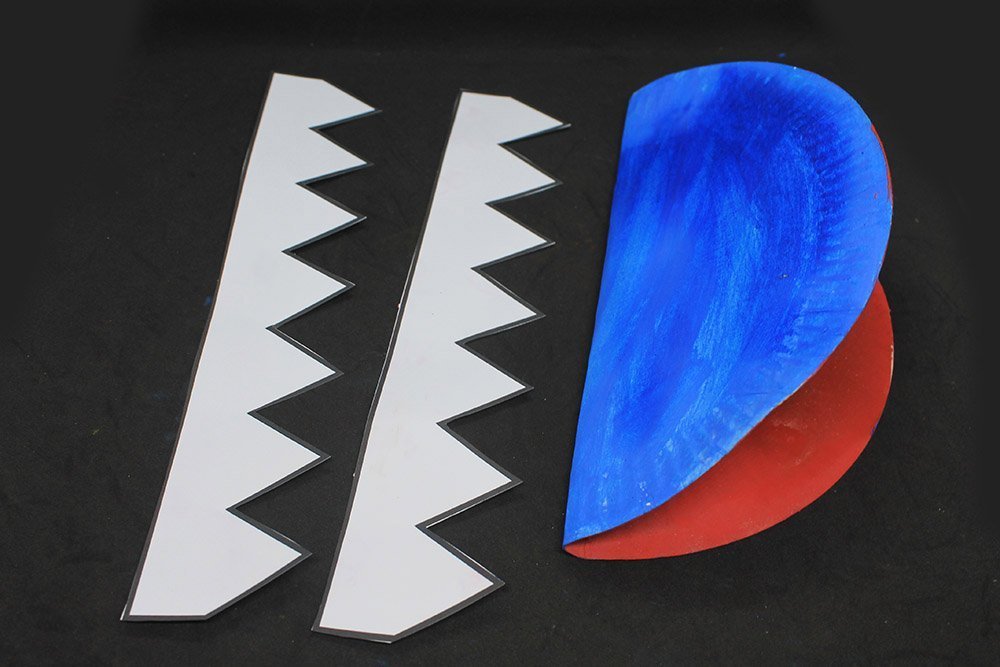
Mountain fold the top straight edge of each teeth cutout
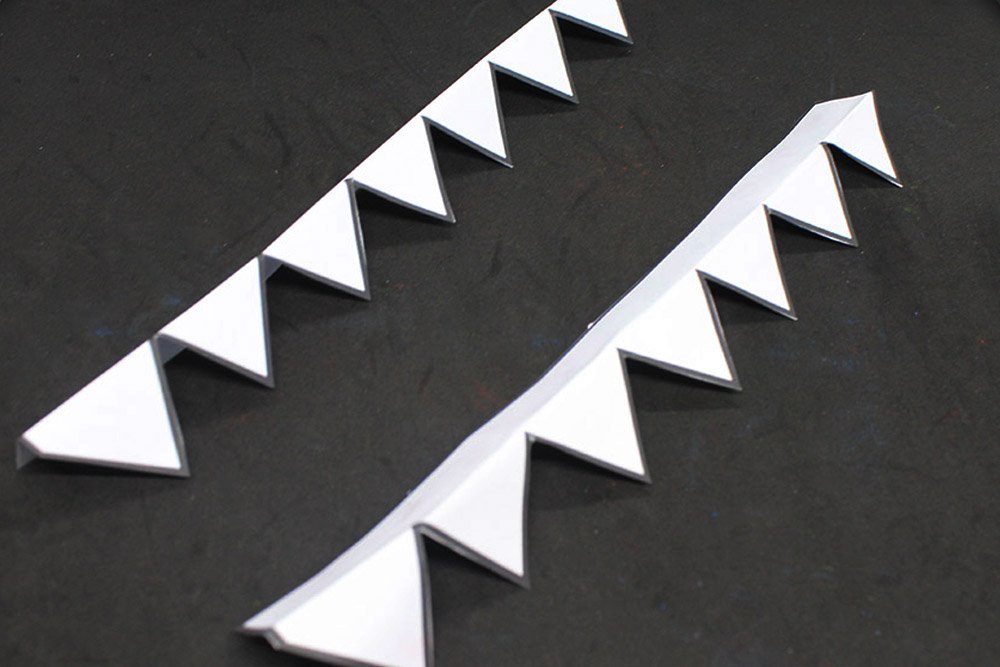
Fold it at a right angle, as shown in the sample image above.
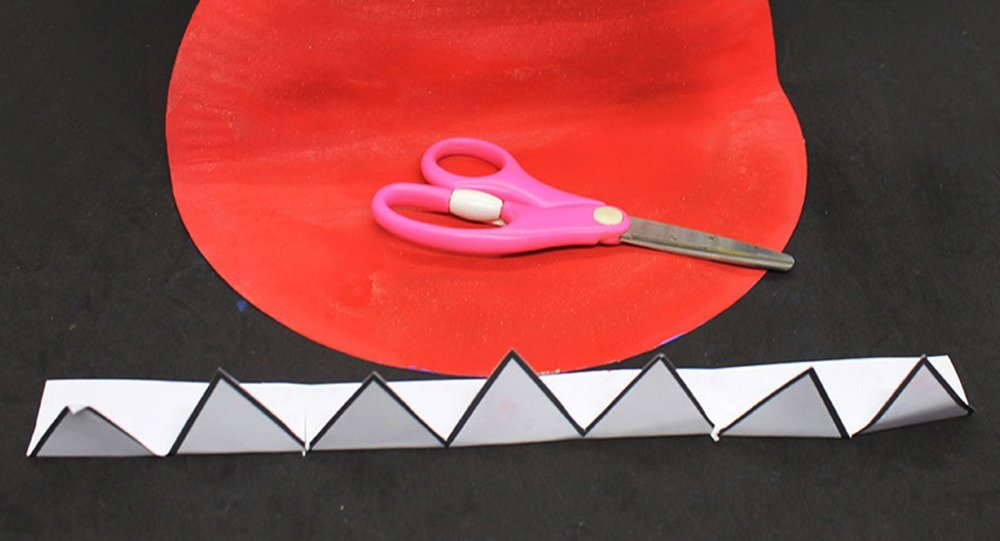
Cut each teeth cutouts into 3 parts (2-3-2).
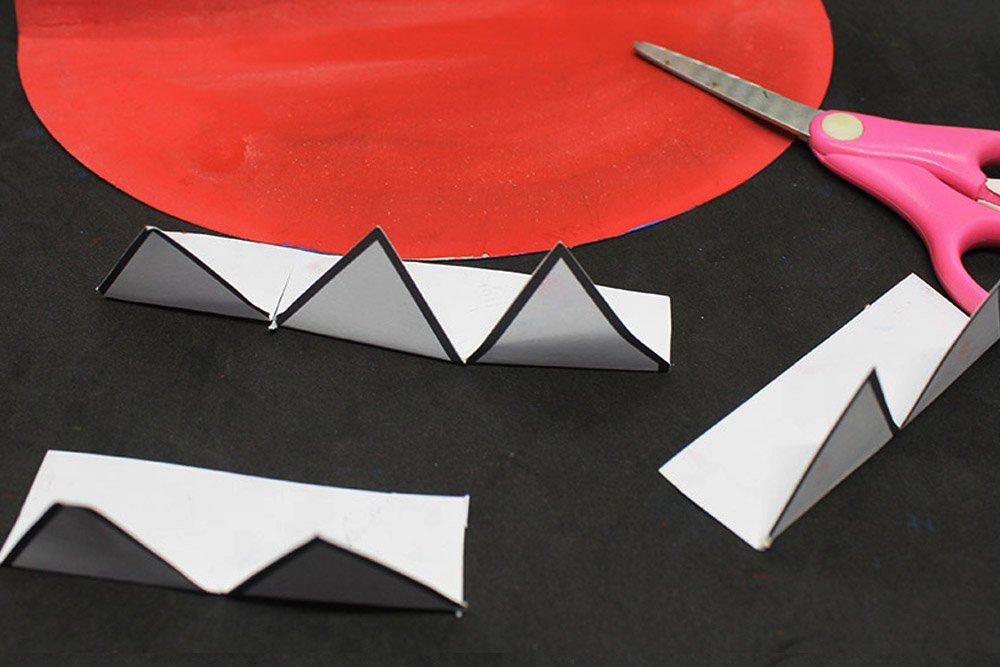
Once cut, it should look something like this!
Attach the teeth to the jaw of the paper plate shark
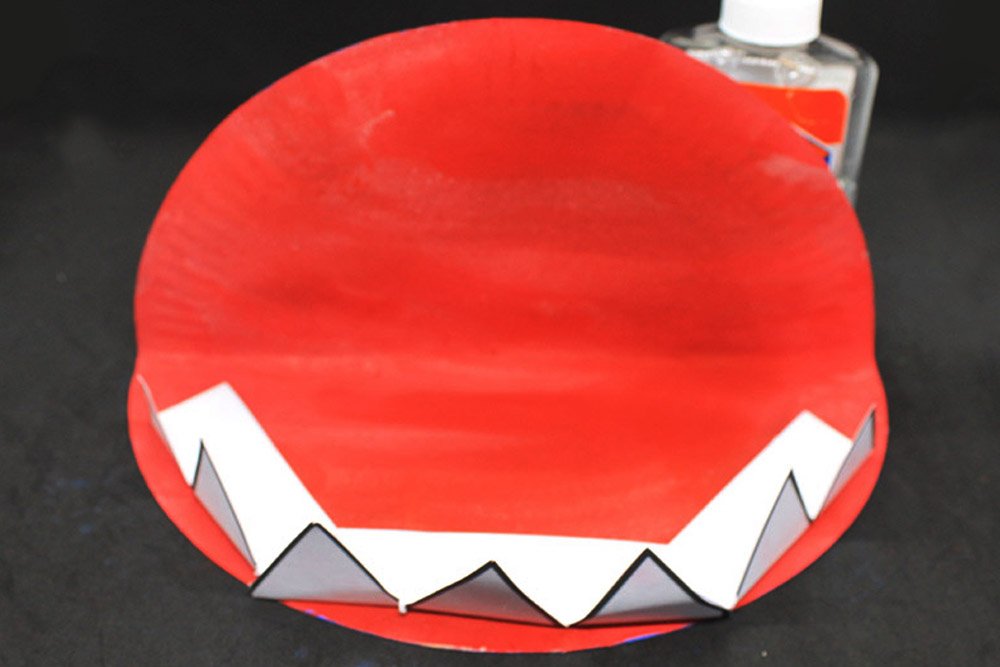
Stick the 3 teeth on the front part and the 2 teeth on the left and right side. Use the sample image above as a guide.
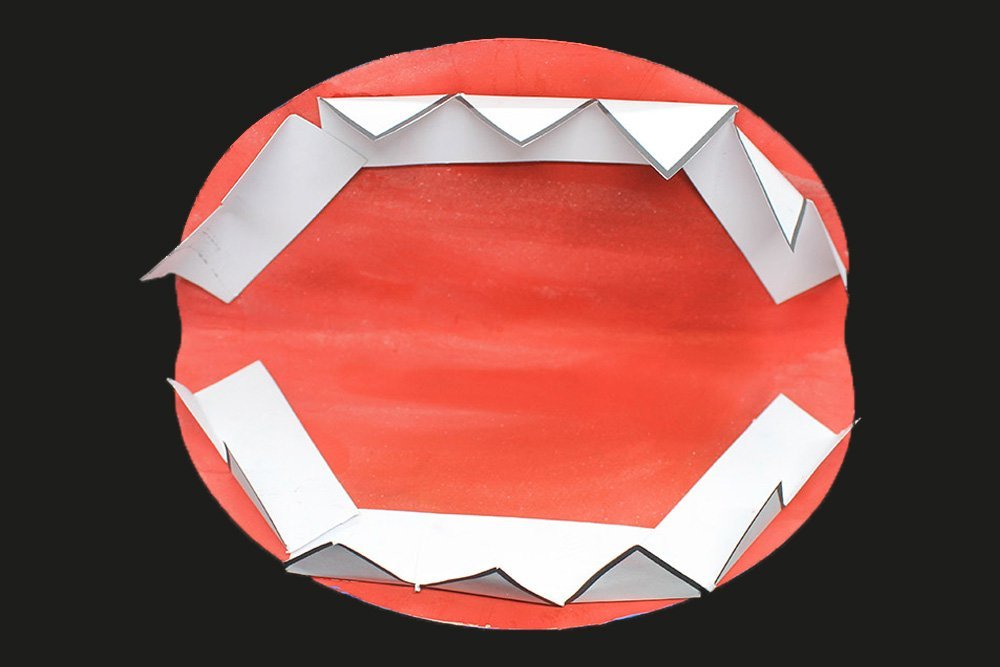
Do the same on the top part of the jaw.
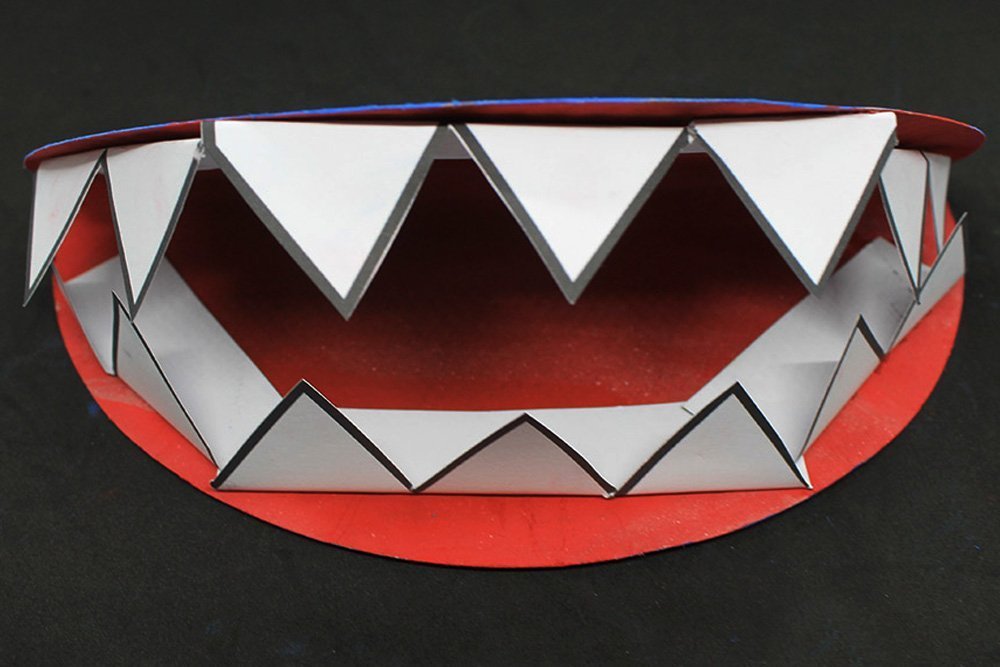
The jaw of the shark is done! Now it’s ready to chomp!
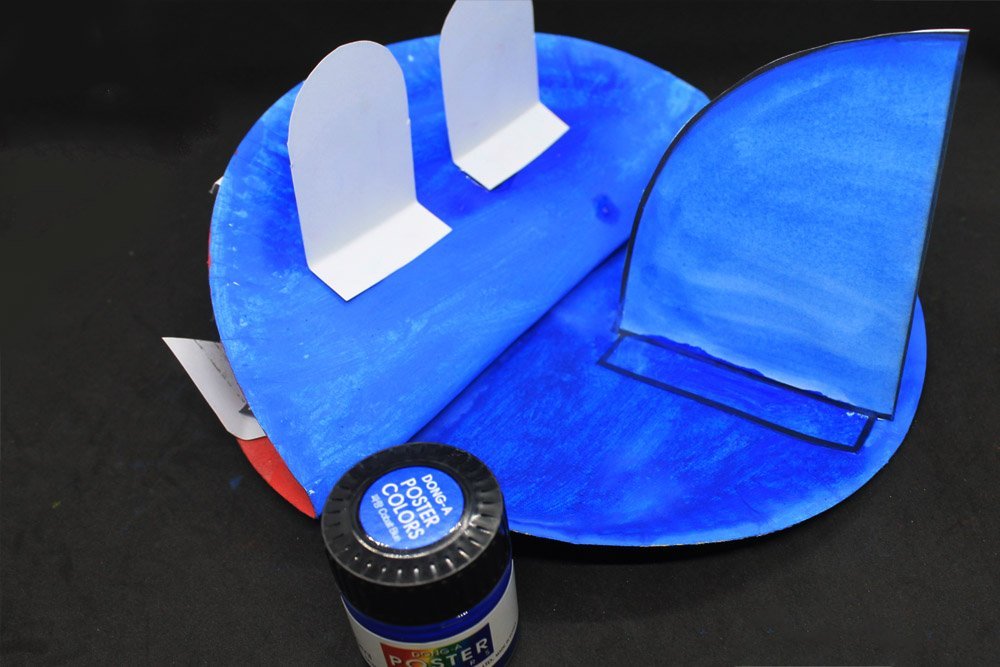
Attach the eyes
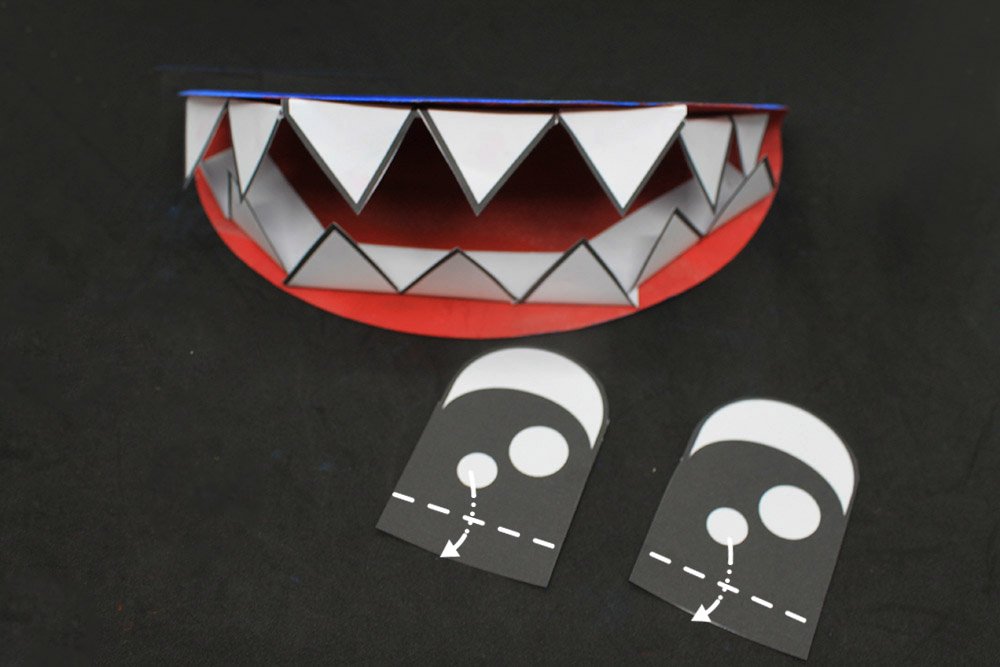
Get the eye cutouts, and mountain fold the bottom straight edge on a right angle.
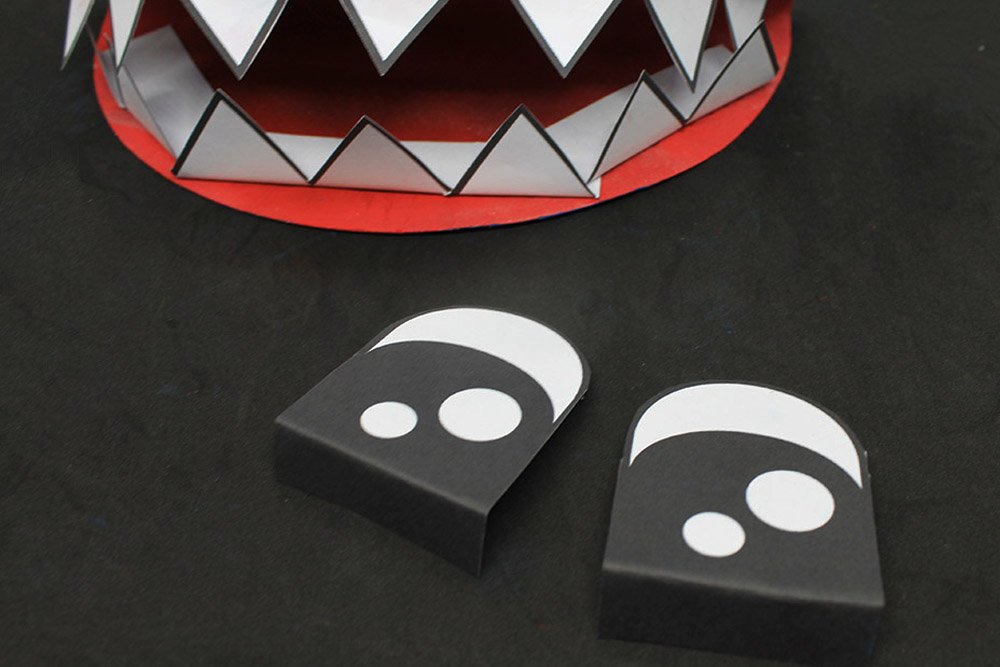
Once folded, it should look something like this.
Paste the eye on top of the head. Do the same on the other side.
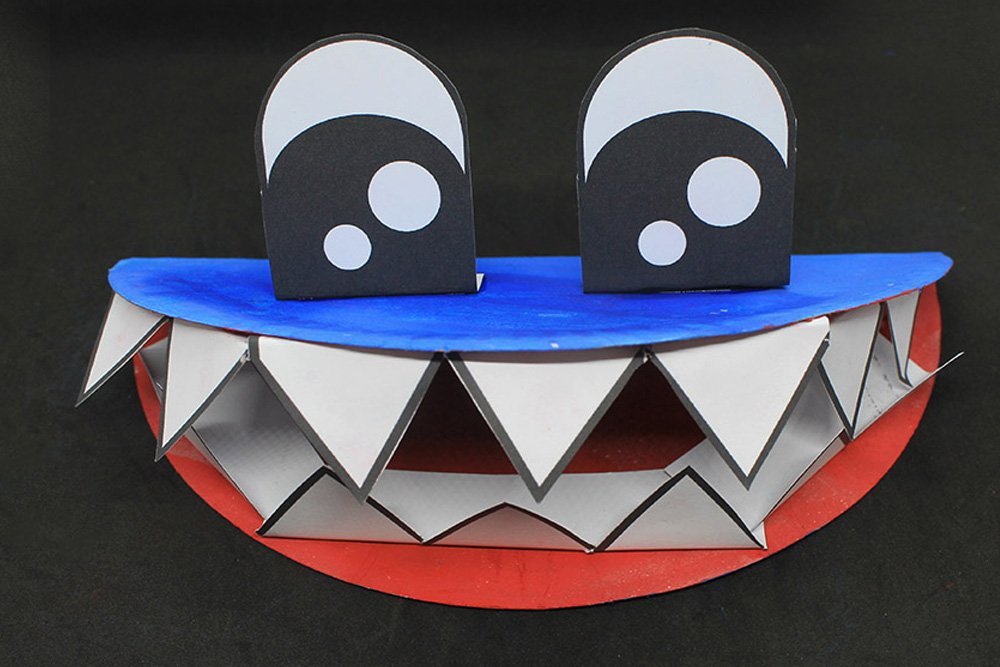
The head of the shark is done!
Stick the head to the body
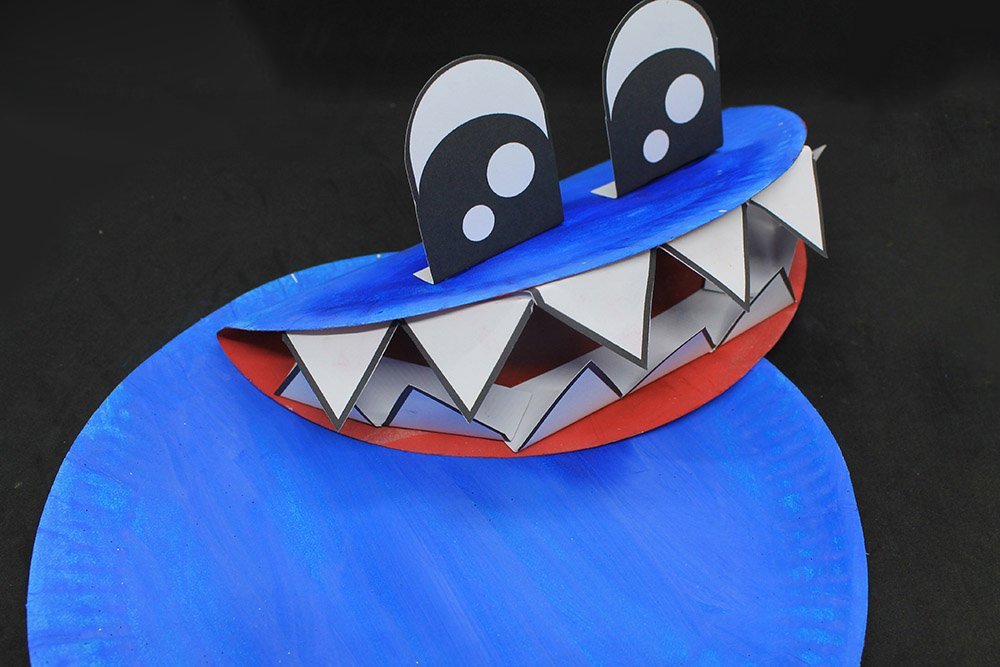
Stick the head to the other blue paper plate using glue.
Paste it one side of the blue paper plate.
Once glued, it should look something like this.
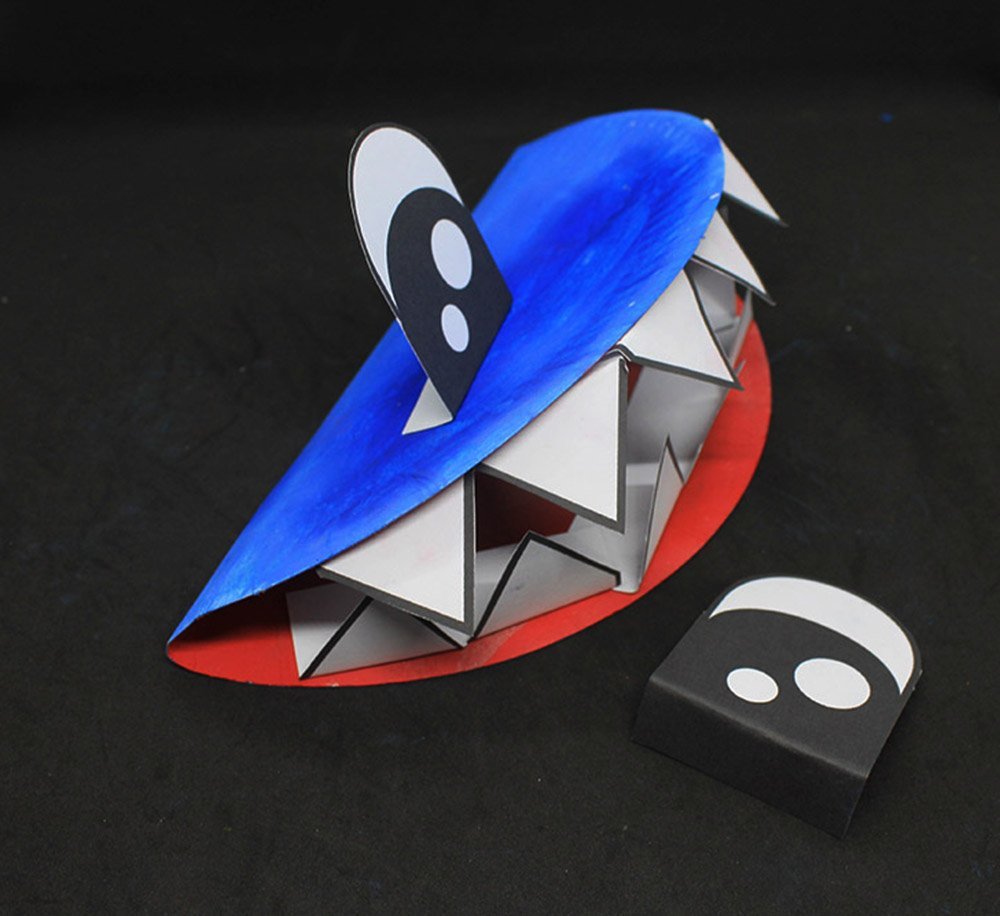
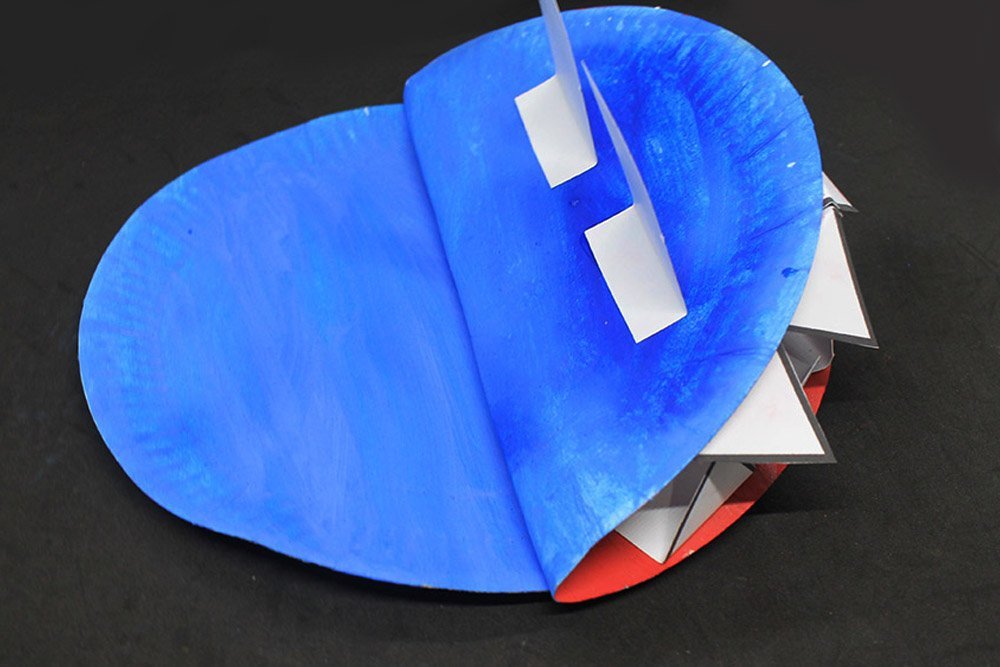
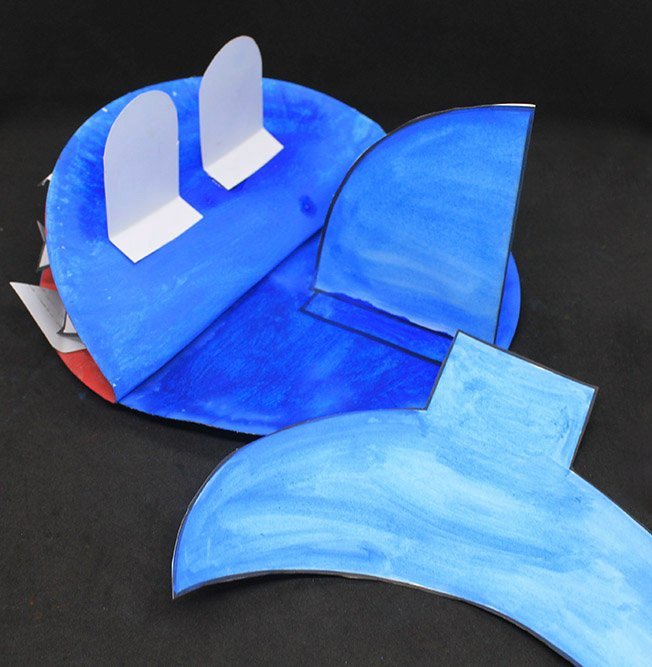
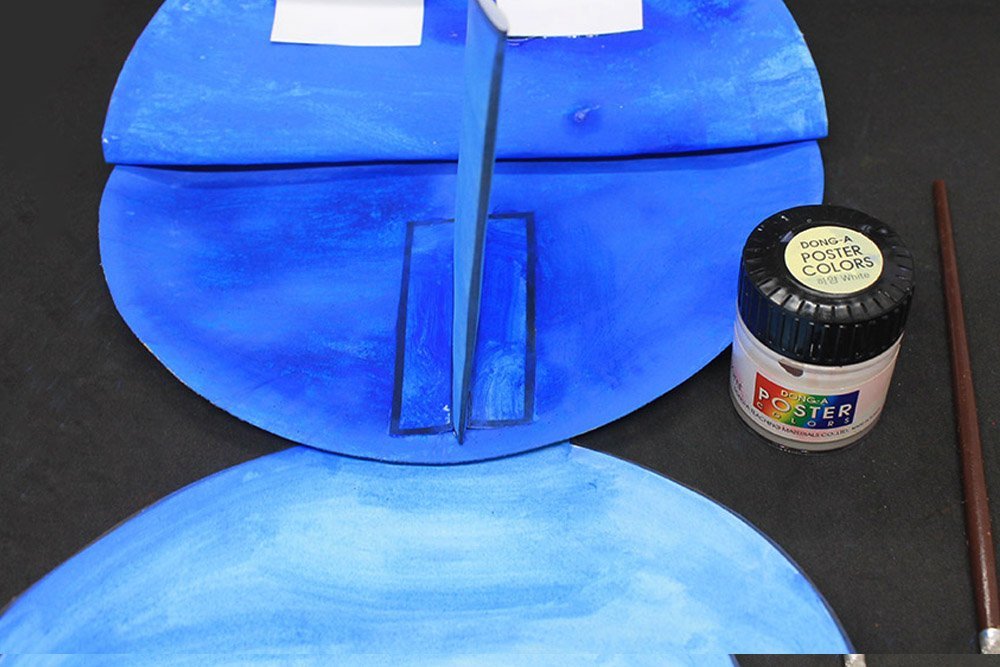
Stick the fin to the body of the paper plate shark
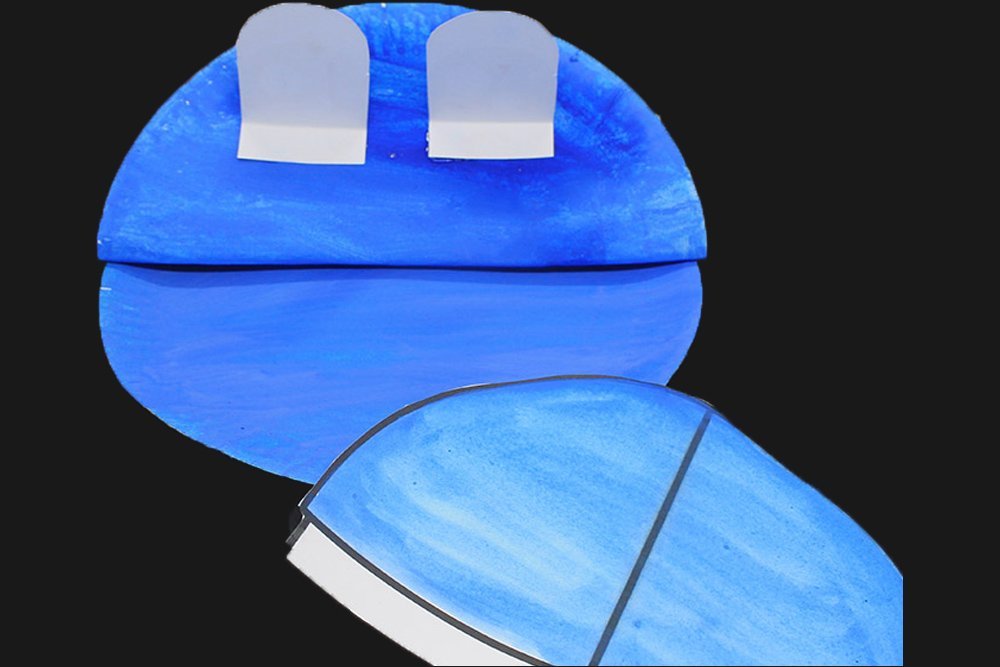
Get the fin cutout and fold it in half.
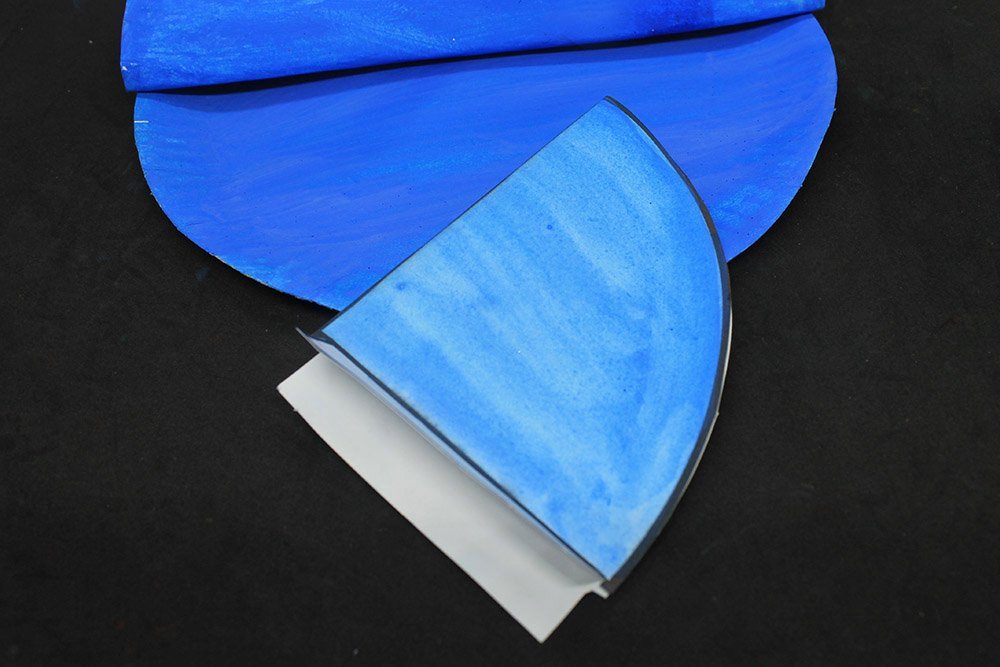
Fold it like the sample image above. The colored sides should be on the outer side. Fold the flaps outwards on a right angle.
Stick it at the body of the paper plate shark in an upright position. Color the white flaps blue to make them blend in with the body.
Attach the shark’s tail
Get the tail cutout.

Stick the tail at the bottom side of the paper plate body.
Design the paper plate shark
Use white paint to decorate the shark.
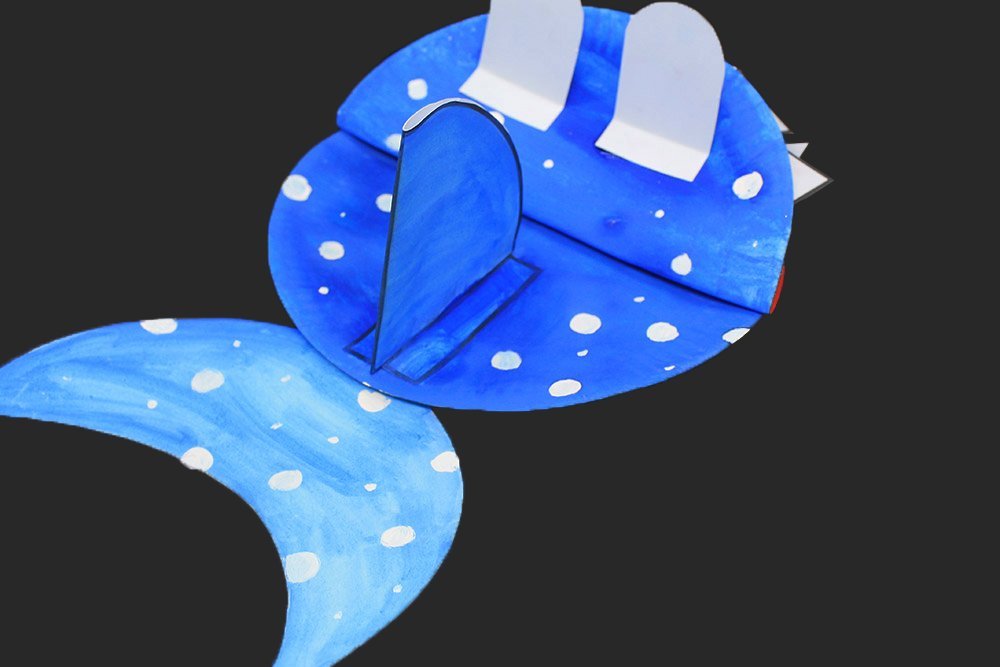
Scatter some white dots all over the paper plate shark.
You may decorate the shark in any way you like!
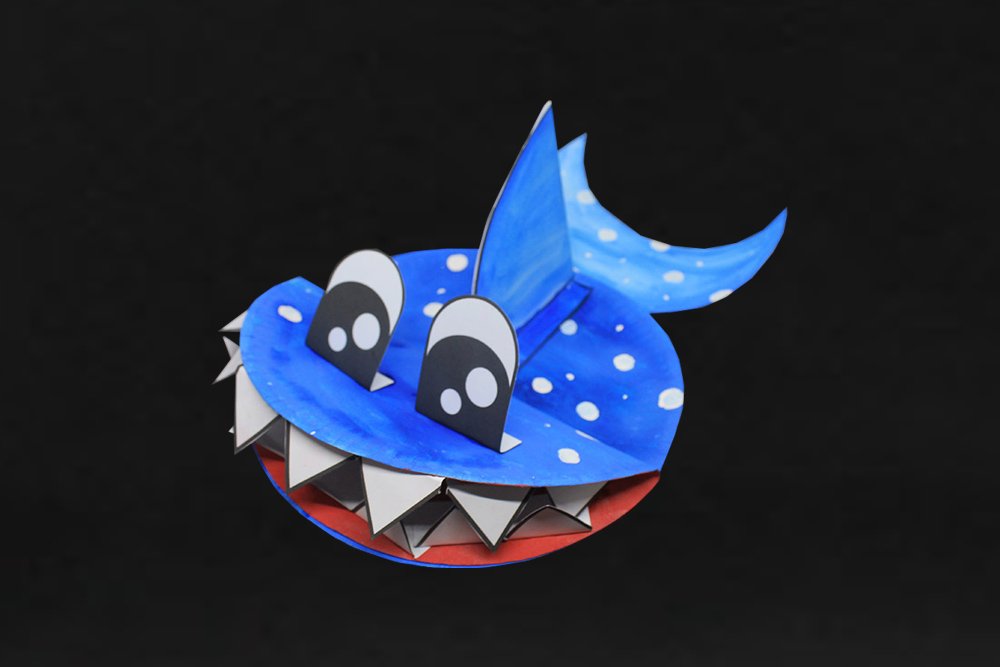
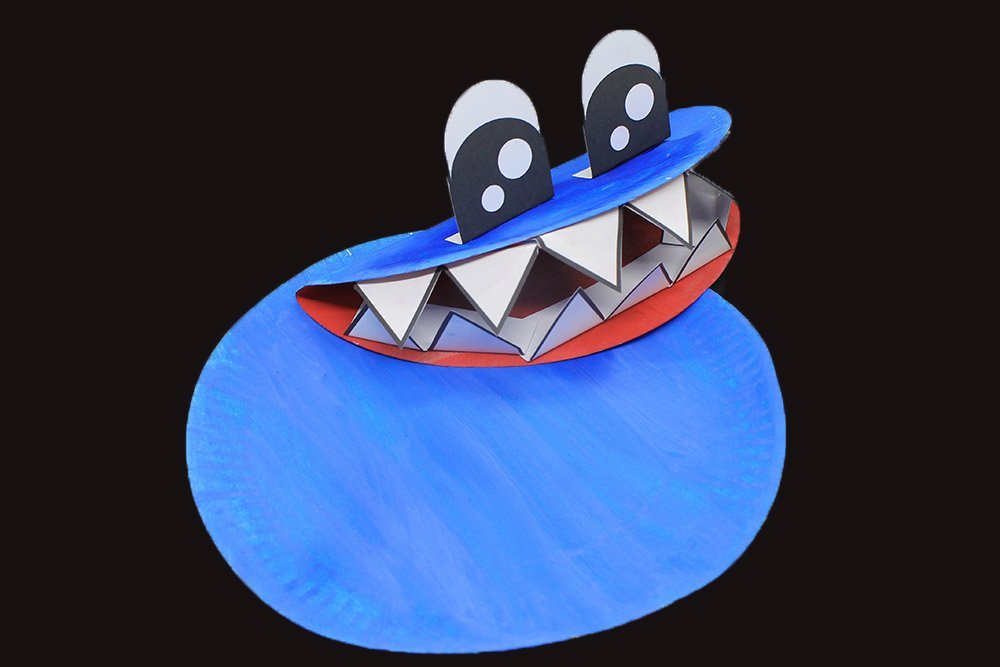
The paper plate shark is done!


Man it looks like a pokemon
Amazing!
Dang, this is hard but it’s cool
I made mine green. Without the guide this would have been a lot harder
Wow, nice guide!