Discover How to fold an origami Bunny Perfect For Easter

Introduction:
This bunny origami may be a bit tricky to make, but this step-by-step instruction will help you make a cute paper rabbit. For this instruction, you will only be needing a piece of paper. It is better to use paper that has color on one side. That way, following the instructions, will be a lot clearer.
This is an intermediate-level origami but don’t let that discourage you. It’s still something beginners can do as this guide has all the pictures and text you’ll need. So, read the guide and have fun!
Form the body of the paper rabbit
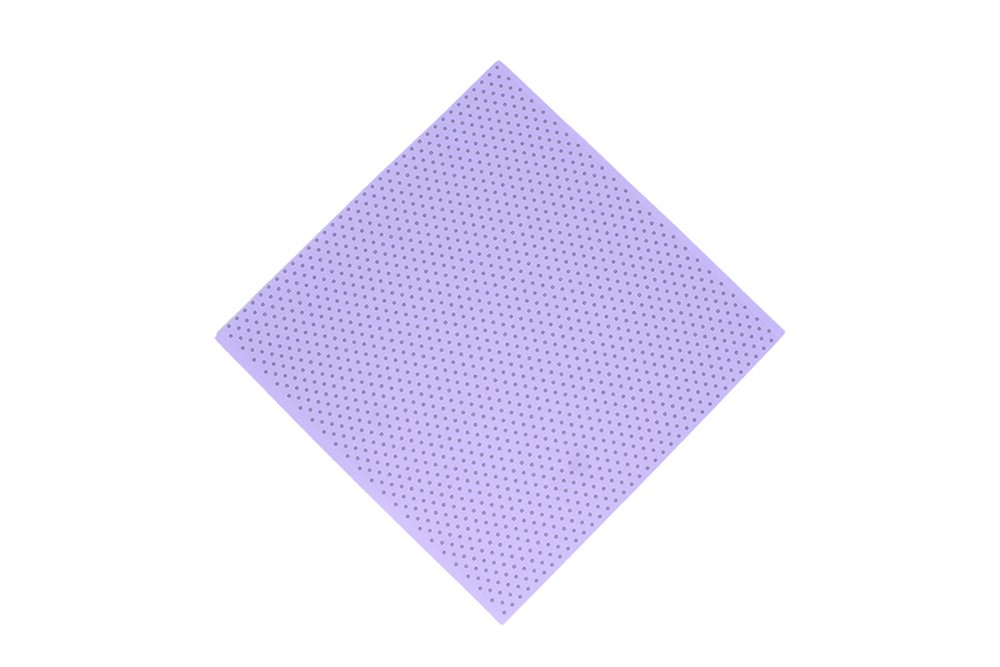
Get a square piece of origami paper. Rotate the paper into a diamond, then bring the top corner to the bottom corner.
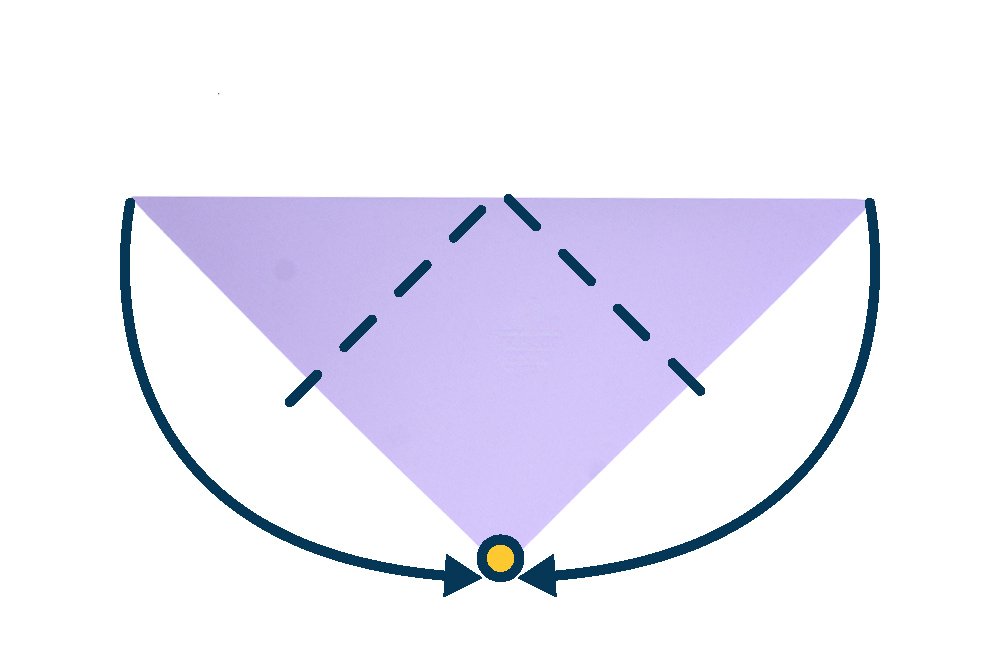
The paper should now look like an inverted triangle. The next step is to fold the left and right corners to the bottom corner.
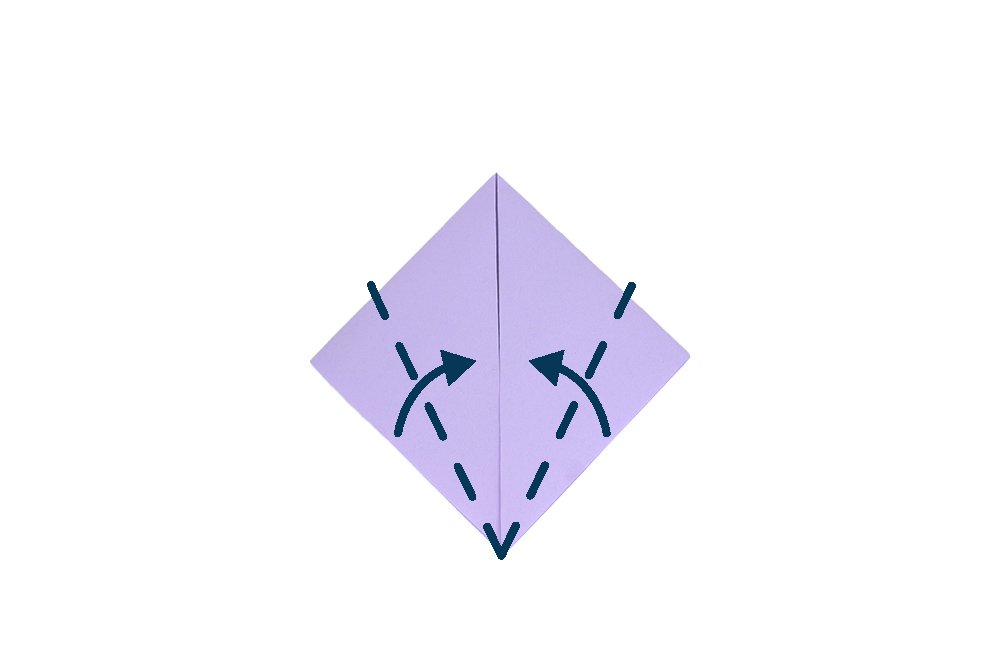
Diagonally fold the paper on the bottom left and right edges. Fold the edges to the center.
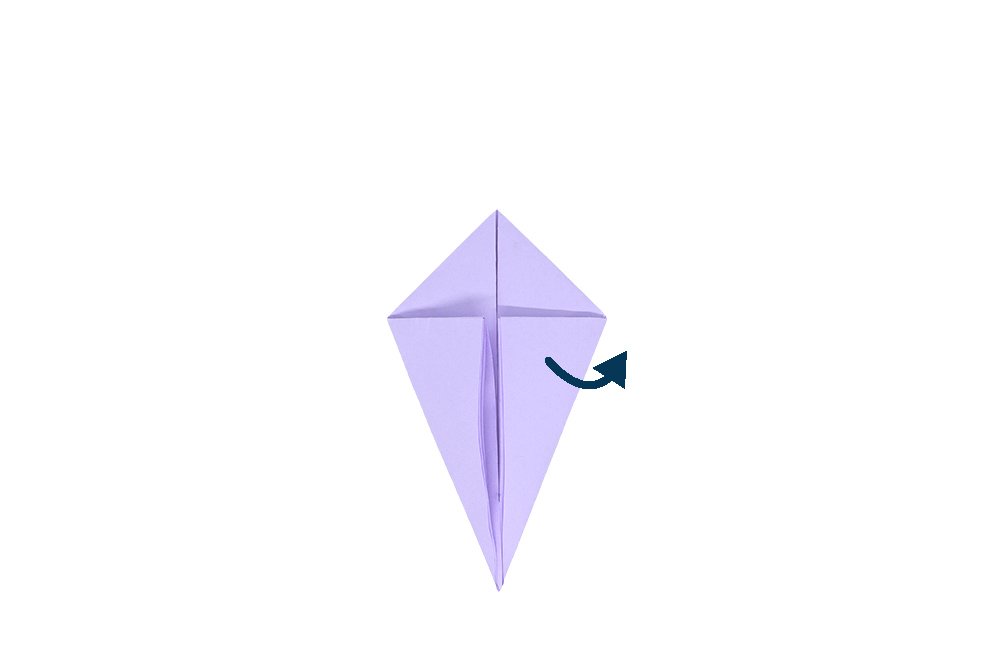
As you can see, your paper resembles a kite now. Next, make a squash fold on the right side by prying open the right top flap.
Fold the Origami in Half
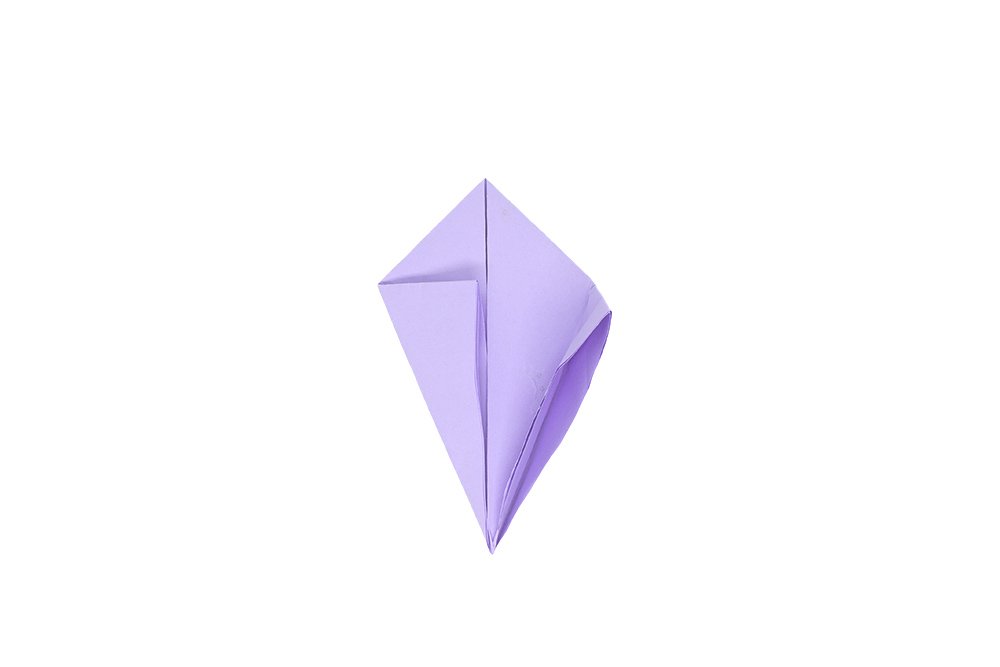
This is what your paper should look like as you lift the right flap up.
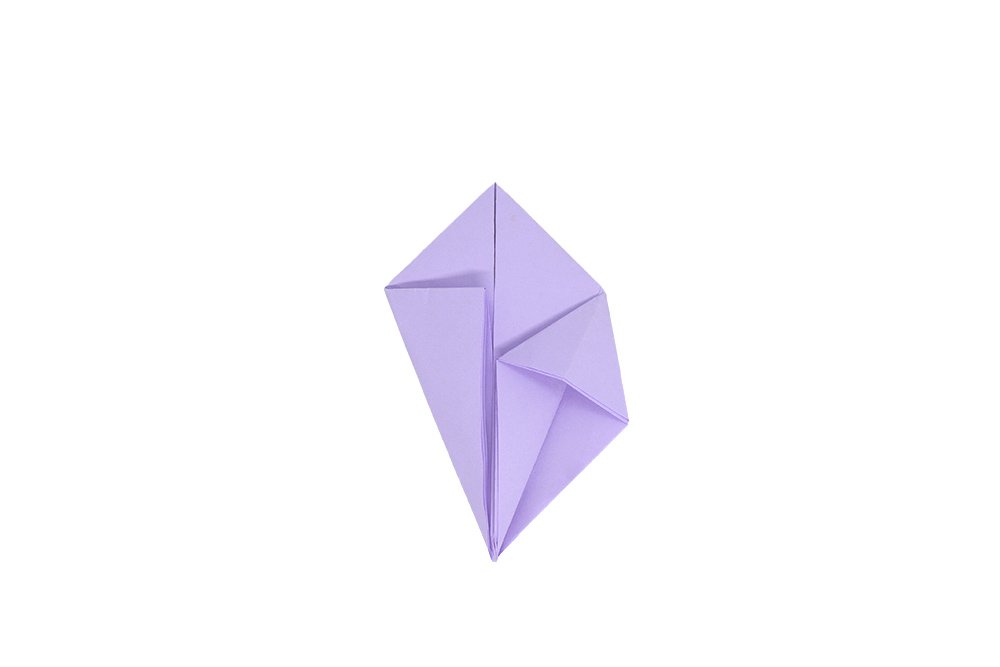
Squash down the triangle formed in the previous step.
Repeat the squash fold on the left side. Pry open the top left flap and then squash it down to flatten.
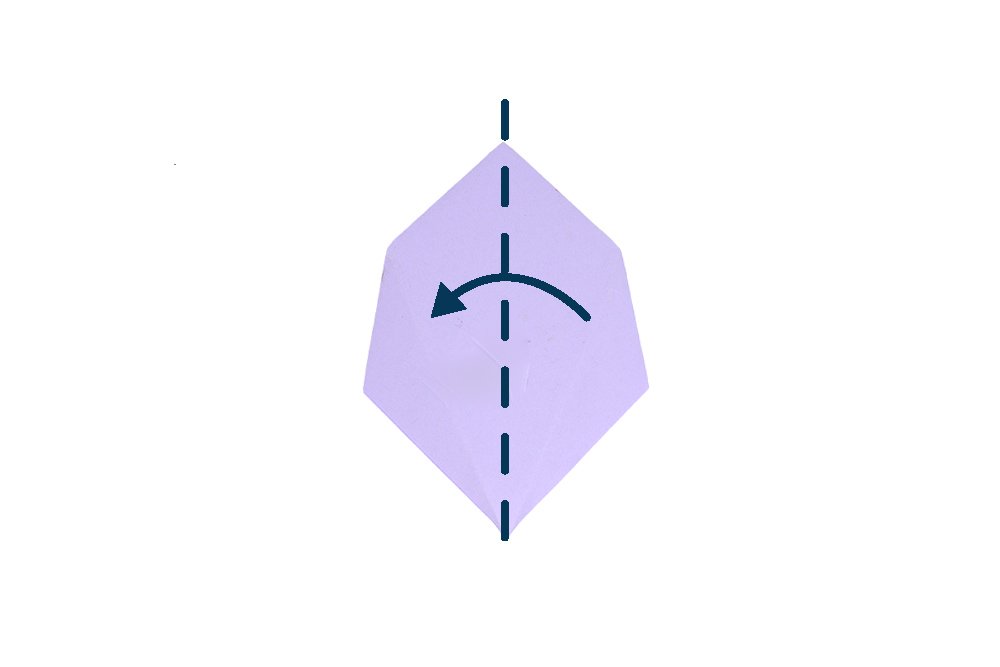
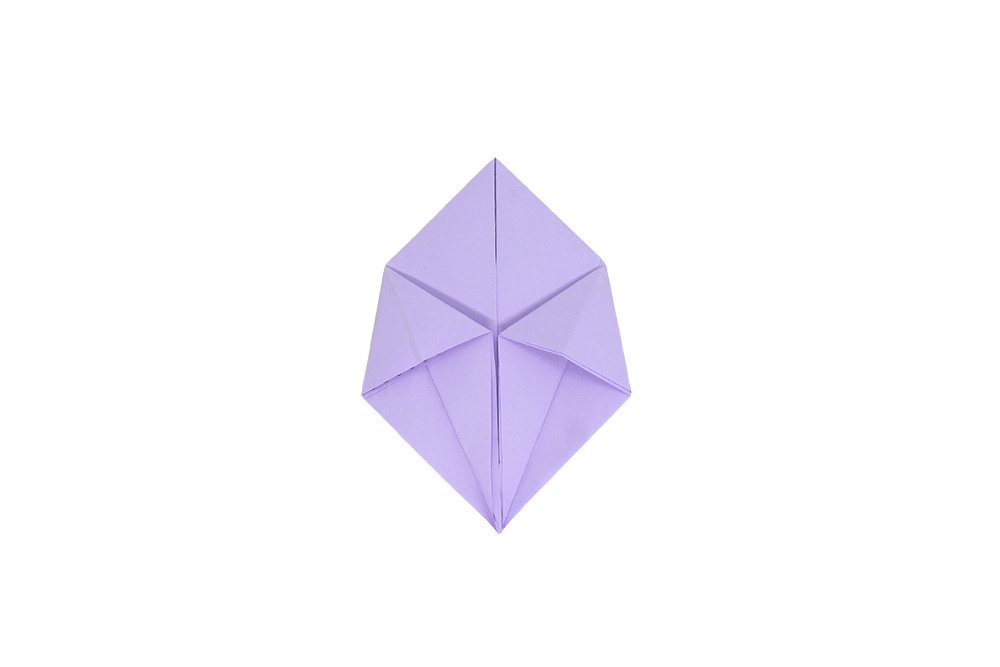
Bring the right corner to the left corner thereby folding the paper in half. Time for the next set of steps.
Make the ears of the origami bunny
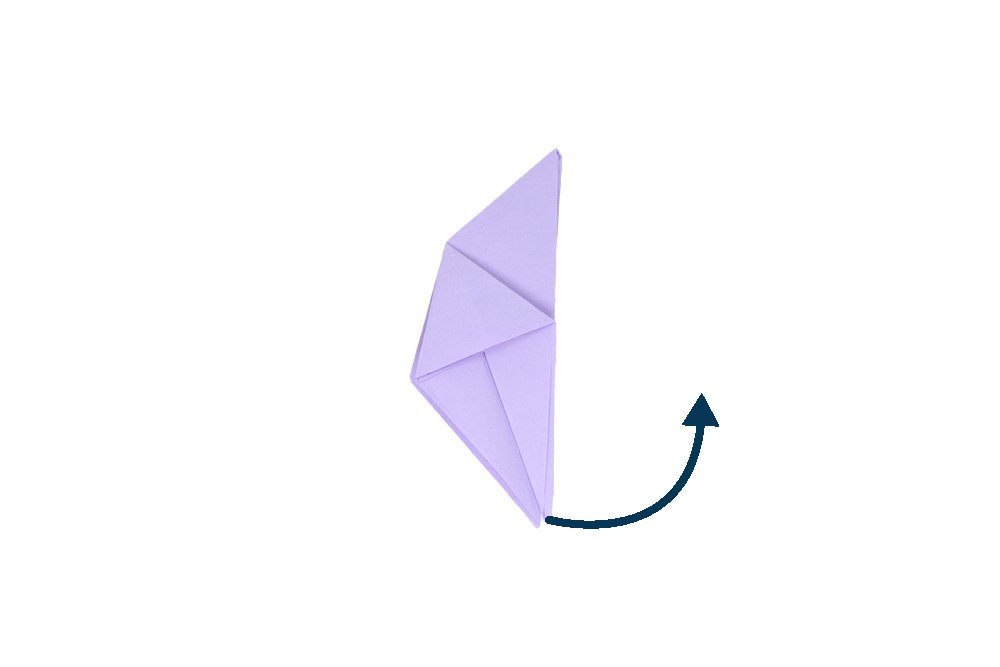
Move the tip of the bottom flap of the top layer upwards to the right. This will form the ears of the bunny.
Keep moving the bunny’s ear upwards until it flattens to the top area.
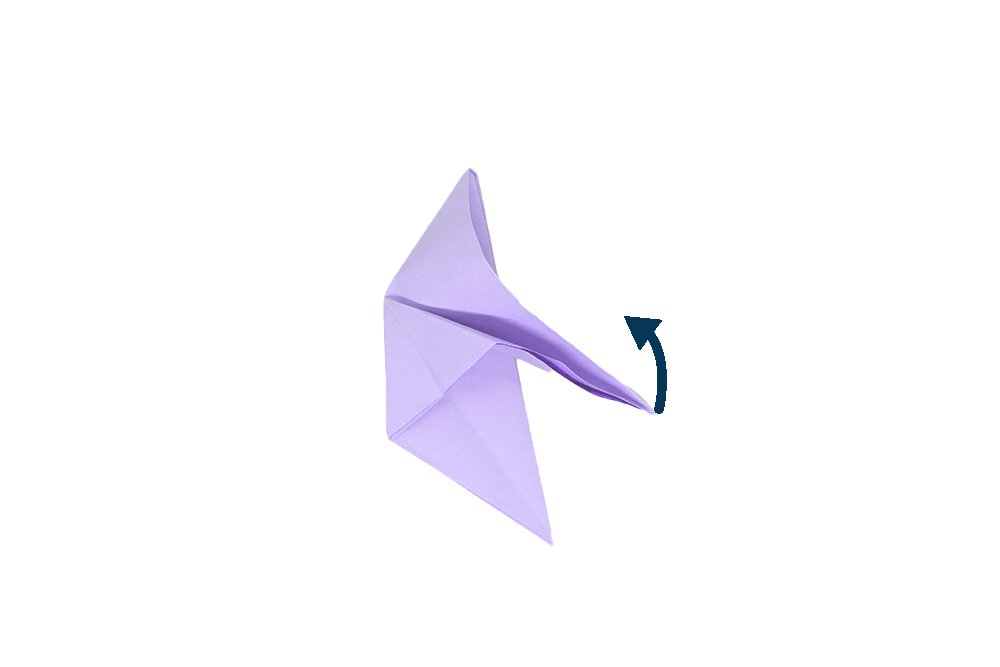
This is what your paper should like once you flattened it.
Turn the paper to the other side.
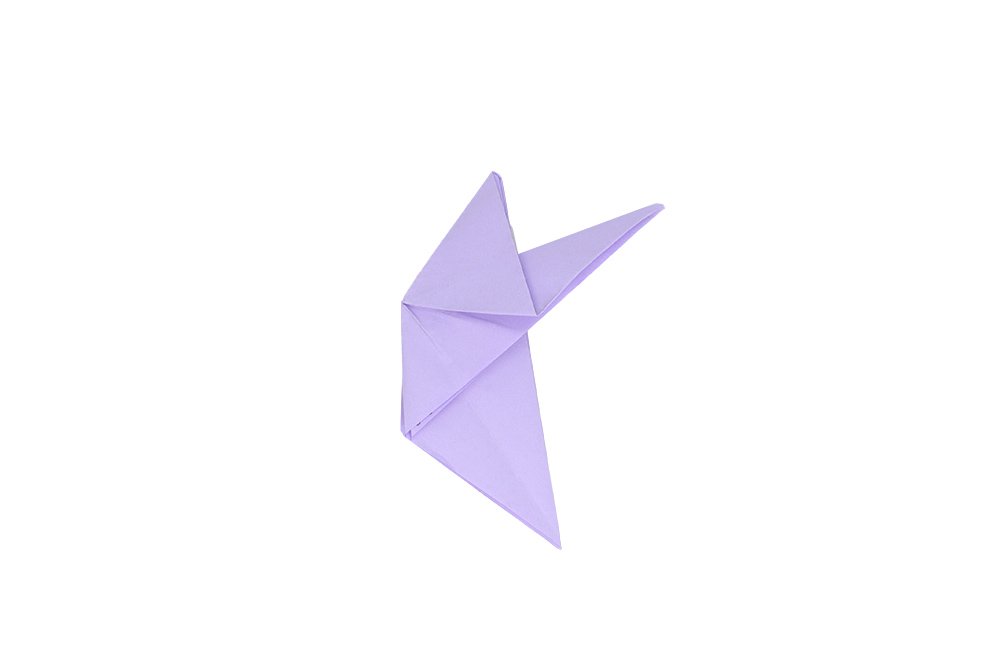
Repeat previous steps on the other side to make the other ear of the bunny origami.
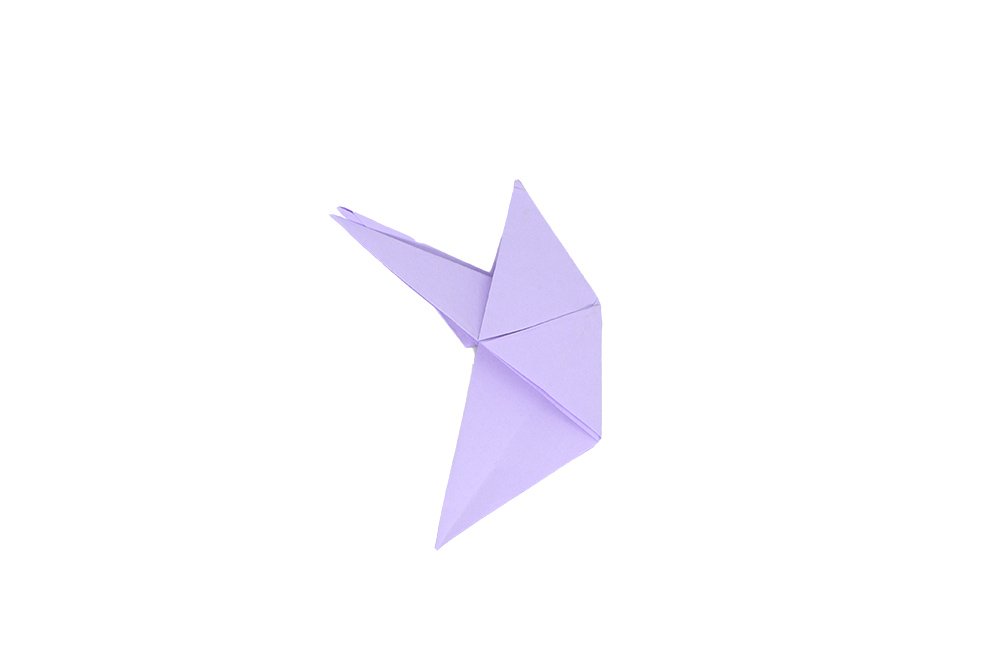
Rotate the bunny origami 45 degrees clockwise.
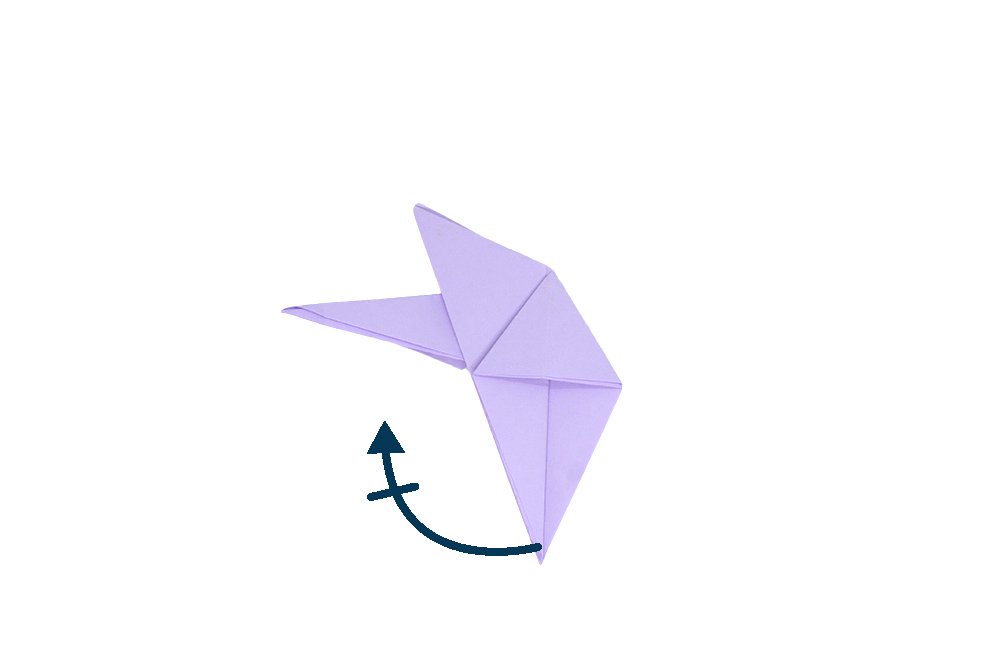
Valley folds the bunny ears as shown. Do the same on the other side. Now that you've made the ears, now it's time for the next set of steps.
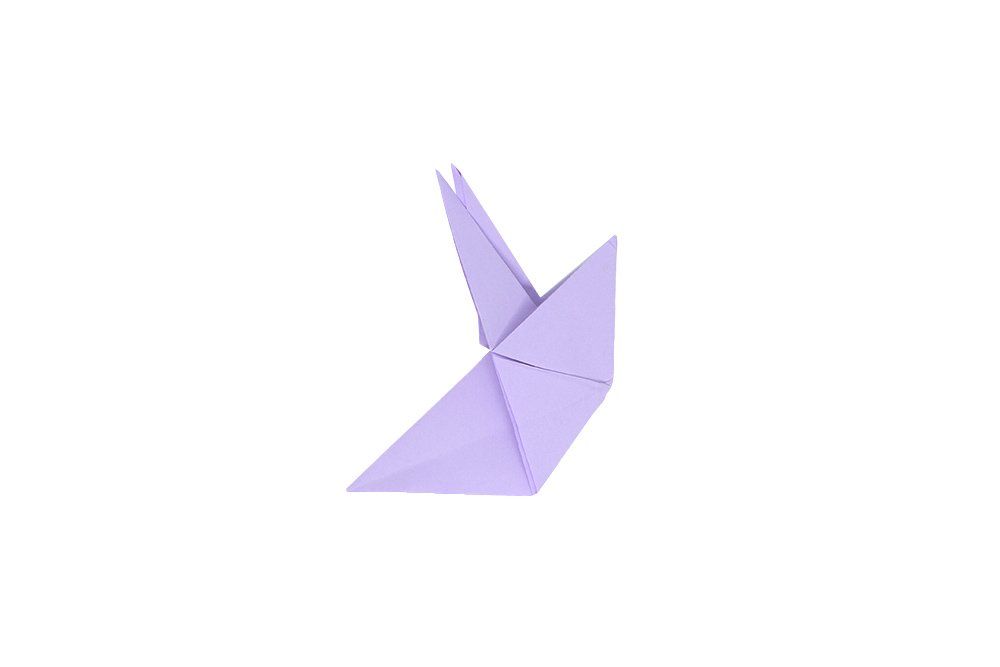
Make the head and tail
Pry open the right side of the origami paper as shown. Do this while pulling the right tip down. This will make the head of the bunny.
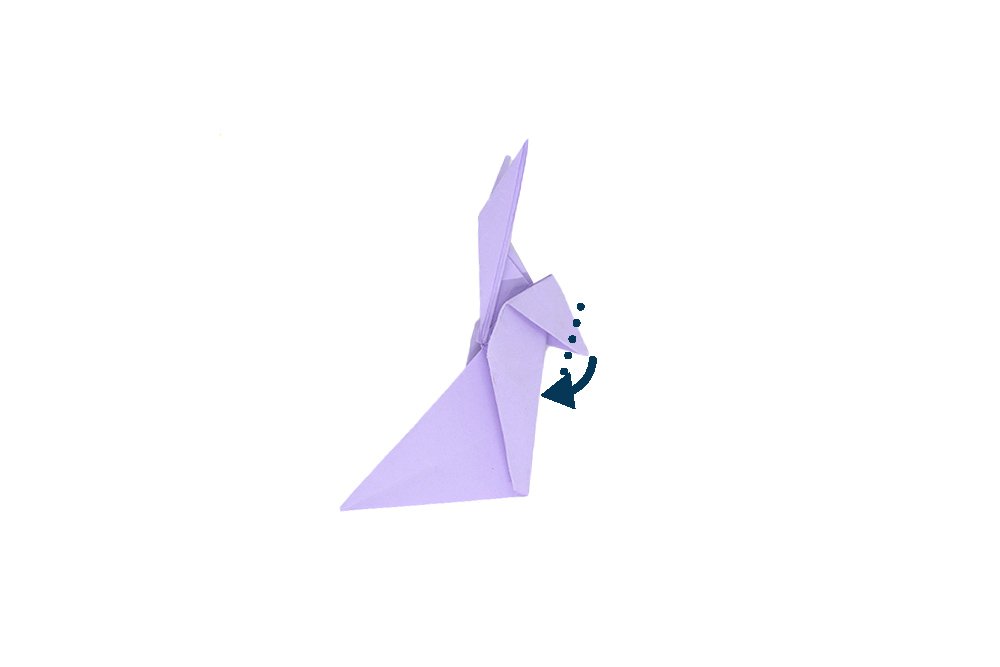
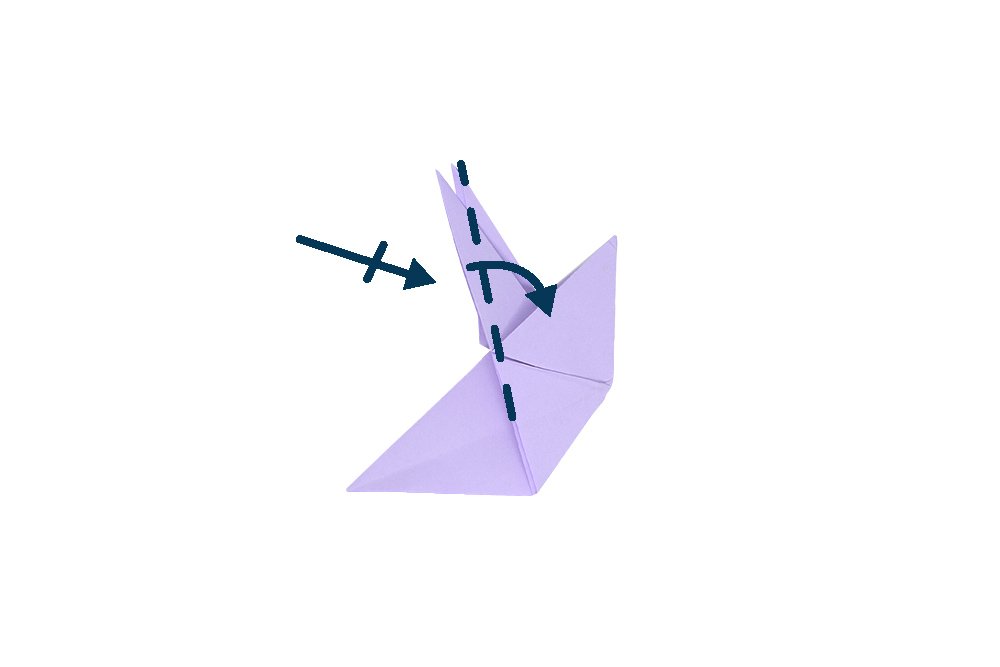
The form of the bunny origami now looks like an actual rabbit. Now fold the right tip of the head inwards.
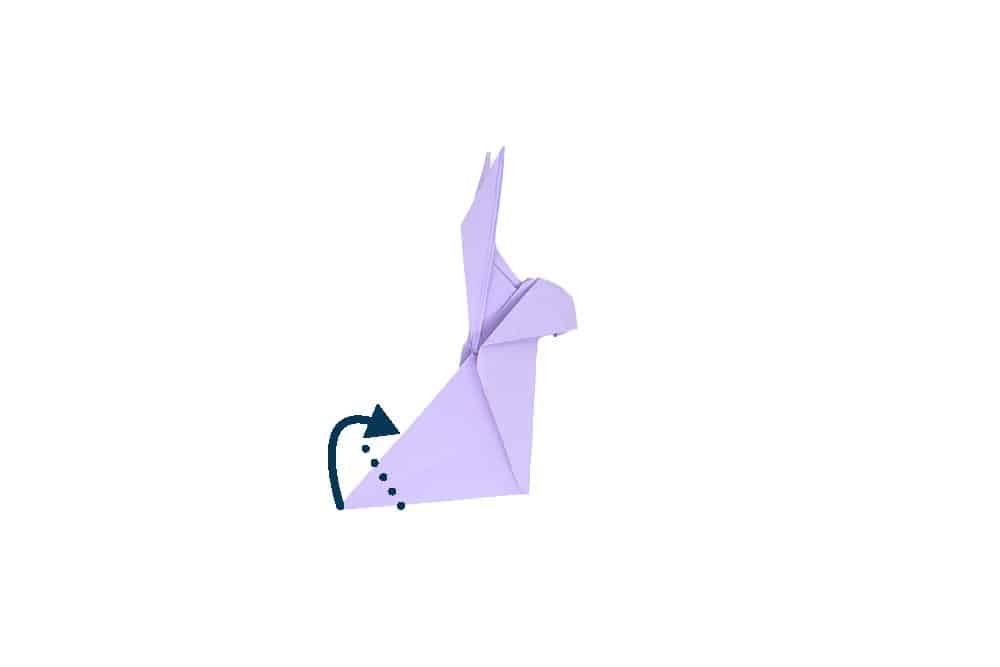
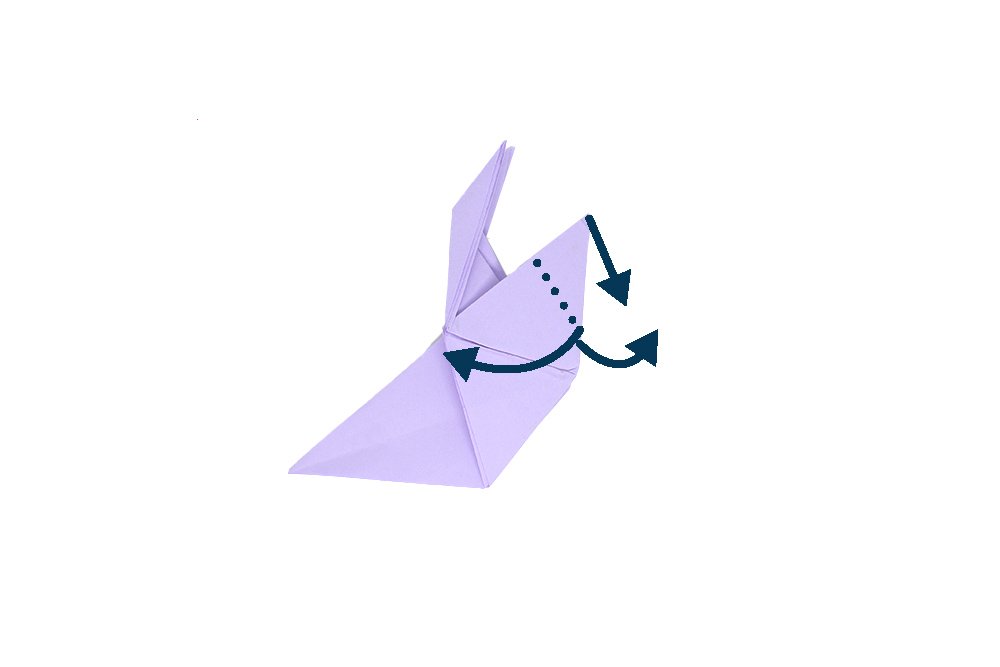
Almost done! Make the tail by making an outside reverse fold on the left side.
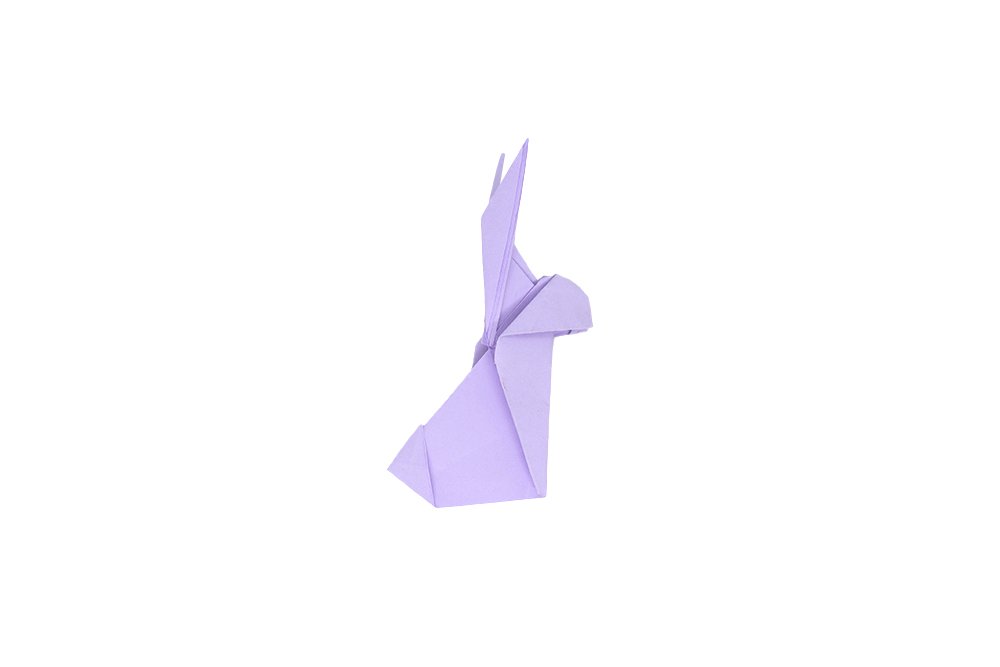
Your origami bunny is done! Make more paper bunnies and build a rabbit family! Do you know that can make a bunny out of a napkin! Try it yourself!
Extra Tips
- Make sure to make straight folds, and apply enough pressure all the way when folding.
- Make sure to follow the steps closely. Focus but don't forget to have fun.
- It's okay to make mistakes here and there. Just get another piece of paper if needed and try again!

Wow, thanks!
Amazing paper animals making…. I will try it.
Ok so I was following you step by step, hard at first but worth it 🙂
Thanks for making the guide to the rabbit – didn’t find it as hard as i expected
Tricky…but mine turned out nicely in the end!