Build an Easy Origami Dog From Scratch | DIY Kid’s Paper Craft

Introduction:
A great paper origami activity for kids and beginners, this origami dog is effortless to do. You only need to use simple folds and two pieces of origami paper to make this cute dog. Just follow the instruction, and once you’re finished, you may draw the dog’s face to give it some character. Children will surely enjoy this simple dog origami!
Create the head of the paper dog
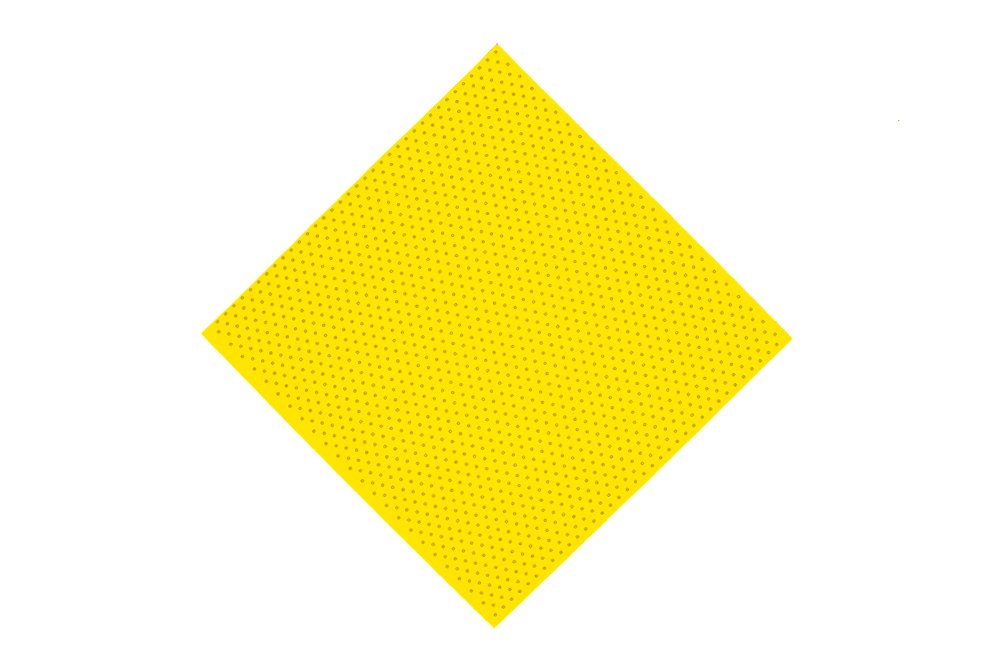
Get a piece of square origami paper. Orientate it into a diamond. Fold the top corner to the bottom corner.
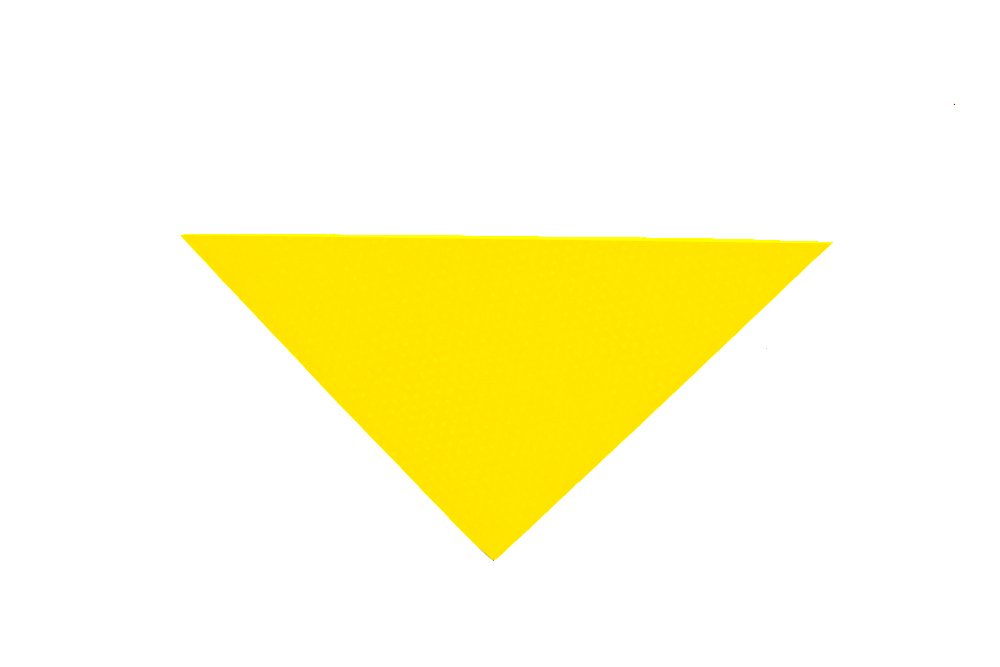
Step 2 should look like this triangle. Bring the left corner to the right corner.

Crease the origami paper well and unfold.
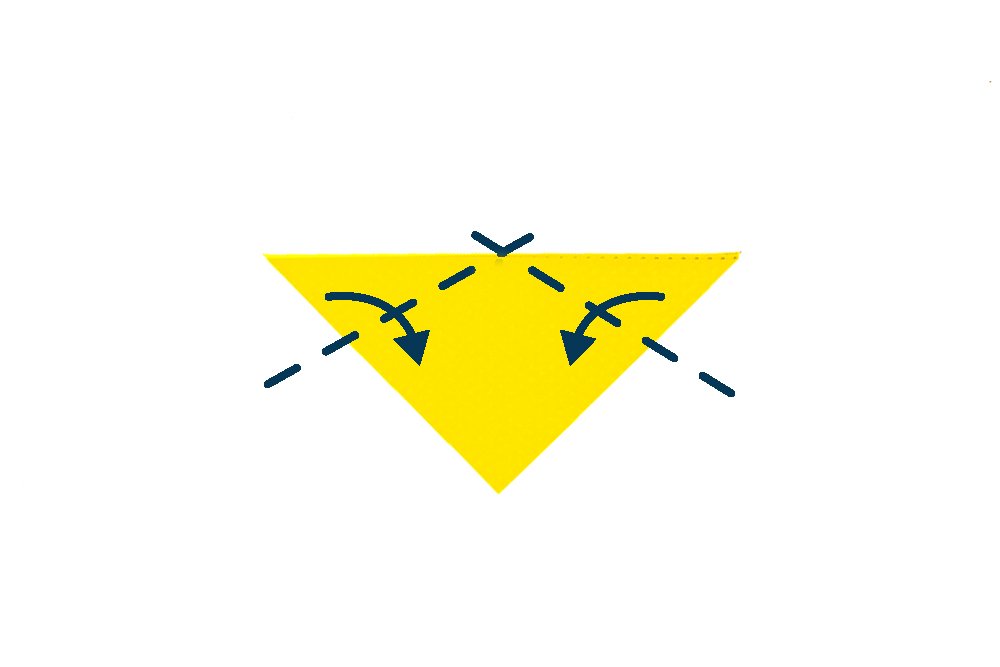
To make the dog origami’s ear, fold the left and right corners along the dashed lines.
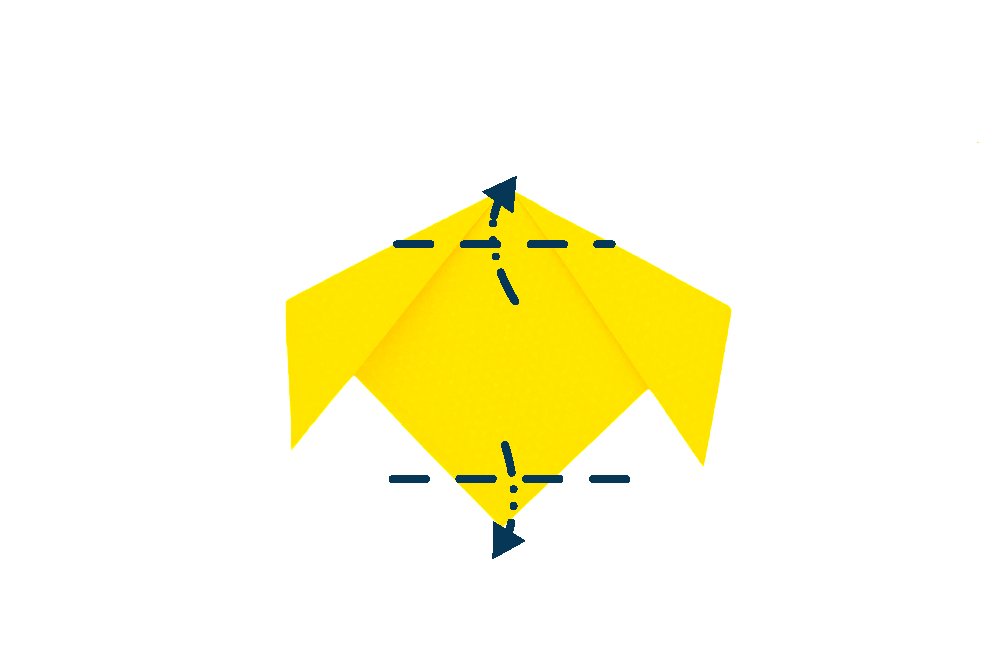
To mold the face shape, you must fold the top part and the origami piece’s bottom part behind. Follow the dashed lines as shown.
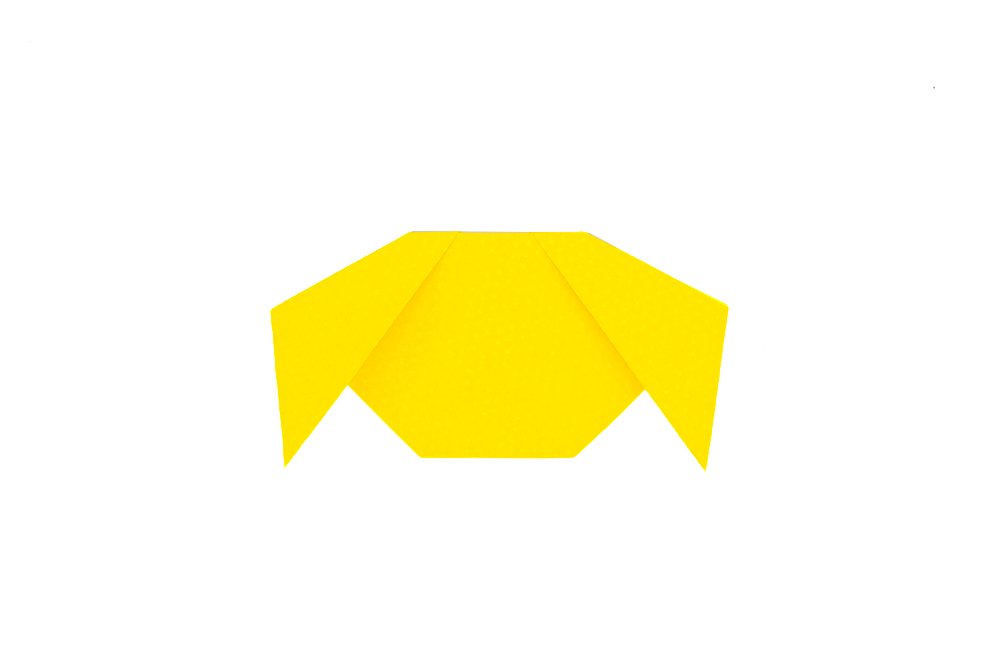
The head of your origami dog is done! Get a new piece of square origami paper. The paper should be the same size and kind as the one you used for the origami dog’s head.
Build the origami dog's body

The body of the origami dog will be this new paper. Fold it diagonally half as shown in the next image.
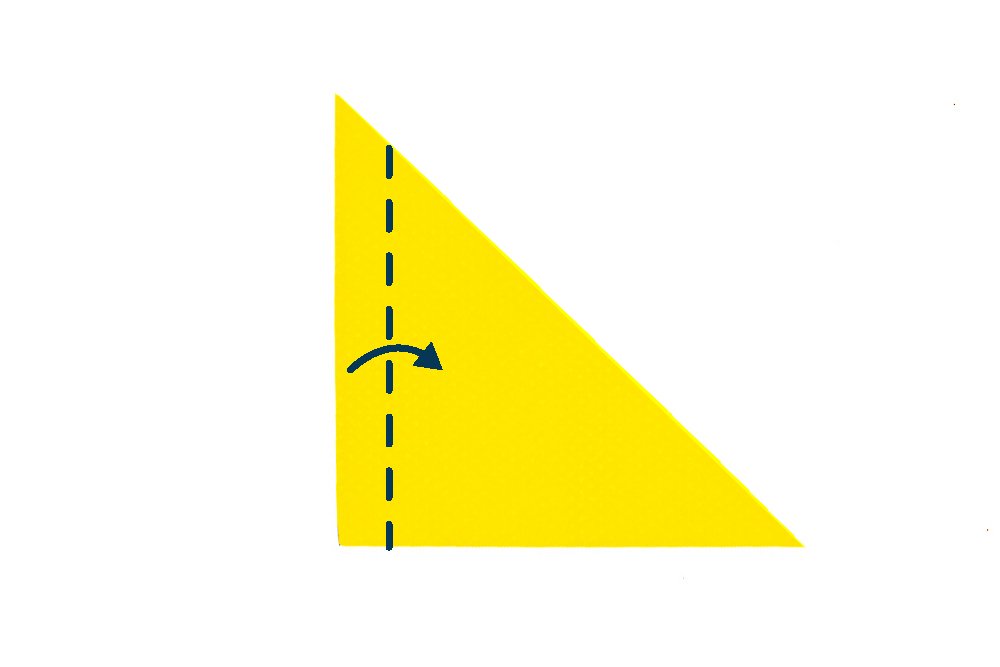
To make the origami dog’s front legs, fold the left side along the dashed line. Crease it well and the unfold.
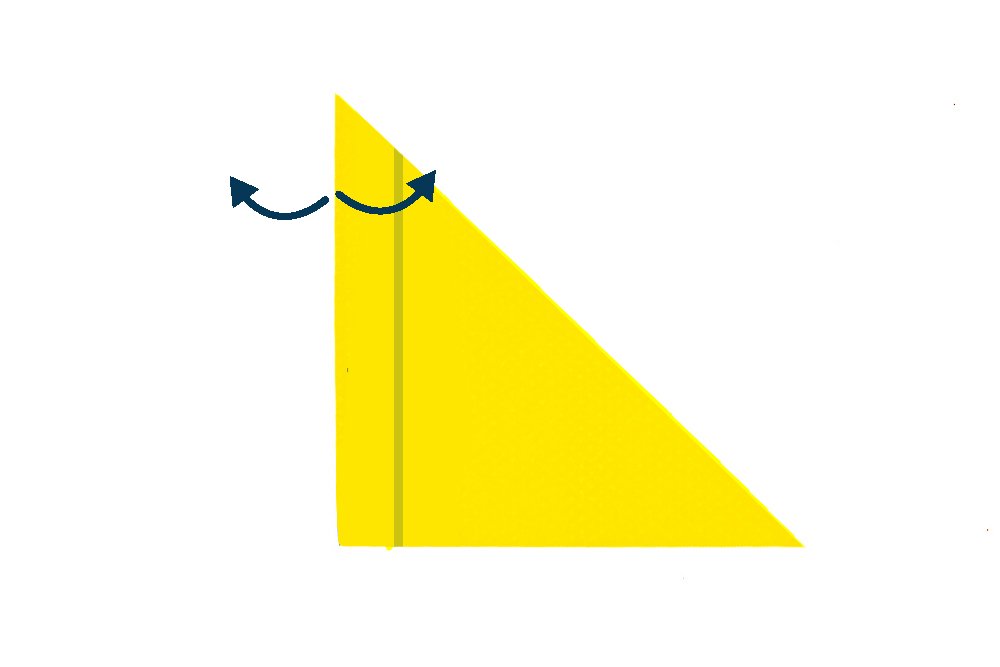
Open up the 2 flaps from the left folded side.
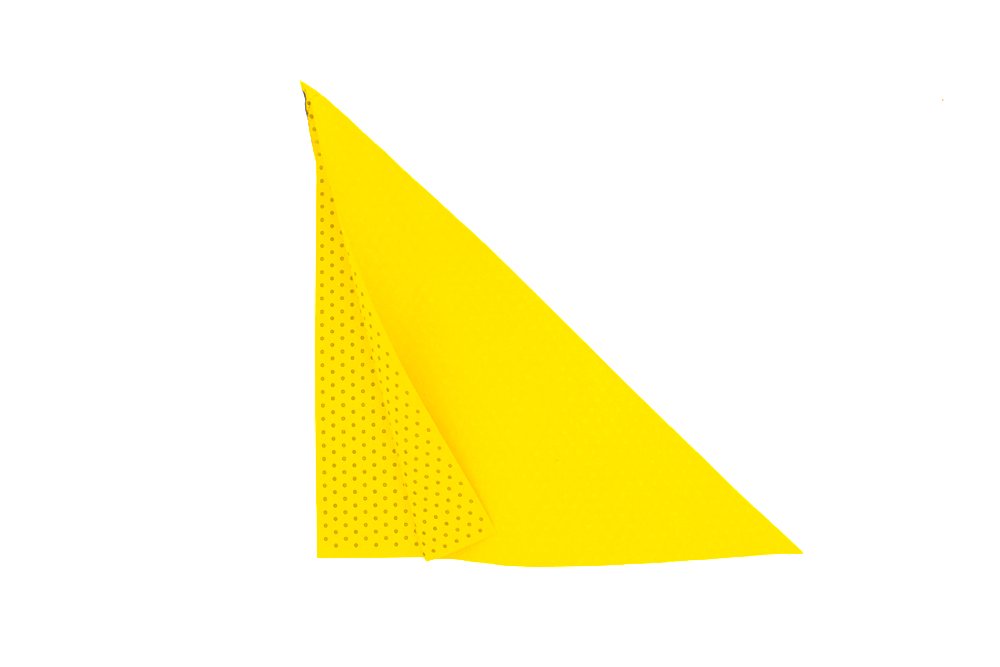
It should look like this. The uncolored side of the origami paper should be exposed. Make a squash fold by bringing the top corner down, then squashing it to flatten.
Give our little friend a tail
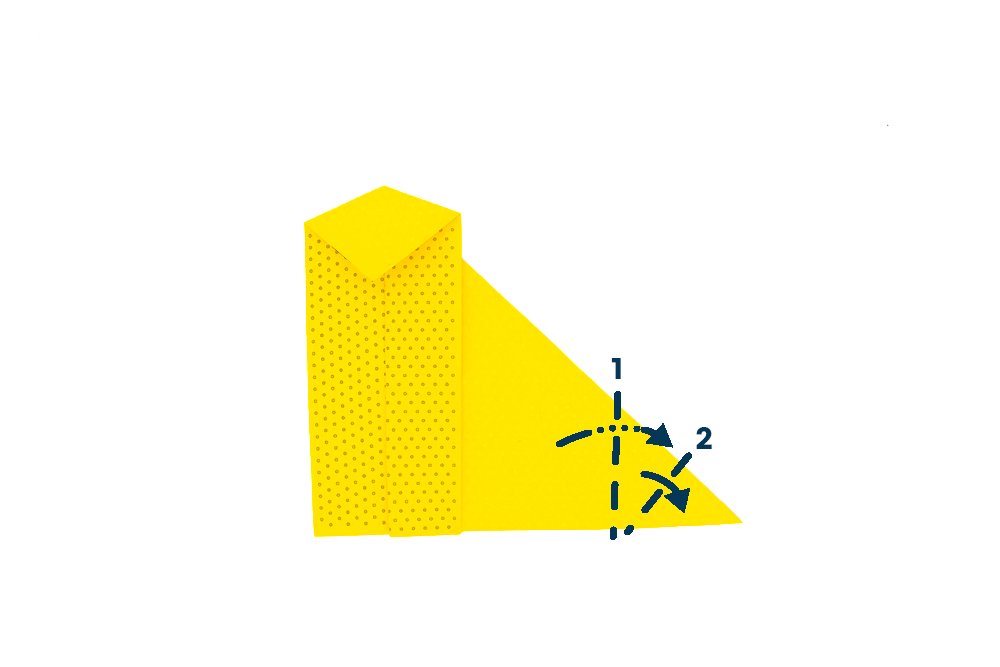
To make the dog’s tail, fold the paper behind along the left dashed fold. Then fold along the right dashed line.
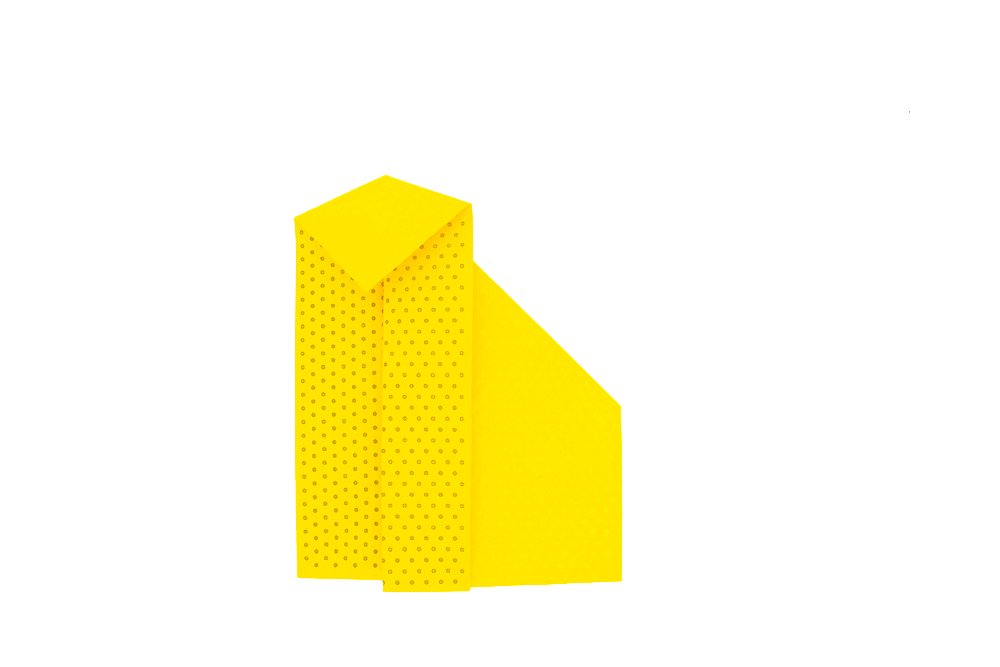
Crease the folded areas from the previous step well and then unfold.
For the crease made on the right side, pinch the paper at the crease so that the crease is downward.
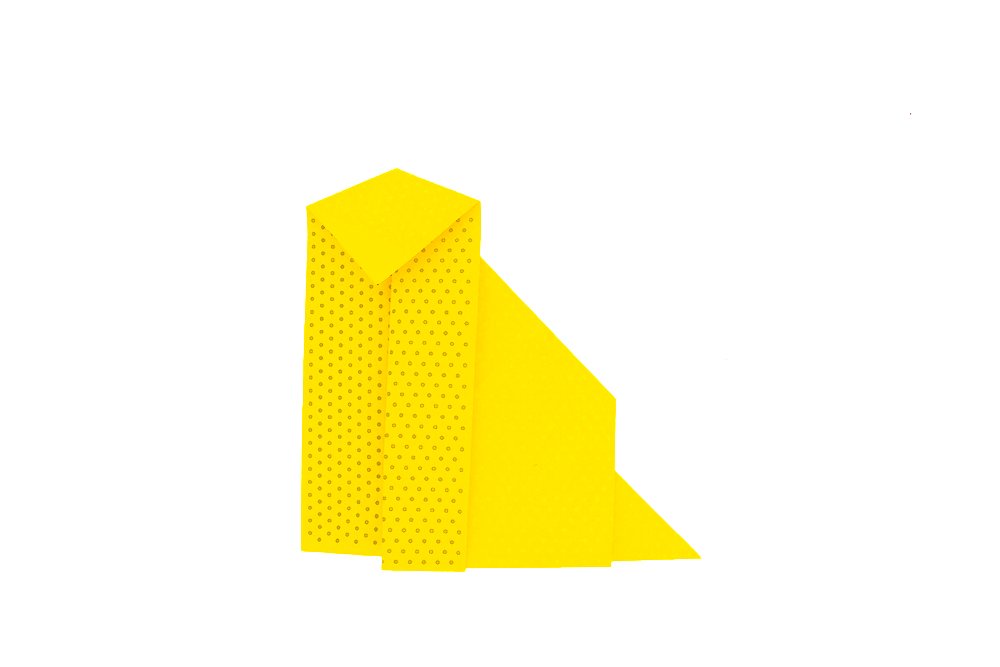
Lastly, put it all together!
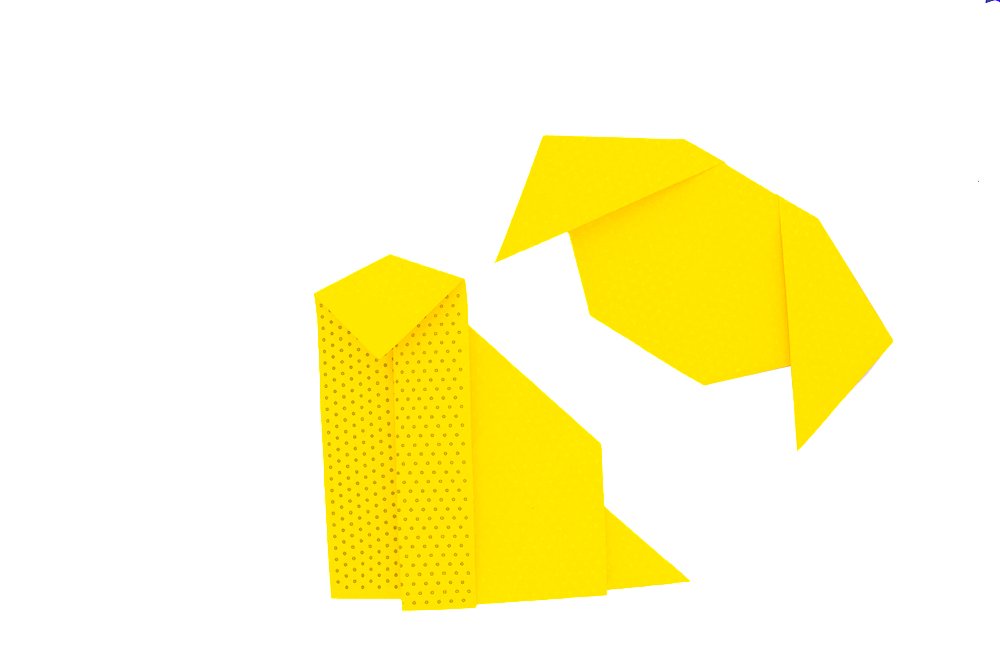
Grab the origami head you made on the first part. Use glue or tape to attach the head and body of the dog origami.
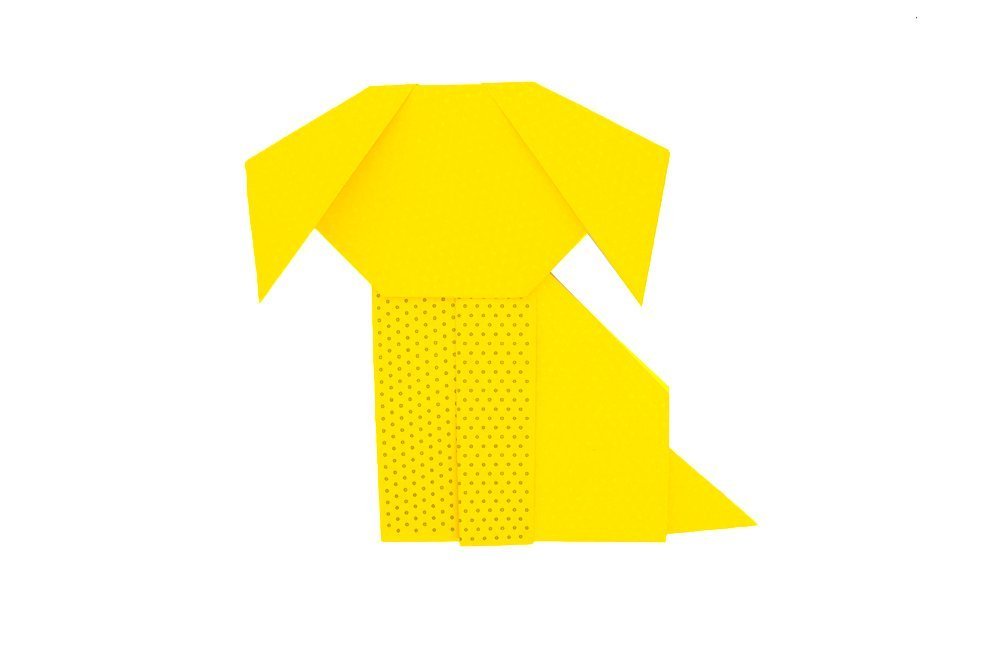
Woof! Your origami dog is done!
Extra Tips
- You may draw some eyes and mouth if you want to make it come alive.
- Use some smaller pieces of paper to make puppies.

I found it very clear and easy to understand
keep it up
😊😊
Lindo demais Deus abençoe sempre!!!
I have a question – can I take a bit small sized square paper? Like 4 by 4 cm??
course u can make an awesome tinee winee doggie
Gostei