Origami Fighter Jet F14 – Instructions with Pictures

Introduction:
This paper plane jet could be one of the coolest planes that you can fold. Above all, the easy instructions are great for beginners. What’s cool about this paper plane is that it behaves like a real jet as it flies faster than other aircraft and yet has good gliding properties.
Bring the Top Corner of the Jet F14 Down
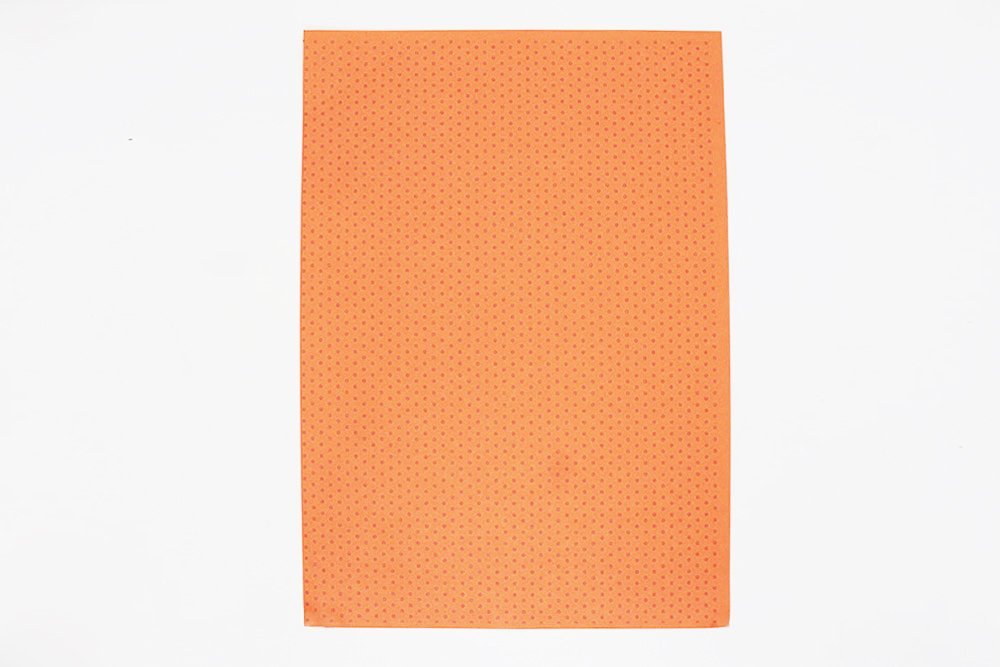
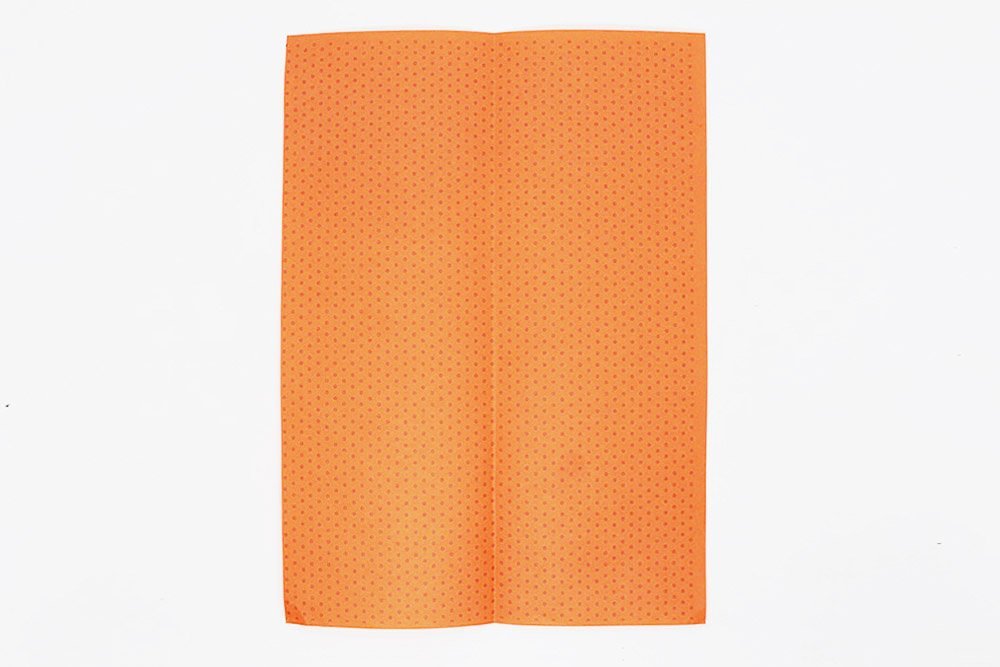
Use an A4 paper for the paper plane and fold it lengthwise in half.
Crease well and then unfold.
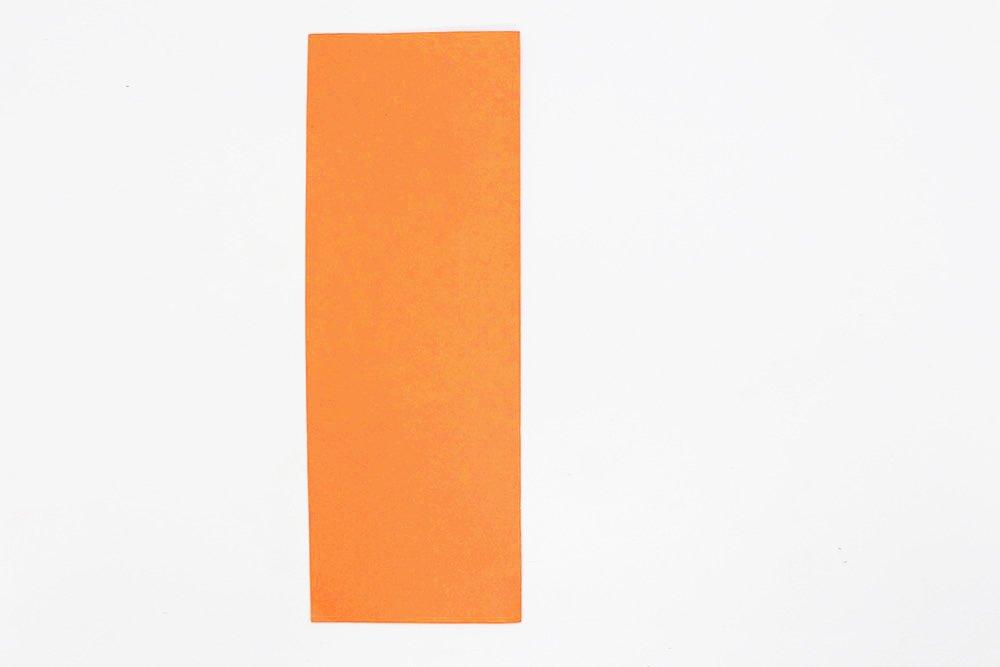
Bring the upper left and right corners to the middle crease line.
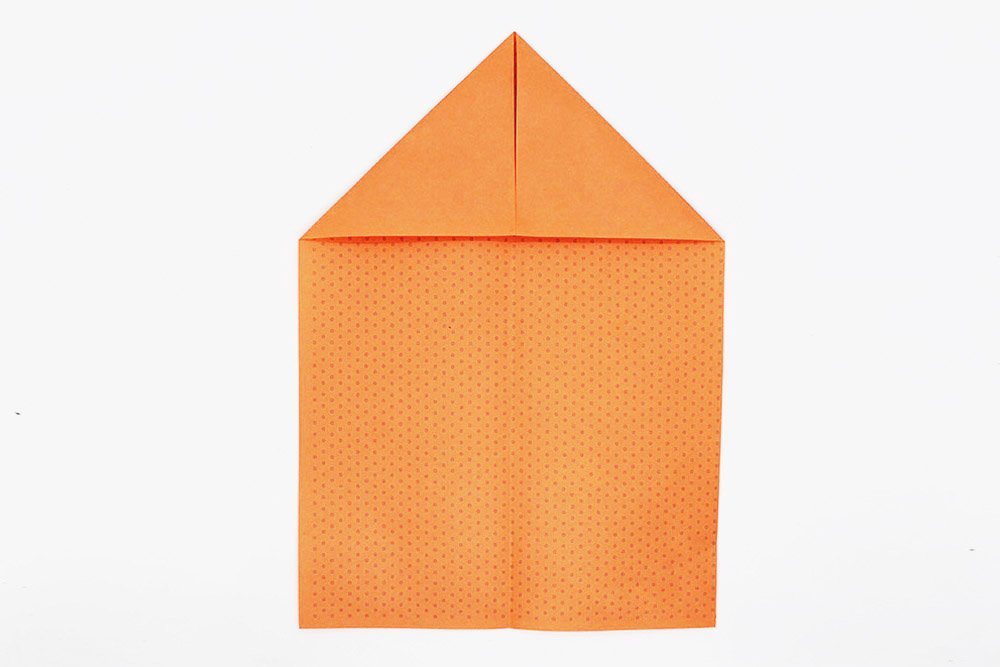
Again, fold the upper left and right corners to the middle.
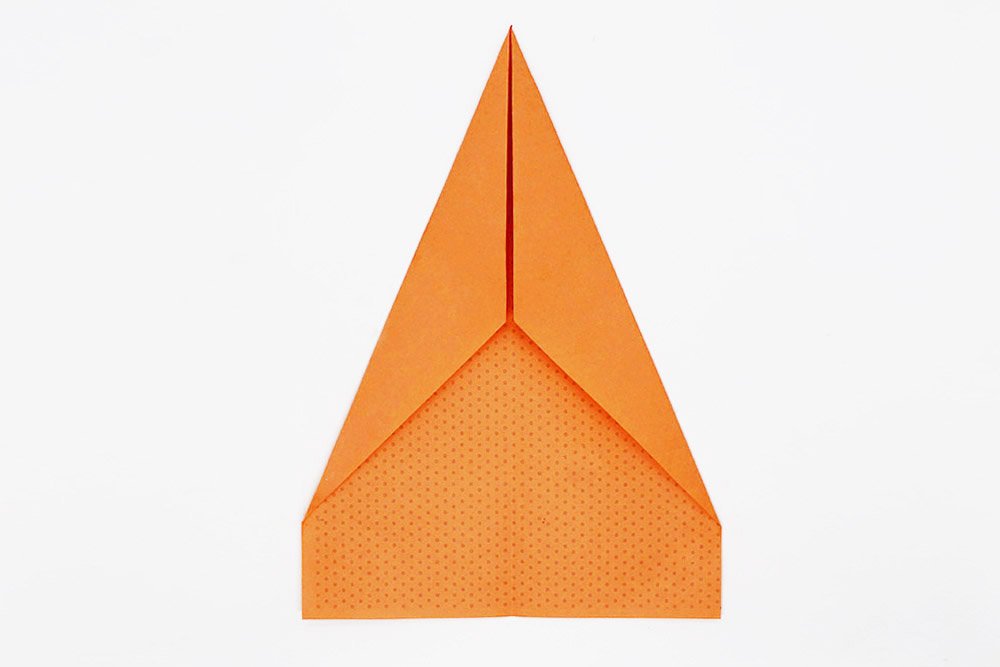
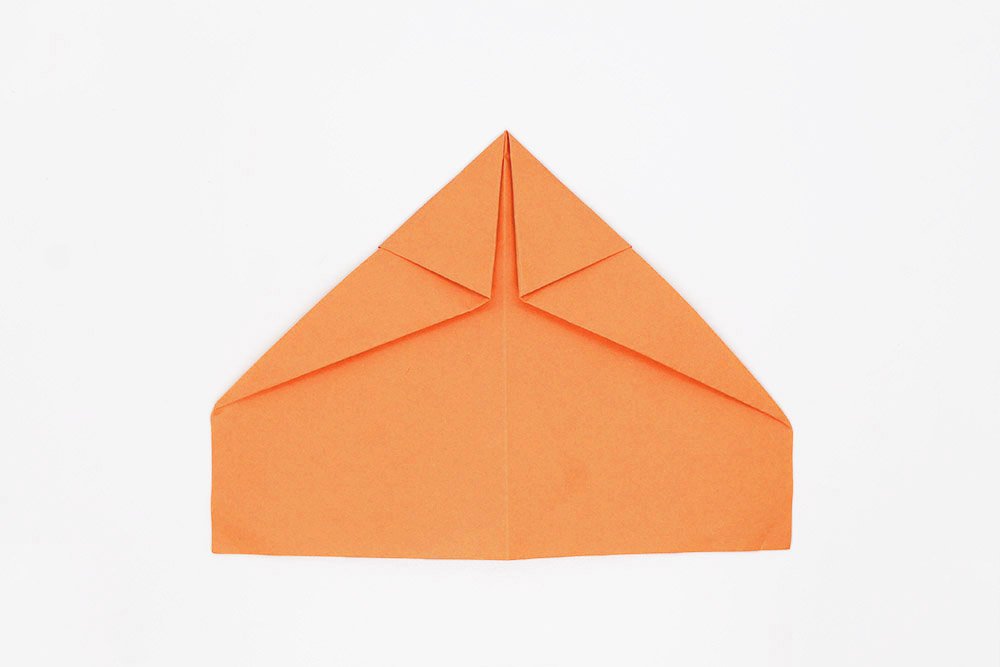
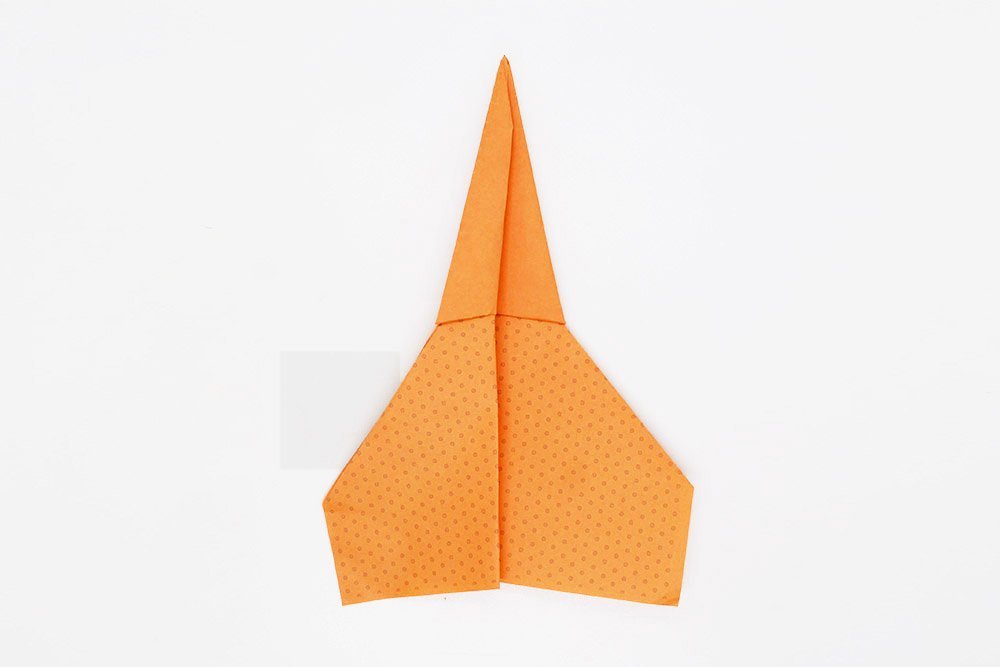
Bring the top corner to bottom edge.
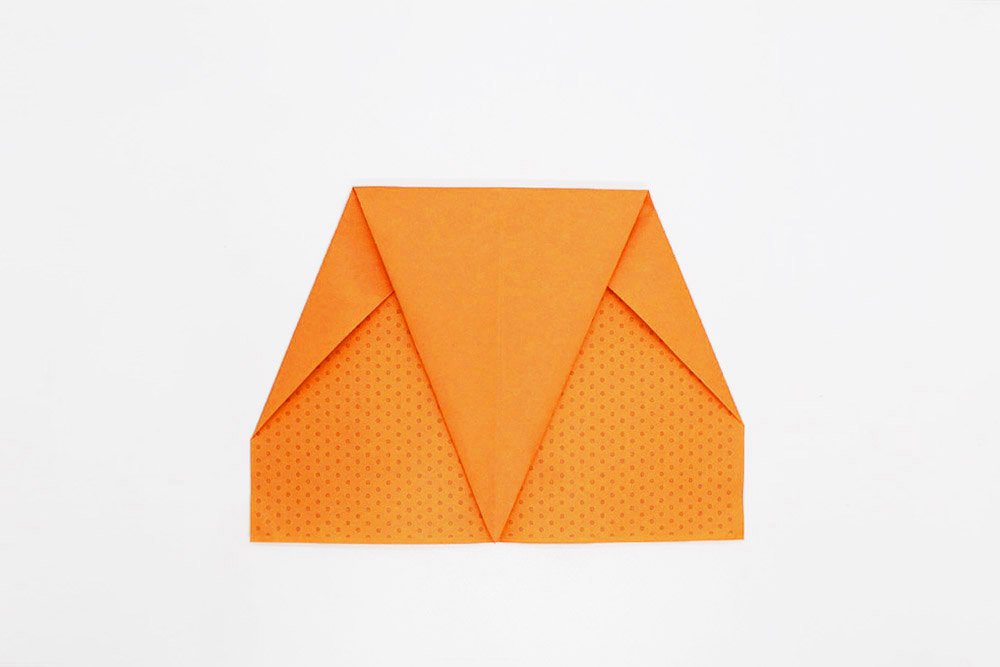
Flip the paper over to the other side.
Make the Body of the Plane
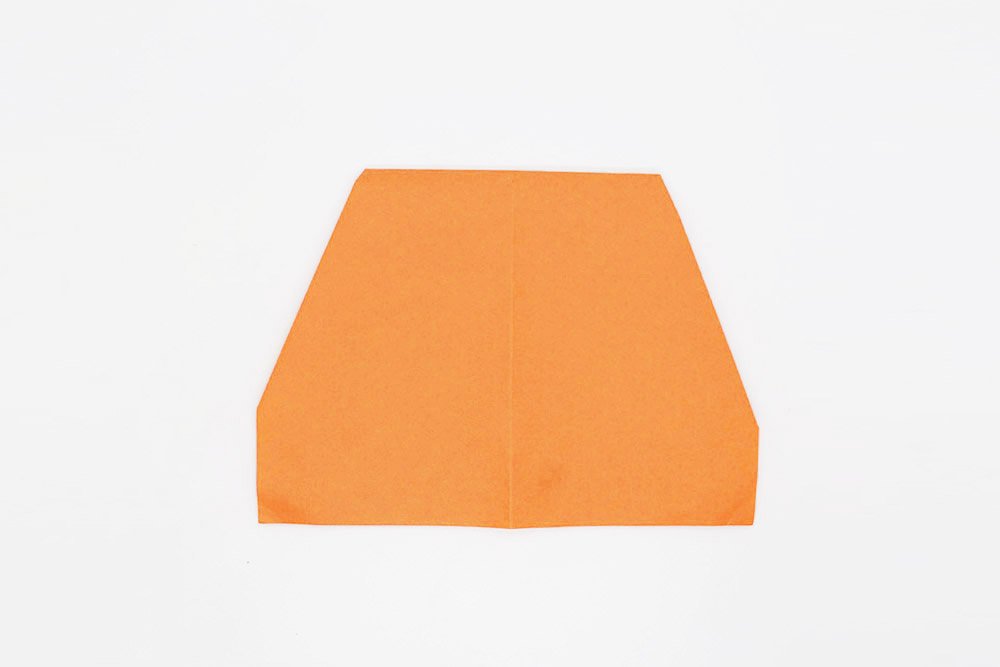
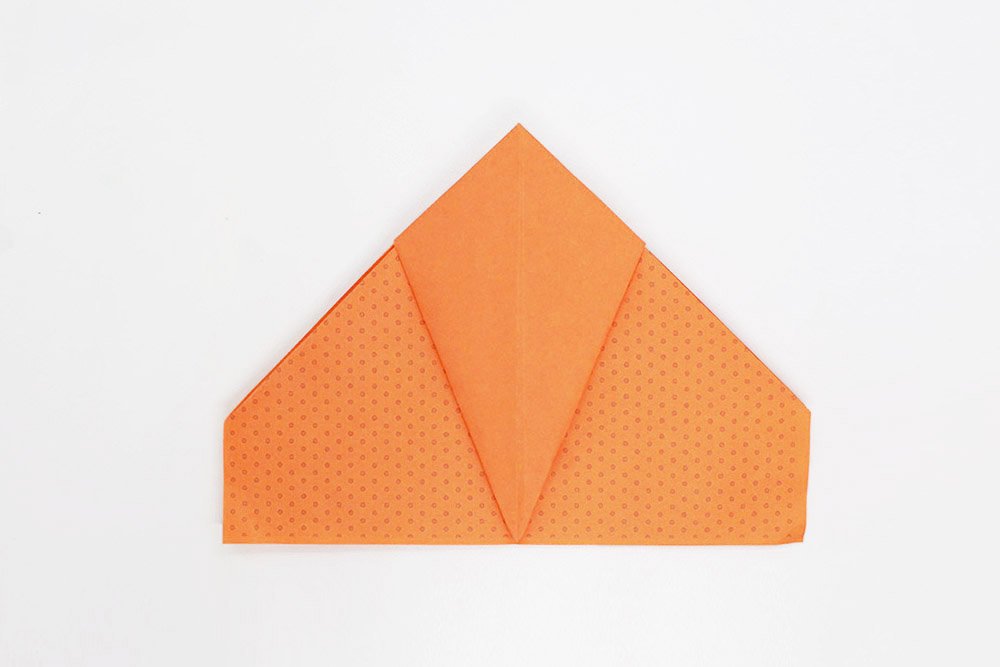
Then fold the upper left corner to the middle.
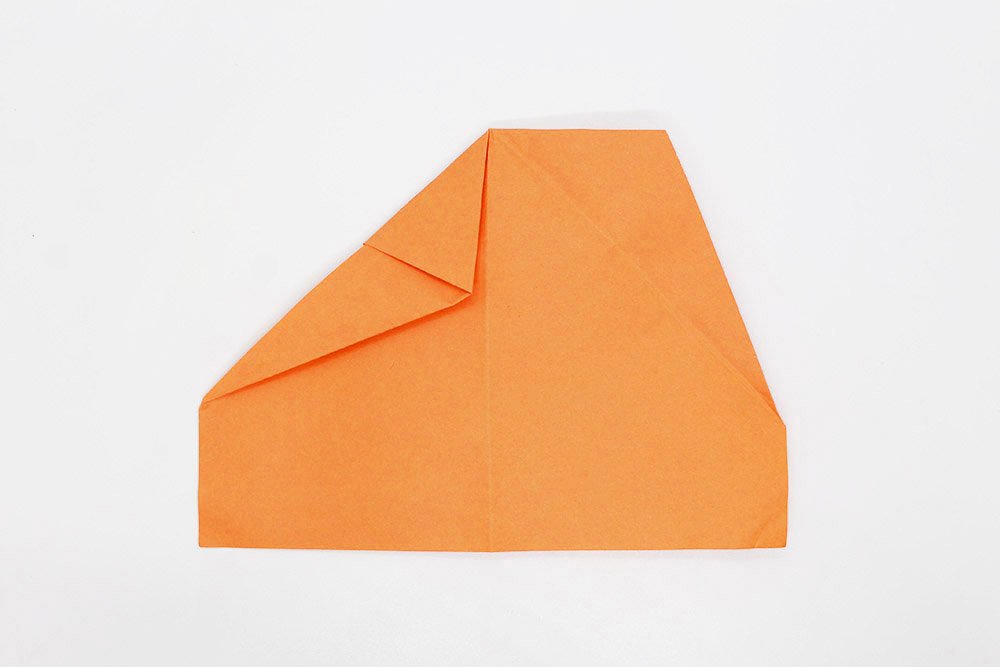
In the image above, you can see how the left side is folded. Now repeat this step with the right side of the flyer as well.
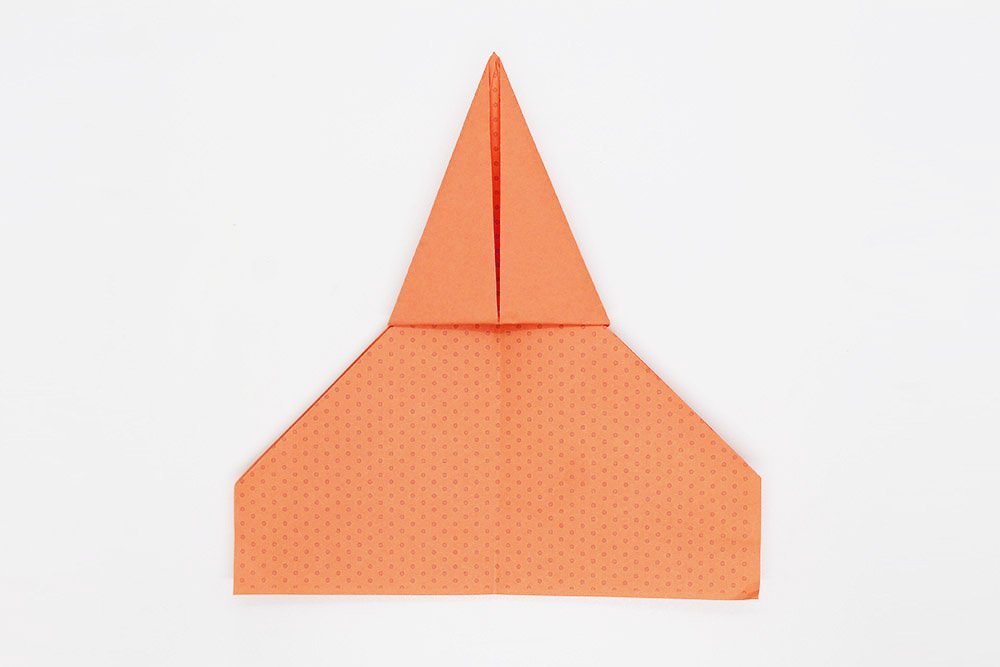
It should now look like the image above. Turn the plane to the other side.
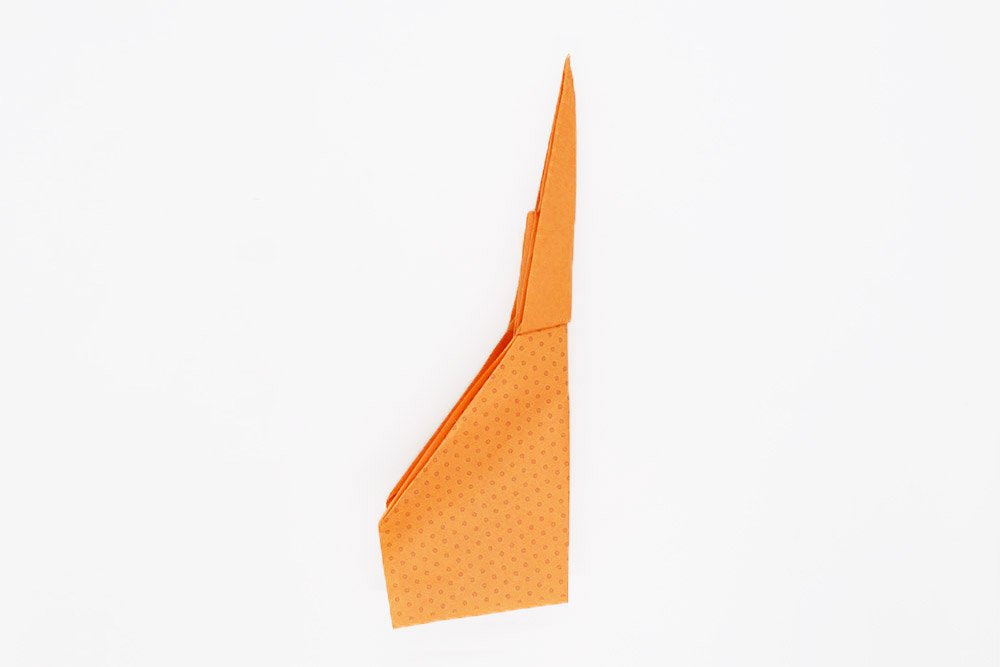
On the other side, you can now see the tip that is pointing downwards. Bring the tip to the top.
Fold the paper plane lengthwise in half by folding the left part to the right side.
Make the Wings of the Jet
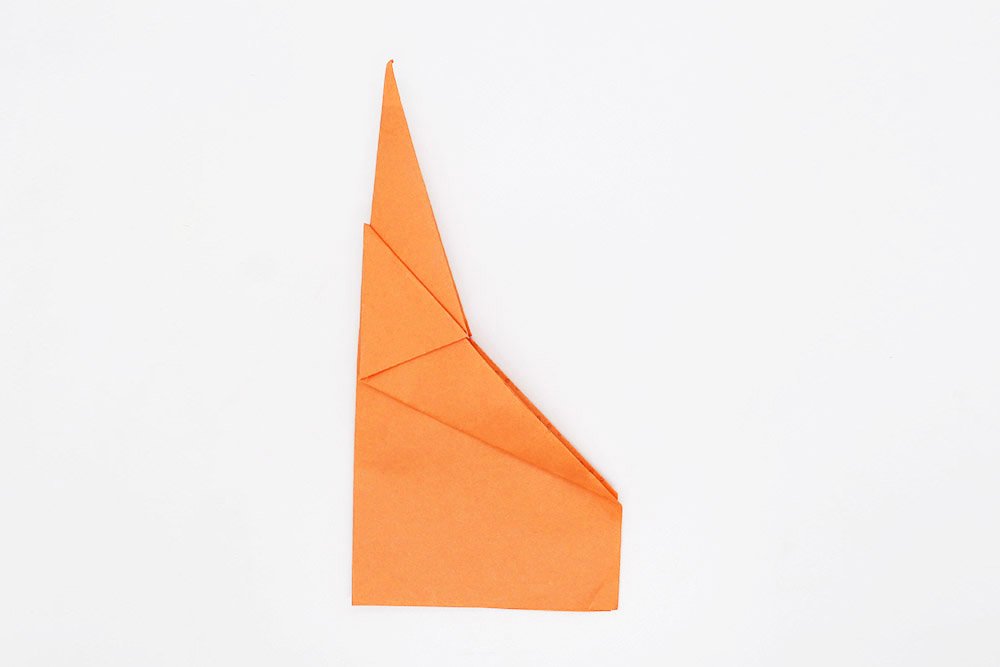
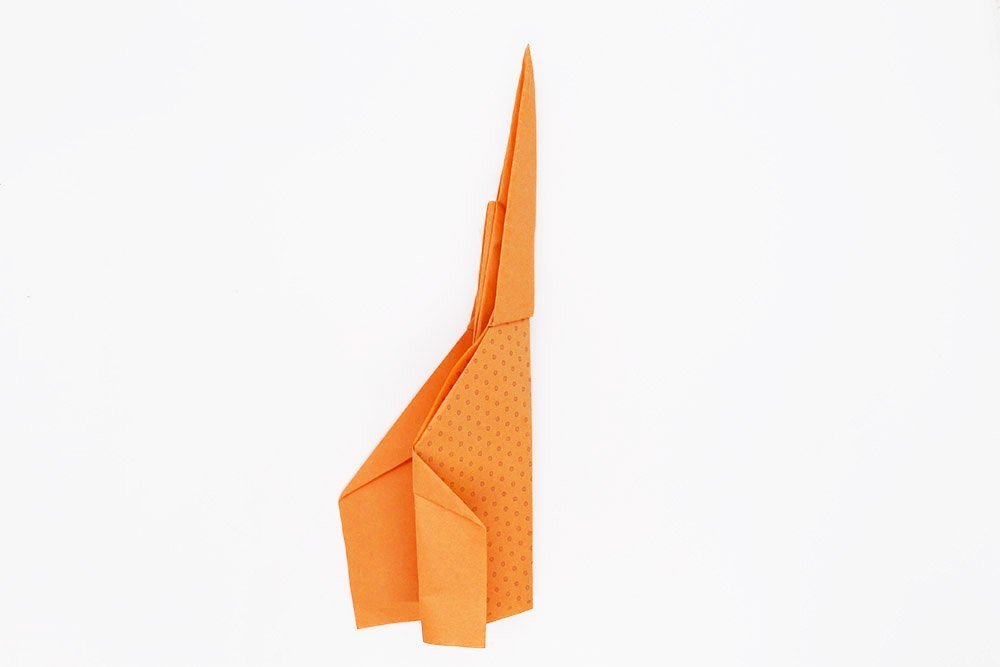
When the paper plane is folded in half, fold the nearest wing leftwards to make one of the wings of the plane. Then, flip it over to the other side.
Mountain fold the right wing part to the back.
The last step is to fold the winglets of the plane. Take the outer edges of the wings and fold them along their entire length, about 1 centimeter.
Don't forget to make a winglet at the backside as well!
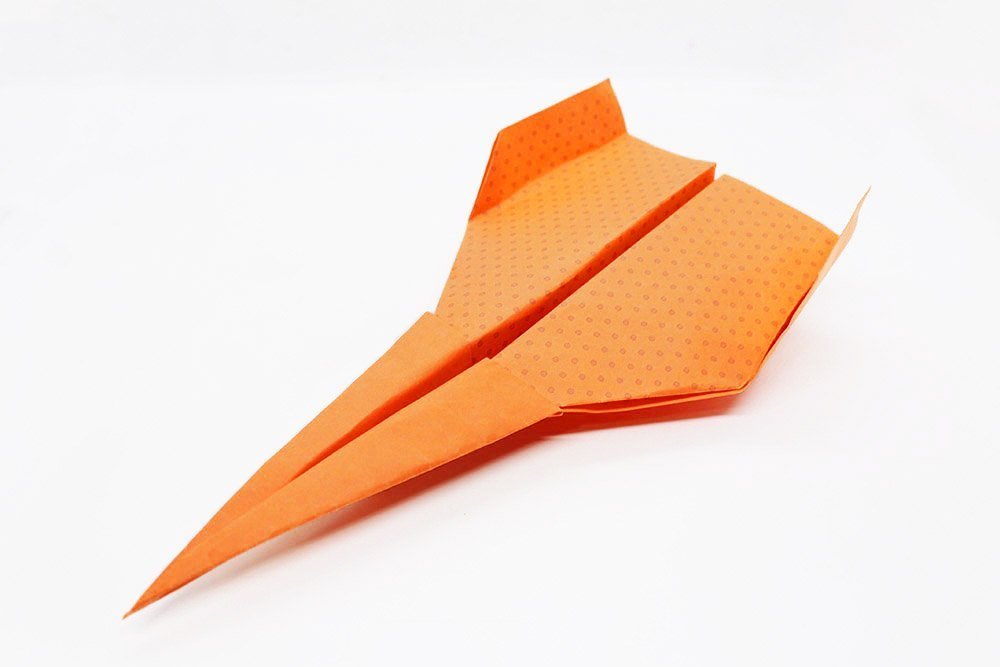
Your plane’s winglets should match each other. Once you have made the winglets, flare it out and your paper plane jet is ready!

Congratulations! Have fun flying your jet! Comment down below on how far your plane flew!
Extra Tips
- Here is another jet that you should fold: Easy Paper Jet The tutorial above will teach you how to make this airplane jet. This paper plane has already been tried and tested along with the approval of my peers. In my opinion, it’s probably the best and coolest way to fold a paper airplane. It has a stylish appearance as well as a smooth flight.
- You can try out whether the jet flies better with or without its winglets. In the flight experiment that I conducted, it turned out that the aircraft glides smoother in flight but not in a smooth direction when the winglets are removed.
- And if you want to make your paper airplane appear cooler, try painting it with big teeth on the front. Try painting some shapes like stars to make it look nicer. On the lower side of the wings, you may also put any design you want to make your paper jet one-of-a-kind. Happy decorating!
- I gave the rear part of the fuselage a flight number in capital letters. That way the paper airplane looks really realistic.


Made a bunch of these and painted them, looks way better… the paint adds weight though ahaha but its cool to look at
I used color pens, turned out fine 😉
my brother likes the F14 but I think the bomber is better
I didn’t like the way it looked the first time so I ironed my second plane ahaha. The lines are so much better 😤
Winds are too strong here in Iceland but mine flew well enough when I tried it indoors with my son. The instructions are well written, and I love how he can make the paper plane all by himself
vhjrTaKBRu
hoXQgHkrNqSm