Create a Cut and Paste Paper Plate Horse | Crafts for Kids and Toddlers

Introduction:
Creating a paper plate horse can be easy with the help of our step-by-step instructions which you can follow below. What makes this arts and crafts project much simpler for small kids and preschoolers to do is the free horse printable that you can download below. It’s a cut-and-paste activity where kids can develop their scissor skills and learn how to visualize and assemble.
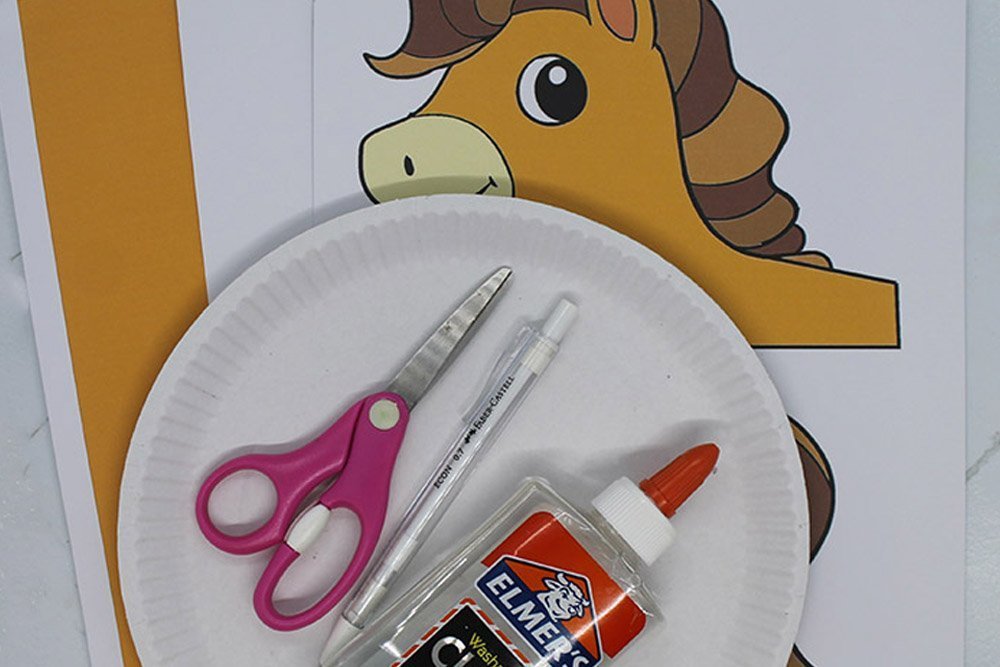
Tools
- Pencil
- Scissors
Supplies
- Paper Plate
- Glue
- Printable We recommend downloading the printable in an A4 thick vellum board but a regular bond paper will do!
Download Area
Download TemplatePrepare the paper plate horse printable
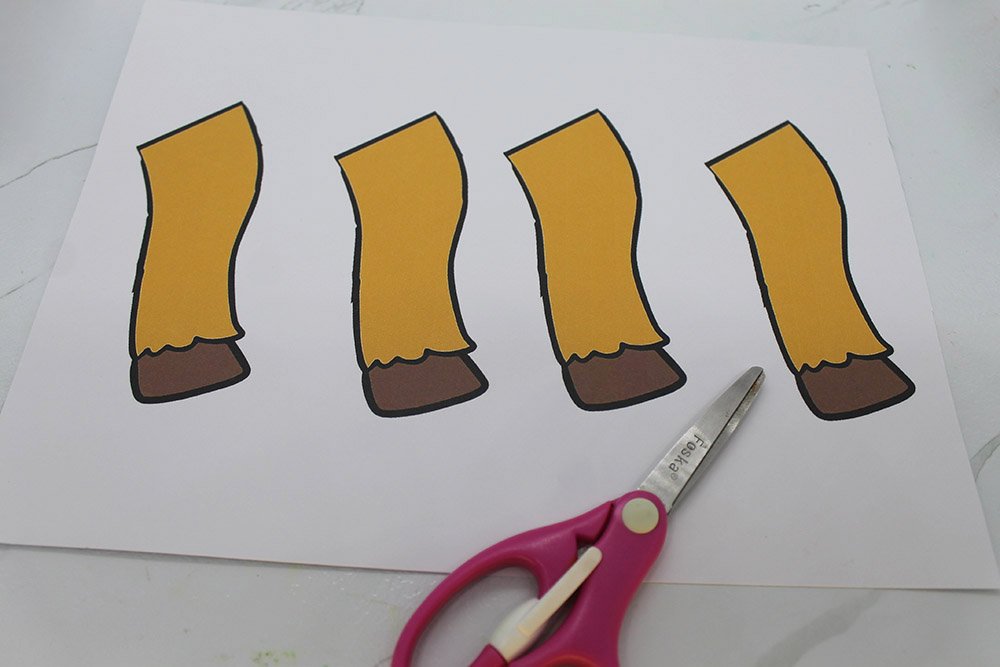
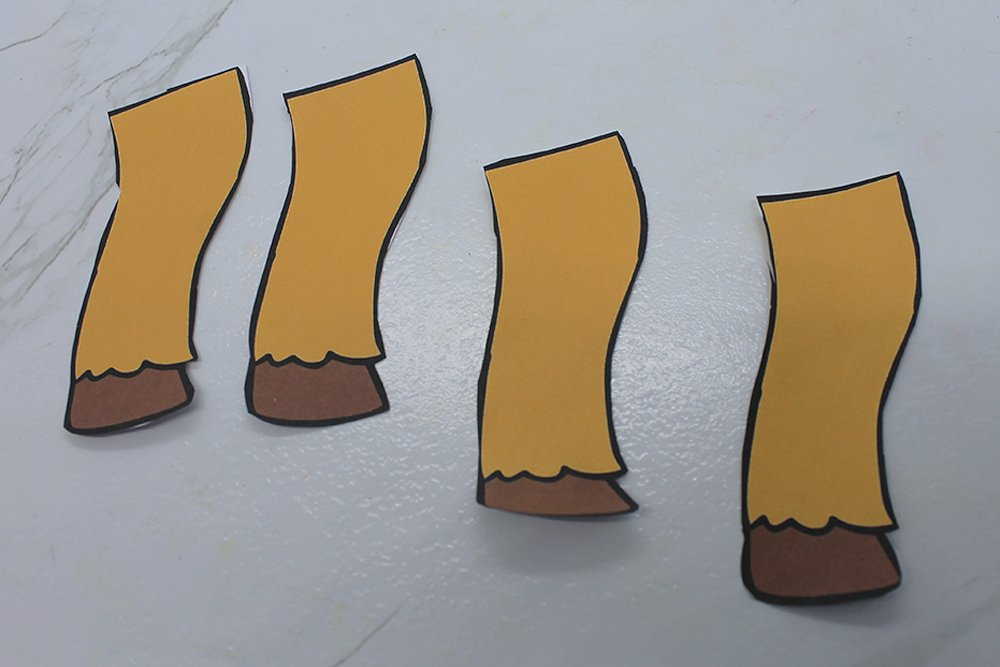
Print the free printable by clicking the yellow download button above. The image above is the legs page of the horse. Cut all four limbs from the printable sheet.
Use this activity to practice scissor cutting.

Cut the first page as well. Cut only around the outer black outline of each element.
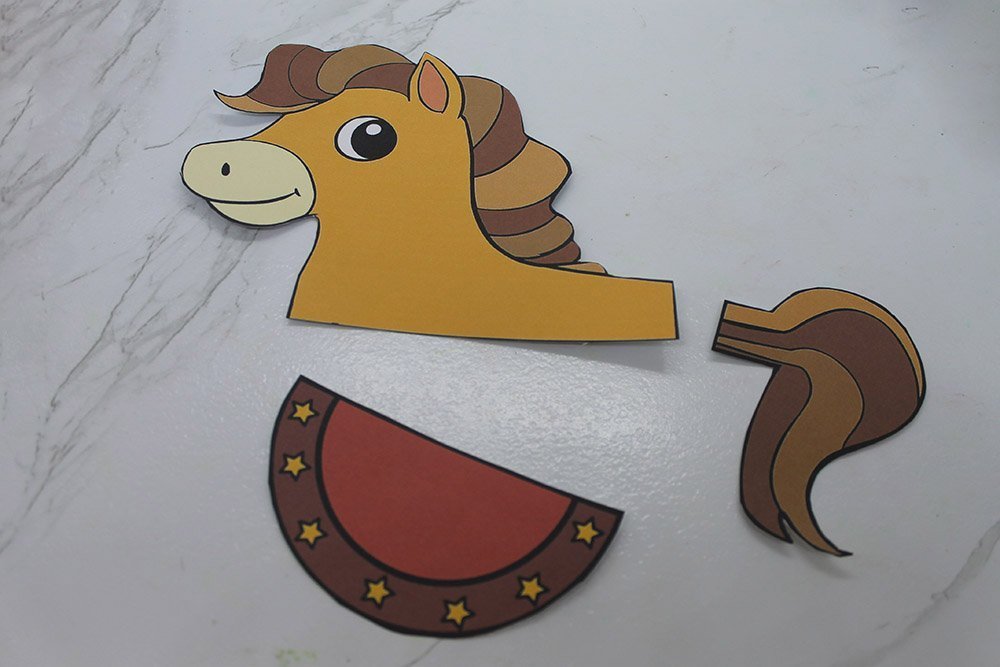
Once cut, you should have three cutouts. This should be the head of the horse, the saddle, and the horse’s tail.
Make the body of the paper plate horse
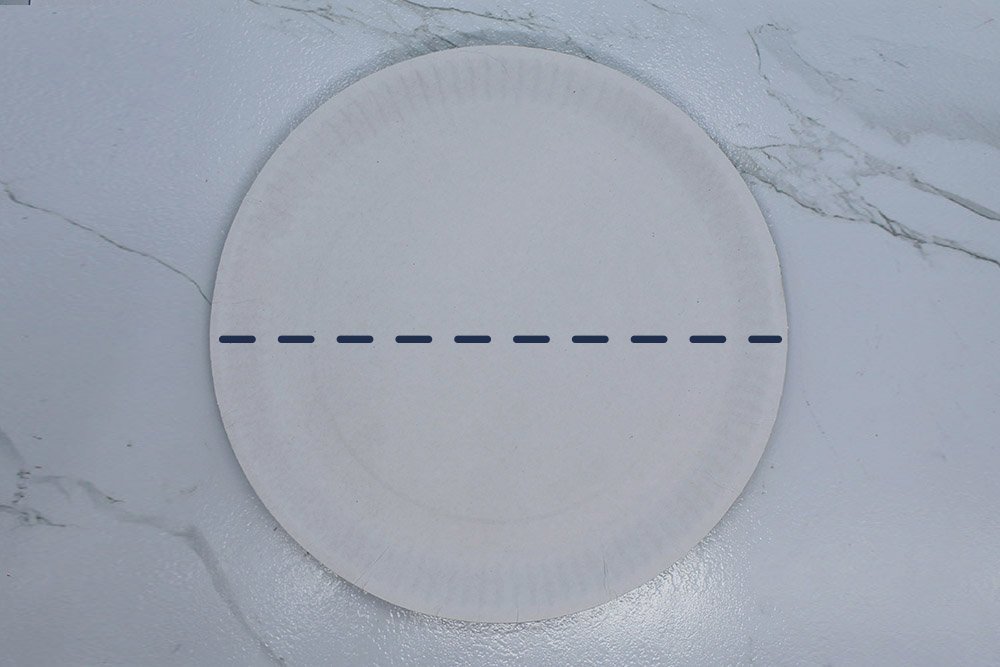
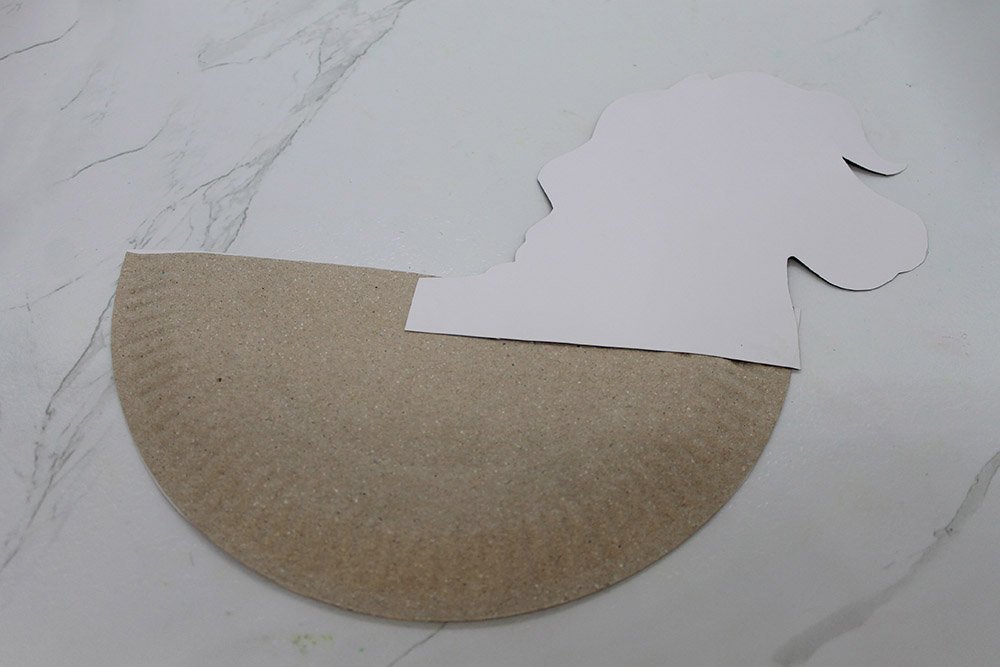
Grab a paper plate and split it in half.
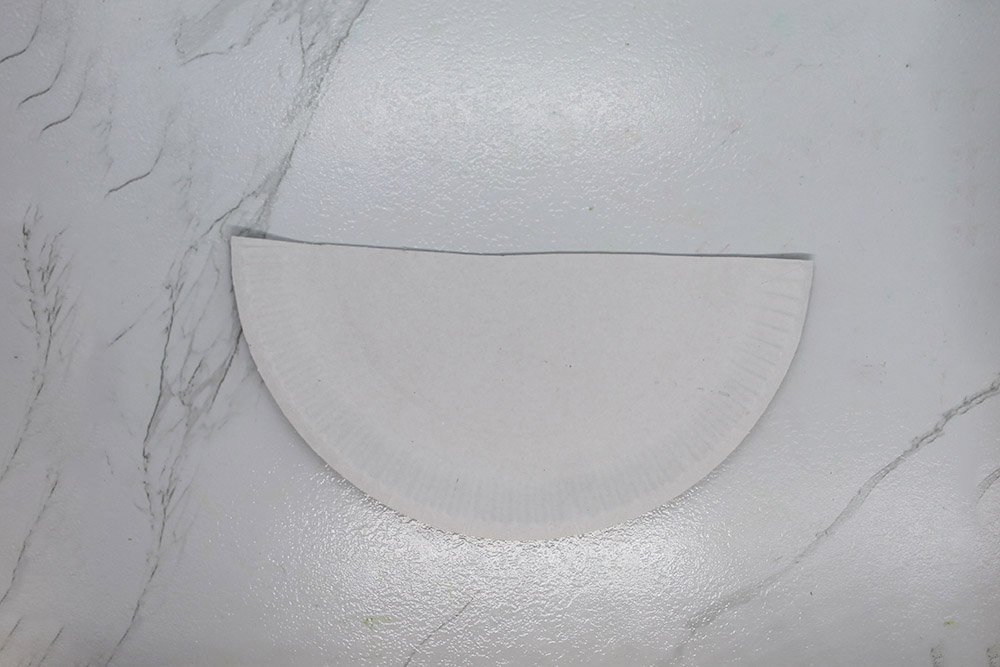
For this arts and crafts project, we will only be using half of a paper plate. You may discard the other half, or you may recycle and use it on another arts and craft project.
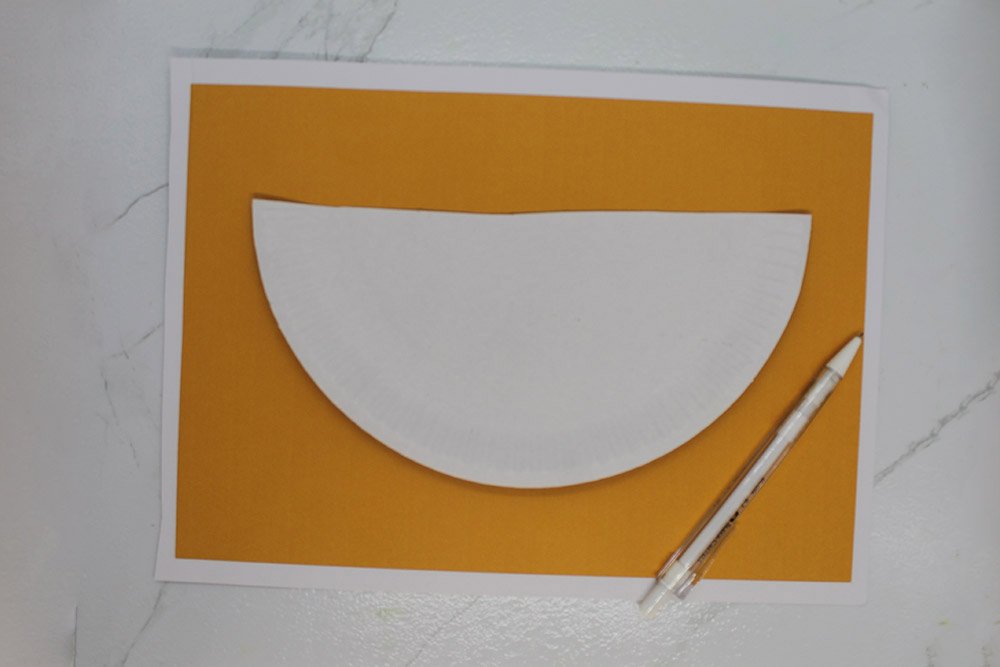
Trace the paper plate to the last page of the horse printable.
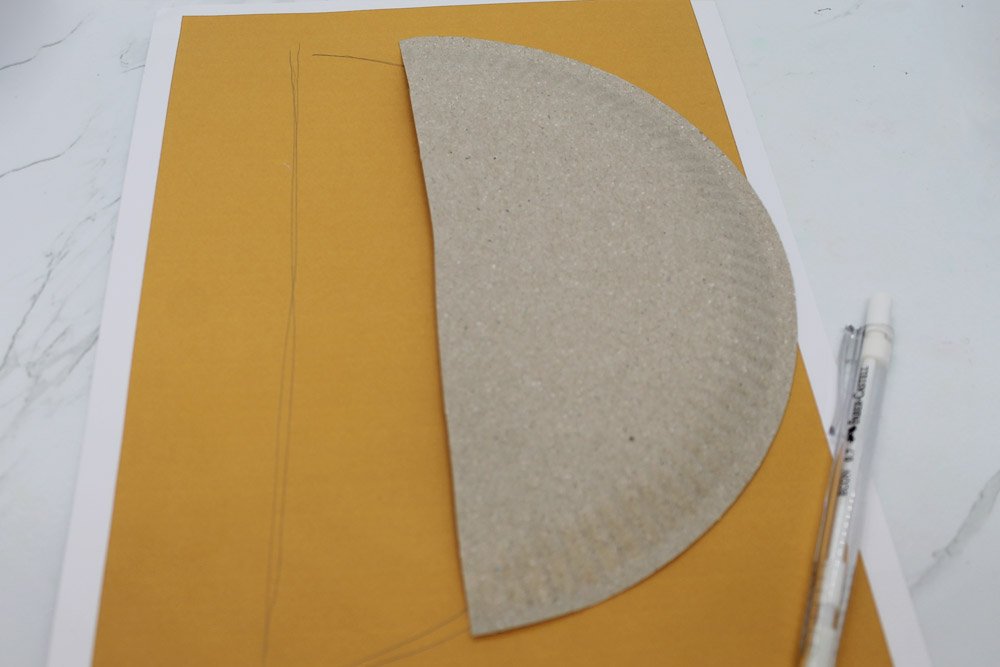
The last page of the printable is the orange-colored rectangle.
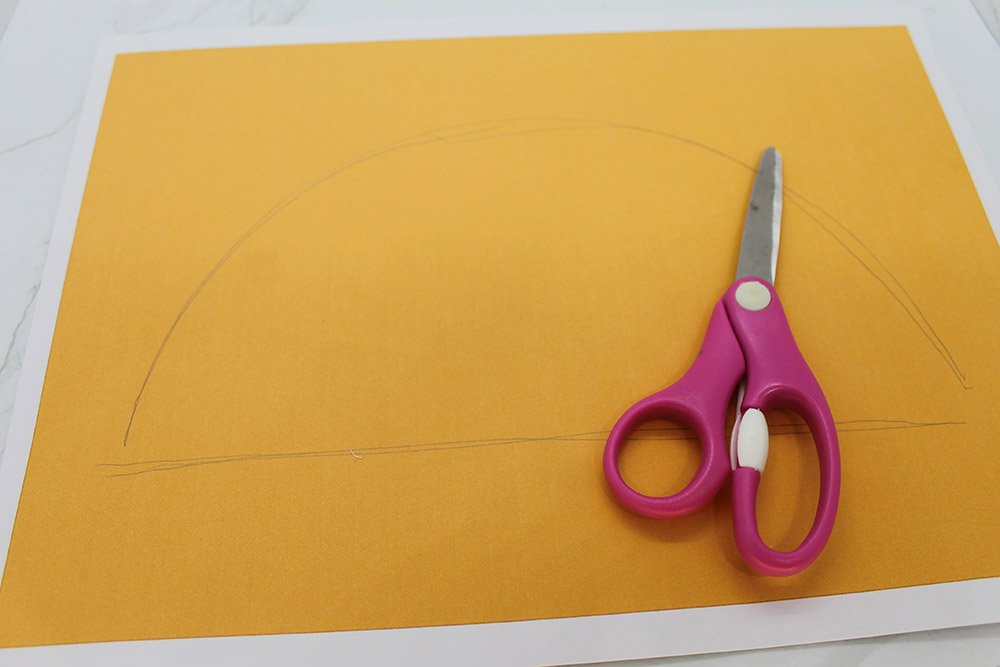
Cut along the outline drawn using scissors.

Once cut, it should look like the sample image above.
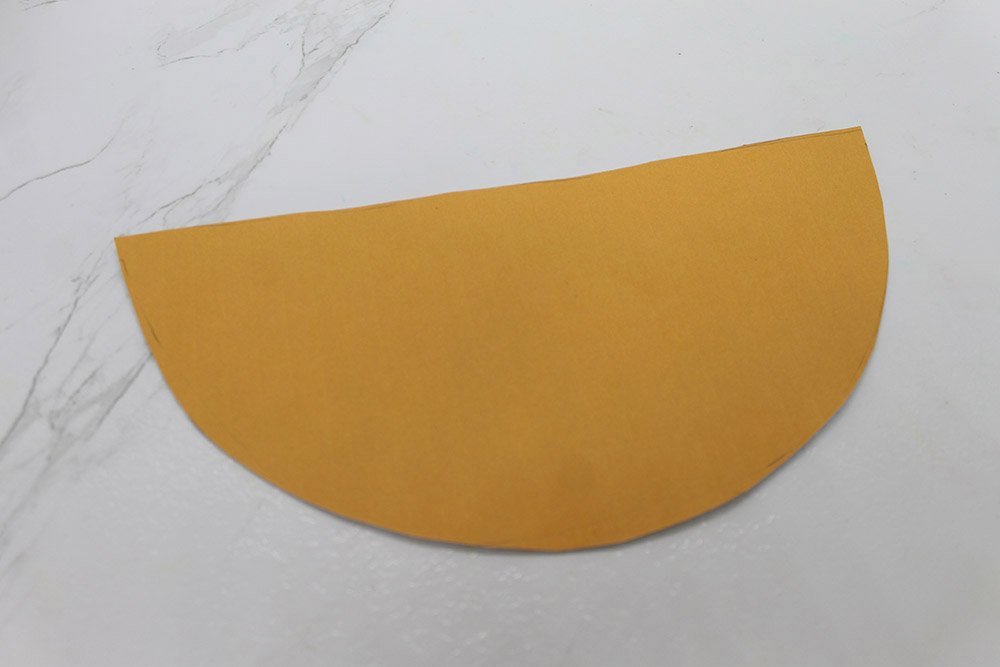
Now stick the cutout made to the paper plate.
Attach the head and to the paper plate
Grab the horse’s head and tail cutout and the paper plate and flip them over.
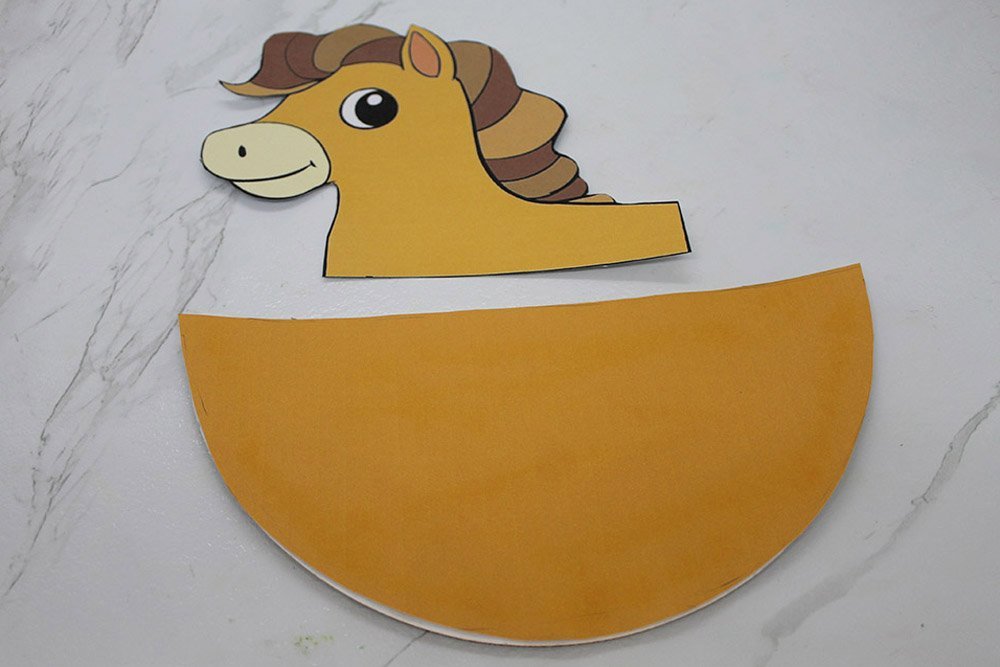
Stick the head to the upper right part of the paper plate. See the sample image above for reference.
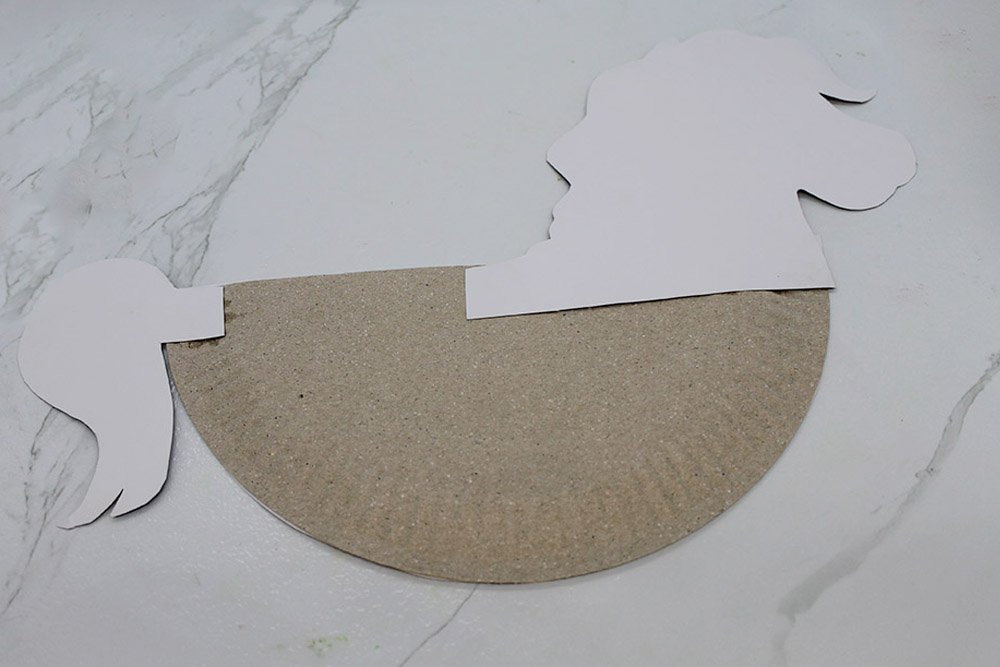
Next, stick the tail at the other side opposite to the head.
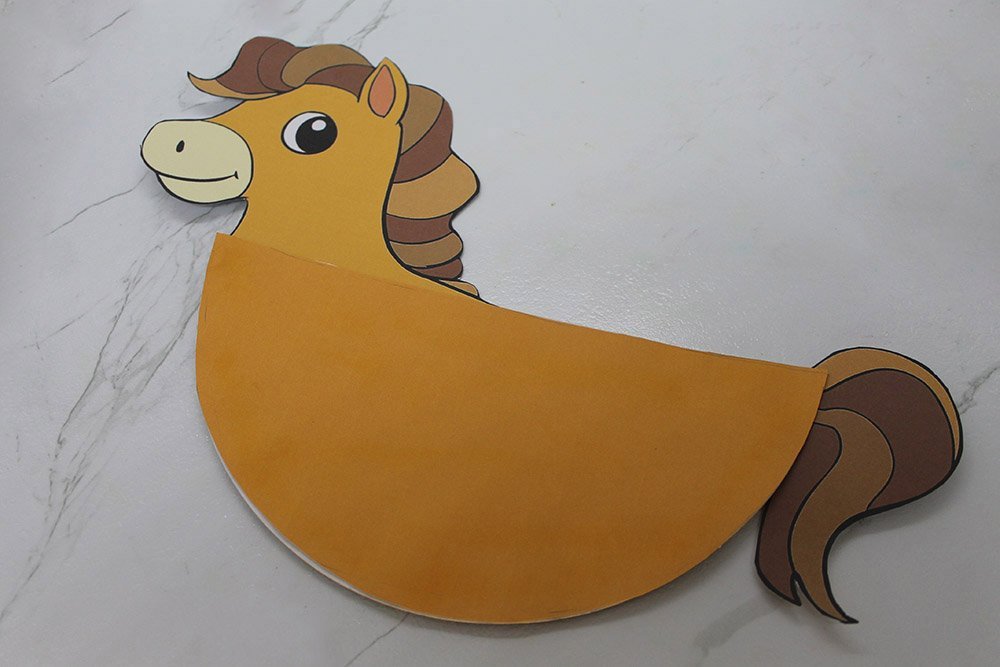
Flip it over once the glue has dried. The pony should now look something like this.
Attach the saddle to the paper plate
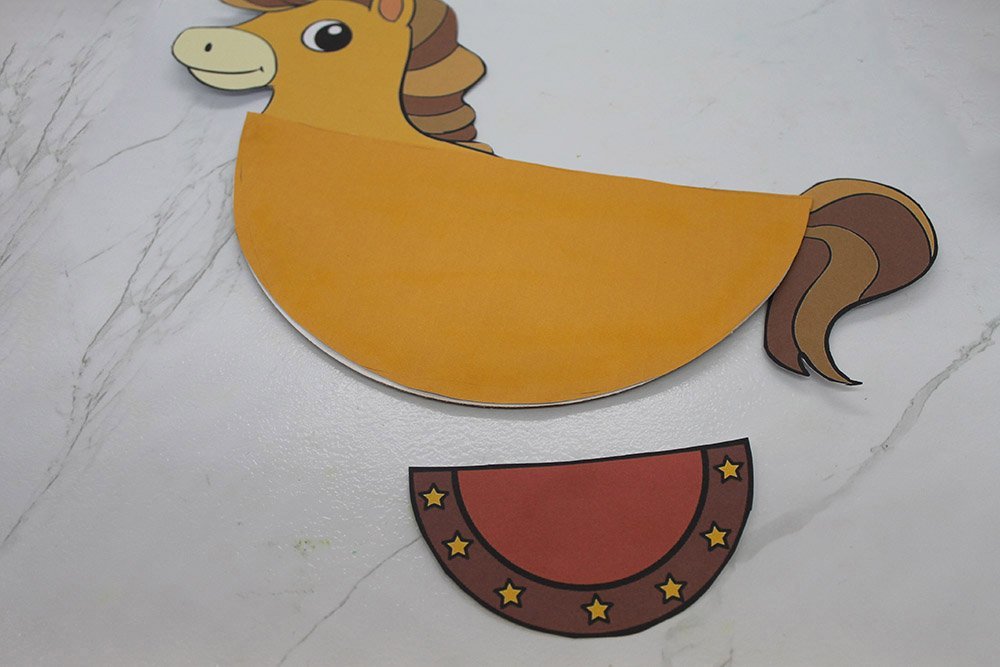
Get the saddle cutout and paste it on the middle top part of the paper plate body.

We’re almost done! Time to attach the legs.
Attach the legs
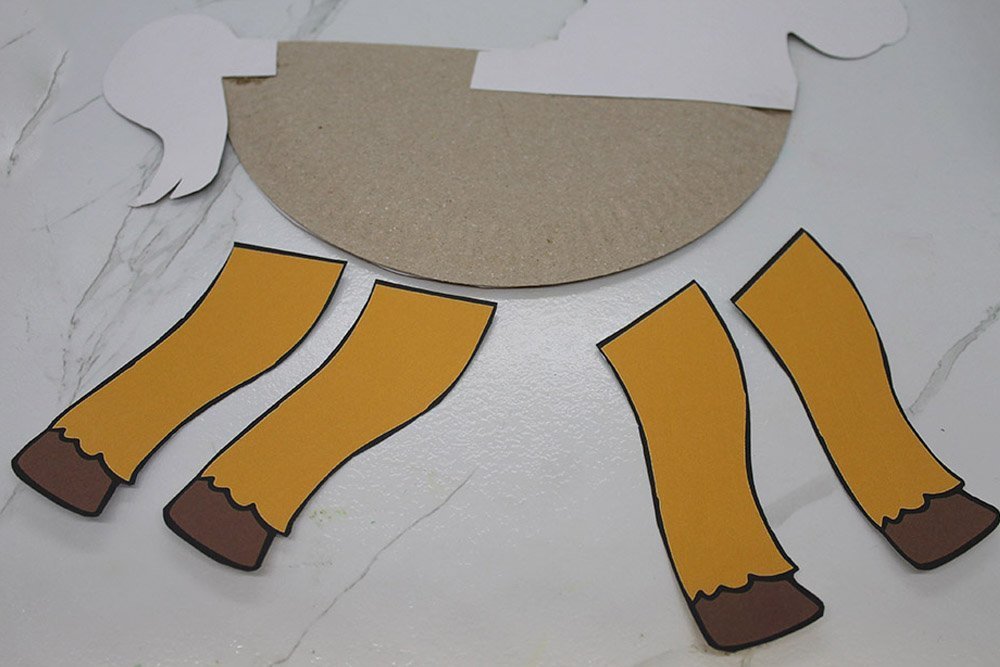
Grab the leg cutouts of the paper plate horse. Flip the body over and stick the legs at the back. Glue it on the bottom part of the paper plate body.
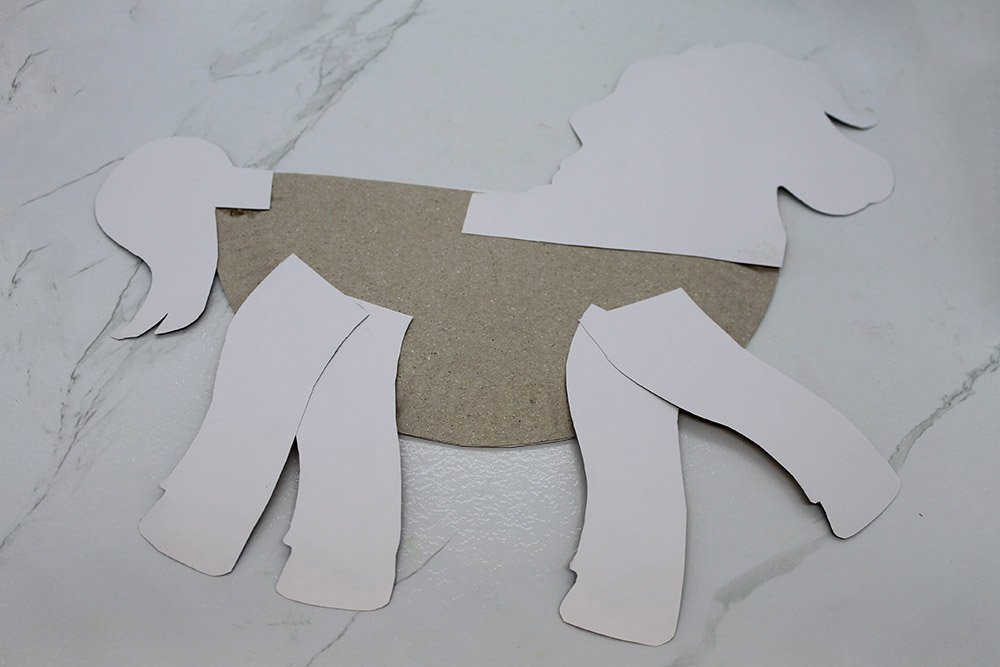
Once the glue has dried, flip the paper plate horse over.
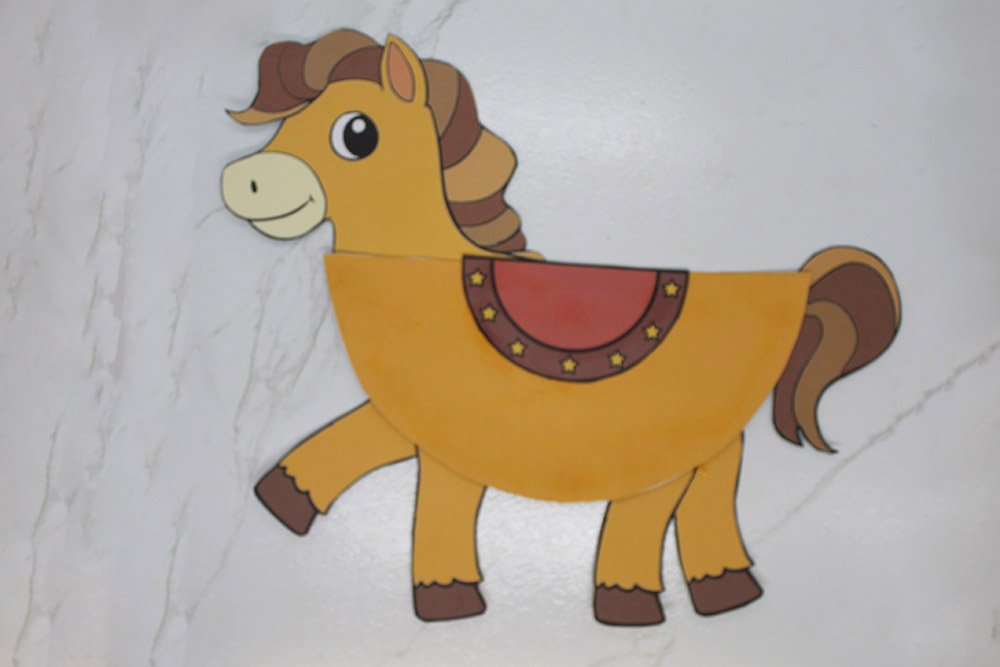
The paper plate horse is done!


My two-year-old made this craft in 10 minutes
Just Horsing around 😂 🤣
ahaha
ahaha 🙁
As a single dad who has no idea to what to do to bond with my daughter aside from taking care of her and stuff like that, these crafts are a life-saver. Thanks mann
Easy and good llooking!
It’s good for decorations in a child’s room.