Learn How to Make a Paper Plate Fox

Introduction:
Learn how to make a paper plate fox in a meadow. A great recyclable craft that kids and beginners can do is this easy cardboard animal craft. What’s fantastic about this project is that it can stand on its own and make a great display on any shelf or table. No need to hang with a piece of string!
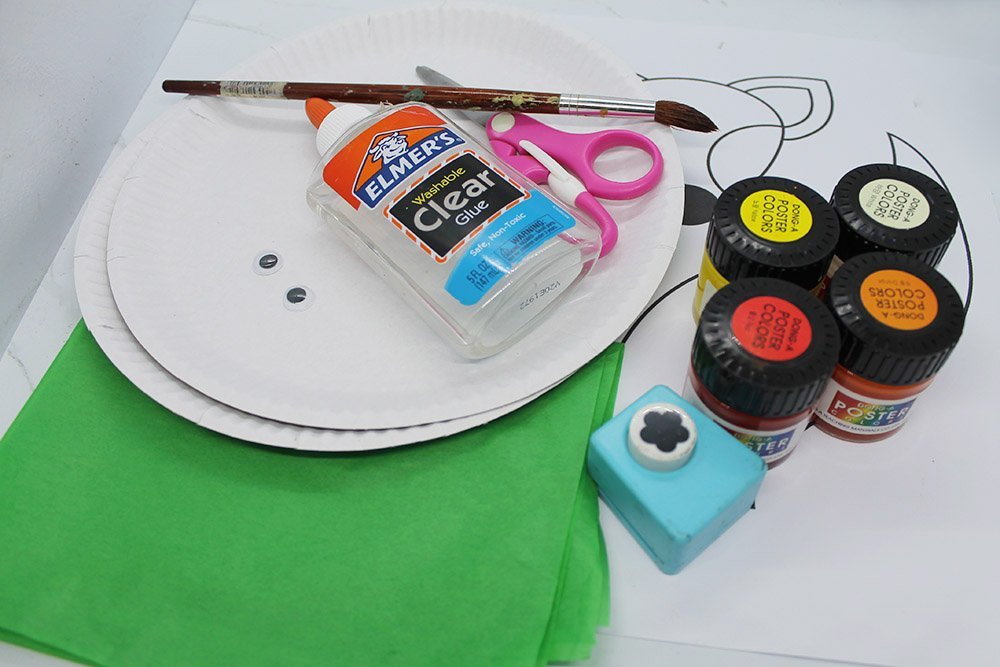
Tools
- Scissors
- Stapler
- Puncher
- Flower puncher (Optional)
Supplies
- Paper plate
- Poster paint, crayons or colored markers
- Glue
- Green Japanese paper or crepe paper.
- Googly eyes
- Printable We recommend printing the printable in an A4 thick vellum board (at least 200 gsm) so that the cutouts will not be easily torn.
Download Area
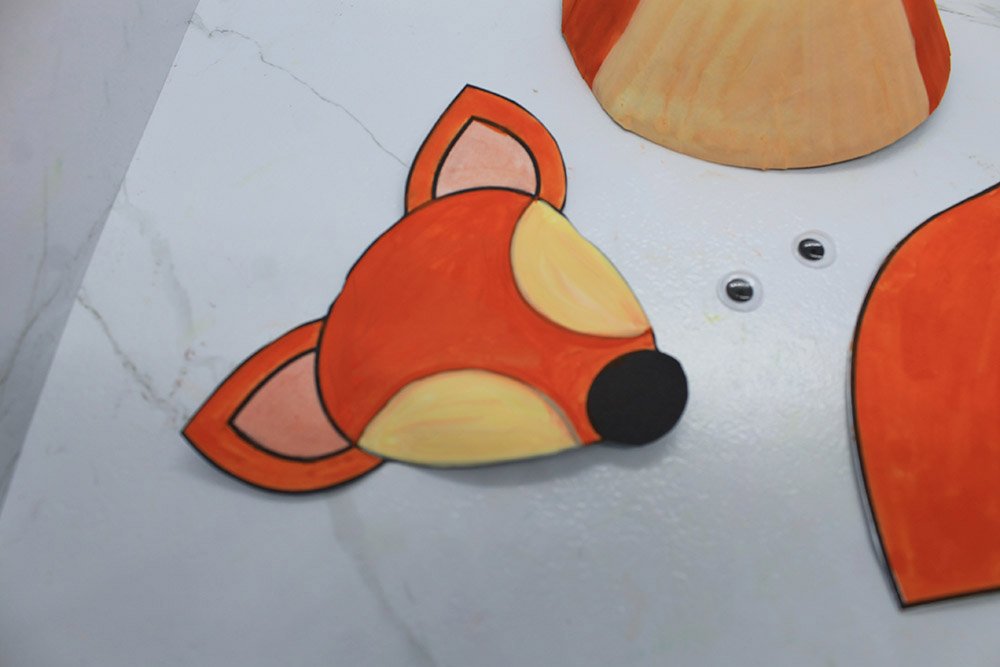
Download TemplateColor the printable for the paper plate fox
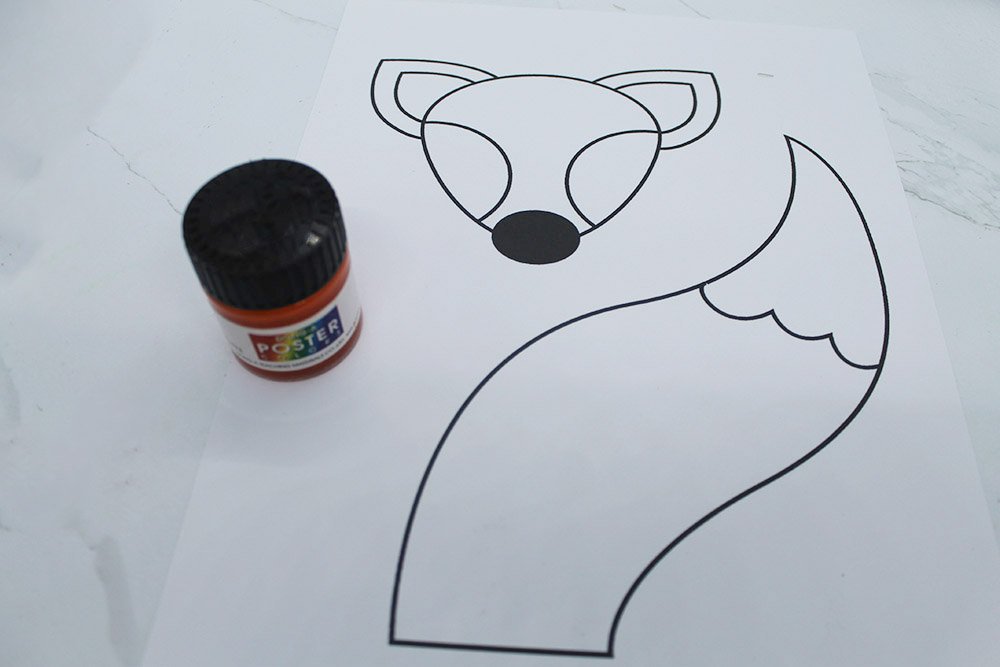
Print the printable on an A4 sheet of paper. Grab your chosen coloring materials (here, we used poster paint)and then color the base of the head and the bottom part of the tail with orange.

Next, color the cheeks and the tip of the tail with a light yellow shade.
To make a light yellow color, mix yellow and white.
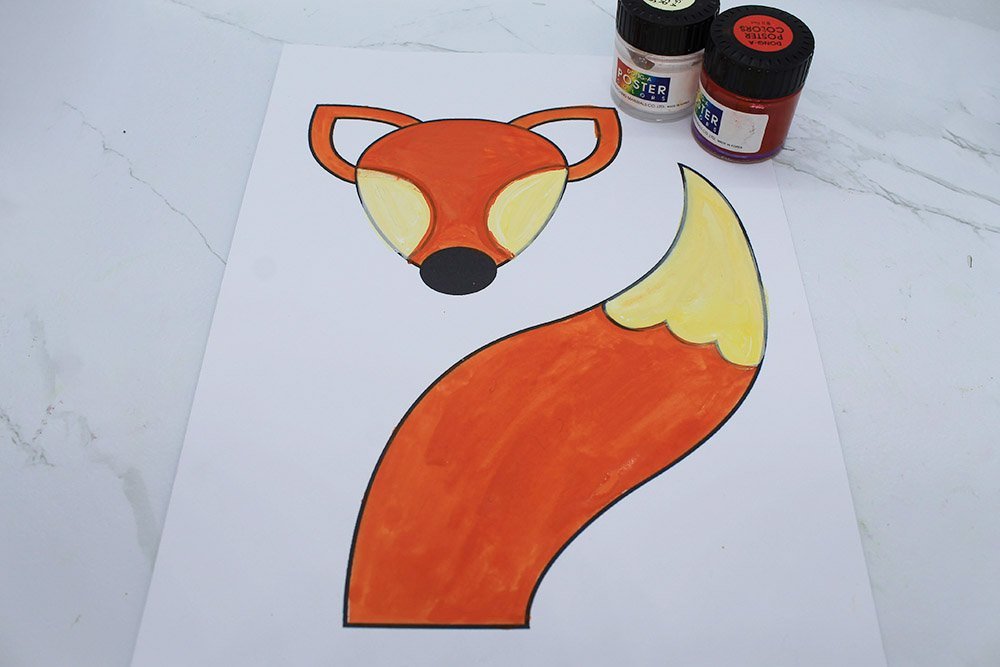
Color the inner ears with a flesh/light pink shade by mixing red and white.
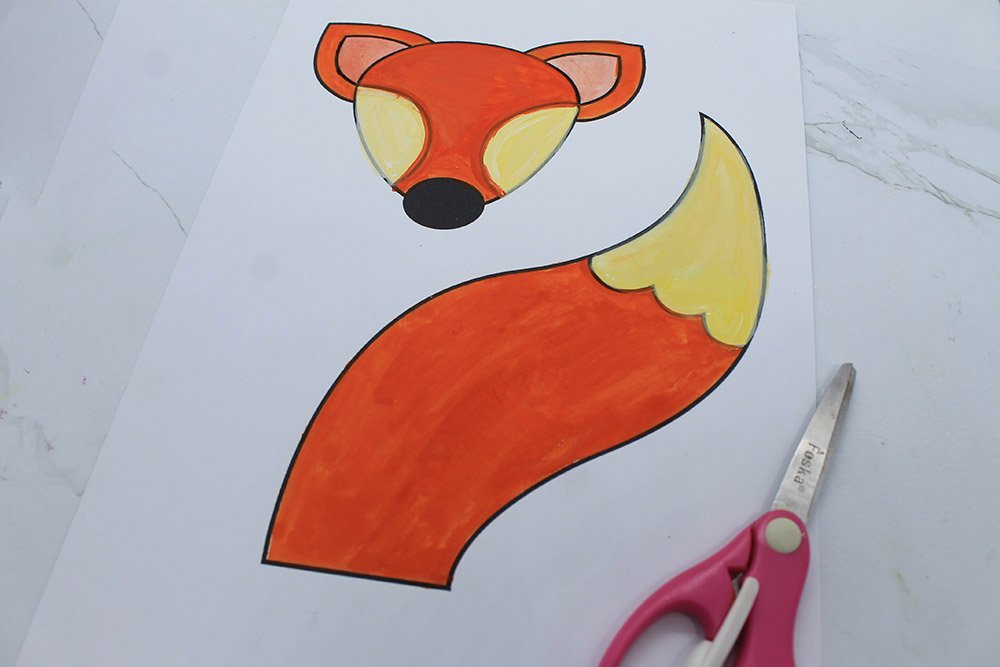
After coloring, let the paint fully dry (if you’re using paint) and then cut along the outer edge of each element.
Do not throw the leftover paper. We will recycle it later to make flowers.
Create the body of the paper plate fox
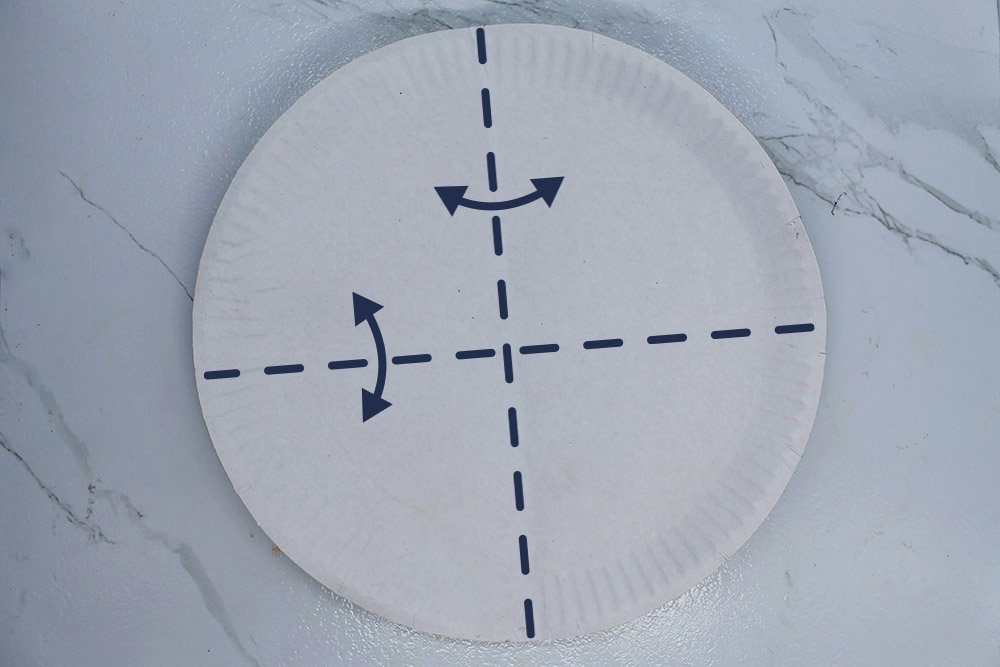
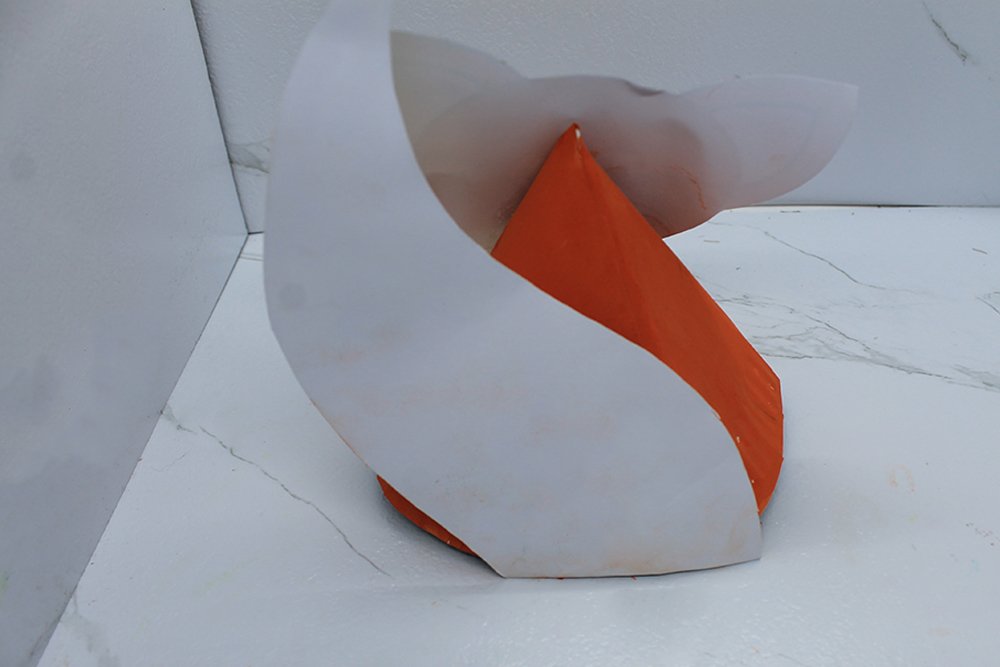
Get a paper plate and shape the body of the fox into a cone! Fold and unfold along the dashed line to divide the plate into four parts.
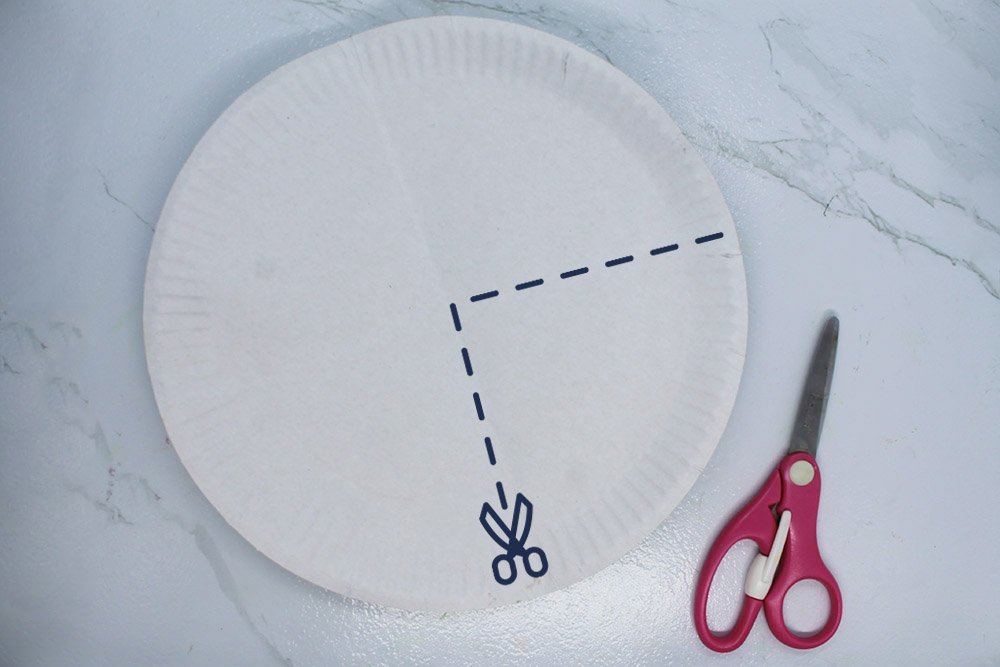
Once the paper plate is divided into four parts, cut 1/4 of the paper plate. Use the crease marks as a guide on where the division of the paper plate is divided.

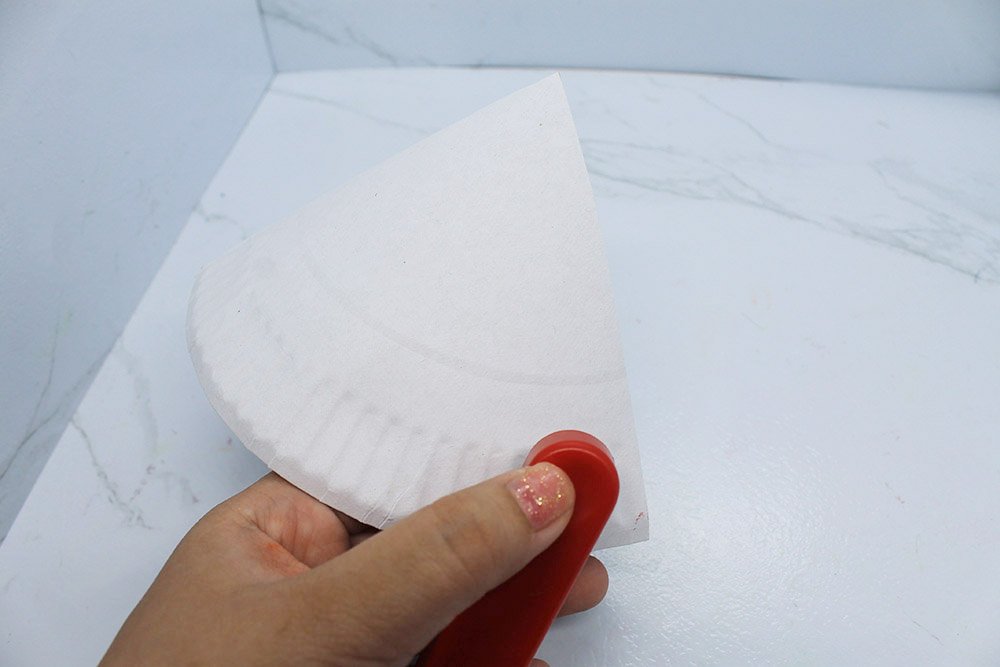
To shape it into a cone, bring the edge of the bottom part to the top crease mark (dotted line). Doing this will naturally mold the paper plate into a cone.
Staple the edges to keep the paper plate in place.
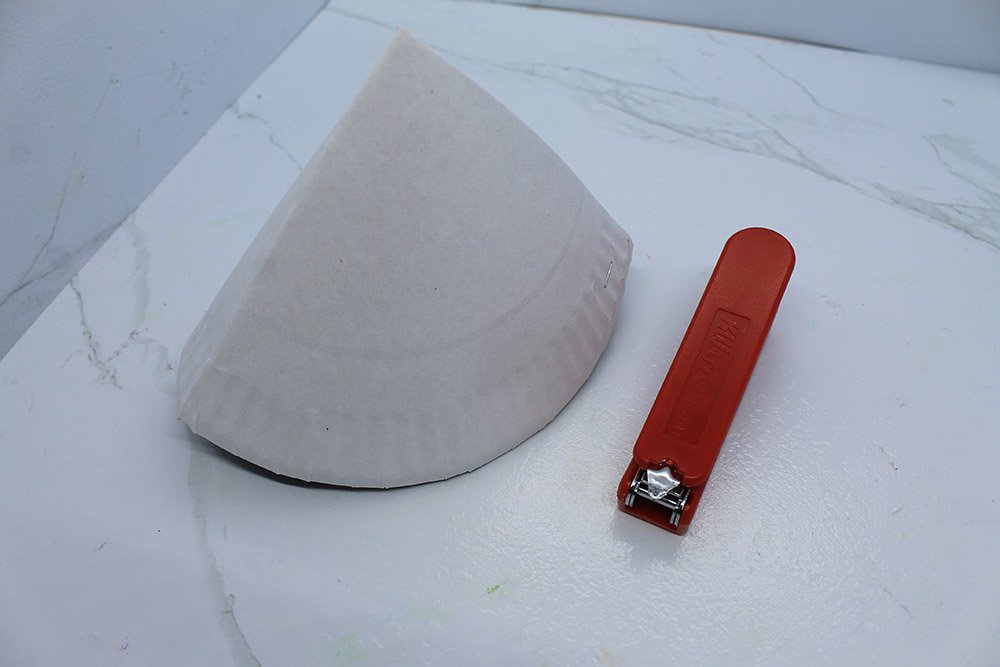
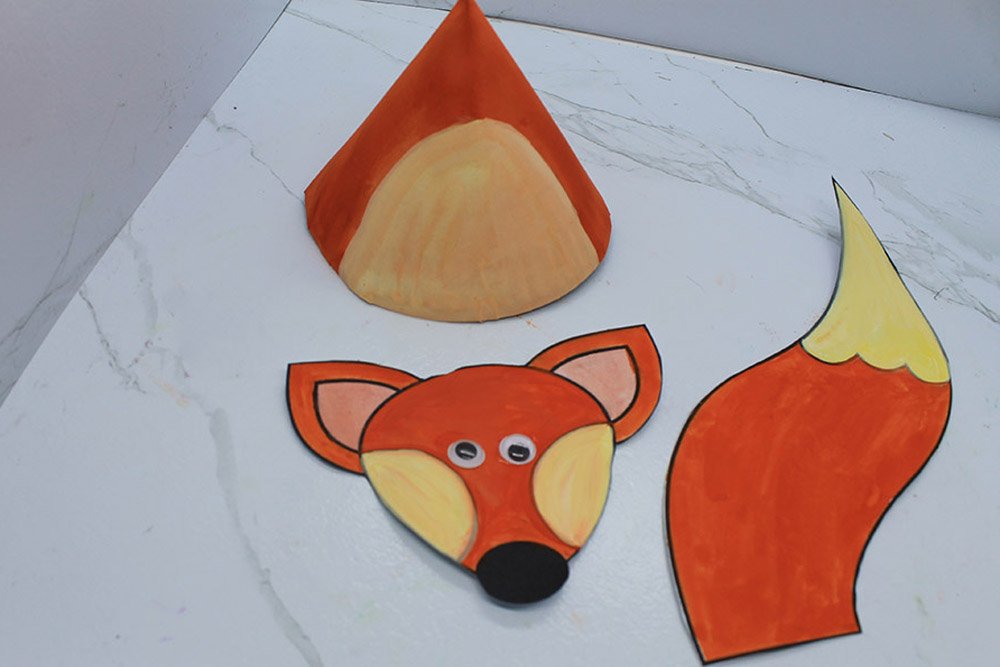
The body of the paper plate fox is done!
Glue is OK to keep the cone in place. Just make sure that you allow the glue to set in completely, or the cone will not hold in place.
Color the body of the paper plate fox
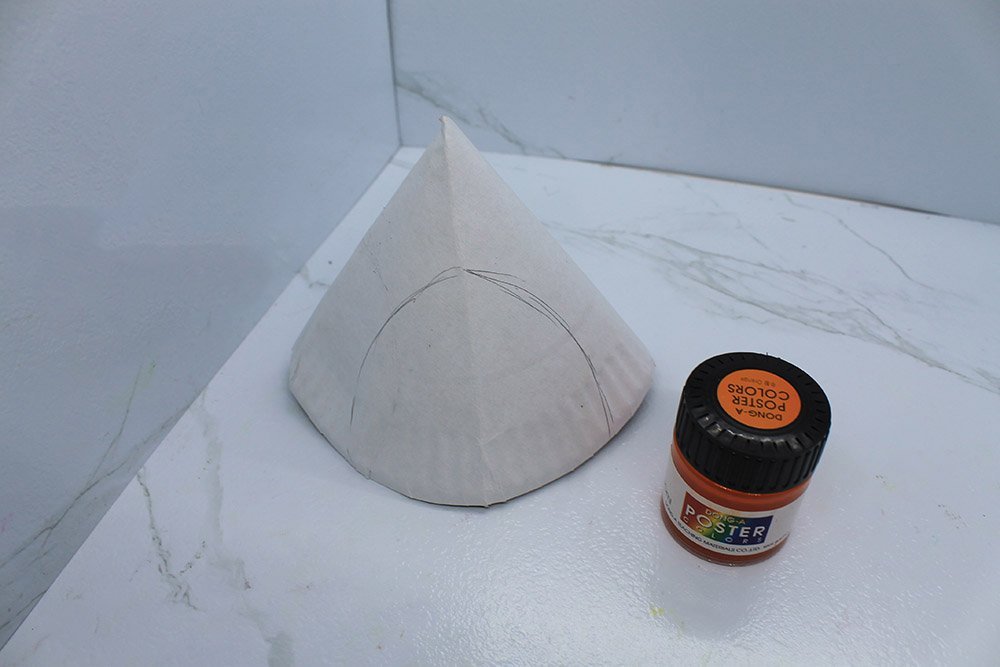
Before coloring the cone, draw a semi-circle on the bottom are of the cone. The semi-circle will be the belly of the fox.
Now color the outer area with orange paint.
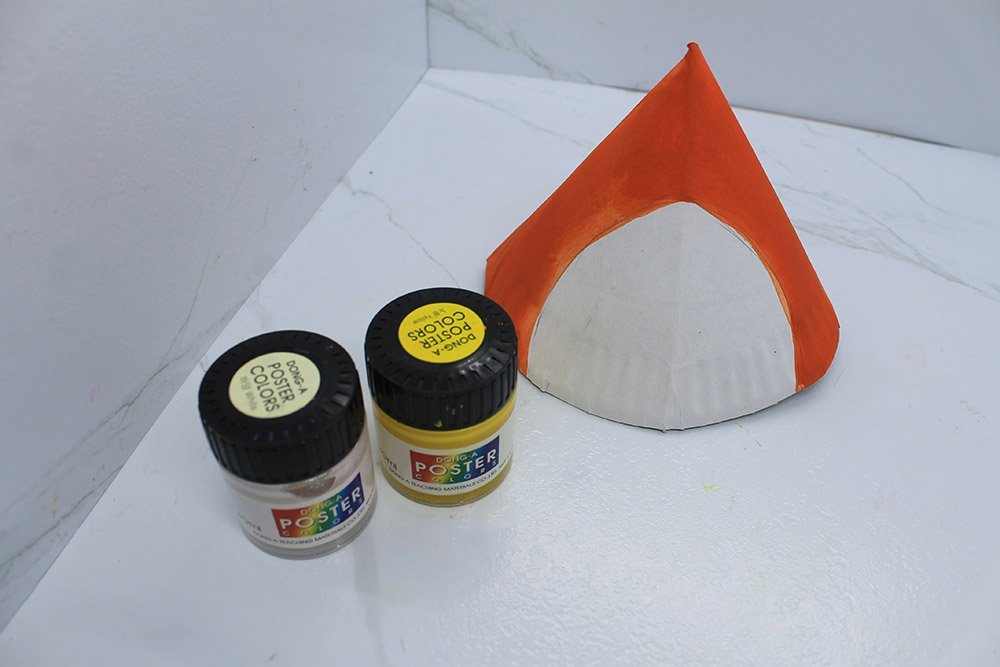
Color the belly with a light yellow shade.
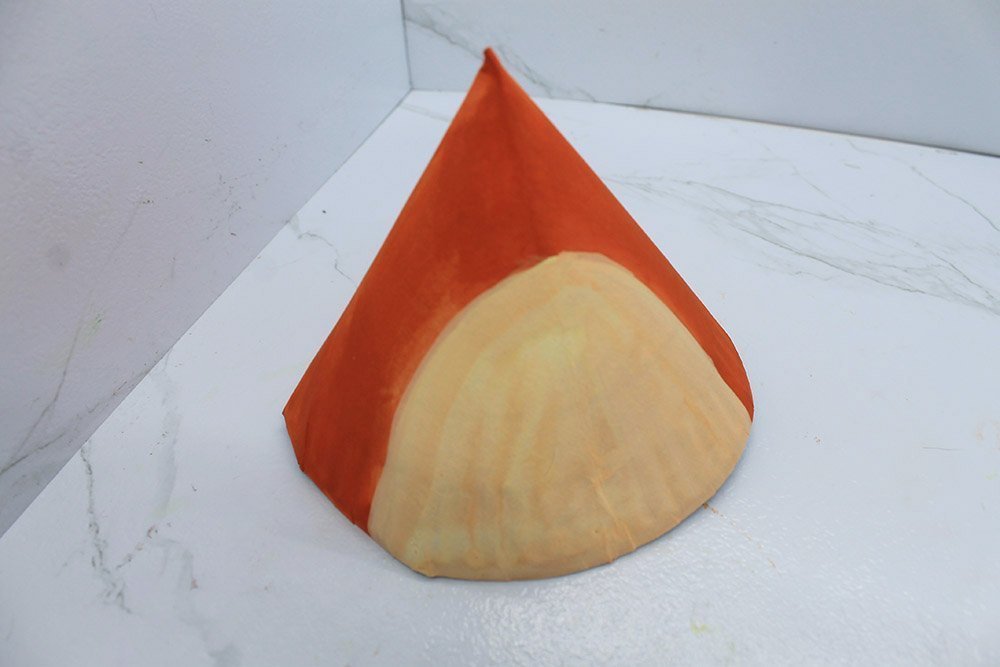
The body of the paper plate fox is done! Let it fully dry before proceeding to the next step.
Assemble the paper plate fox
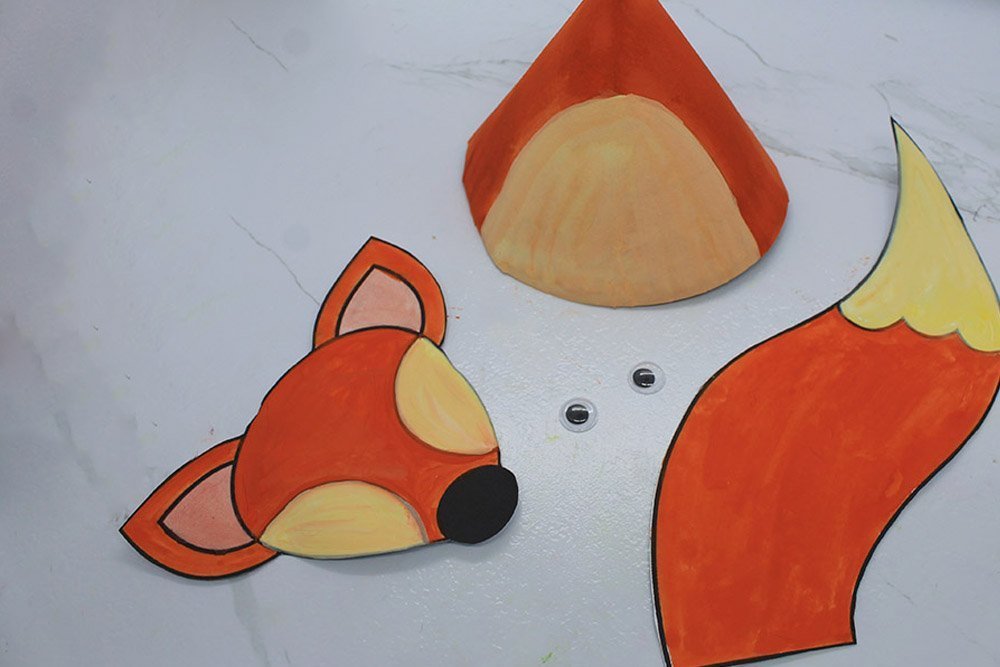
Get the cutouts, the paper plate cone, and a pair of googly eyes.
Stick a pair of googly eyes on the head cutout.
If you don’t have googly eyes, then you may draw the eye instead.
Attach the head at the top part of the paper plate cone. Position it above the belly.
Turn it around and paste the tail at the back.
You can trim the tail if you find it too long.
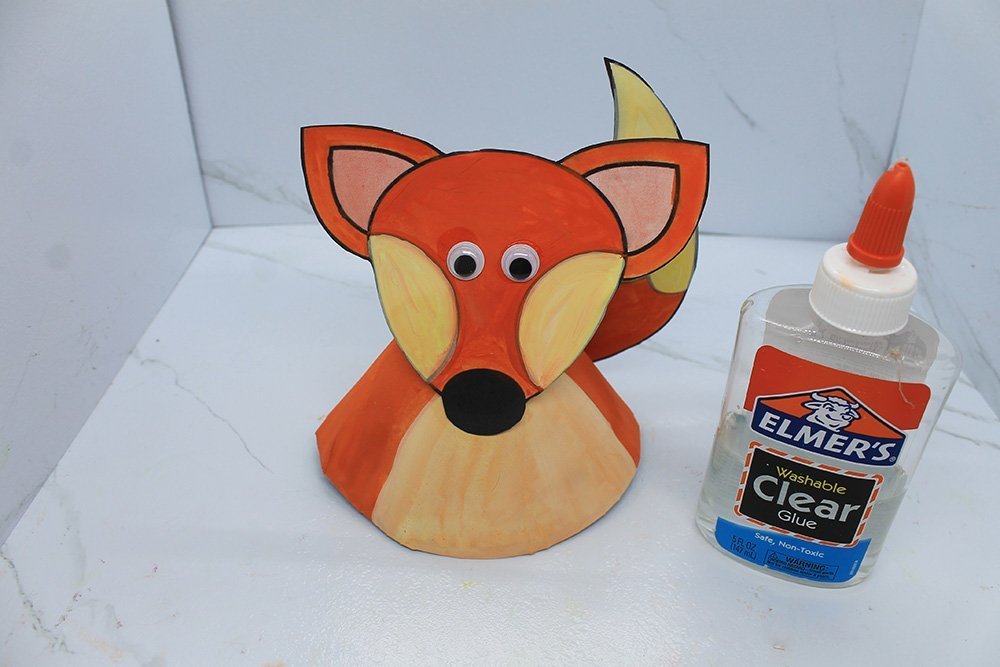
The paper plate fox is done! It’s cute, but you can level up this craft by creating a meadow for it to sit.
Create a grass bed
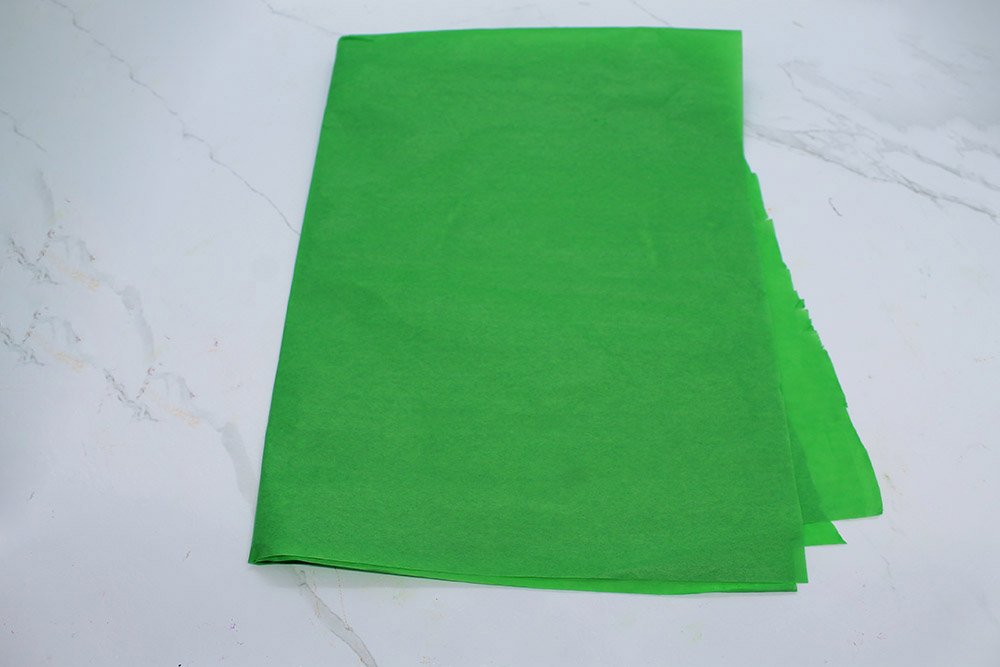
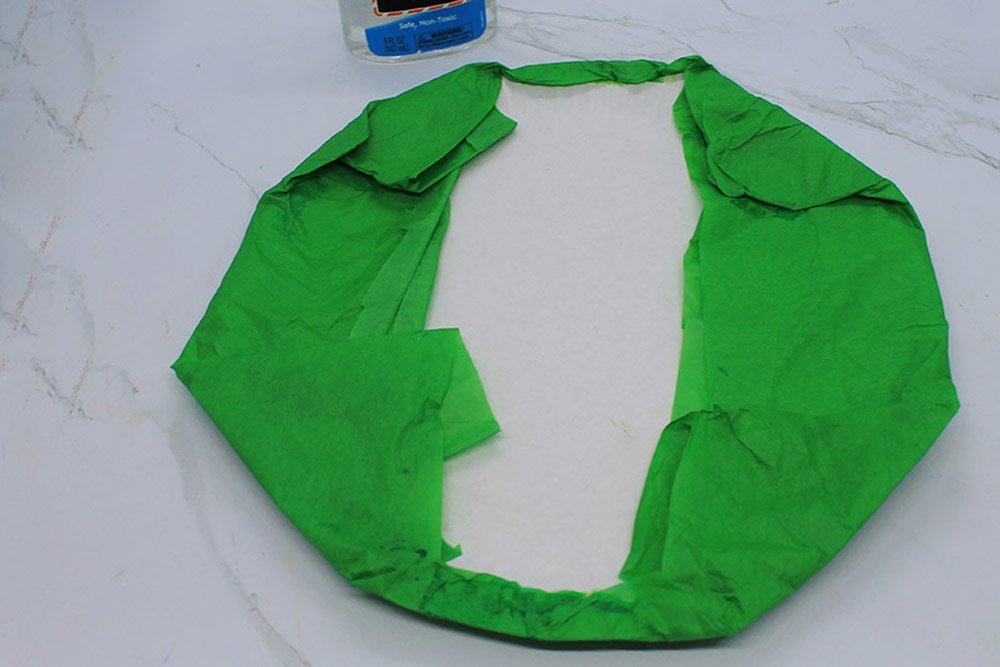
To make a super easy grass bed, get a piece of Japanese paper twice as big as the paper plate. Fold it and crumple it.
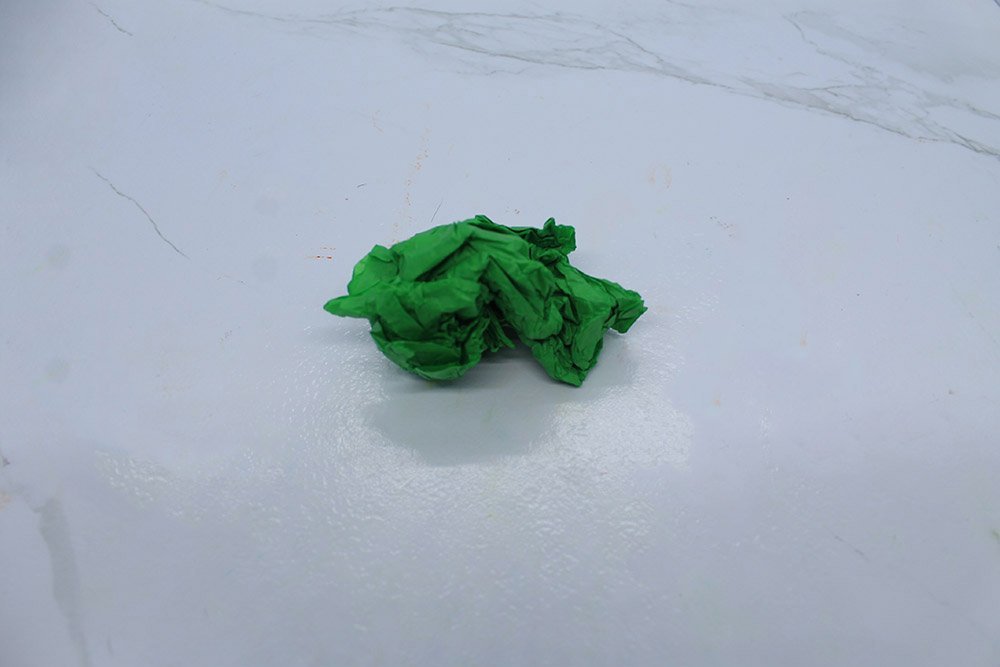
Un-crumple it gently. Make sure the paper does not tear.
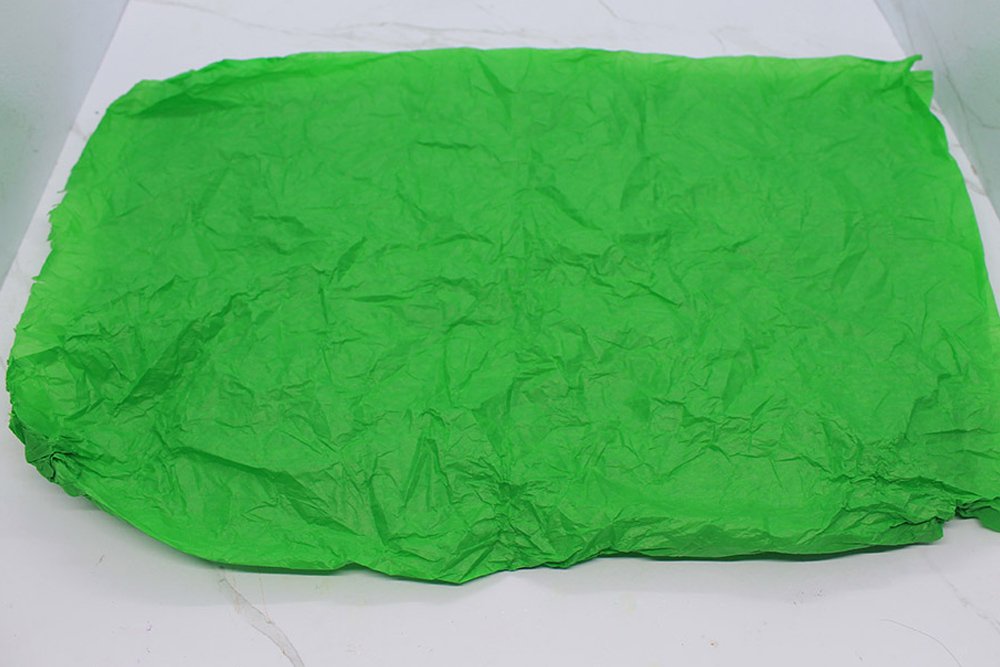
Lay it out into a rectangle like the image above.
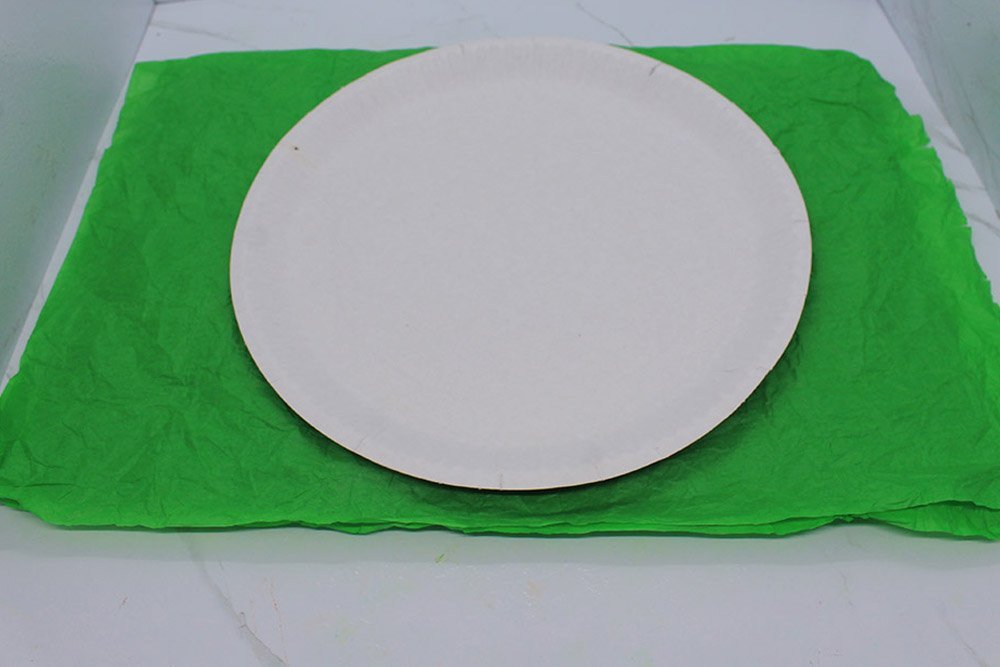
Lay a paper plate on top of it.
Glue the edges of the paper to the top of the paper plate.
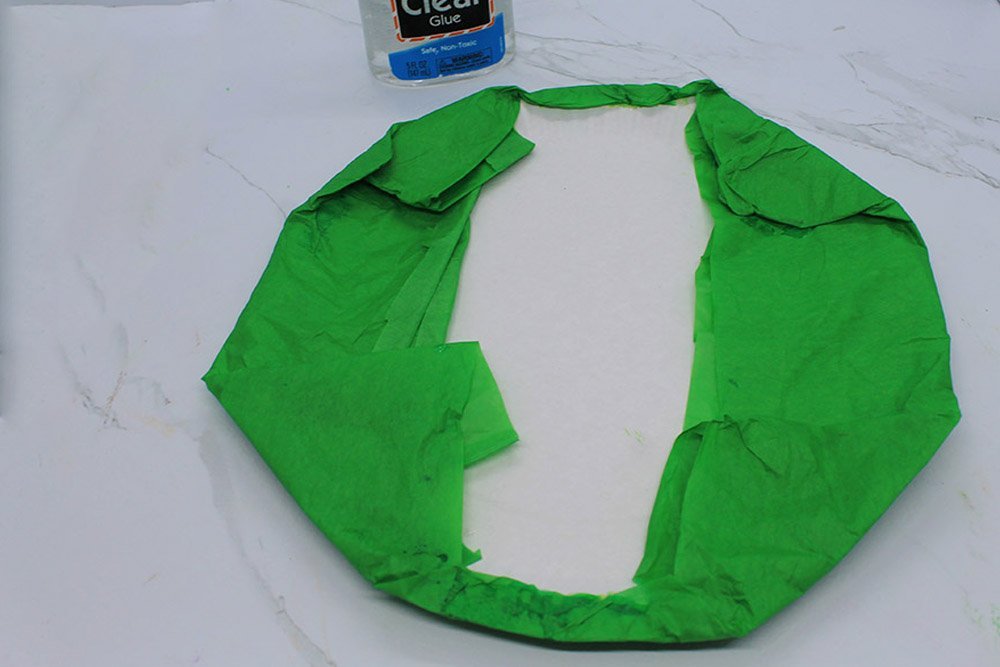
Flip it over, and the grass bed for your foxy friend is complete!
Decorate the grass meadow.
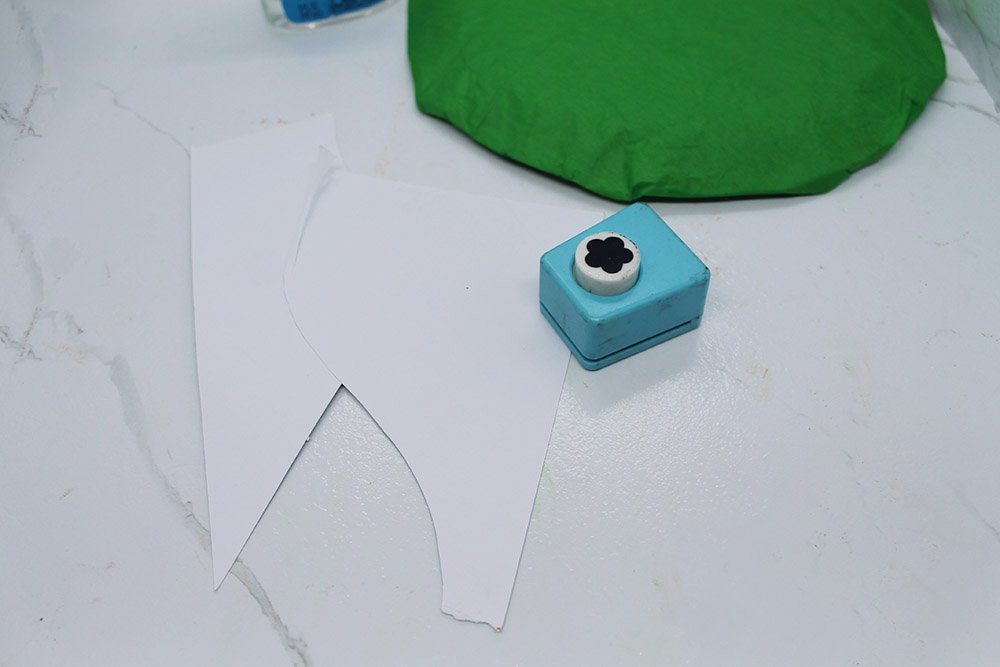
Using the leftover paper from the printable, cut out some flowers to decorate the meadow.
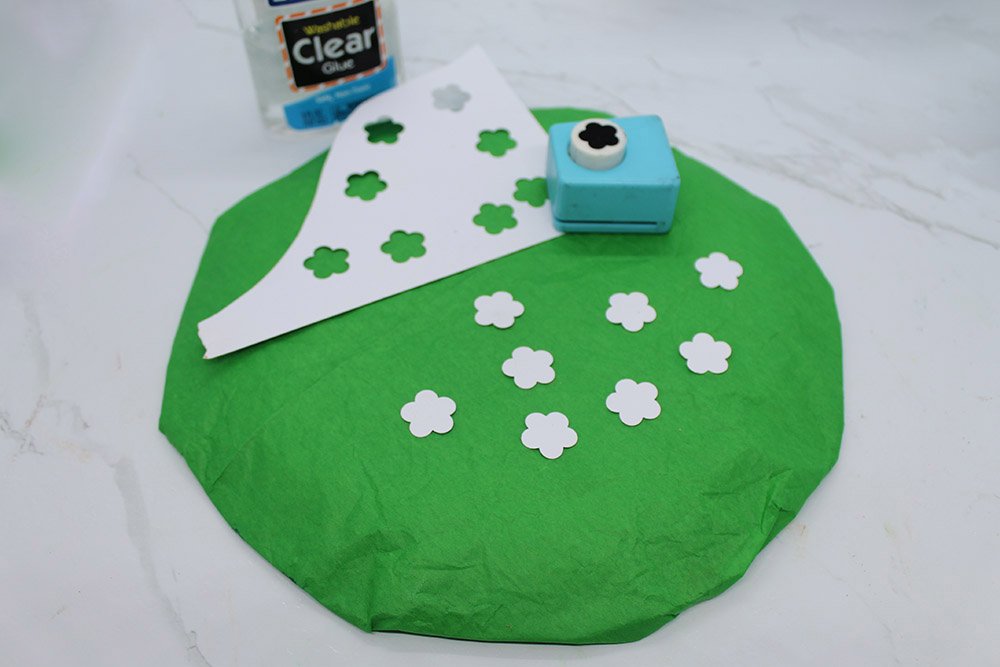
The best way is to use a flower-shaped craft puncher to make some flower cutouts.
If you don’t have a flower puncher, draw some flower shapes on the paper and cut them.
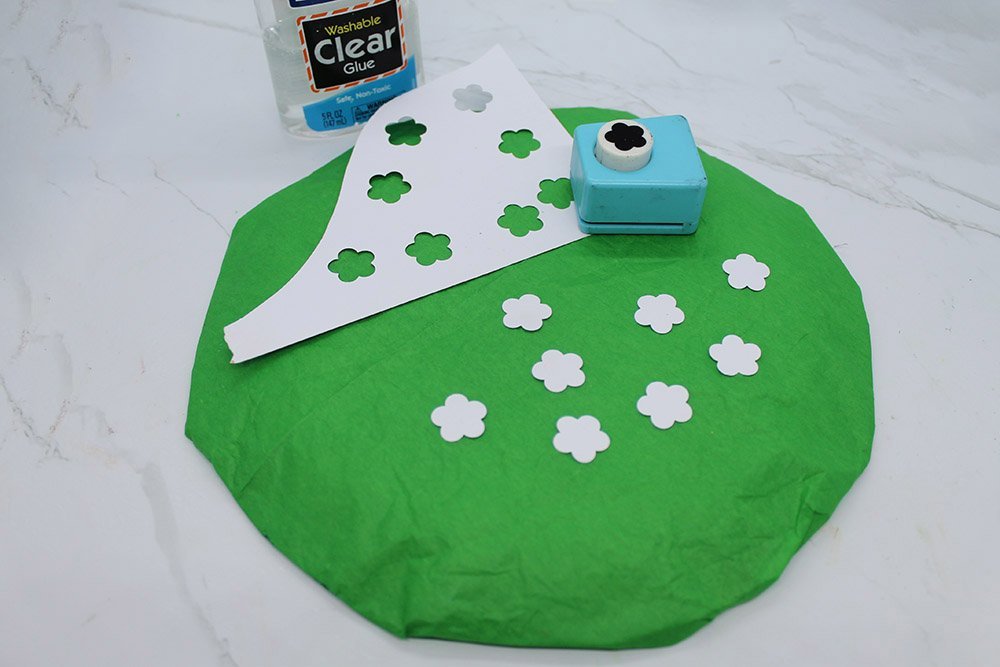
Stick the flowers around the edges of the meadow.
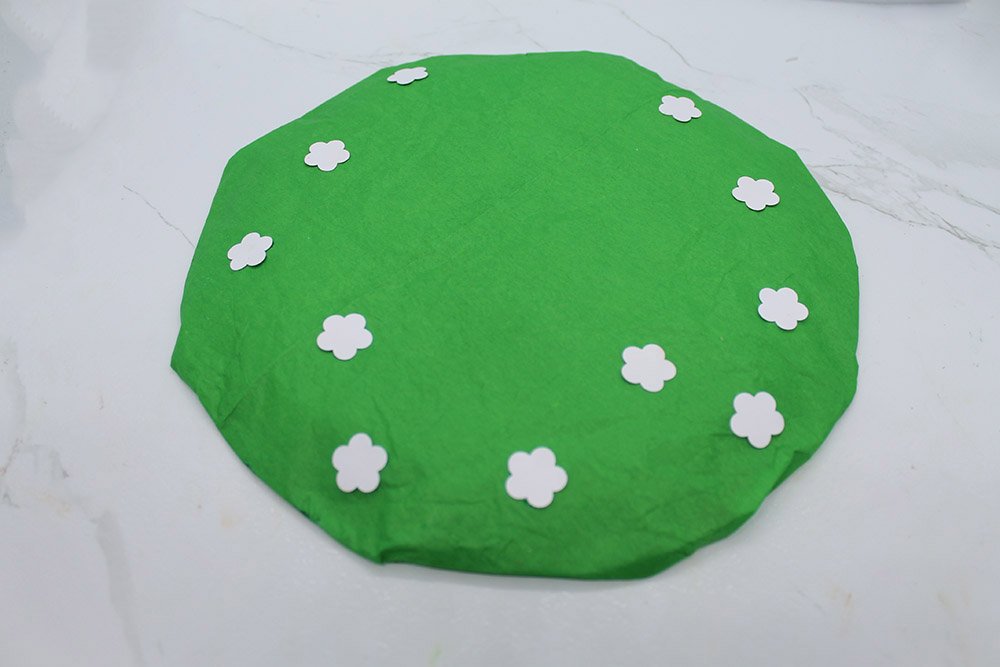
Once you have positioned the flowers, decorate the flowers with your chosen art materials.
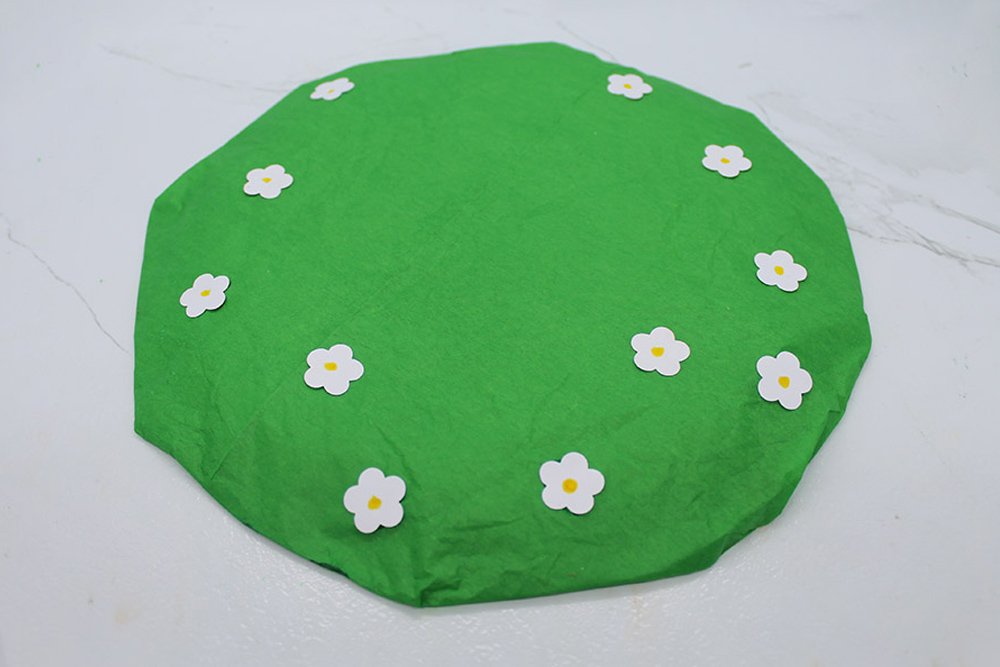
You can just put a colored dot on the center of each flower to keep things pretty and simple, or you can color the flower however you (and your kids) would like!
Position the fox in the flower meadow
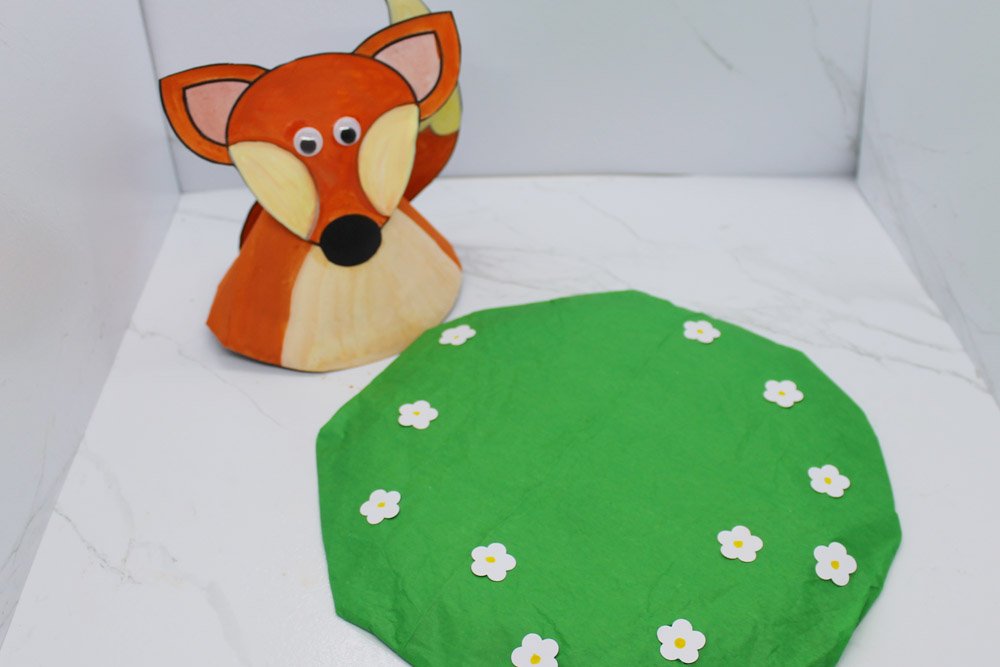
Lastly, place the fox in the center of the meadow.
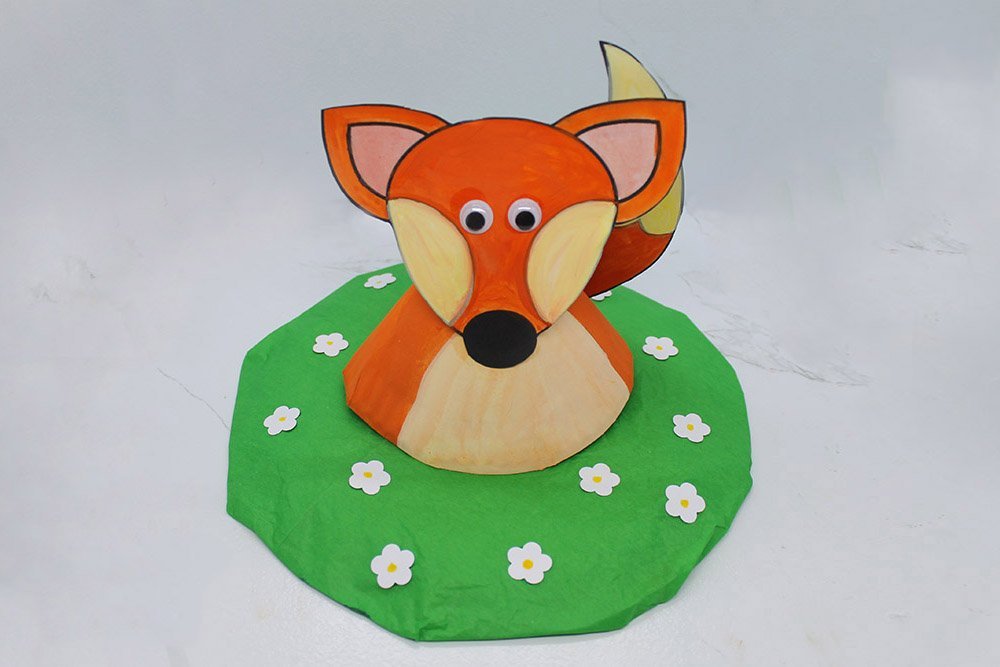
The paper plate fox is done!
Now you can use it as a display anywhere in the house.
Extra Tips
- Besides our foxy little friend, you can use this flower meadow to display various animals.


It’s nice that it could stand
I put this in my side of our garden. It looks lovely 😘… only 8 years old btw ahaha
I wished it look more realistic butt my friends loved it when I showed it to them
I approve of this
I approve of this too