Paper Plate Pumpkin DIY Lantern for Kids and Adults

Introduction
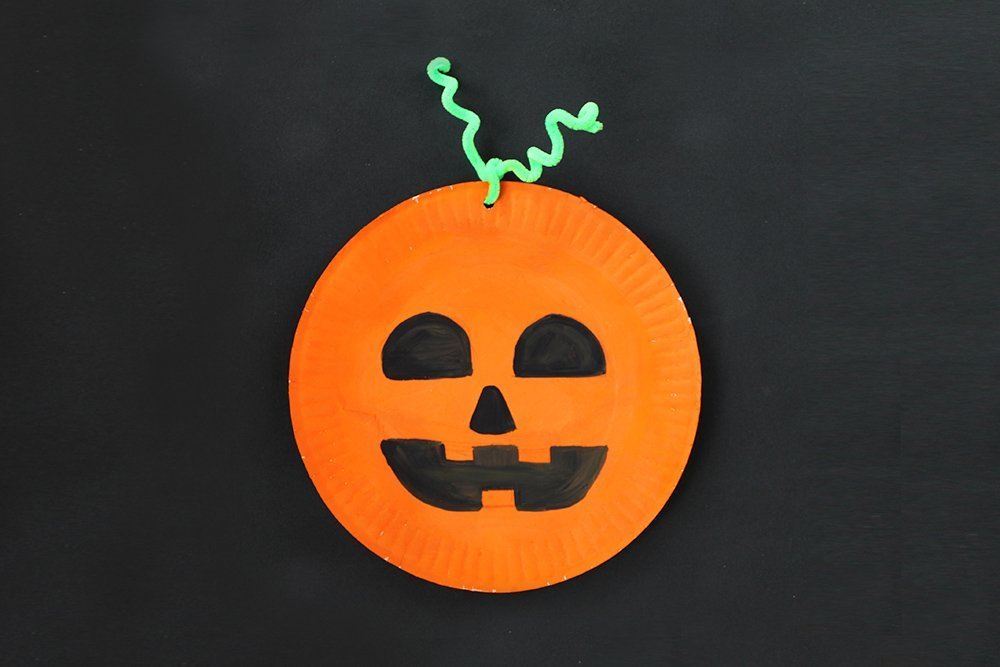
Create a paper plate pumpkin using the things that you usually find at home. This project is a fun and easy craft that kids and adults can do. This project is a spooky treat that everyone can do this fall and Halloween. Once finished, you could turn it into a non-flammable lantern by following the instructions below!
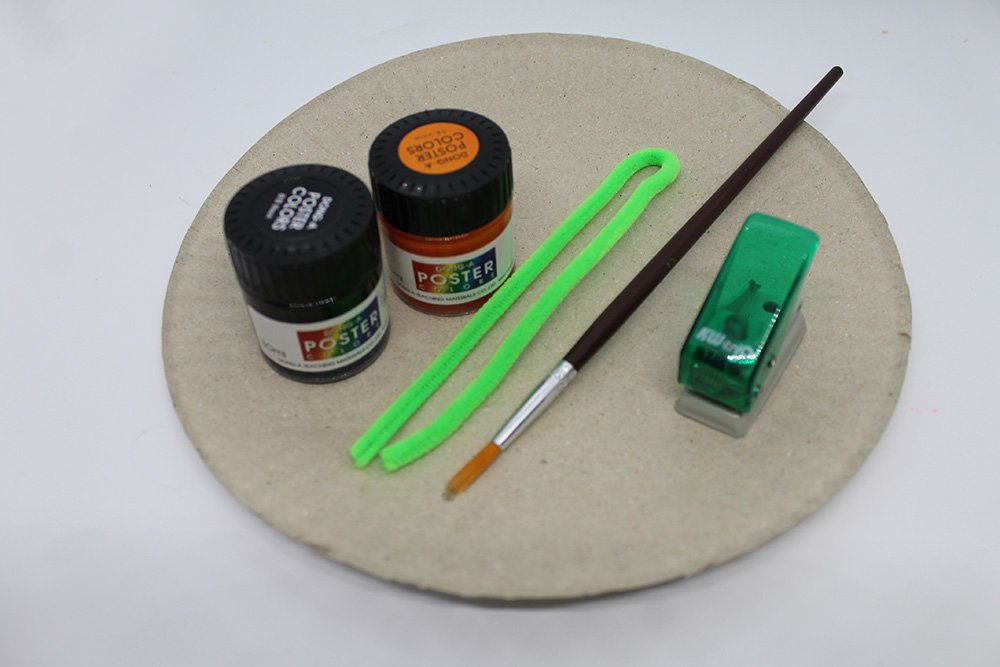
Tools
- Paintbrush
- Puncher
Supplies
- Paper plate
- Black and orange paint
- Green pipe cleaner( or a green yarn/ ribbon or a thin strip of green paper)
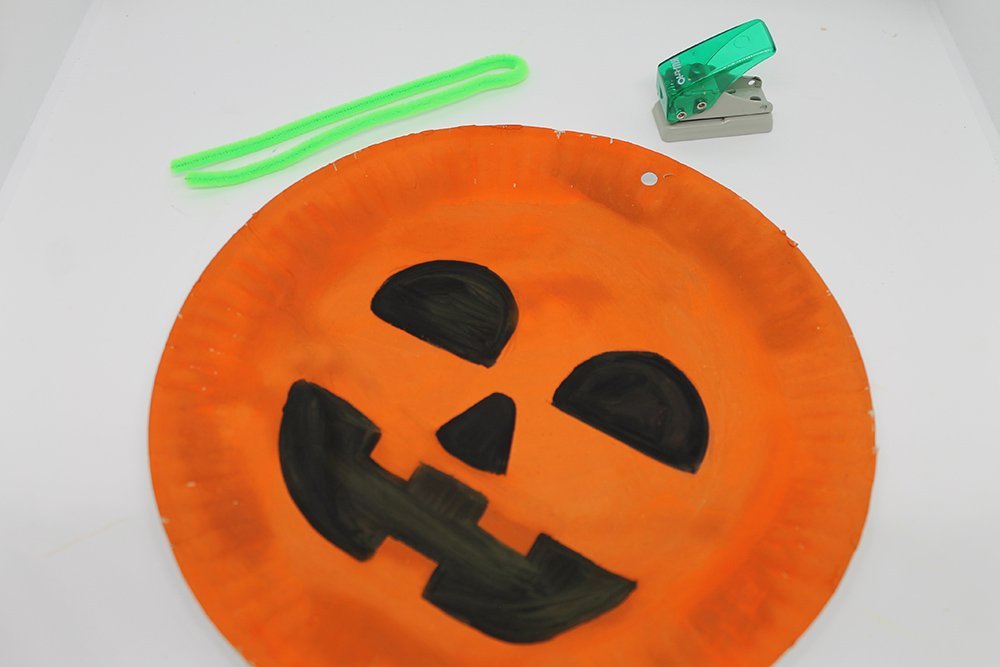
Paint the Paper Plate
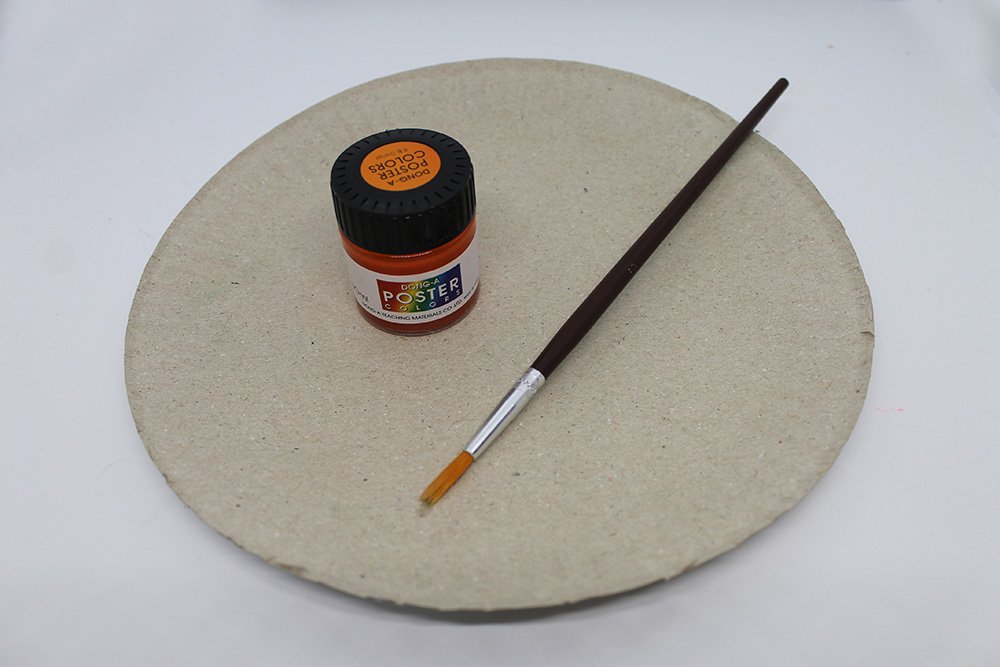
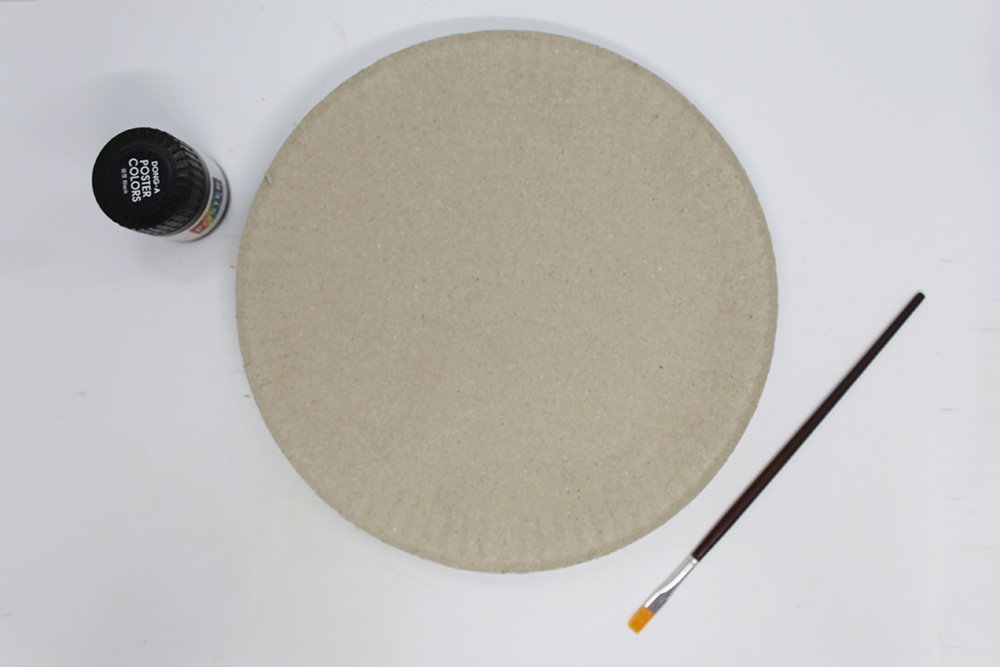
Grab a paper plate and paint the whole space with some orange paint. Let it dry before proceeding to the next step.
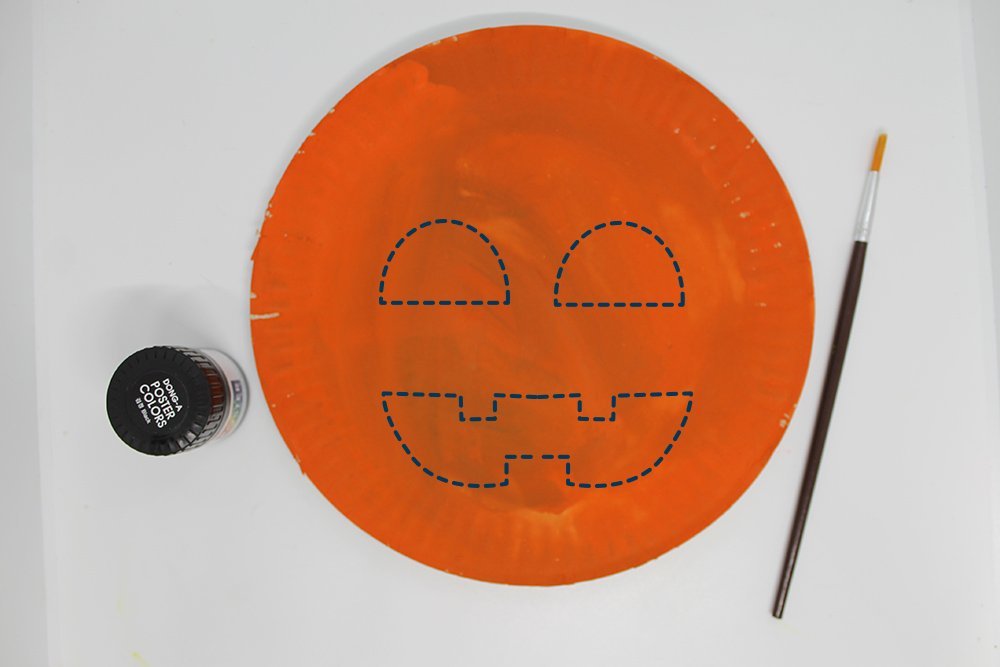
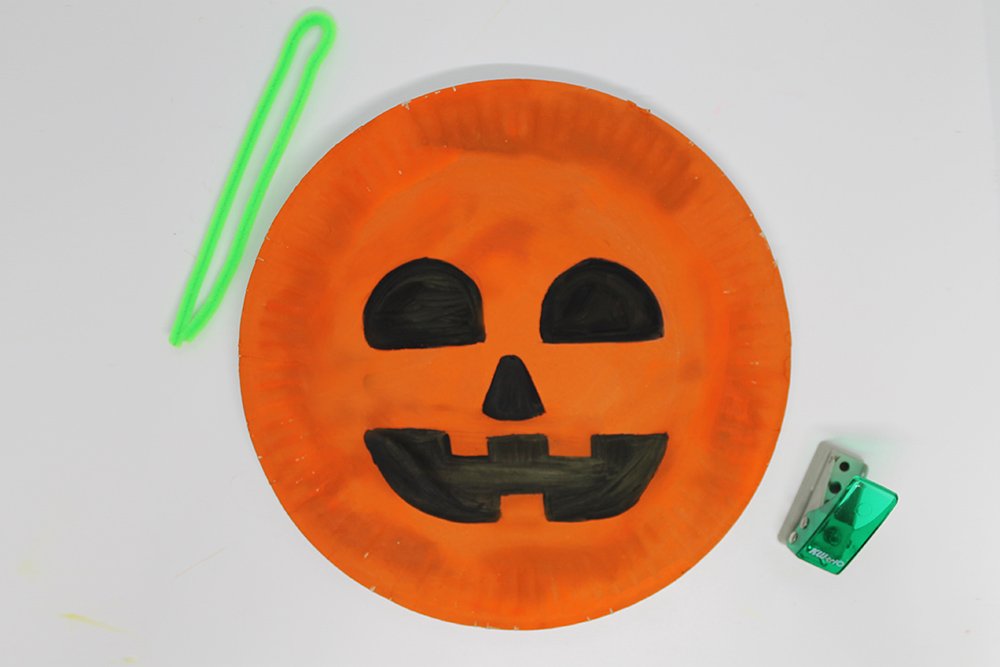
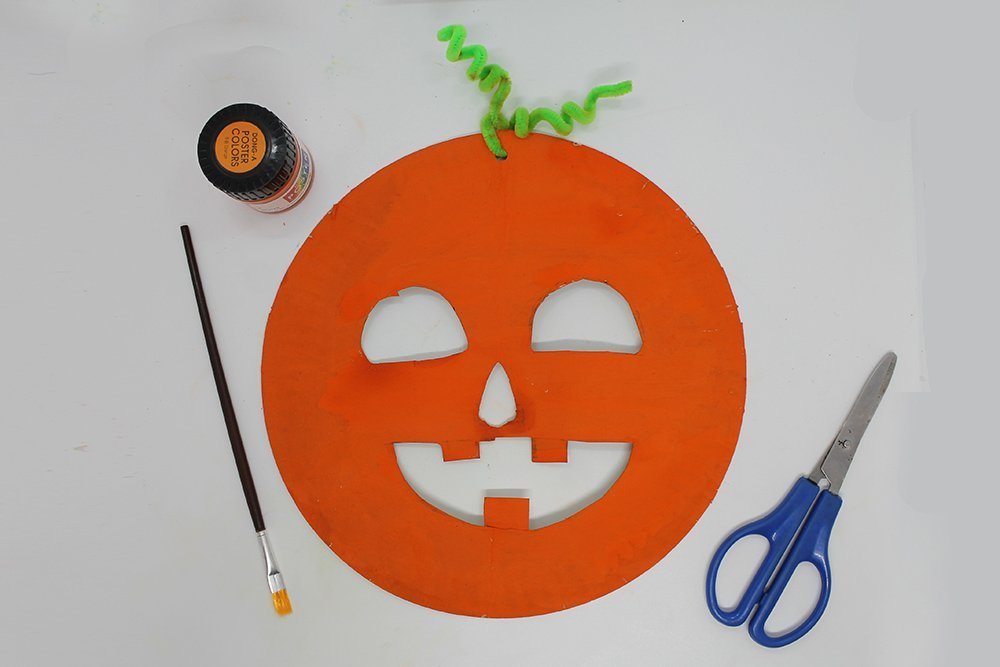
With some black paint, draw a face for your pumpkin. You may follow how the face looks like in the illustration above, or you can create any style of face for your pumpkin.
Try to sketch using a pencil first!
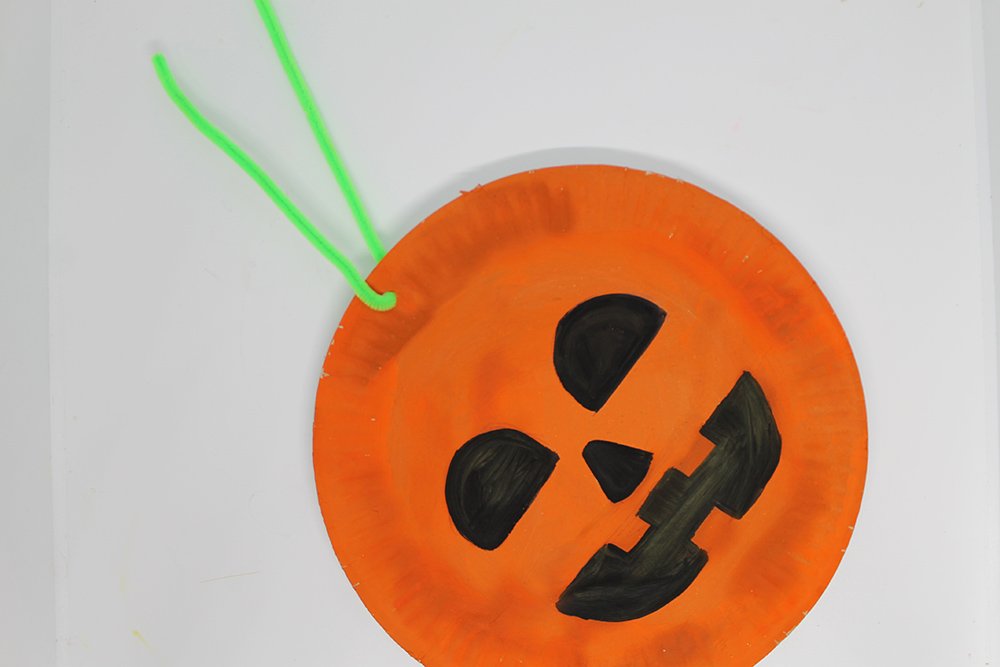
Attach the stem of the pumpkin paper plate!
With a puncher, make a hole on the top part of the paper plate!
Insert the green pipe cleaner into the hole.
Secure the pipe cleaner by tieing a knot.
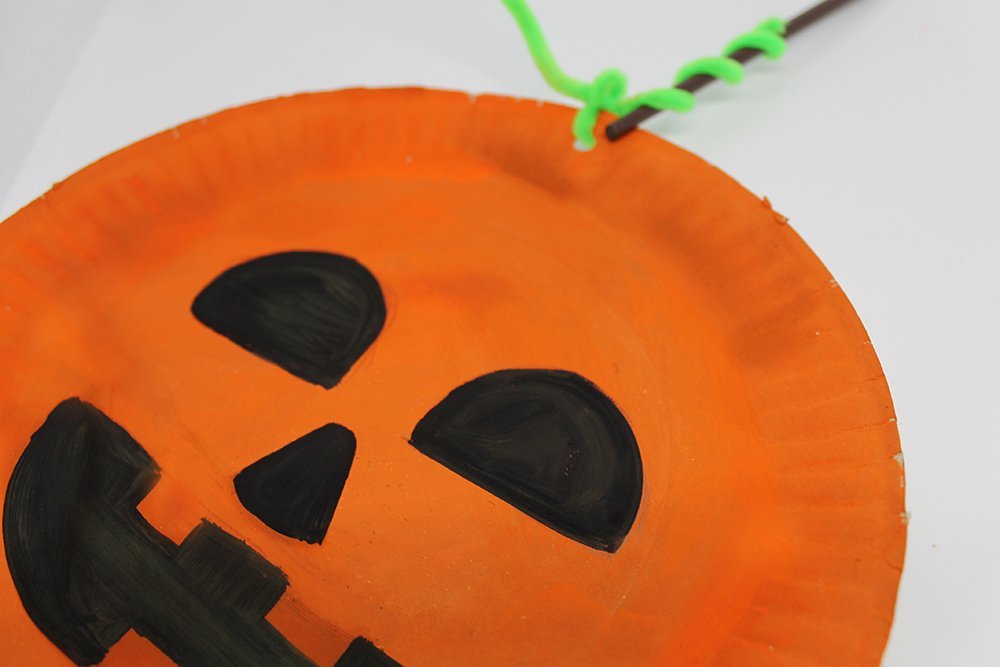
Shape the pipe cleaner by twisting it around the paintbrush or pencil.
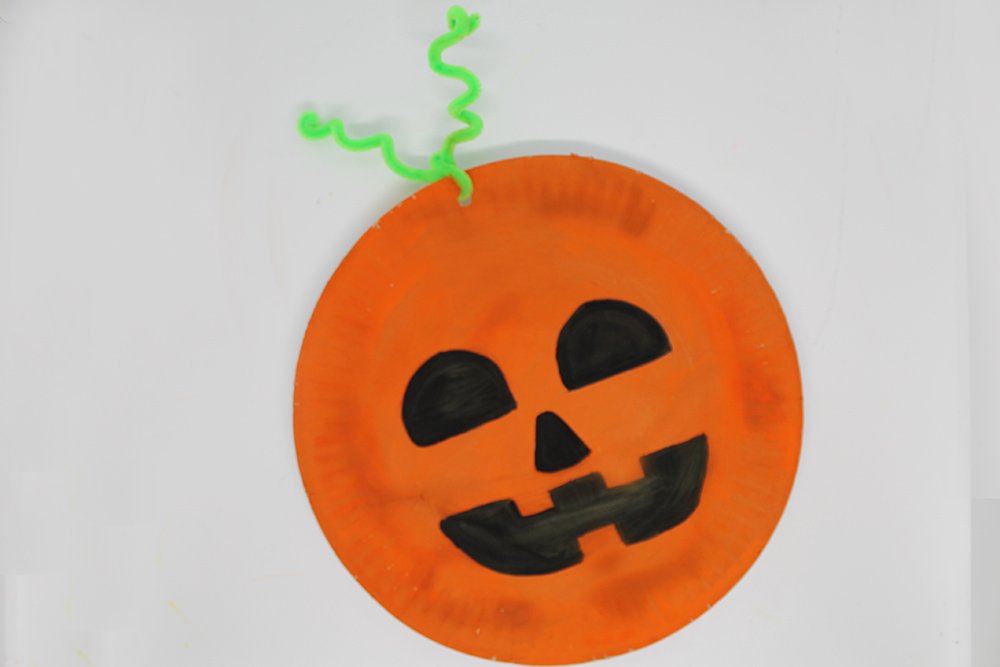
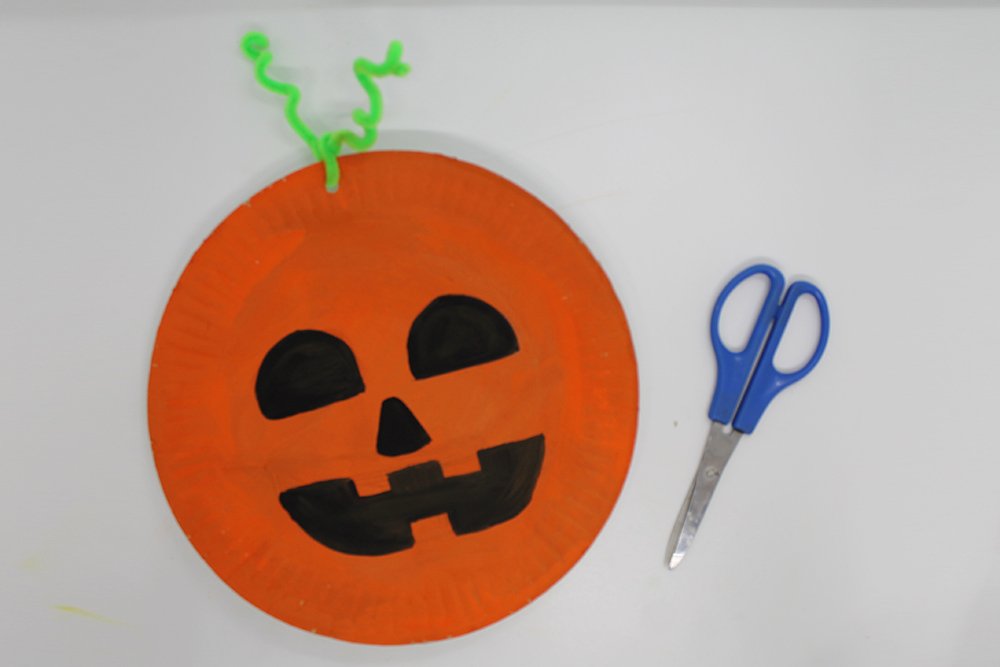
Your pumpkin plate is done!
It’s nice as is, but you can level it up by turning it into a lantern.
Optional: Create a paper lantern
Once your pumpkin plate is done, you can carve it out and turn it into a lantern. With the use of fairy lights, it is simple and easy to make a non-flammable pumpkin lantern that you can use this Halloween and fall season!
Materials
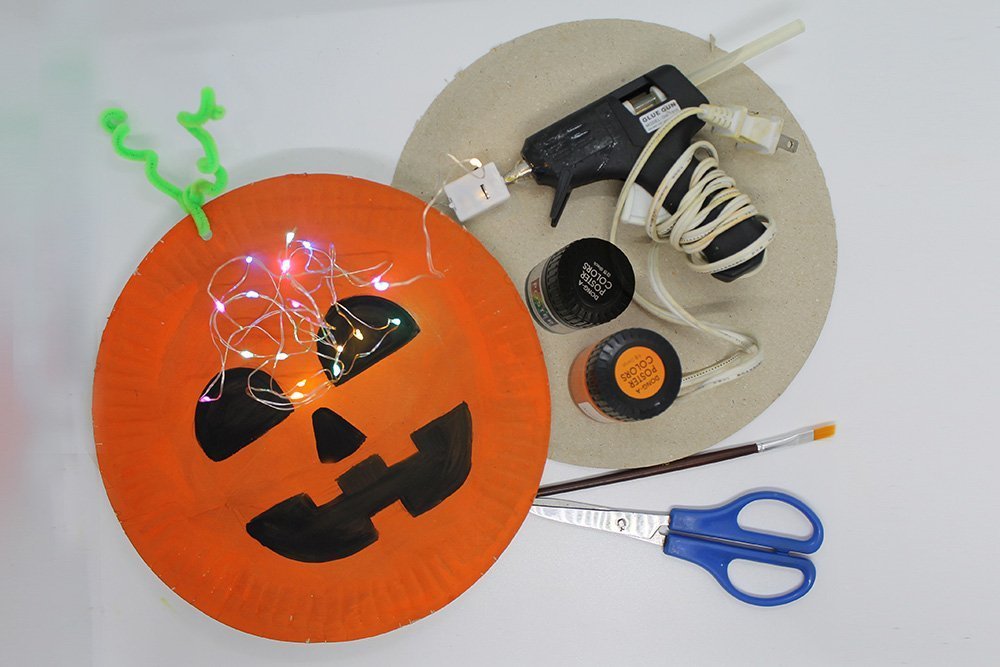
Pumpkin paper lantern, Fairy Lights, Black Paint, Scissors/Cutter, Glue Gun
“Carve” out the pumpkin’s face
Using a pair of scissors or a cutter, cut out the black part of your paper plate pumpkin.
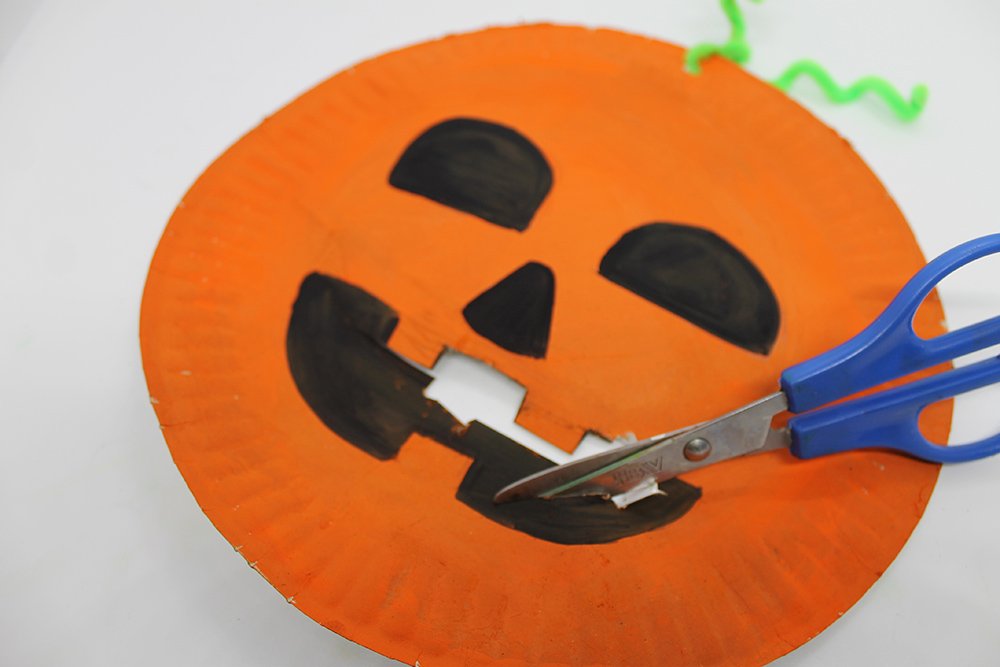
Slowly cut off the black part with some side.
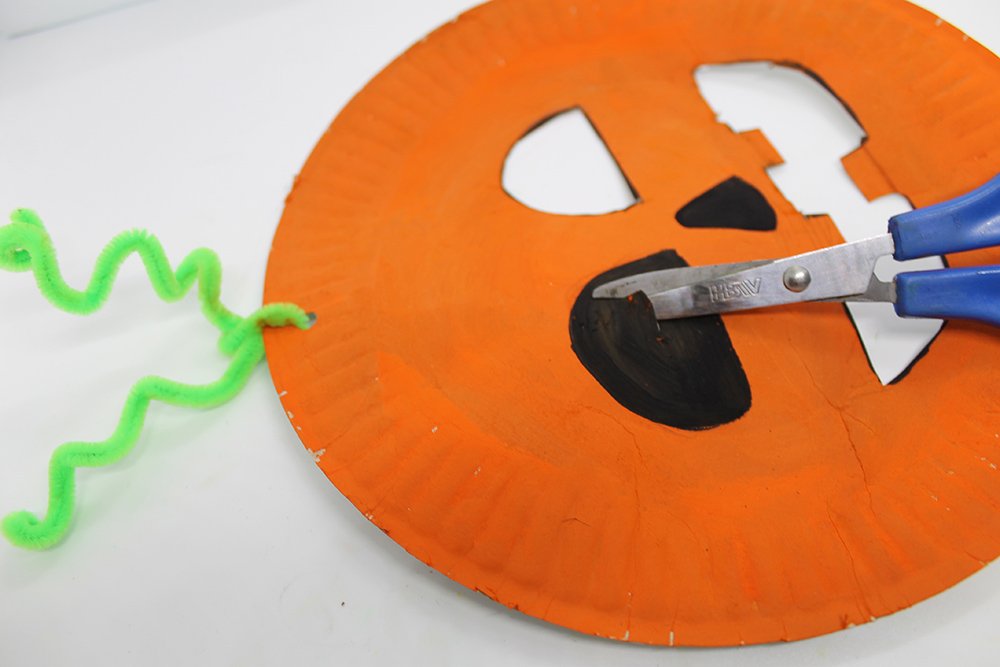
Cut off this easily using scissors, bend the paper, blate a bit, and snip a bit in the middle.
After cutting out the black part, it should look like this.
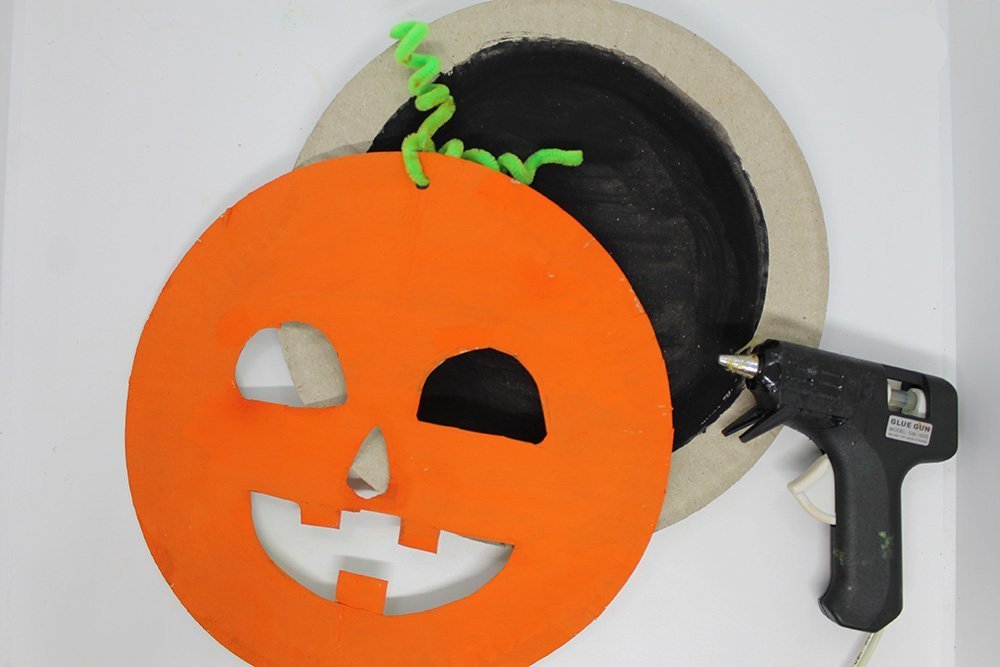
Paint a black background on a paper plate
Get another paper plate and paint the center with some black paint.
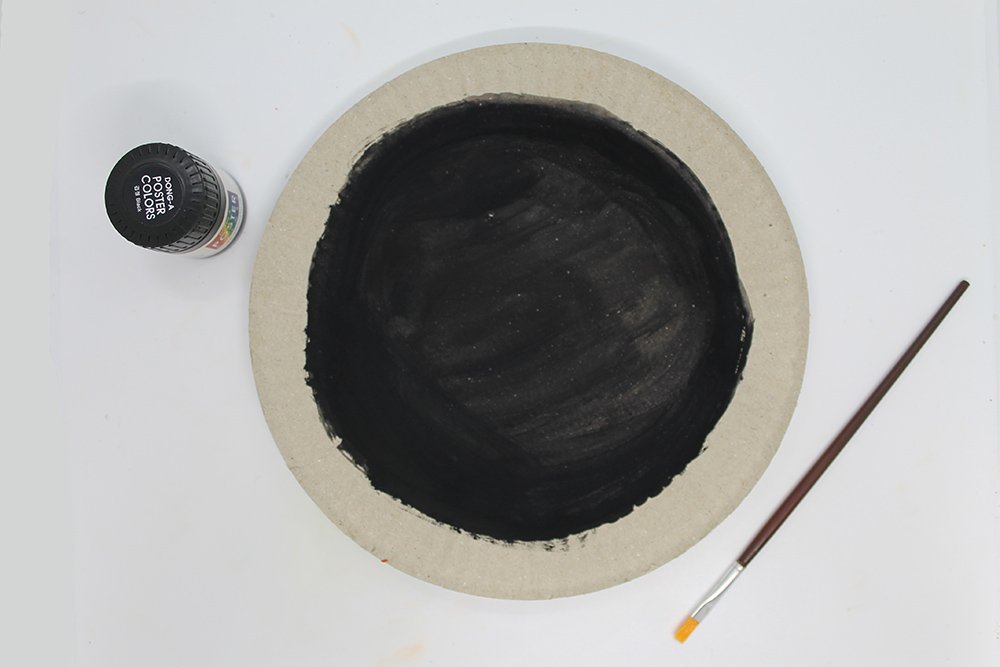
You do not need to paint the edges with black because this is where you’ll put some hot glue.
Assemble the lantern
Get your “carved out” paper plate. Use some hot glue to attach them.
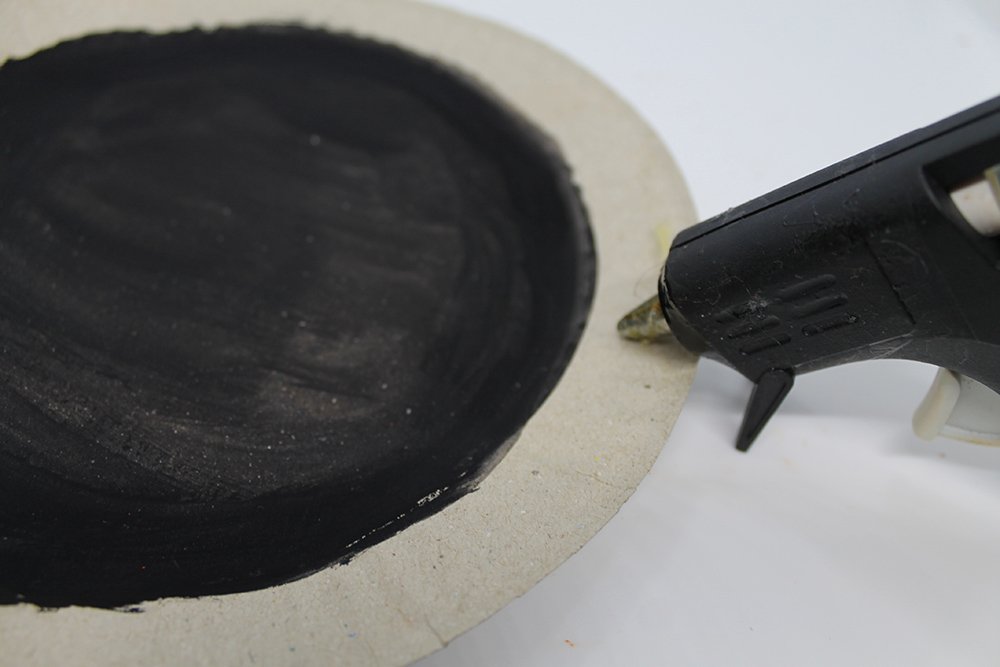
Put some glue around the edges of the black-painted paper plate. Make sure you leave one small portion of the edge open because this is where you will insert the fairy lights.
Lit your pumpkin lantern with some fairy lights
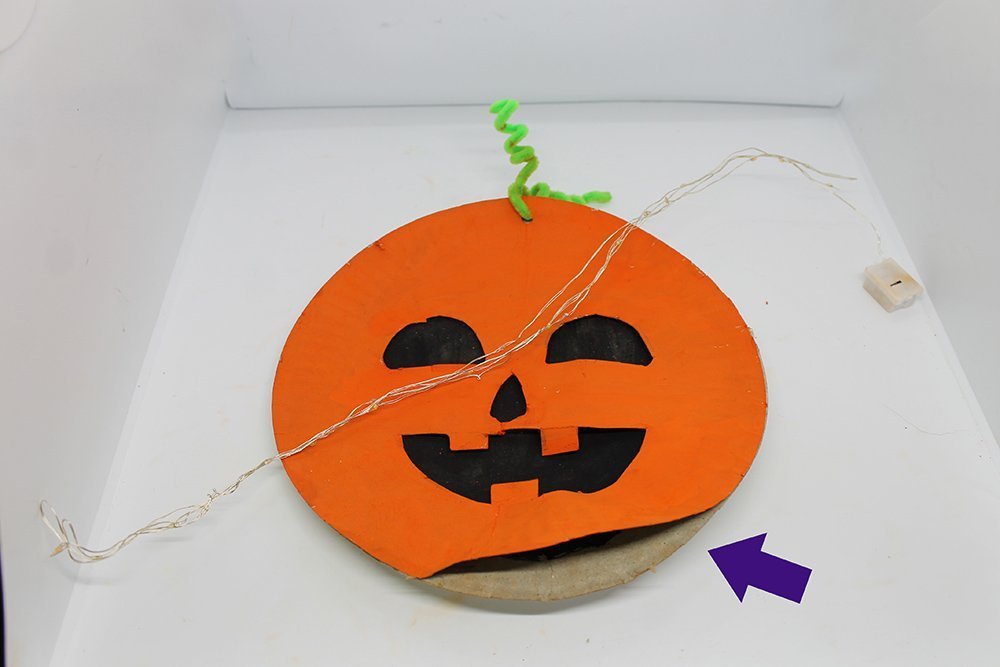
When glued together, your pumpkin should look like this! See the small opening (blue arrow)? This is where you’ll insert the fairy lights. Get your fairy lights and then twist and fold it so until it is one foot in a length. Insert it on the opening (blue arrow) after.
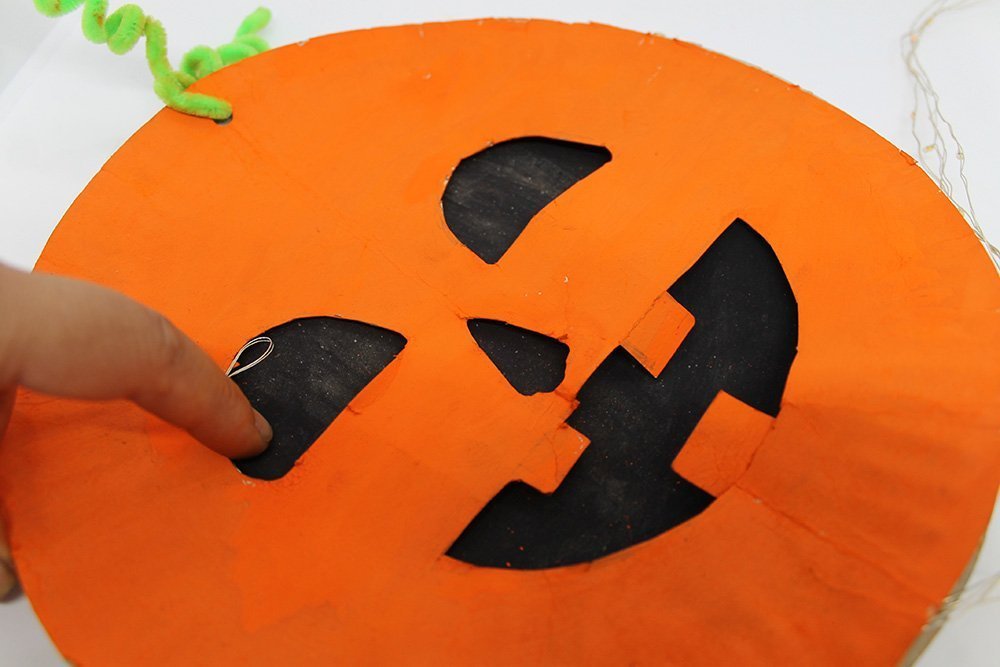
As you insert the fairy lights, make sure that they only coil them around the edge of the interior of the pumpkin lantern. If the wires are peeping through the mouth, nose, and eyes of the pumpkin, tuck it to the edge with your finger.
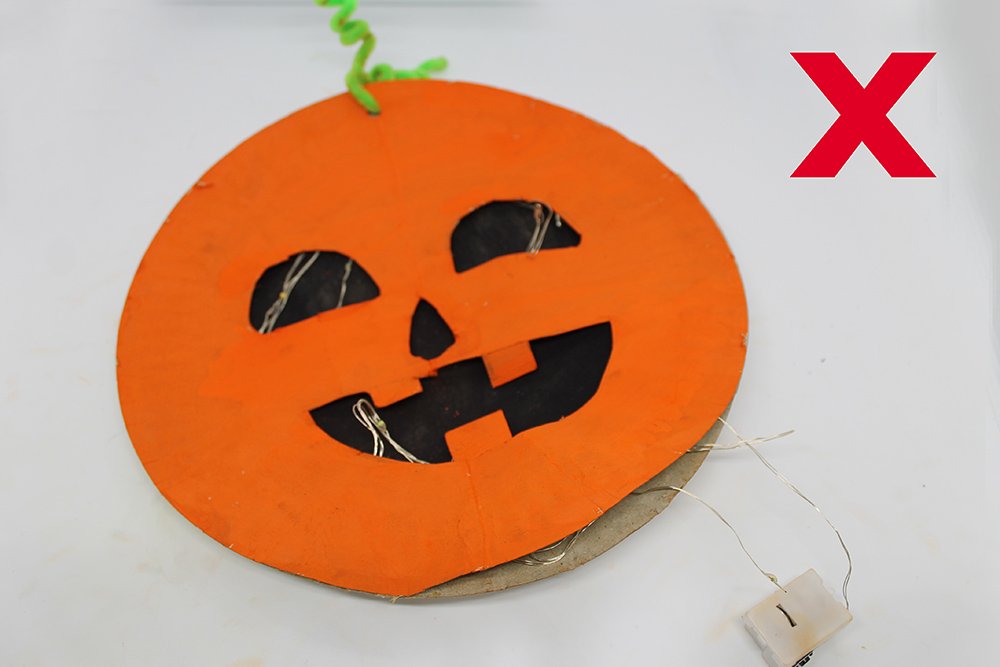
It should not look like the sample image above. Tuck into the edge until the fairy light is no longer visible.
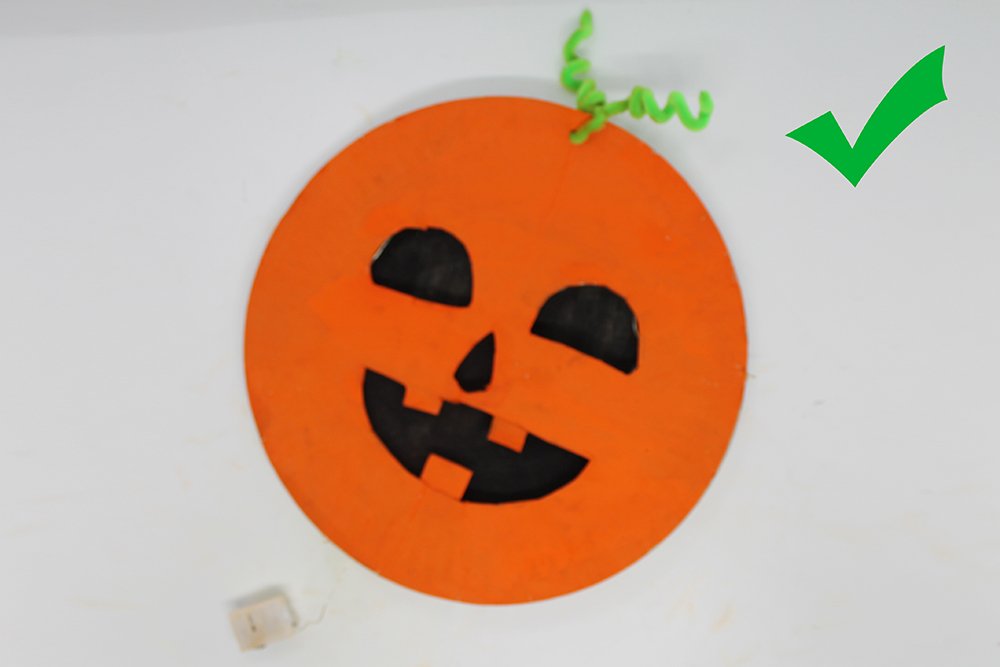
Once tucked, it should look like this! Make sure you coil it fully around the edge of the paper plate. That way, The pumpkin is evenly lt.
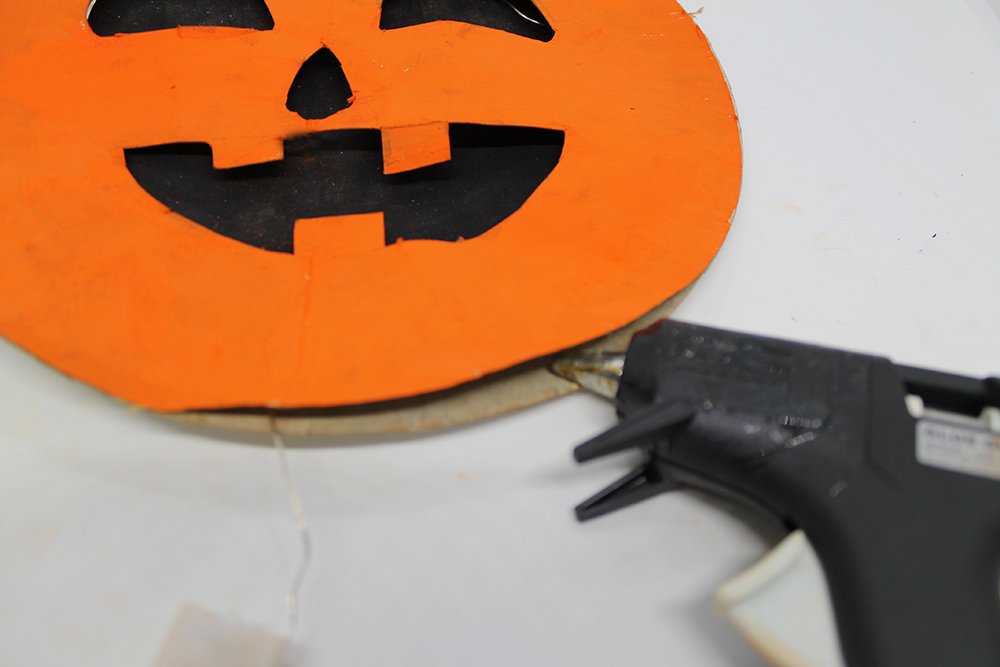
Seal the open edge with some glue gun. Make sure you leave the switch off the fairy lights outside the pumpkin.
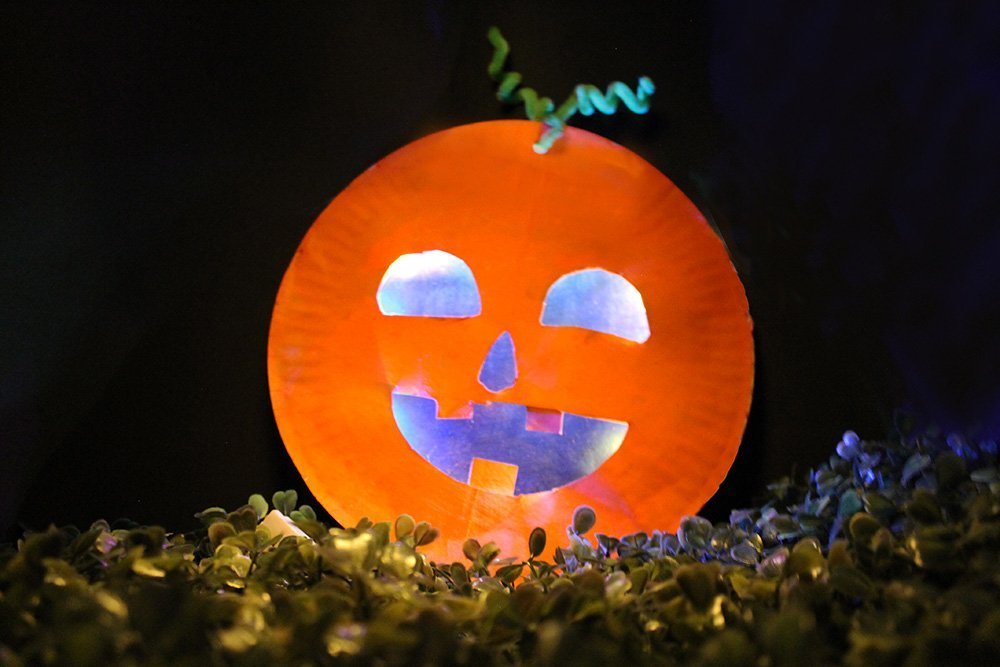
Your paper plate pumpkin lantern is done! Stick it on your wall to create a spooktacular decor!
Extra Tips
- If you don’t have fairy lights, you may use glow sticks to put inside the pumpkin.
- You may also use an electric candle by slitting the bottom part and inserting inside. Please do not use an actual candle because paper plates are flammable.
- If the fairy light is not staying in place, keep it in place by putting some tape on the fairy wire lights. Use the mouth and eyes to insert the tape inside. Do not use hot glue because the wires of the fairy lights will melt.


Definitely can make my kids do this before Halloween. Cause I don’t want to be disturbed when i’m doing the real stuff. Carving pumpkins would be something they can do when they are older 🙂
Reason to do this:
1. Very easy and affordable
2. With some lights at the back it can look pretty good.
3. It’s a chance for the kids to be part of the Halloween preparation
My only cons is that it’s not waterproof! But what u expect ahahah
Looks good, wouldn’t let kids touch the lights though without a grown-up.
Good job, how can I share to this to social media??
Thanks, why didn’t i found this site llast year?
Step 3 is what makes it a bit hard but the kids can just make the step 1 and 2. Excellent guide