How to Make a Zebra Paper Plate Craft | Kid’s DIY

Introduction:
Welcome to the guide on how to create a zebra mask out of paper plates. And you will be given a free downloadable that you could print. You could then use it to make the hair, mouth, and stripes of the zebra. Cool, right?
This paper plate craft is perfect for parties. and don’t you know that we have several animal masks? The kids have a lot of options to choose from – which is great.
Making the zebra paper plate mask is easy and quick too. The supplies and tools required are all common. Considering all this, this craft is a must-try for kids!
Have fun.
Tools
- Scissor
Supplies
- Printable
- Paper Plate
- Glue
- String
Download Area
Download TemplateDownload and Print the Cutout
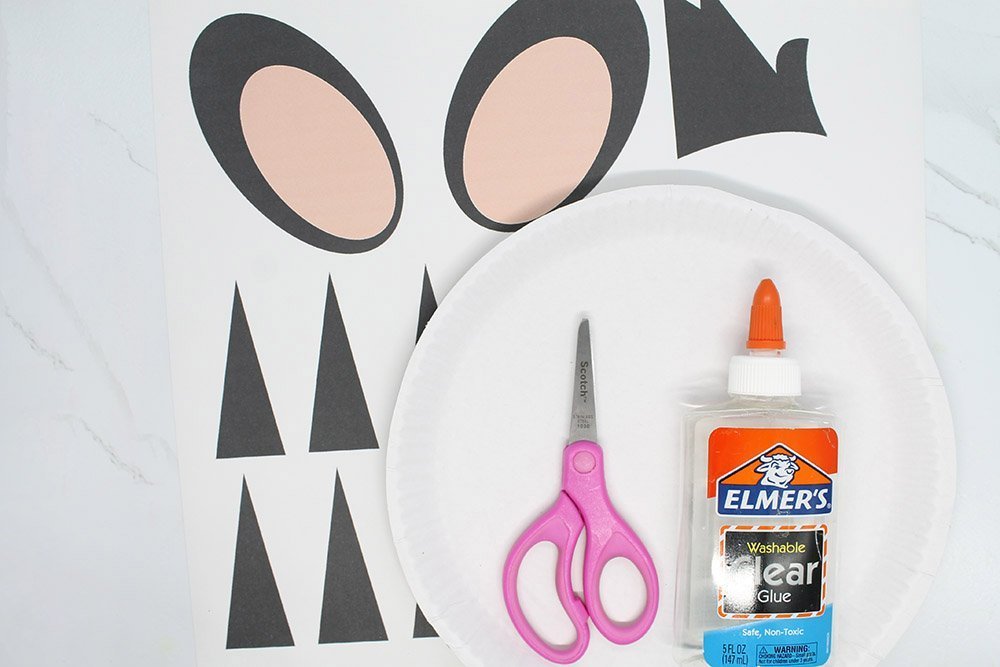
This guide comes with an awesome printable that you can download and print in your home. First, download the file then print it. And get the first sheet.
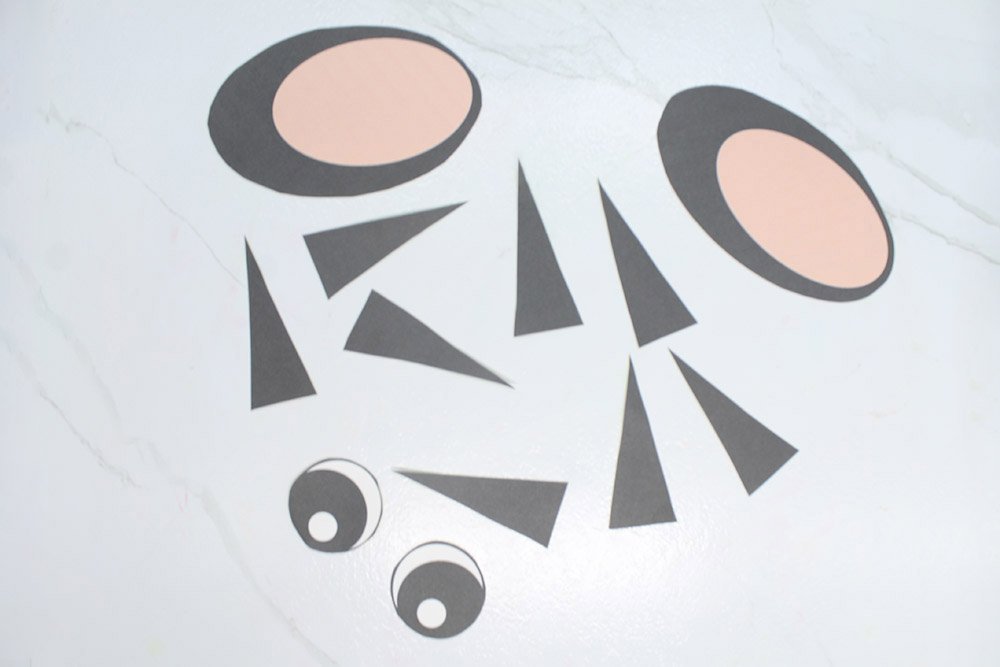
And then cut out the stripes, ears, and eyes of the zebra! Having these objects will make things easier for you! Not to mention it will make the process faster.

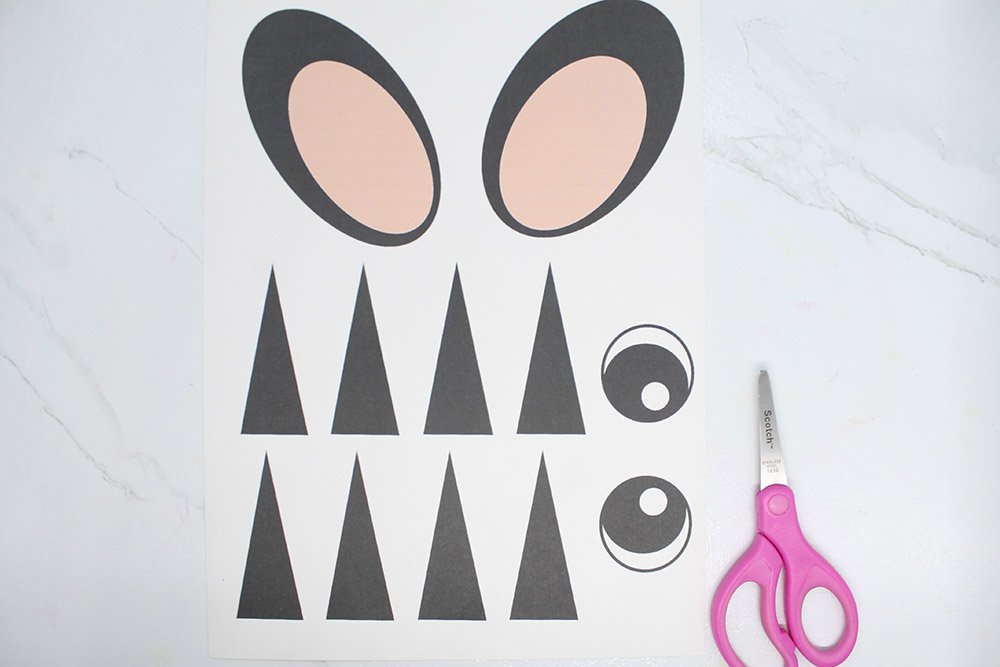
Then get the second sheet, and sharpen your scissors once again! Also, do be careful when kids are using scissors.
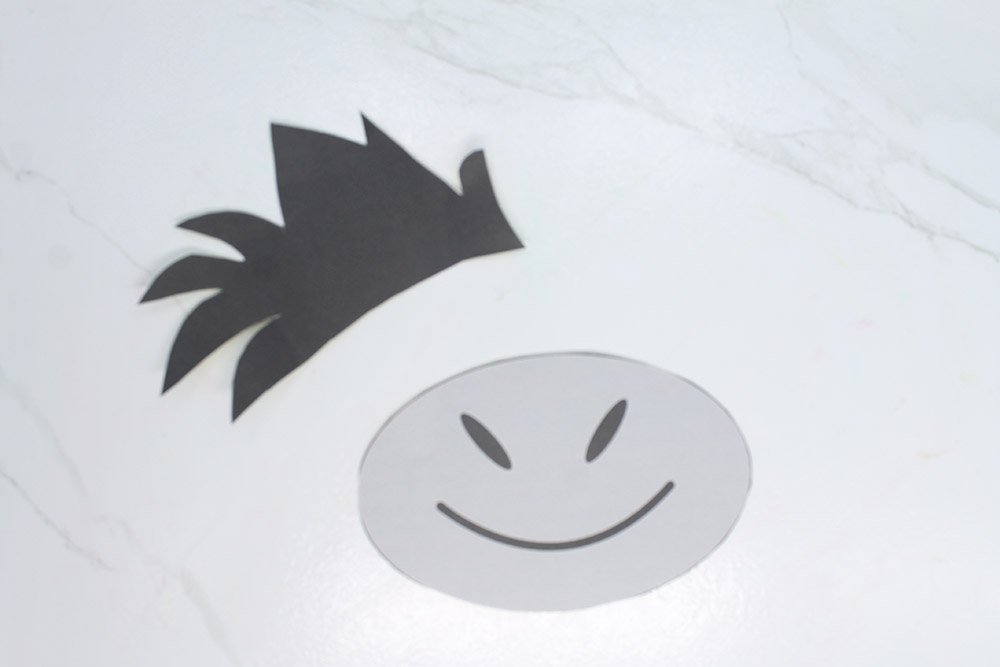
And of course, you must cut out the hair, mouth, and nostrils of the zebra. The printable might things easier and faster but it doesn't mean that this activity is not fun!
Make the Face of the Paper Plate Zebra

To make the mask, you must now get your paper plate and start to glue all the cutouts into the paper plate. Start with getting the mouth part.

Then glue the nostril and mouth on the bottom side of the paper plate. Then get the eyes.

And put the eyes above the nostrils. Make sure that they are far enough and centered. Great, now get the hair of the zebra.

Next, what you'll need to do is to get the stripes of the zebra. How else will this paper plate zebra mask look like an actual zebra without its stripes?
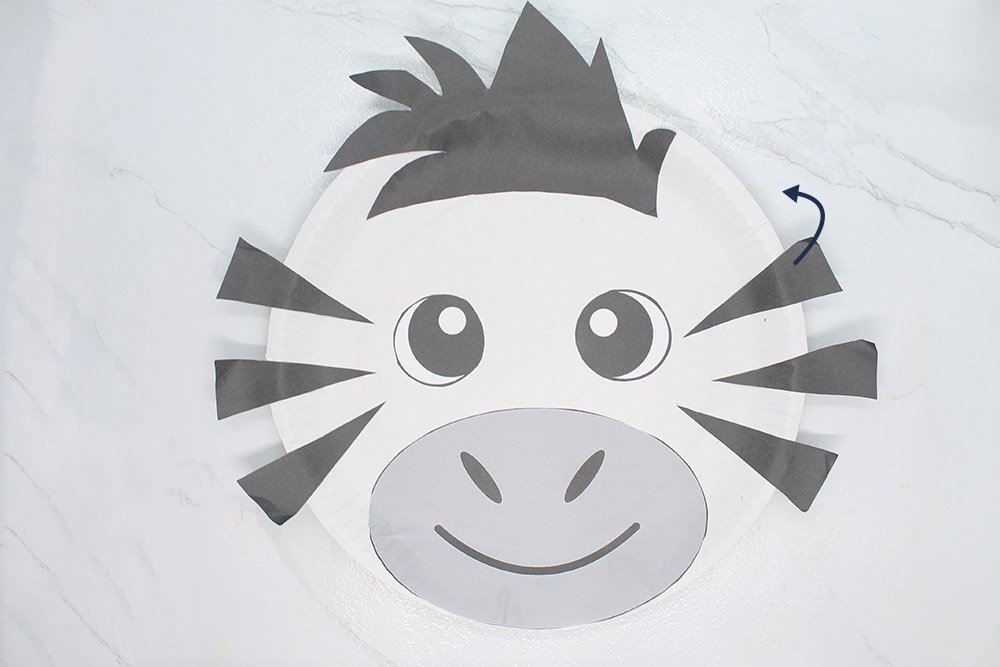
And glue the black triangle strips onto the sides of the paper plate. You will be folding the flat edge of the triangles at the back though.
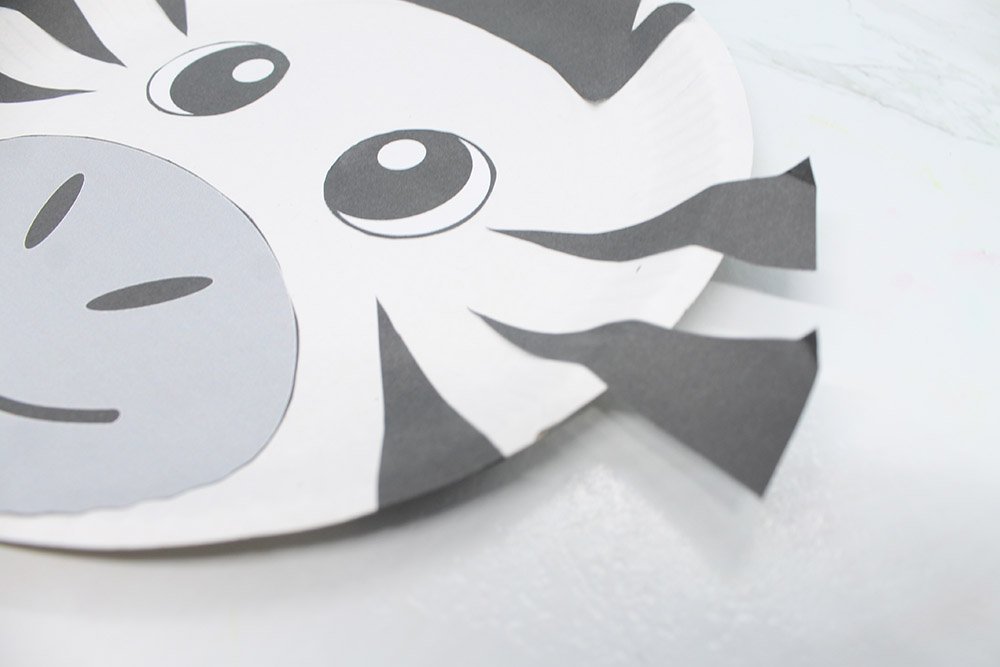
Fold one triangle towards the back and put some glue on it so that it will become attached to the backside of the paper plate.
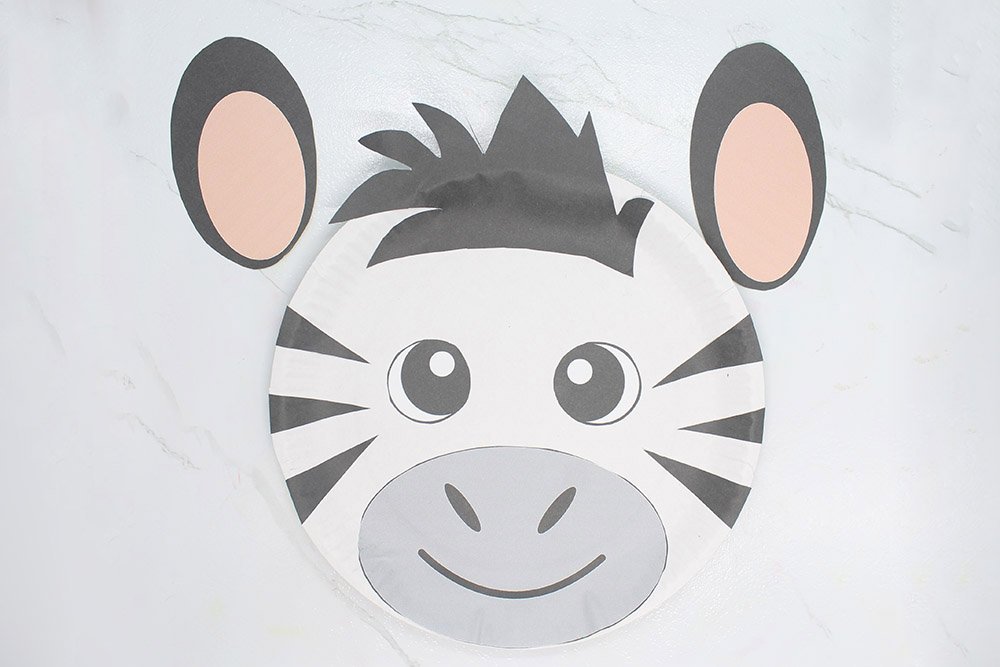
And do the same for the other strips. Then get those cute ears.
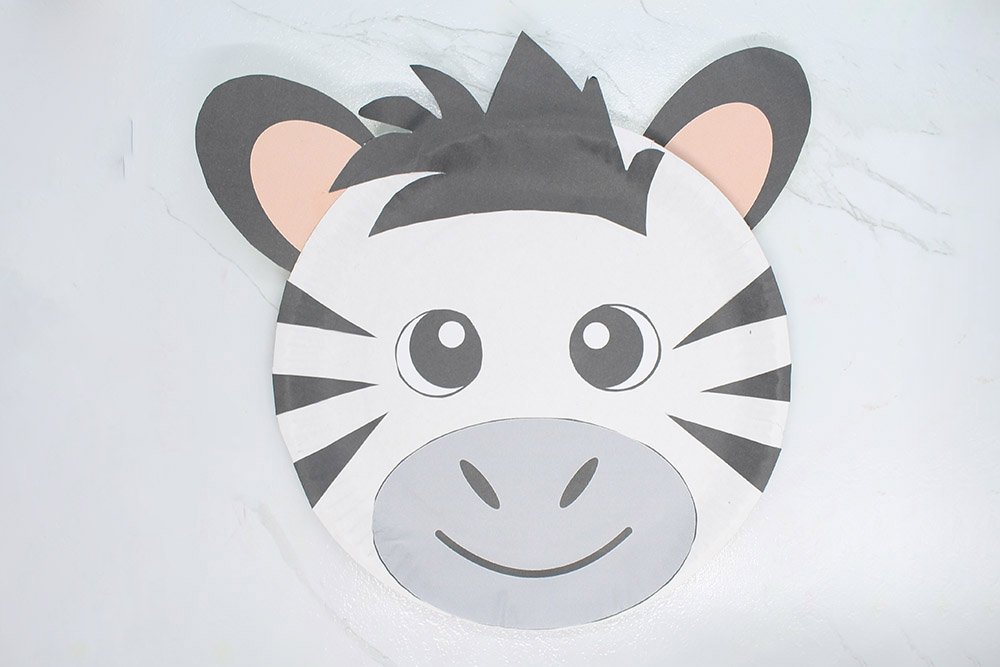
And of course, glue them on the back side of the paper plate. Amazing job! This mask is already looking good but there are still some steps needed.
Attach Mask Straps for the Paper Plate Zebra
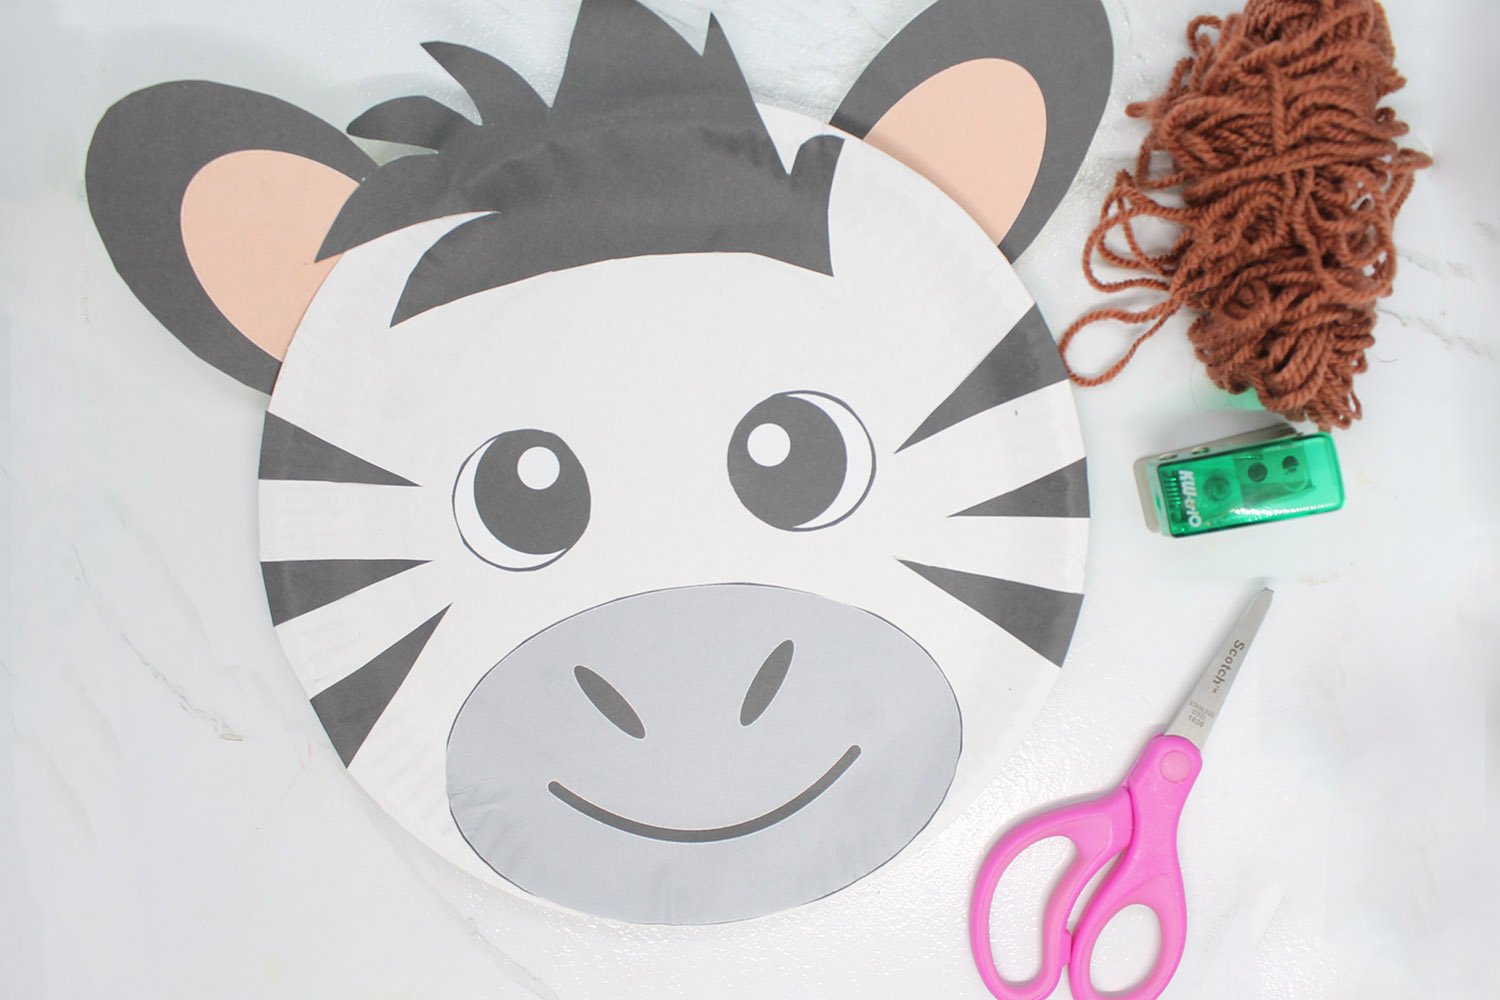
The paper plate mask is almost done. Get a few things: yarn, scissors, and a single-hole puncher.

In order to make a functional mask - you will need eye holes in it! So get your scissors.
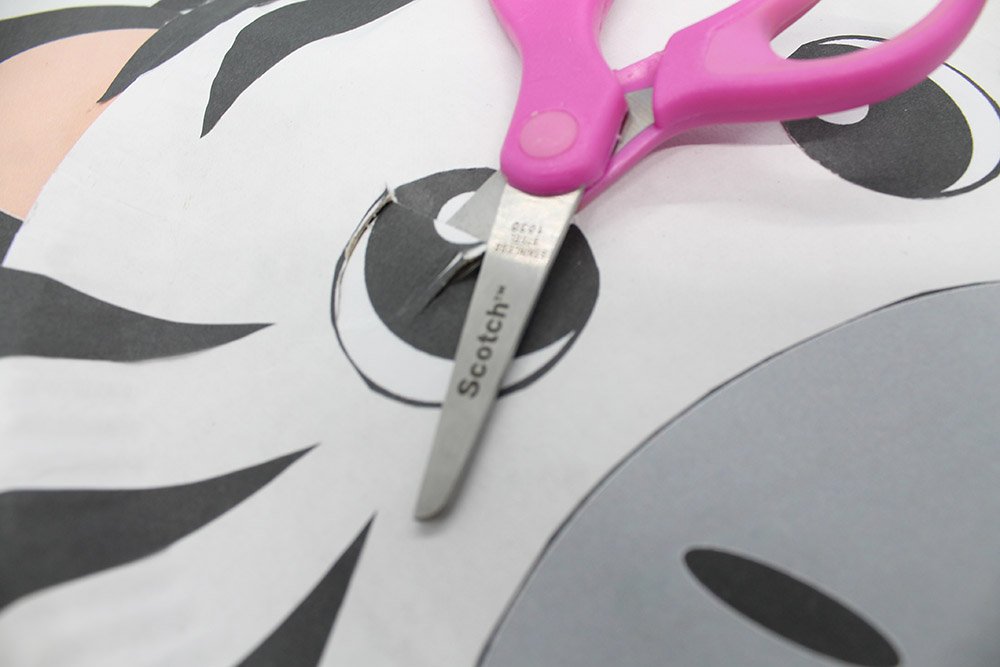
And drive one blade of the scissors into the eyes of the zebra. This might seem a little bit too extreme for some, so an adult can definitely take over this step.
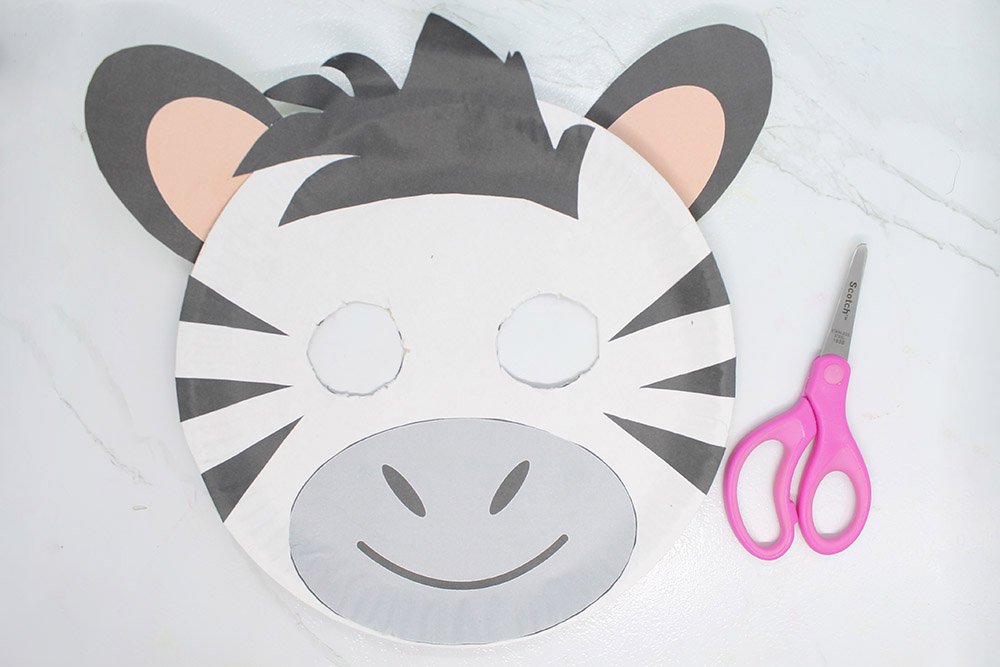
And cut out eye holes by using the zebra eyes as a guide. This is the hardest part of the activity.
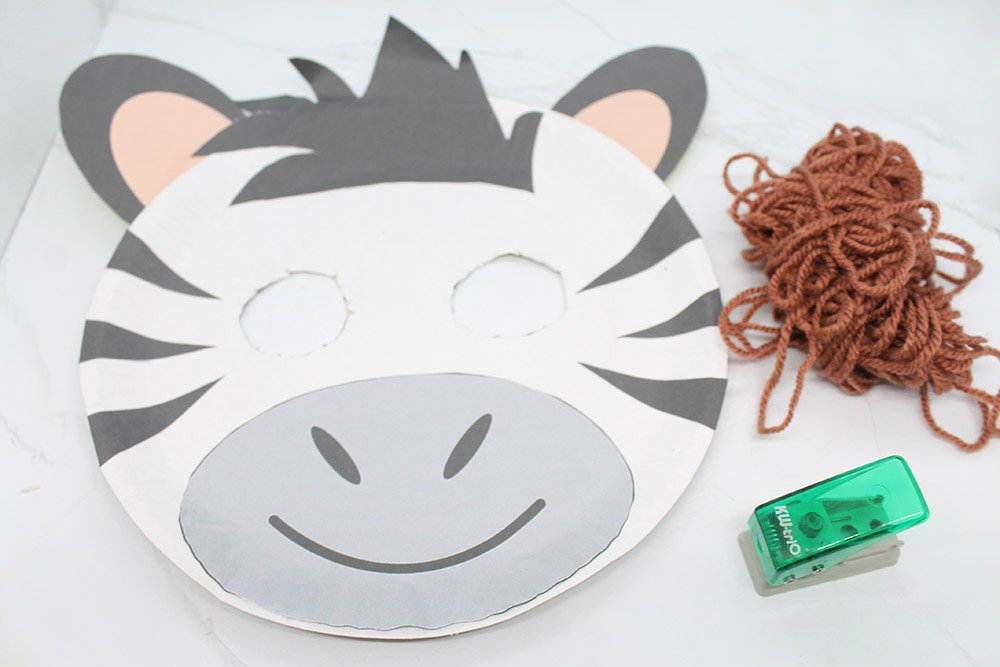
After cutting out two holes it is now time to add the final part that all masks need - mask straps. You will need the yarn and the punch hole.

Make holes using the puncher. This is where you will attach the yarn.
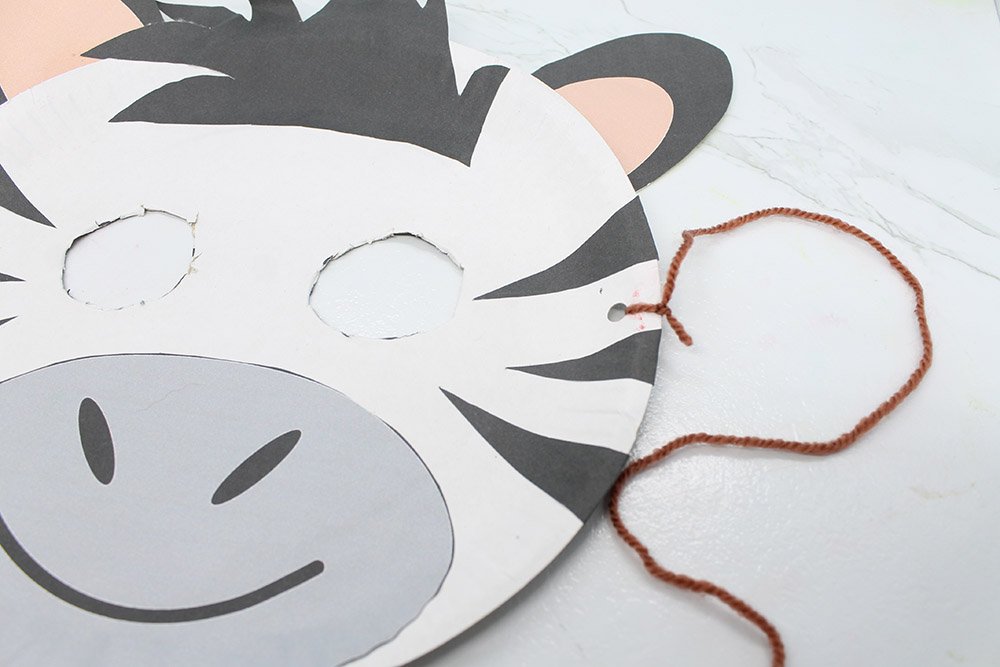
Cut a length of yarn and tie it into one of the holes.
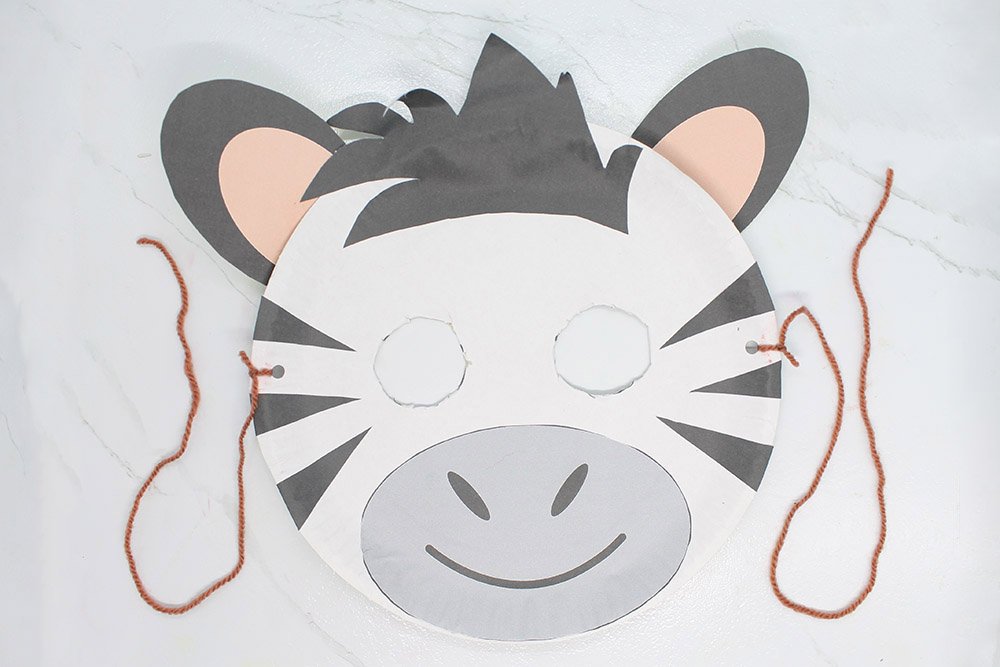
Do the same for the other hole. Tie a length of yarn into the other hole.
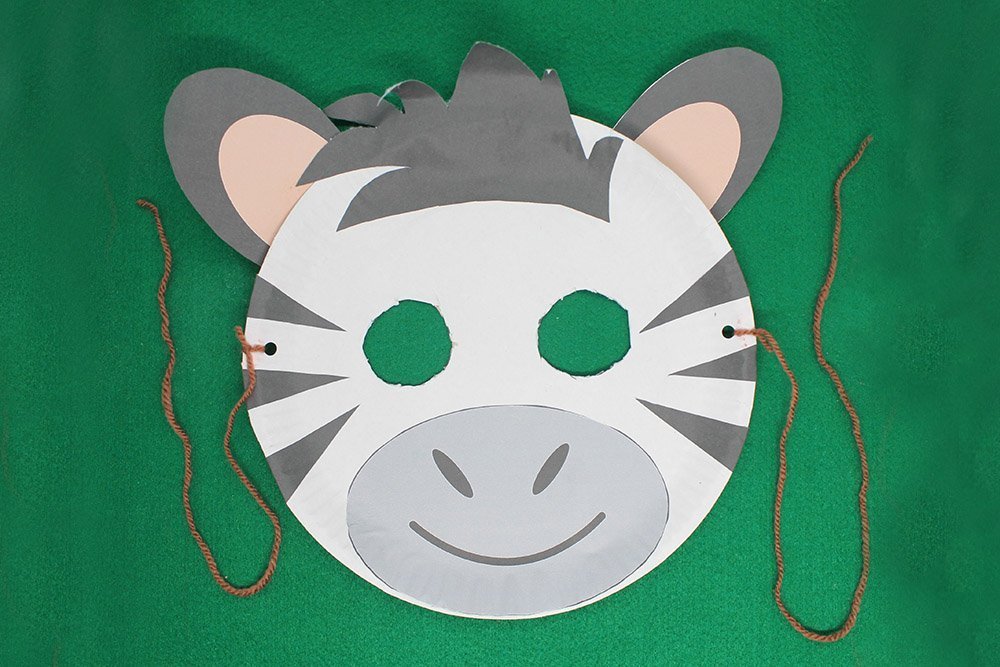
And there you have it! You have finished making the zebra mask. You'll only need to tie the two strings together if you want to wear the mask.
We hope that you enjoyed this guide. And if you want to learn more amazing crafts for kids just take a look at our suggested articles below.
Extra Tips
- Kids must be given blunt-tipped scissors and they must be supervised. Teach them first how to properly use the tool.
- You could have some details on your mask. Be creative and make the mask your own.
- There are other mask crafts on this website - be sure to check them out 🙂


Simple but it gets the job done. my boy was happy to have it made
Amazing, the printable totally made it easier for me wew
thanks again for another good guide
It’s pretty basic but still – i was able to make mine alright
I used a stretchy type of string. Works fine but it wears out the mask quickly