How to Easily Fold an Origami Bat | Step-by-Step Instruction

Introduction:
This easy origami bat is a fun activity to do, especially during Halloween. You can do so much with making this 3D origami bat. Hang or paste it anywhere to serve as a decoration for Halloween or make it cute or spooky by customizing its looks.
It’s best to use origami paper for this activity. The entire process can be done in a minute after you have familiarize yourself with the steps.
It is perfect for kids (and adults) since it is simple to do and only requires a piece of paper to make. Have fun!
Make a vertical crease mark
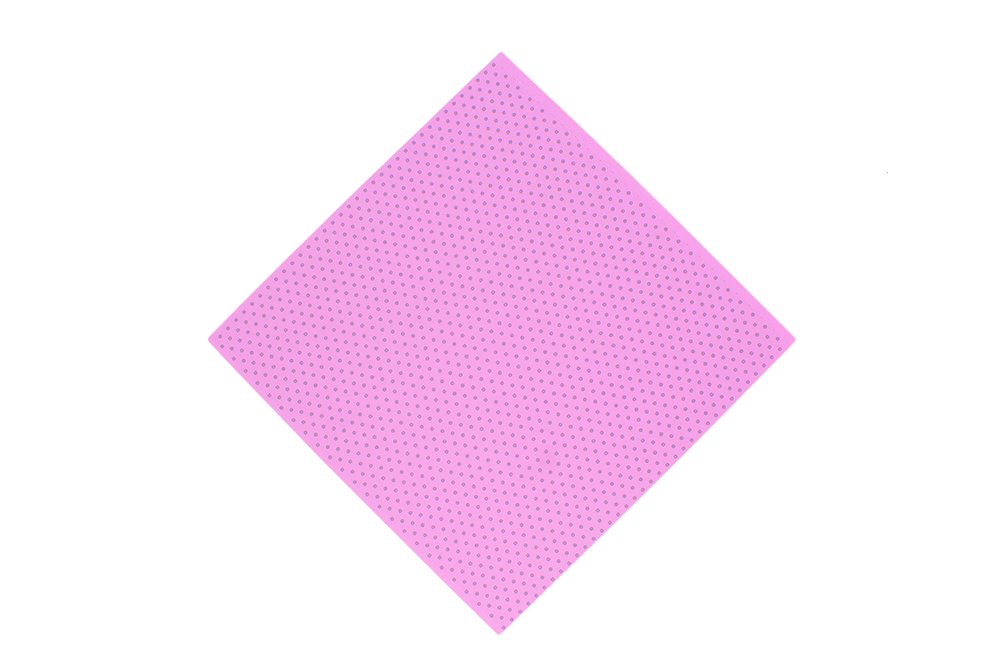
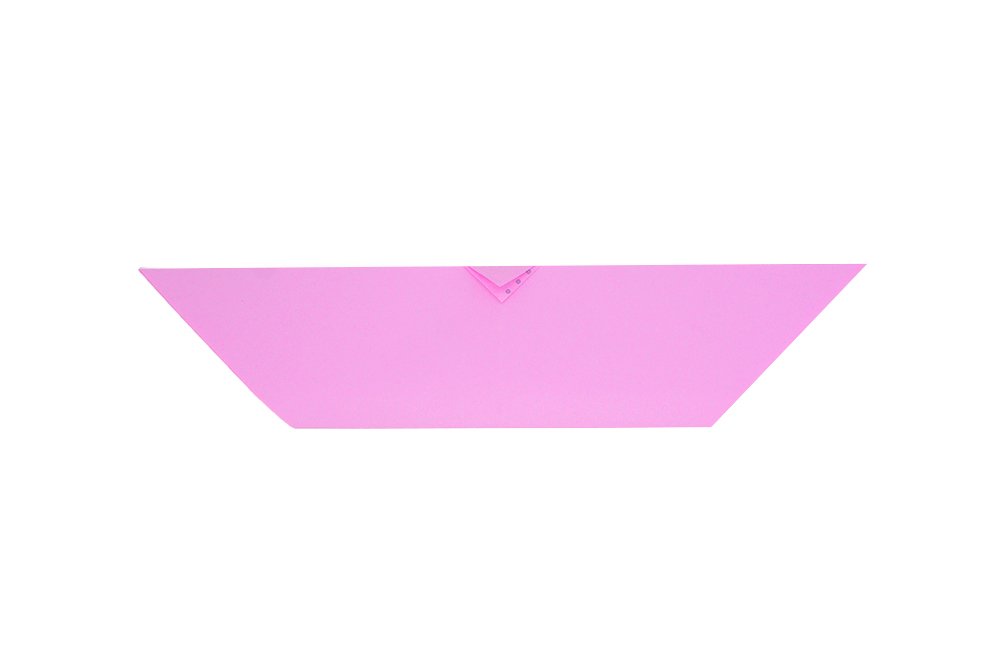
You need square origami paper to make this bat. Any color would do, but it is better to use paper that is black, purple, or white if you're planning to make this for Halloween. Lay it on a flat surface and orientate it into a diamond.
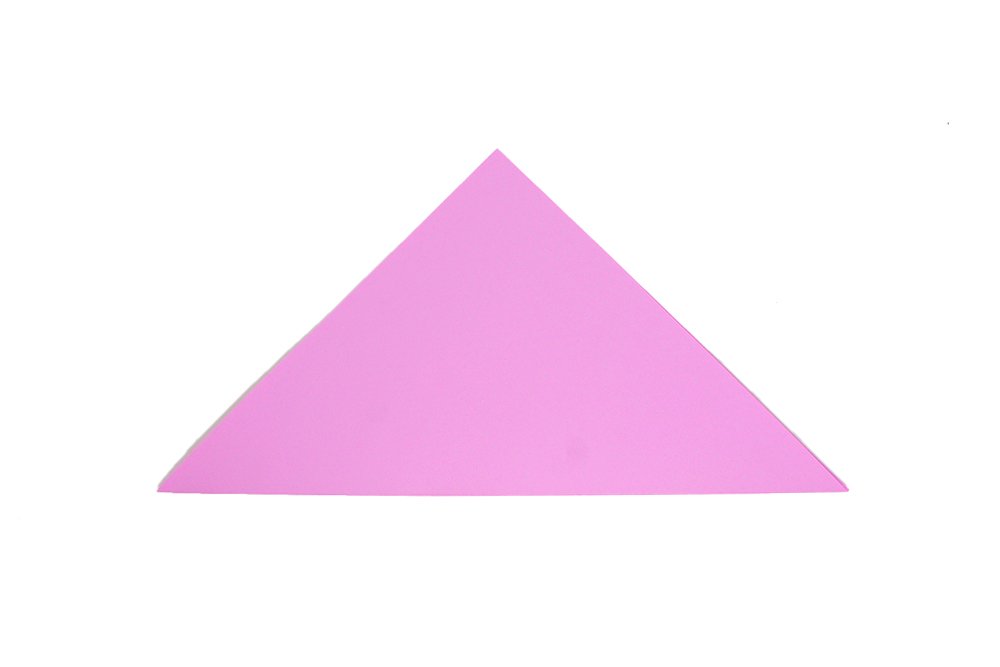
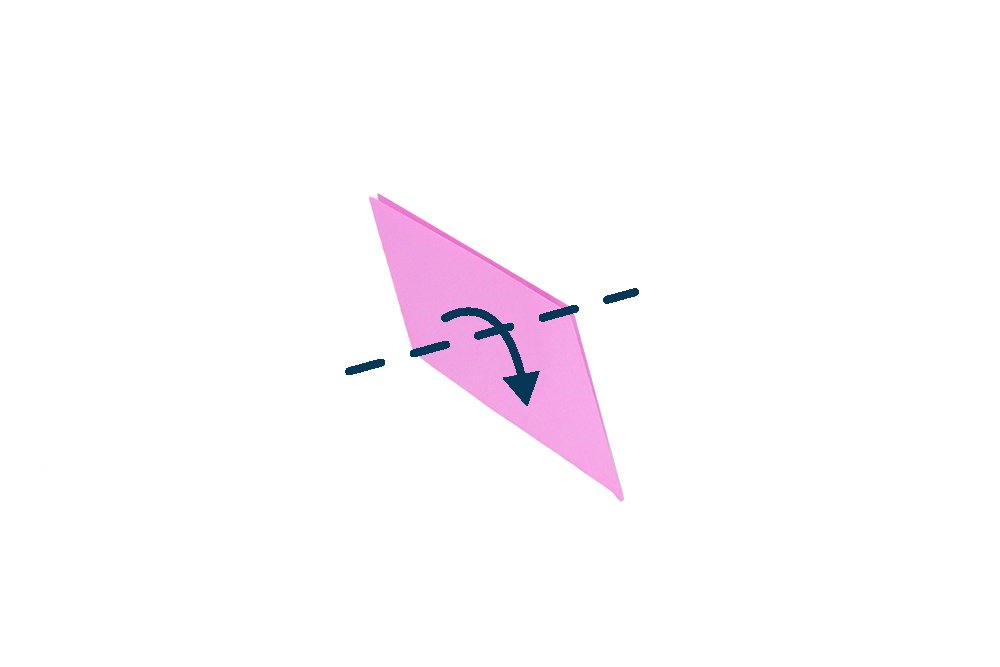
Bring the bottom corner towards the top. It will now look like a small triangle.
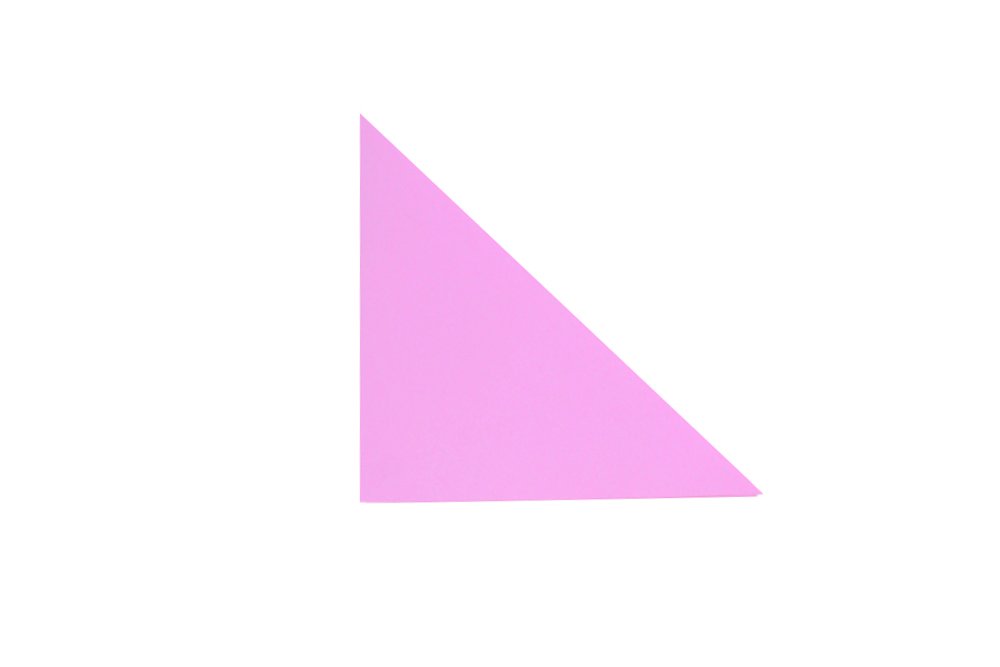
Now fold it in half lengthwise.
Great job. Now it's time for the next set of steps. You need to unfold it now.
Make the wings of the origami bat

Crease the origami paper well and unfold it.
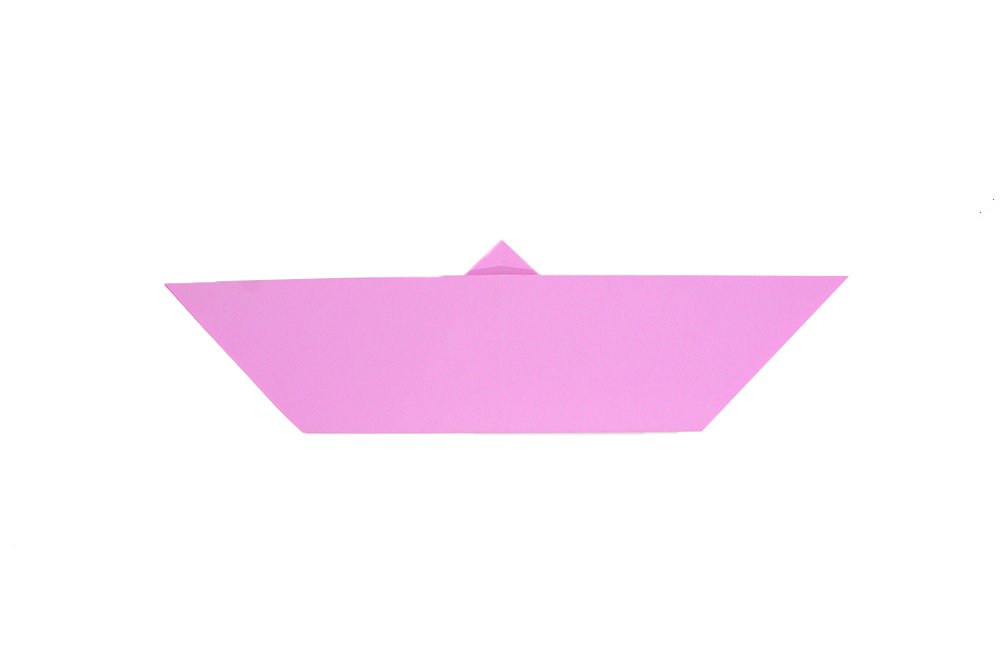
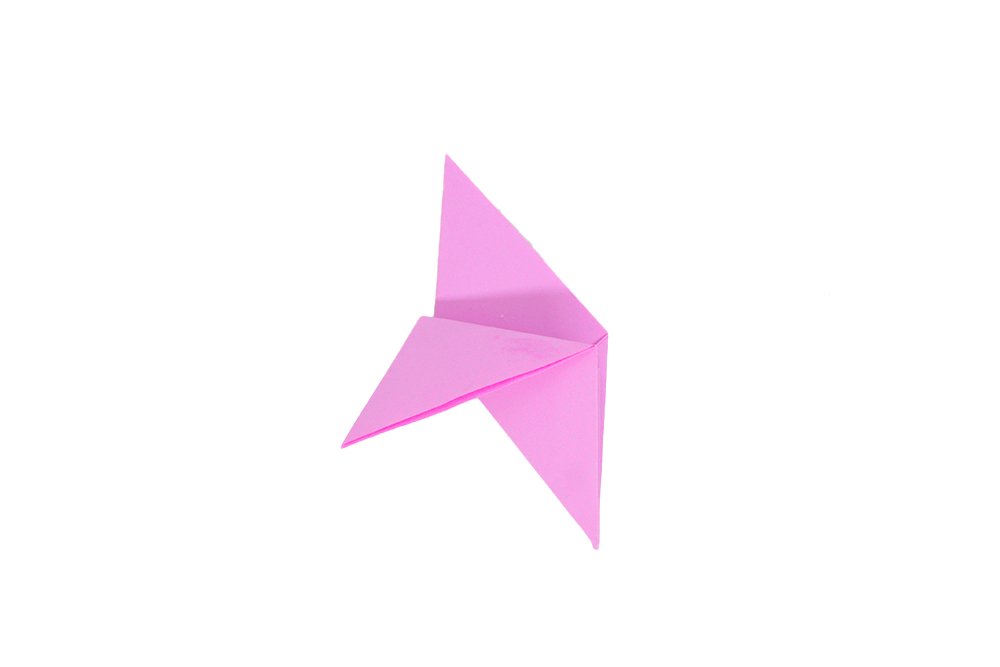
Fold the paper upwards. Do not fold in half. You must leave some space on the top corner as this will be the head of the bat.
It should now look like this.
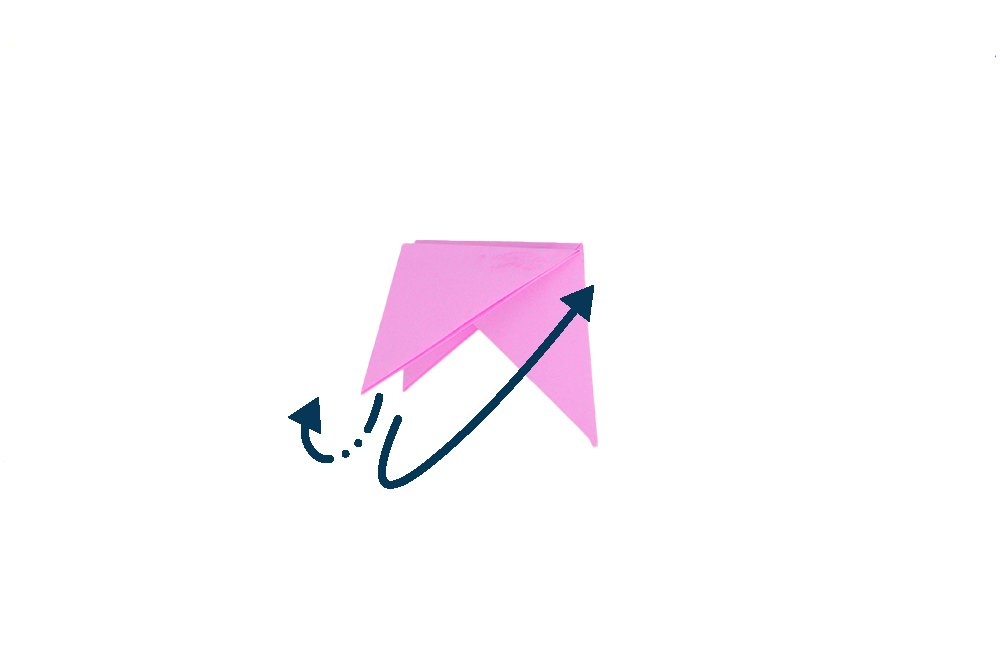
Fold the small triangle at top downwards.
Fold the paper backward in half. This fold is called a mountain fold.
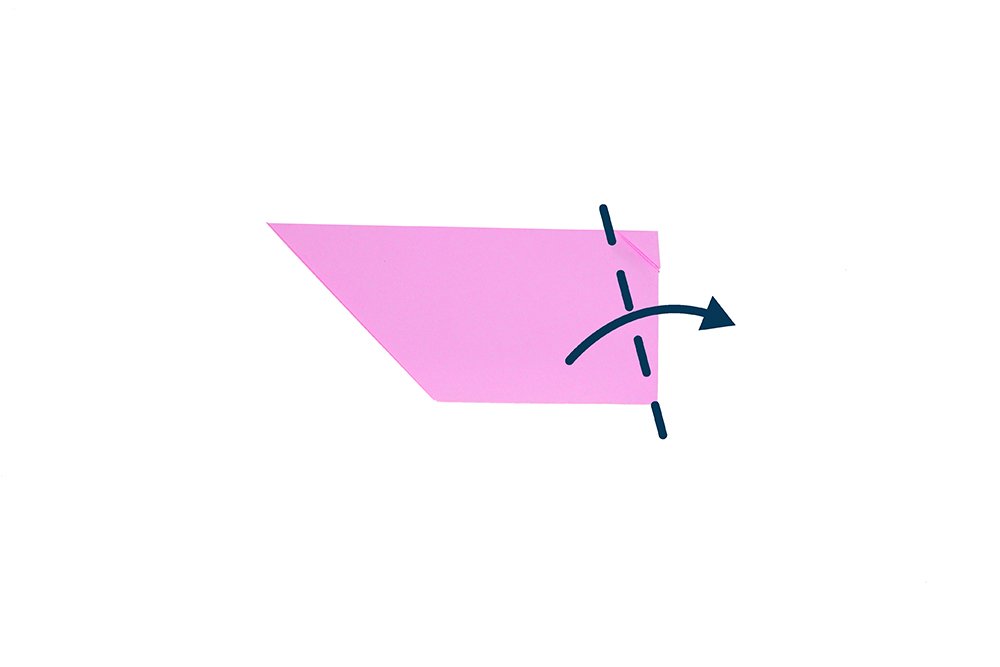
To give the wings of the origami some dimension, fold the outer layer to the right along the dashed line.

It is now starting to look like a bat.
Shape the body and wings of the bat
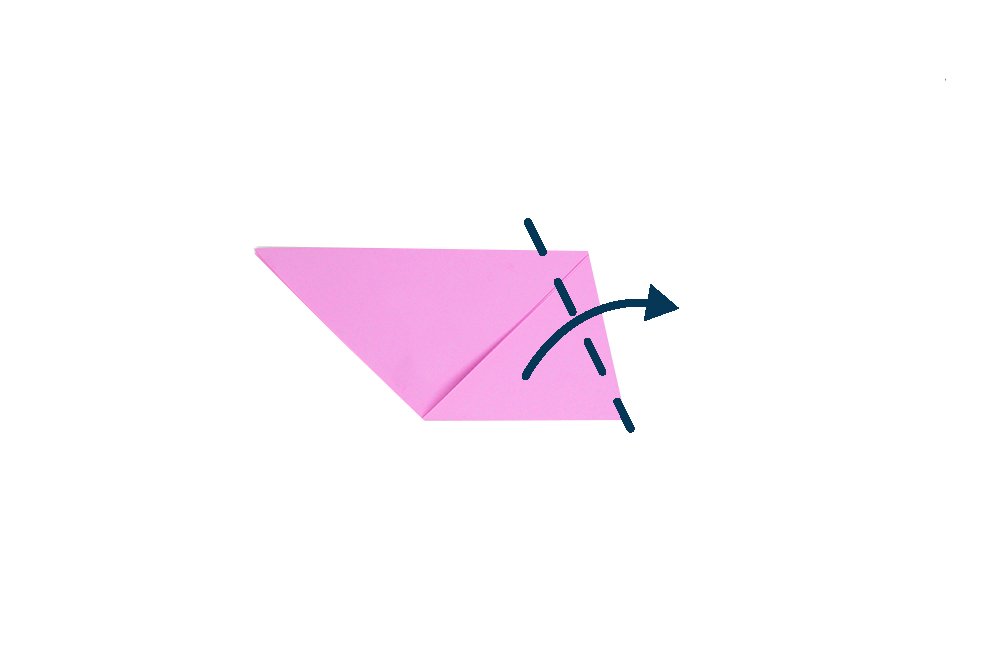
Turn the origami piece over. Fold the top wing to the right. Follow the dashed line.
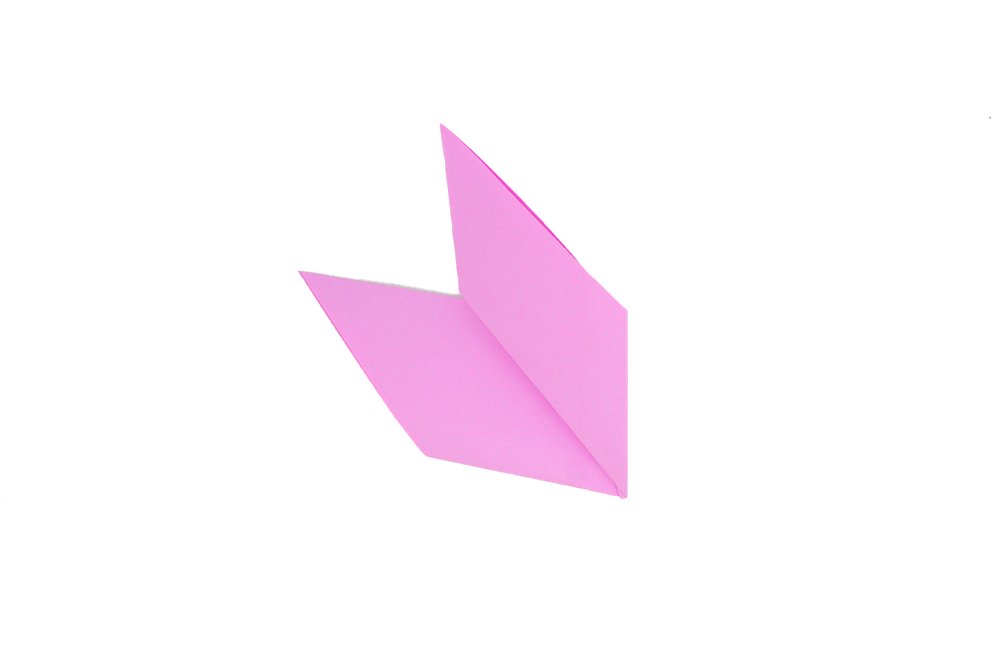
You now have two rectangular wings.
Fold the left wing to the back. To give the bat’s wing more dimension, fold the top wing along the dashed line.
Please do the same on the back wing, but now this time, fold it backward (mountain fold).
Spread the wings of the origami bat by gently unfolding the flaps of each wing.
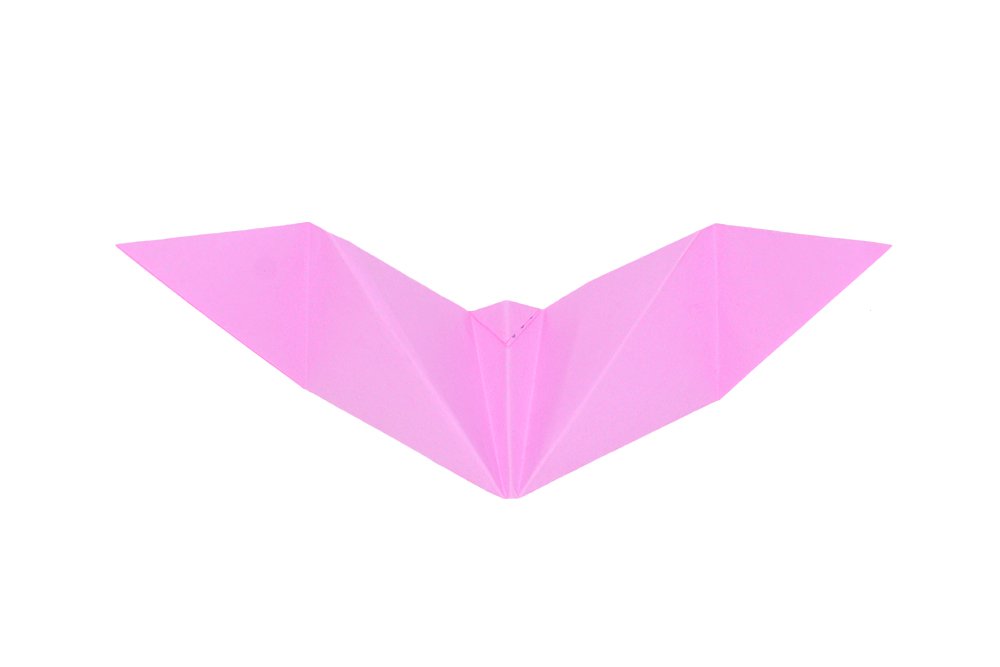
Your three-dimensional origami bat is done! Hang it as mobile or paste anywhere it as décor. Use it to spook your family and friends this Halloween.
Extra Tips
- Get some art materials and make your origami whale even more beautiful.
- Fold straight and apply enough pressure. If you make mistakes and need another piece of paper, get another piece of paper. It simply won't look good if there are unnecessary crease lines.
- Take your time and be patient. Follow the steps closely but don't forget to have fun. Also, young kids should be supervised when using scissors.

The bat doesn’t look much like a bath tbh but it’s good enough
Awesome, i was managed to do this easily
I was able to do it easily as well 😙😙, only 5 here
splendid 3d origami
Thank you for this