
Introduction:
There are various ways to make origami of a star. For this 4 pointed origami star, you will be needing a piece of paper and this 10 step procedure. It is highly recommended to use paper that has a different appearance on each side. That way it is easier to follow the instruction as illustrated below.
Make the necessary creases to form the origami star

Get a square piece of paper and lay it on a flat surface. Create crease lines along the dashed lines by valley folding each of the horizontal and vertical lines and then unfolding it.

The second step is to fold along the diagonal lines as shown. Crease the origami paper well and unfold.

Make another diagonal fold as illustrated above.

Again, make another diagonal fold as illustrated above.
Create the two points of the star

The crease marks made from step 1 to 4 should now look like this. Fold 1/3 of the origami paper to the right side.

Step 6 : Pull the corner from the yellow dot shown down to the other yellow dot then flatten it.
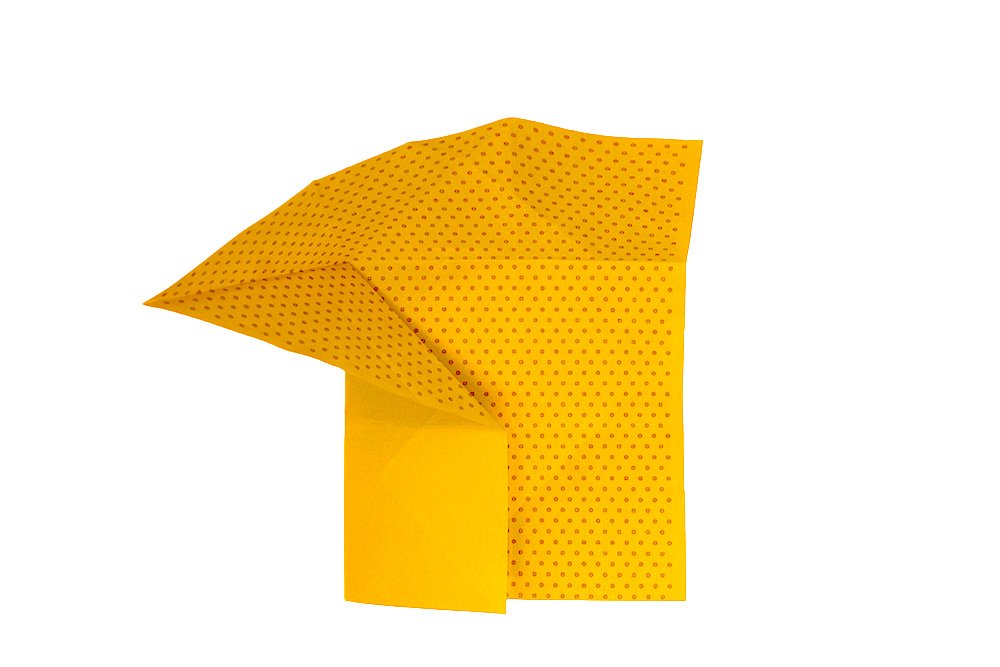
Keep pulling it downwards to form the left point of the star.

Repeat step 6 by connecting the yellow dots as illustrated above. Use the arrow and crease lines made as a guide.

Keep pulling it upwards to form the top point of the star.
Form the rest of the points of the paper star

Again, repeat step 6 along the yellow dots as shown. Follow the direction of the arrow for guidelines.

Keep pulling it upwards to form the right point of the star.

The origami paper should now look something like this.

There’s a flap inside the right part of the origami piece. Pull the inner flap outward. Follow the direction of the arrow on where to place the flaps.

Almost done! Fold the upper left corner down along the dashed lines as shown.

Your 4 pointed origami star is done!
Extra Tips
- Experiment with different sizes of paper and different methods to make paper stars!
- We have tons of origami stars that you can make here! From wishing stars to star shaped boxes, learn how to make it here!


