How to Easily Make an Origami Paper Frog with Picture Instructions

Introduction:
Whether you want to make an animal craft or one of your kids wants to make an animal, they are a topic that is quite popular with kids. Frogs are cuteness personified. They’re fun; they’re colorful, they hop, they turn into cute little frogs – all things kids like! There’s something about frogs that makes them seem a bit more interesting than other animals. Plus, they have unique features that intrigue kids who want to learn more about them.
Suppose your kids love frogs or want to introduce animals to them. Try basic crafts such as origami. Making a paper frog origami can be super easy with the help of our step-by-step instructions below. There’s also an incredible variation of the origami frog called the jumping frog. If you wish to check that out, just search “jumping frog origami,” and you can learn it here easily!
The paper frog is intermediate-level origami but beginners can still make this so long as they follow the guide. Kids will indeed be animated when they see this fold. So, what are you waiting for? Get a square piece of paper, and let’s start folding!
Material Info
To make this origami frog, a piece of square paper and your hands is all you need! We recommend using a 15cm-by-15cm sized form with a 60 to 63 gsm thickness to be durable enough to withstand folding, bending, and creasing. This paper is called “kami” in Japanese, and you can find these types of paper in your local bookstore or Japanese specialty store.
If you don’t have a square paper on hand, you may use any paper like bond paper or construction paper and cut it into a square. You may also be resourceful by using old newspapers, gift wrappers, and magazine pages to make this origami. Not only are you being creative, but you are also taking the initiative to be environmentally friendly.
You may opt to use green colored paper to make this frog or you may use any color you fancy! This little amphibian comes in many colors. Mostly known for their green skin, frogs come in varieties of colors such as brown, blue, yellow, red, and black. Some frogs and toads have spots and stripes. You can also use patterned design paper to make this origami or draw some spots and stripes after making it.
Make a waterbomb base to make the origami frog
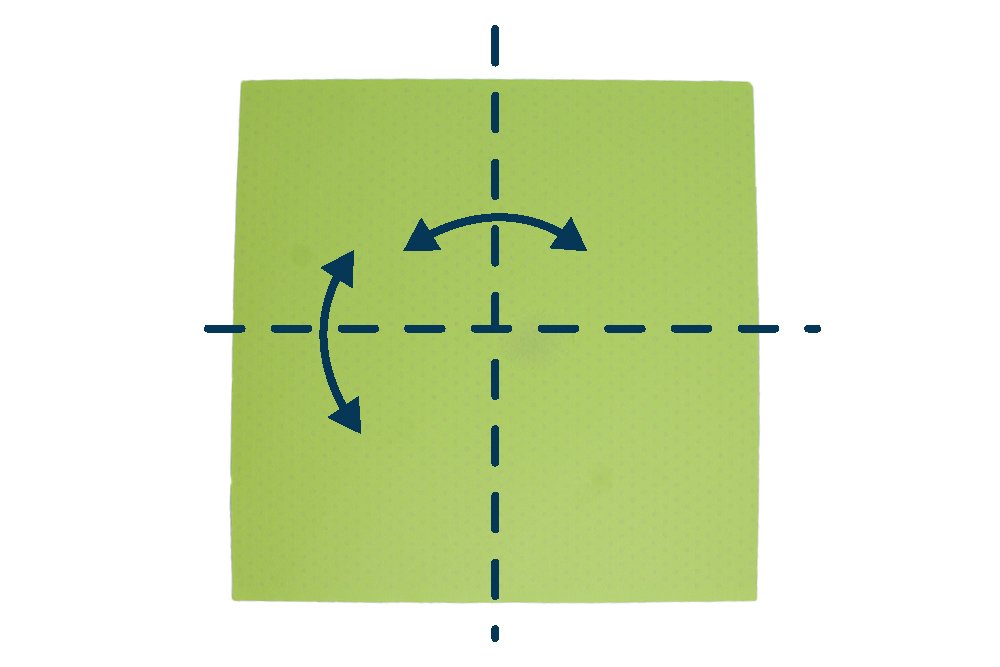
To make this paper frog, get a square piece of origami paper. Fold the paper in half crosswise and lengthwise.
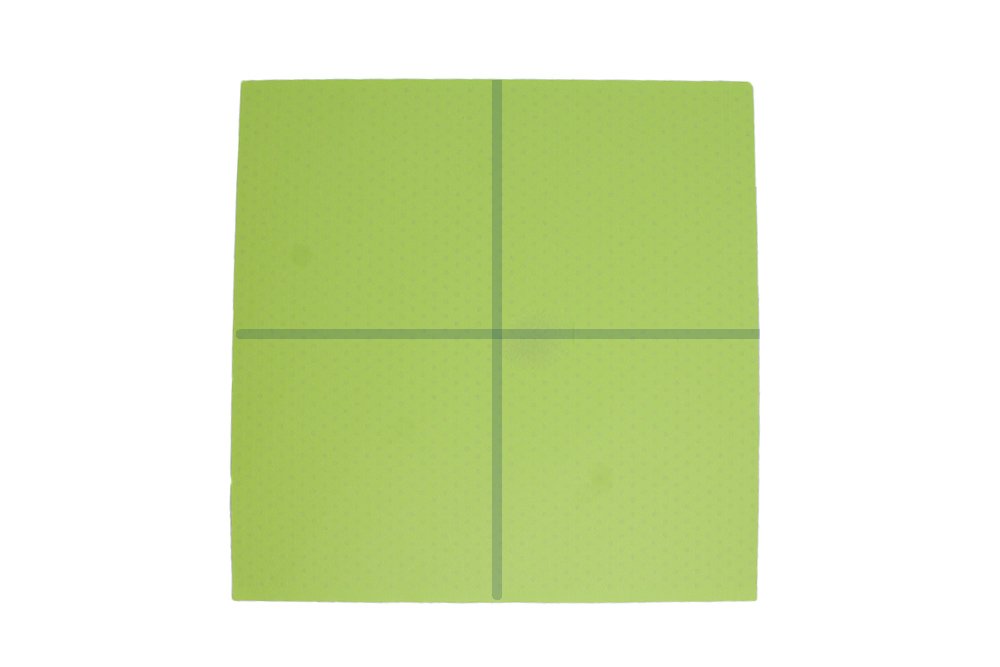
Crease the paper well and unfold.
After making the creases, turn the origami paper to the other side.
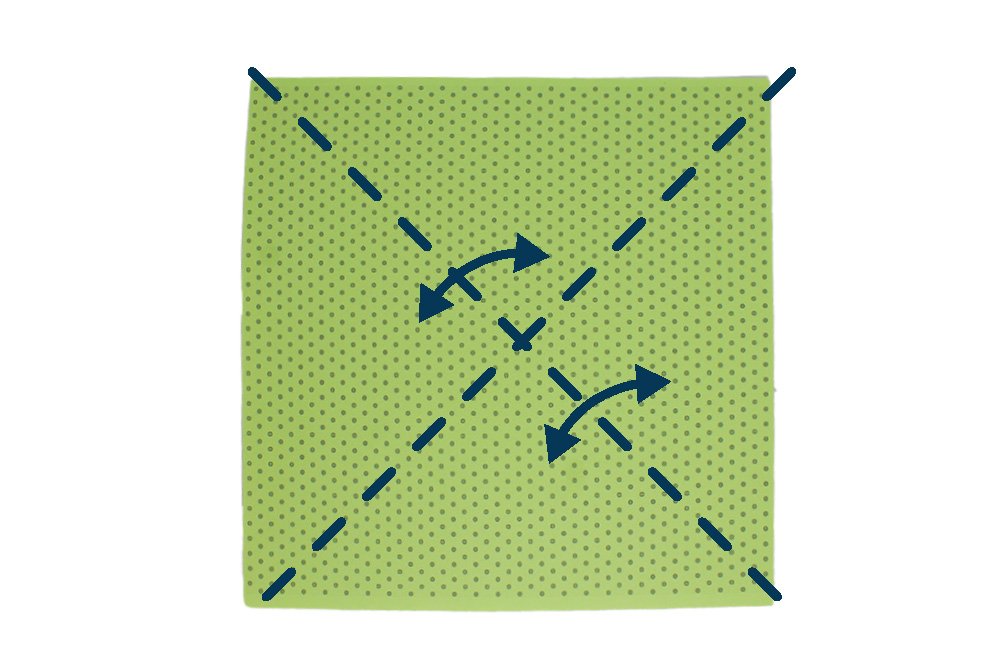
Make a valley fold along the diagonal lines as shown, crease the paper well, and unfold it.
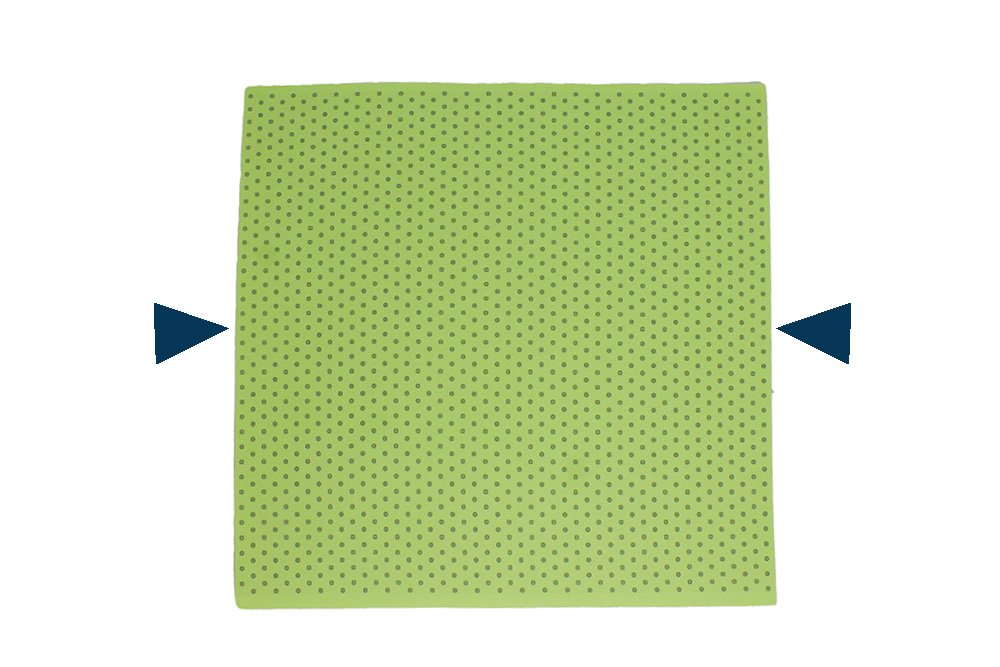
Form a waterbomb base by pushing the paper from both sides, as shown by the arrows.
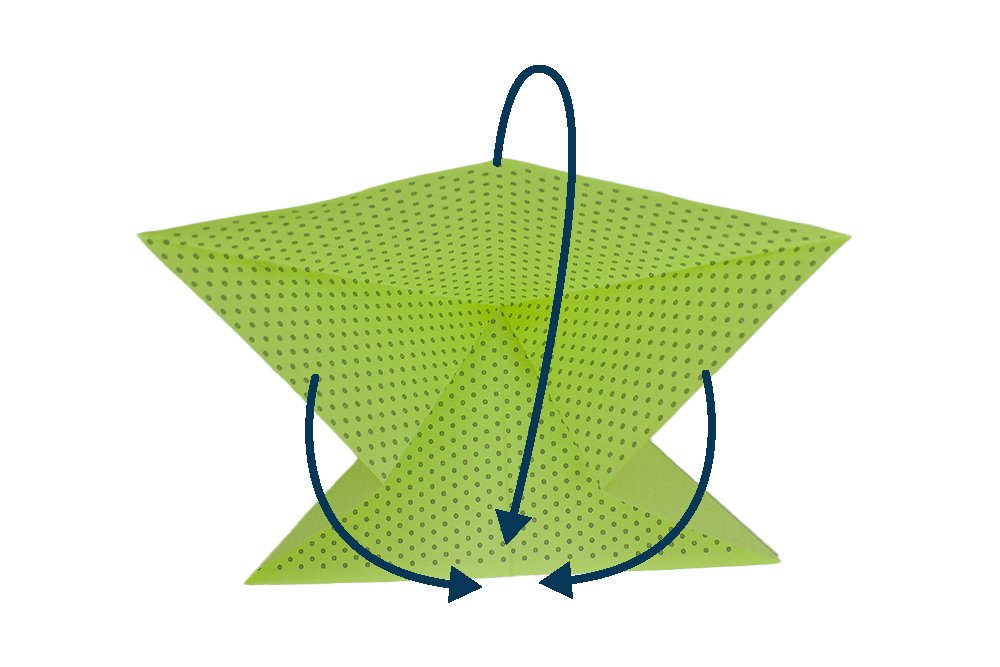
As you push the sides in, the background triangle should form. Hold it down as you continue to bring both sides together.
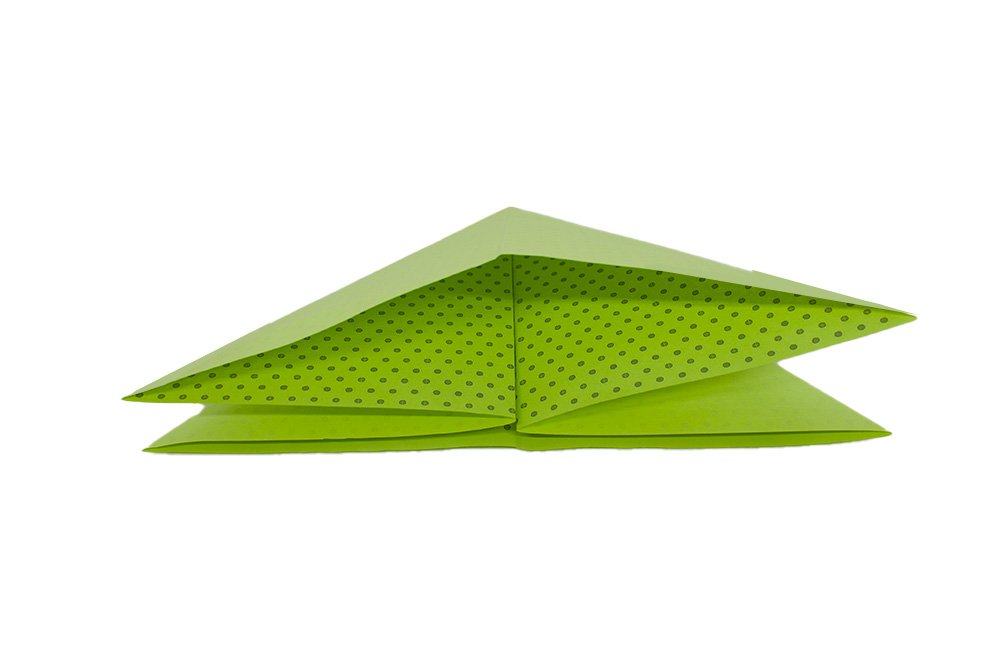
Finish the waterbomb base by squashing down the paper to flatten it.
Form the head of the paper frog origami
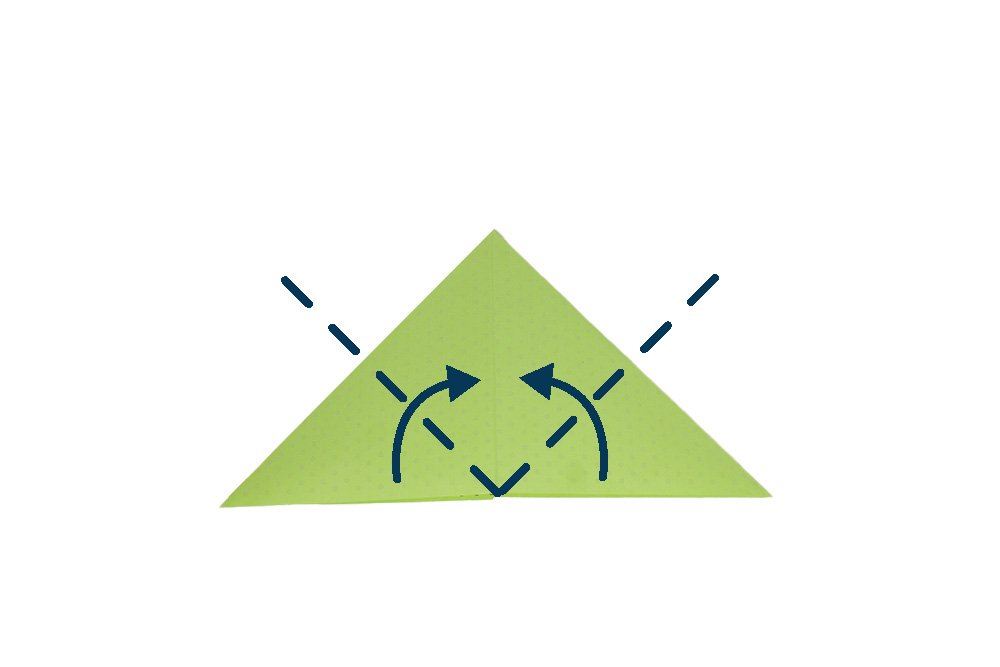
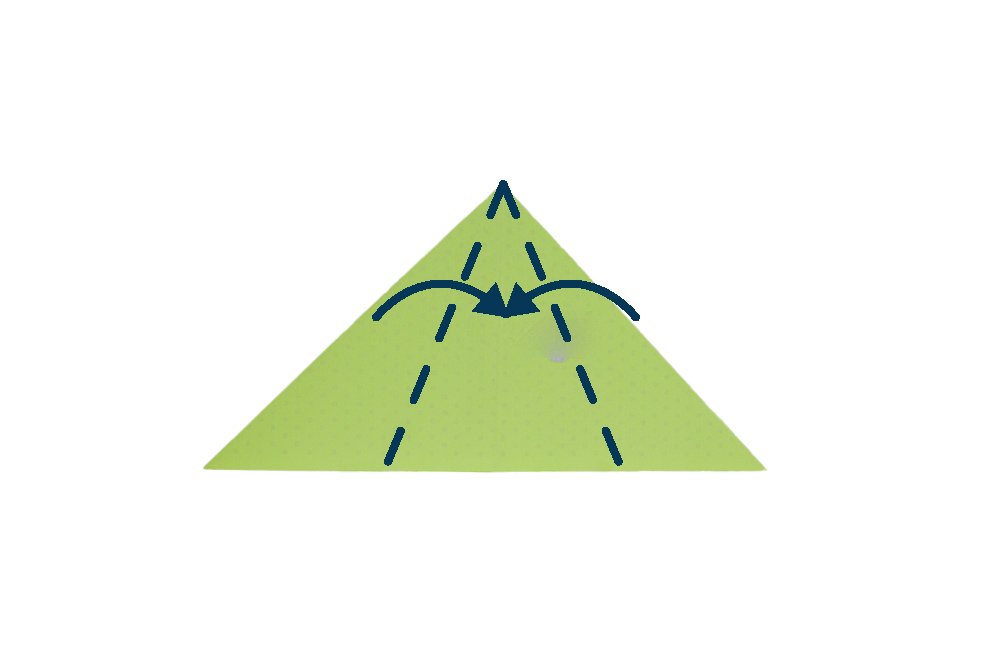
The next set of steps will make the paper look like an arrowhead. The origami paper should now look like this triangle. Diagonally fold the paper along the dashed lines. Make sure to fold the top layer ONLY.
Fold the left and right corners of the topmost flap to the center.
This is what your paper should look like now.
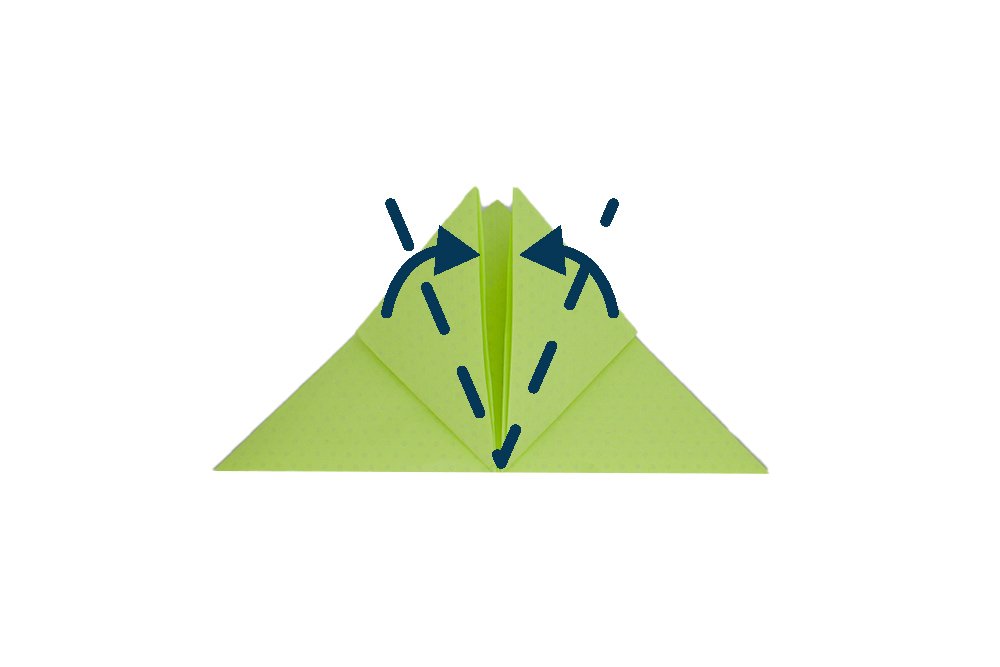
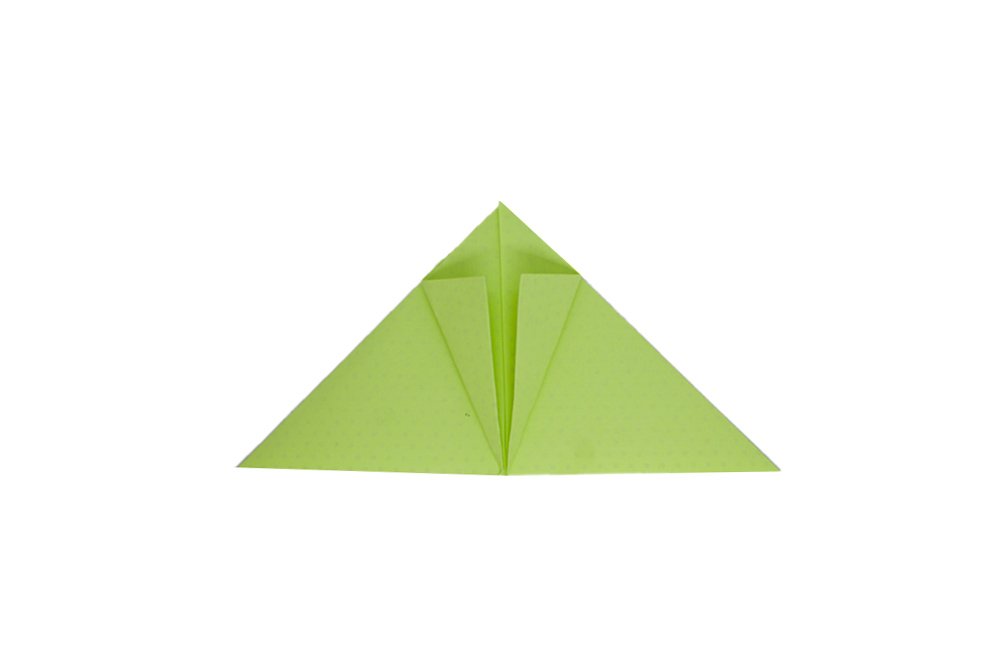
Turn the origami paper to the other side. And fold the left and right sides of the triangle to the center crease line.
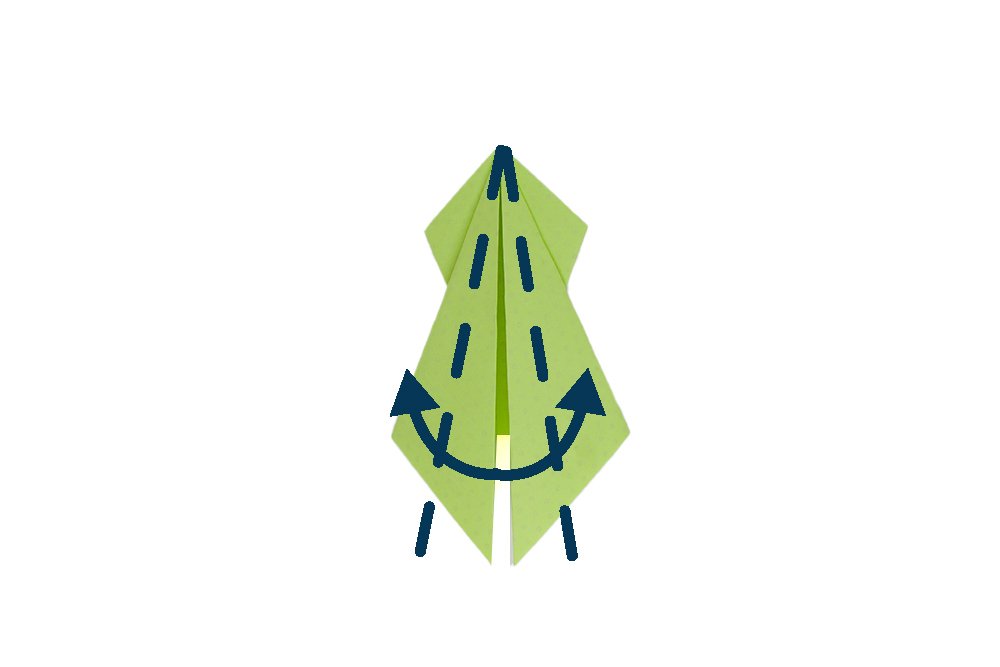
Great, your paper should look like an arrowhead. Now, diagonally fold the paper on both sides. Follow the dashed lines and the direction of the arrows to know where to fold. Make sure to fold the outer layer ONLY.
Create the final touches of the paper origami frog
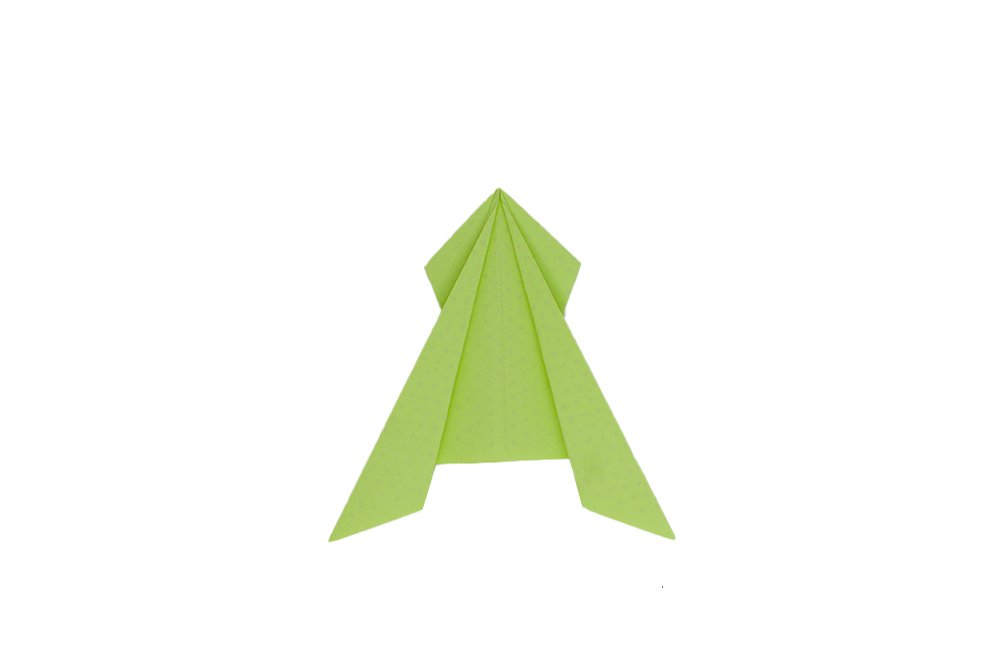
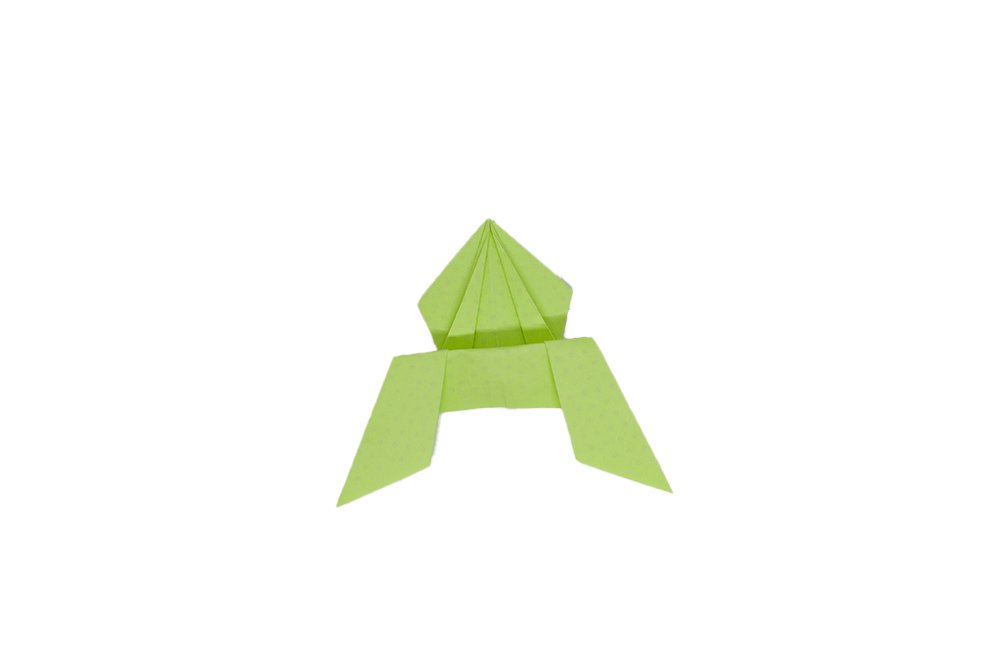
This is what your paper should look like once you have folded it diagonally.

Bring the bottom part to the top part of the origami paper. Make sure to fold the outer layer ONLY.
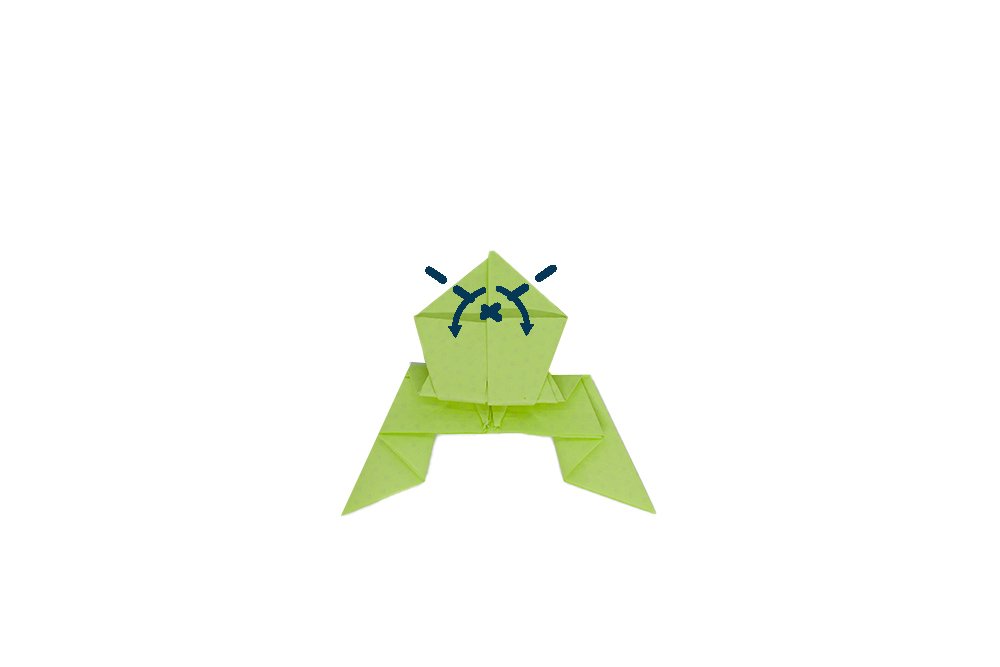
Fold it towards the bottom along the dash lines.
Great! This is what your paper frog should look like now. We've now shape the origami paper frog.
Flip the origami paper to the other side. Fold the outer layer of the paper frog downwards as shown. Follow along the dashed lines as shown.
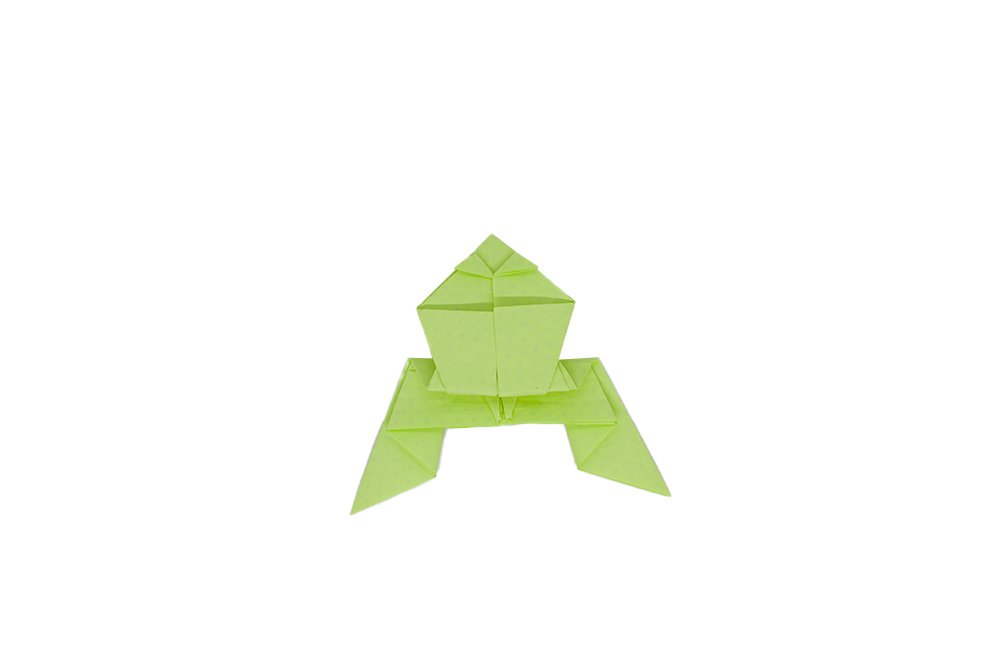
Your origami paper frog is done! For more origami tutorial, check out the articles below.
Extra Tips
- Make sure to make straight folds, and apply enough pressure all the way when folding.
- Make sure to follow the steps closely of the simple origami frog. Don't forget to have fun!

Create an Easy Paper Plate Frog
Fancy making a frog puppet? Create an easy paper plate frog using some common art materials. What’s great about this craft is that it can be used as a talking puppet because of the back “pockets” made in this tutorial. A great activity for preschoolers and beginners, they will surely have a great time making and playing with this arts and craft.
Incredible Leap
Did you know that frogs can jump more than 20 times their body length? Pretty cool right?! The origami frog that we made right now is unable to do that, but we have a step-by-step jumping frog origami instruction that can show you how to make a paper frog jump with a tap of a finger. Learn more about it here!
Disclaimer
We are committed to providing free online origami diagrams and instructions. If you have a diagram you would like to share, or if your instruction is listed here and you wish to have it removed. We hope you learned and gained something worthwhile with the instructions that we made. Thank you!
love this!
no annoying video tutorial with background music
no long useless talking
just simple steps
thank you so much for this
EXACTLY!!!!
nice froggie! gonnna do this later
I did the traditional one and it was fun. Will try this one for sure.
Thanks!!! I like the frog origami a lot
This is so much easier than the jumping frog