- Christmas napkin folding
- Cloth Napkin Folding
- Easy Napkin Folding
- Fancy Napkin Folding
- Napkin folding
- Paper Napkin Folding
- Wedding Napkin Folding
An Easy Instruction on How to Make a Standing Tower Napkin Fold

Introduction:
Welcome to the tower folding steps wherein you will learn how to fold a moderately-easy standing napkin with the use of one square napkin. The process is longer than some napkin folds but its final look will more than makeup for it.
Also, the process, even though longer than some, is simple and straightforward. You have to do some steps multiple times and overall it’s easy to understand the flow.
This guide is made for beginners, and you can use either cloth or paper napkins. Enjoy learning how to make the tower napkin!
Fold the Napkin Twice
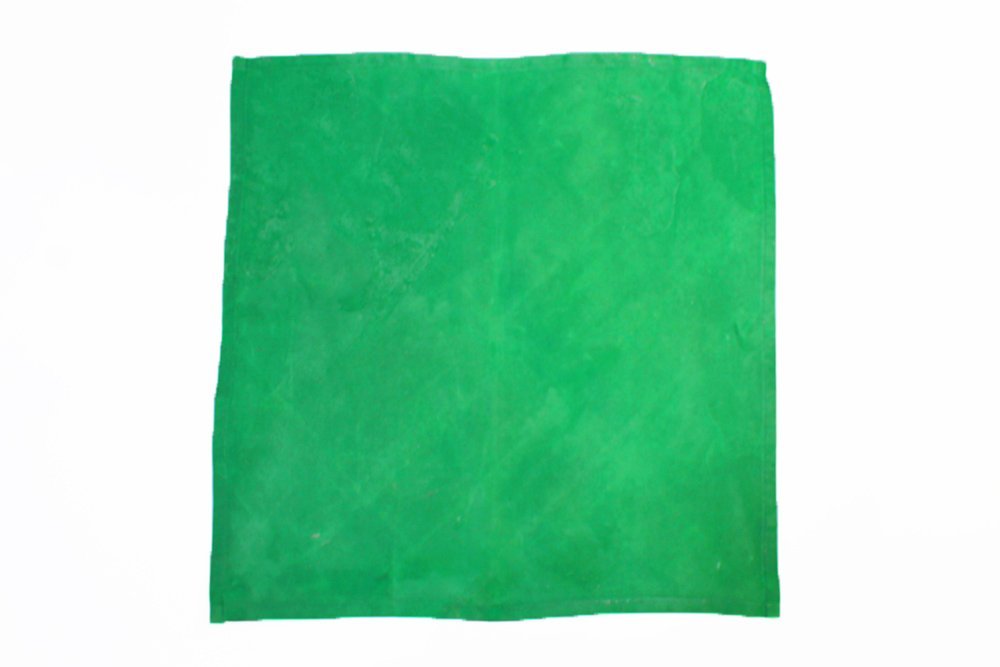
Place a square napkin in front of you on table. Lay it flat.
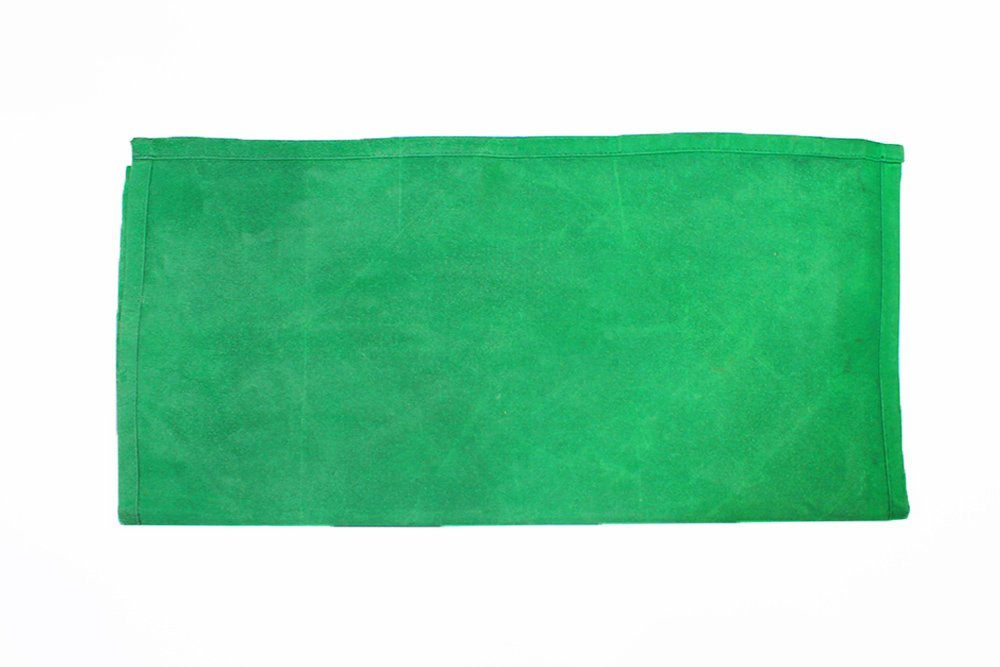
Then fold the bottom edge towards the top.
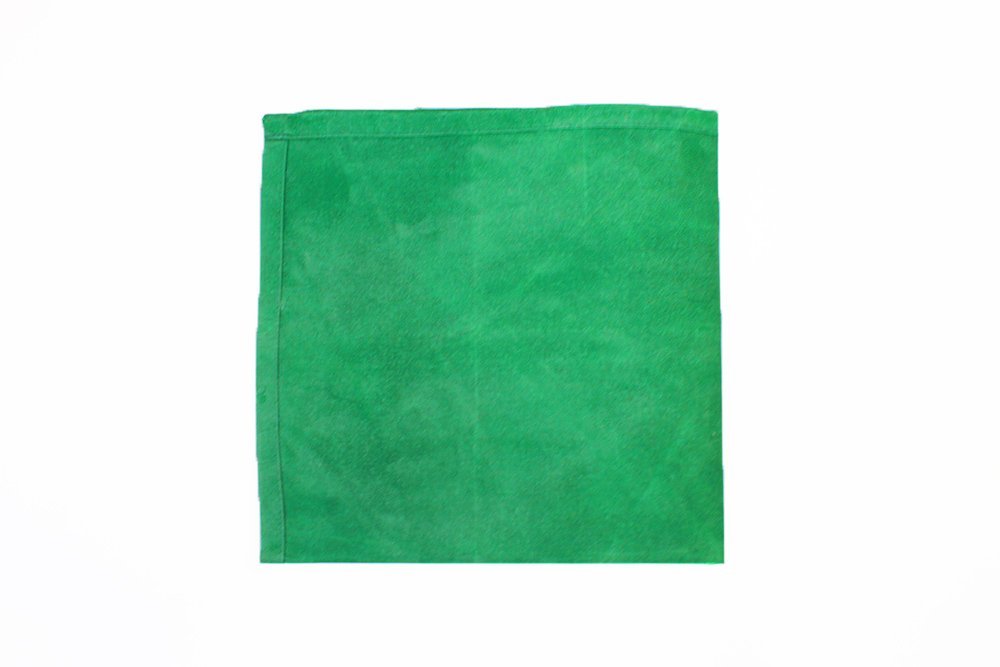
And then fold the right edge towards the left edge.
Fold the Bottom Corner Several Times
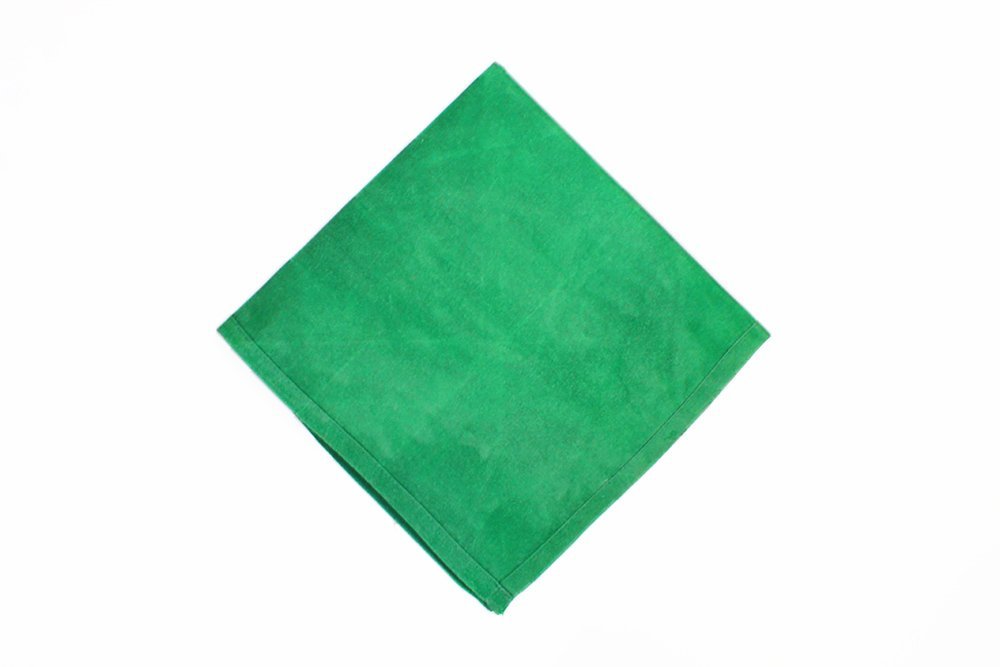
Fold the napkin in half again. Then rotate the napkin 90 degrees clockwise.
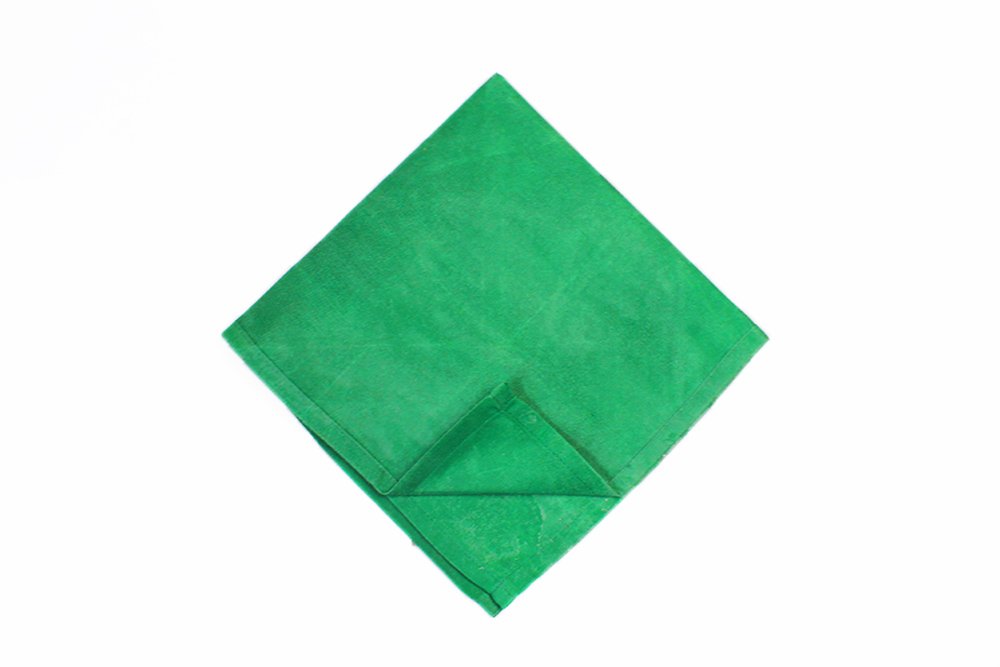
Fold a small portion of the napkin upwards like in the picture above. Only the first layer was folded.
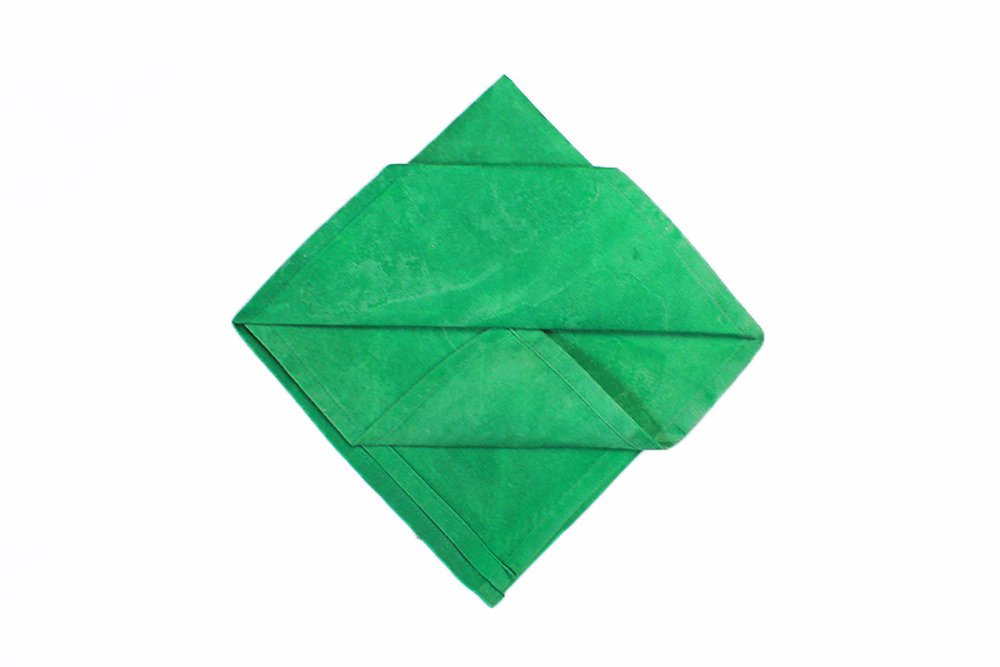
Then fold the first layer towards the top again. The triangle that you made previously would now be hidden. Then proceed to fold the next layer towards the top but first inert the top beneath the first layer.
Fold the second layer in the same you did with the first layer. The second layer will be on top of the first one.
Then unfold the the next layer and insert its tip to beneath the second layer.
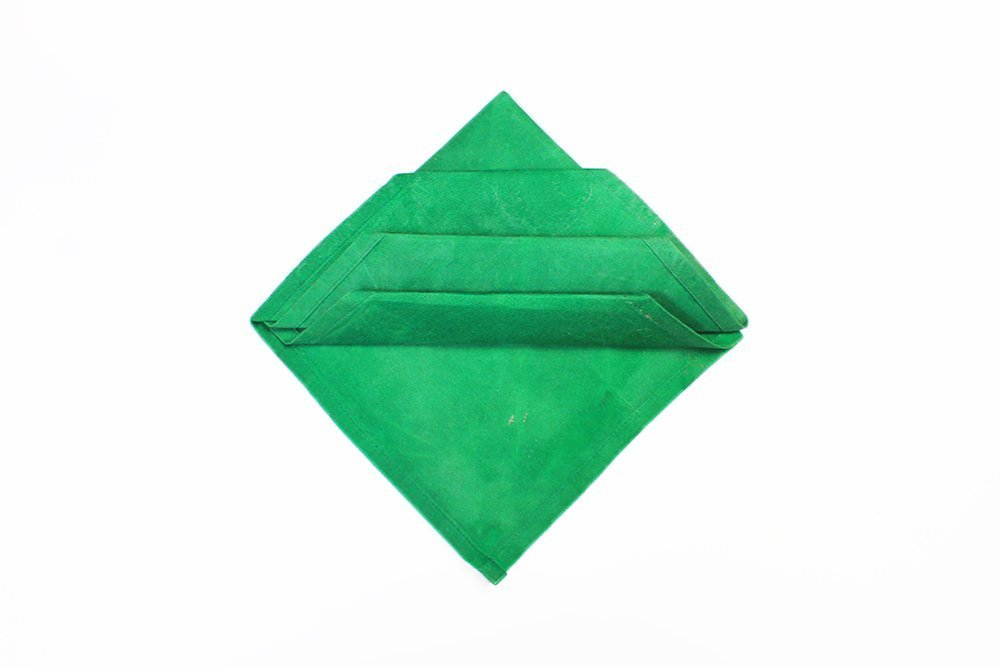
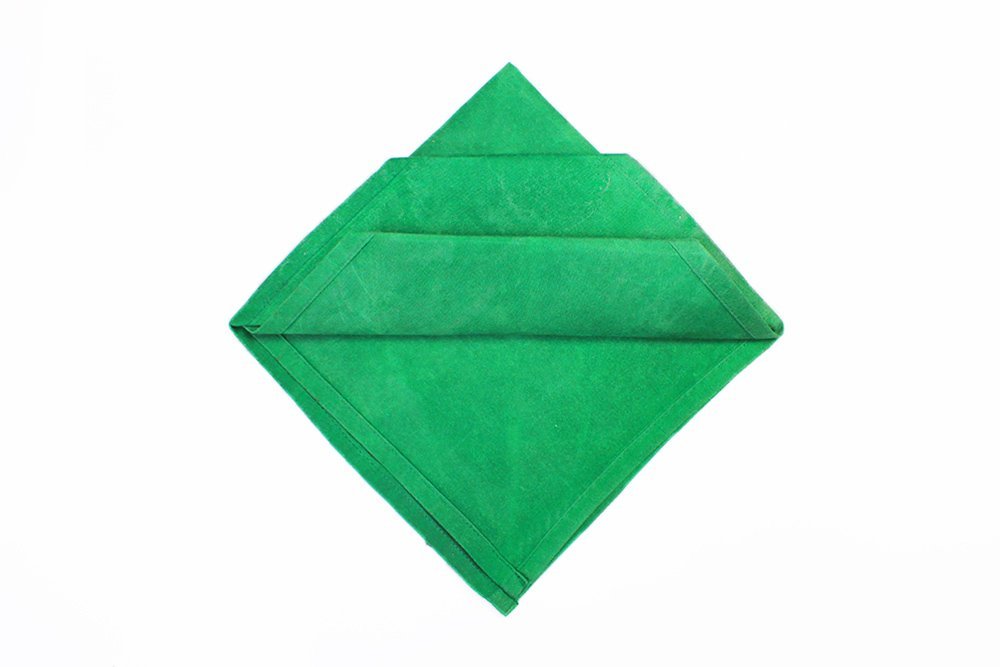
Then fold it again. You only have one layer left so good job.
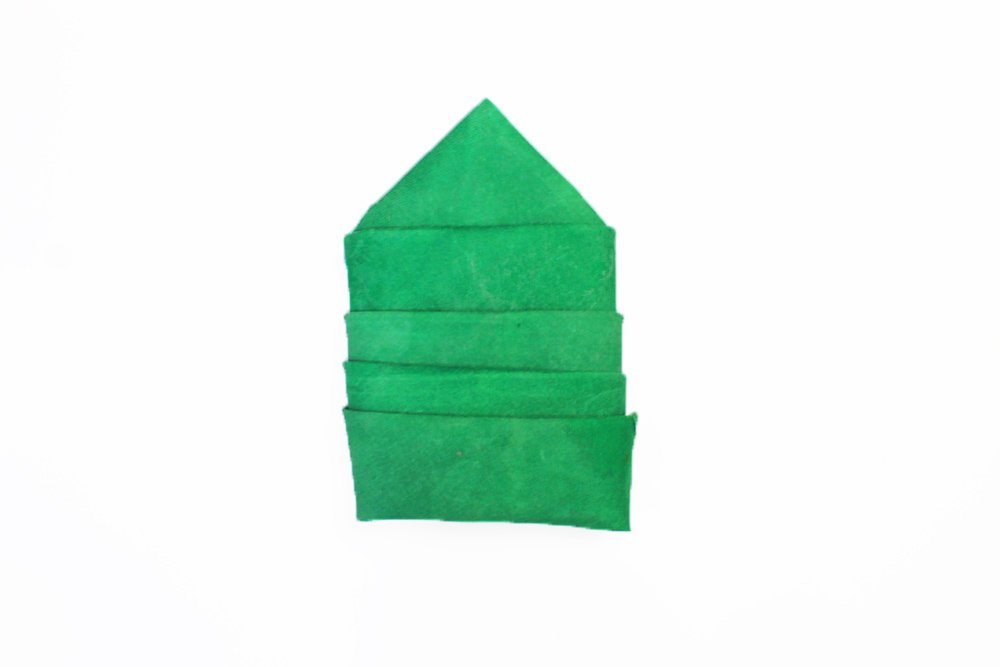
Now, fold the last layer and tuck it in beneath the third layer.

Then, fold it towards the top! The longest section of this fold is over and now it's time to move on to the final steps.
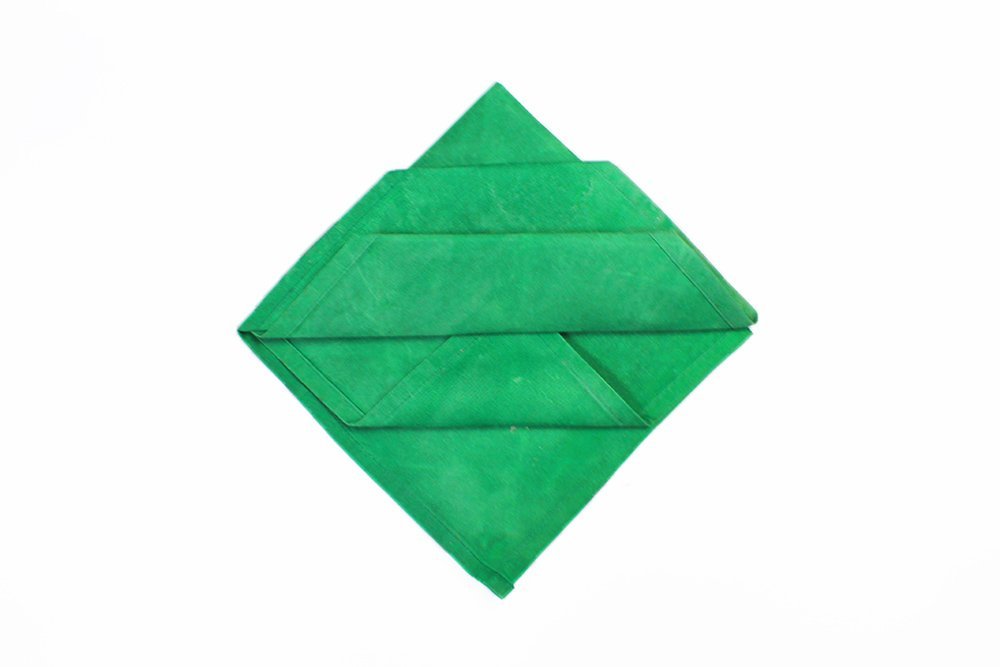
Make the Tower Napkin Fold
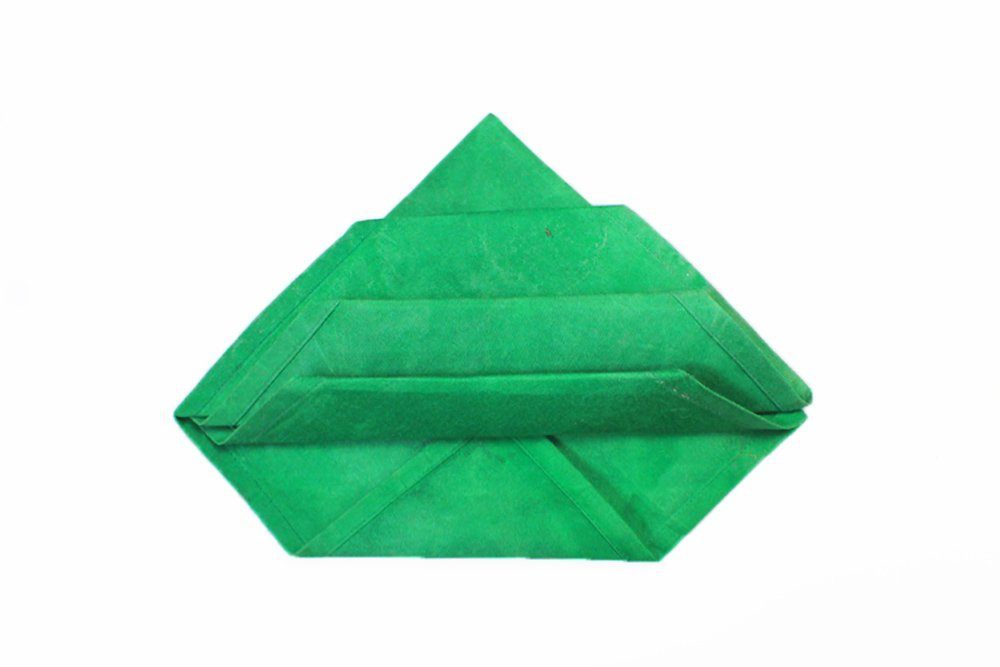
In order to make the tower, you'll have to fold and secure the sides. First, flip the napkin over and fold the left side towards the middle.

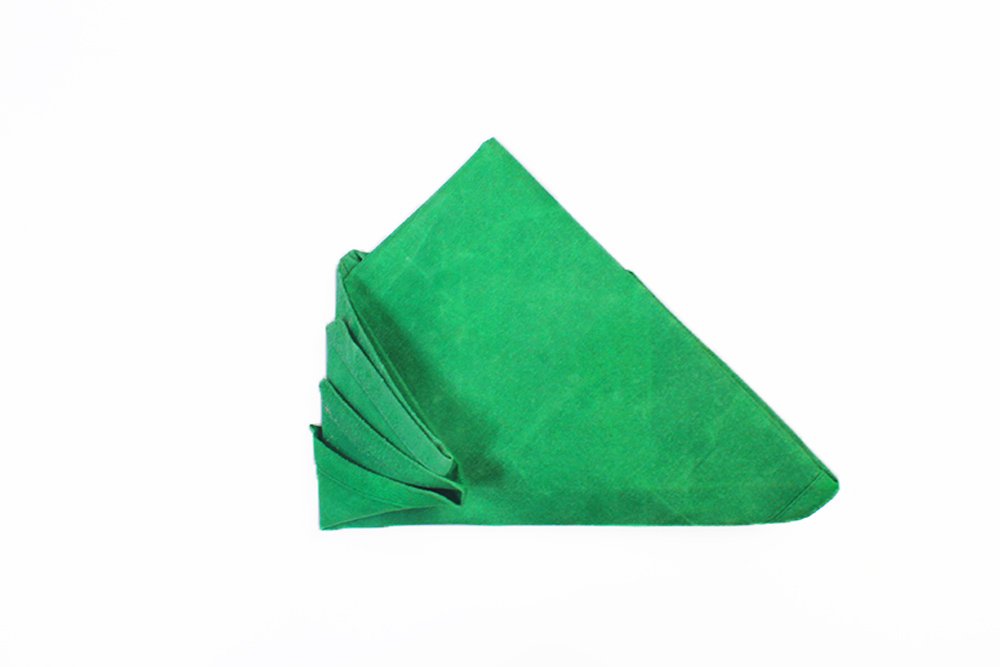
Then insert the right corner into the left side. It should be tucked in into the third layer.
Continue to insert the right edge carefully until the napkin is stable. Tuck the right edge until it starts to look like the image above.
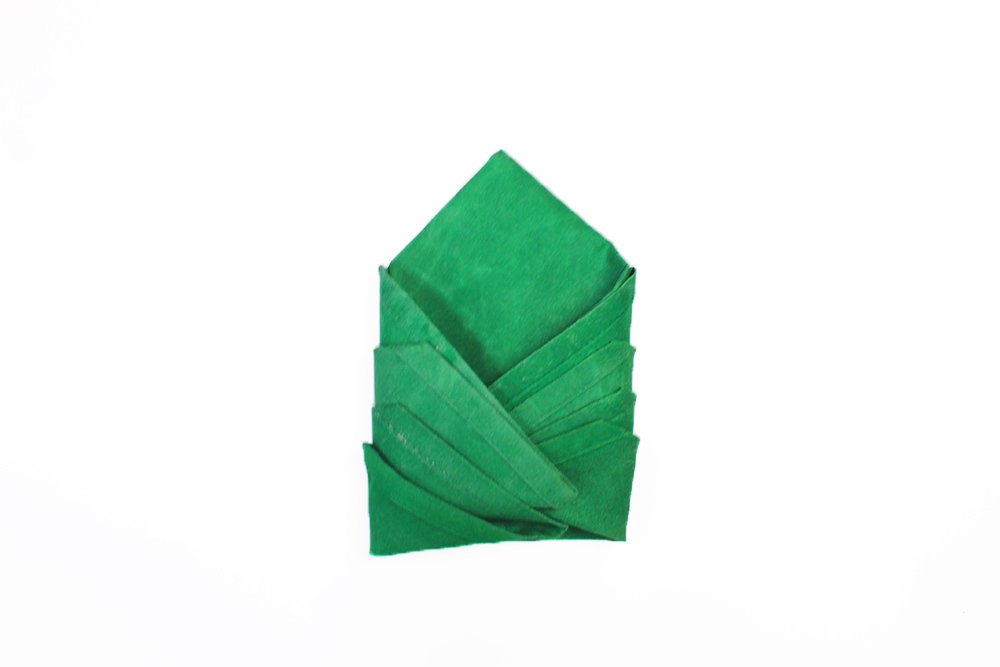
flip the napkin and shape it into a tube. You should have a standing napkin with multiple levels to it. Awesome right?
For more cool napkin folds, check out the articles below.
Extra Tips
- If your napkin isn't stiff enough, try using paper napkins instead. You can also starch the cloth napkin to make it stiff. First, wash the cloth napkin as you usually do. Spray it with ready-made starch spray or make your own by mixing starch and water. Evenly spray coat the napkin with starch and then iron the napkin on an ironing board. By the way, if you're planning to starch the napkin, make sure that it's cotton or linen.
- Have fun when you learn a new fold. And when you are folding, relax and enjoy the experience.
- Execution is important - it's easy but it needs to be done with care and precision.


It’s fun! But i’m pretty sure this is a tiring fold after only 30 napkins
I’ve always preferred standing napkins, and I’m glad I was able to find a good guide. It’s not exactly how I would make it but it’s great so I will recommend this to my staff!J
Thank you for this folding steps!!
Go to website for learning folds 😁
Tower napkin folding made super easy, as a student this is so convenient