➥Create a Detailed 3D Origami Car | Step-by-Step Guide

Introduction:
A great craft project that can keep you entertained is this origami car. It may be tricky, but this step-by-step instruction will help you make an excellent paper car.
You’ll need a square piece of paper for this guide. And you can add some details on the car on your own after you have made the origami 3D car. Lastly, this is a bit advanced as paper folding goes, but this tutorial will guarantee that anybody who reads it can do it.
So, get a piece of paper, and let’s get folding!
Create a square base fold to build the origami car
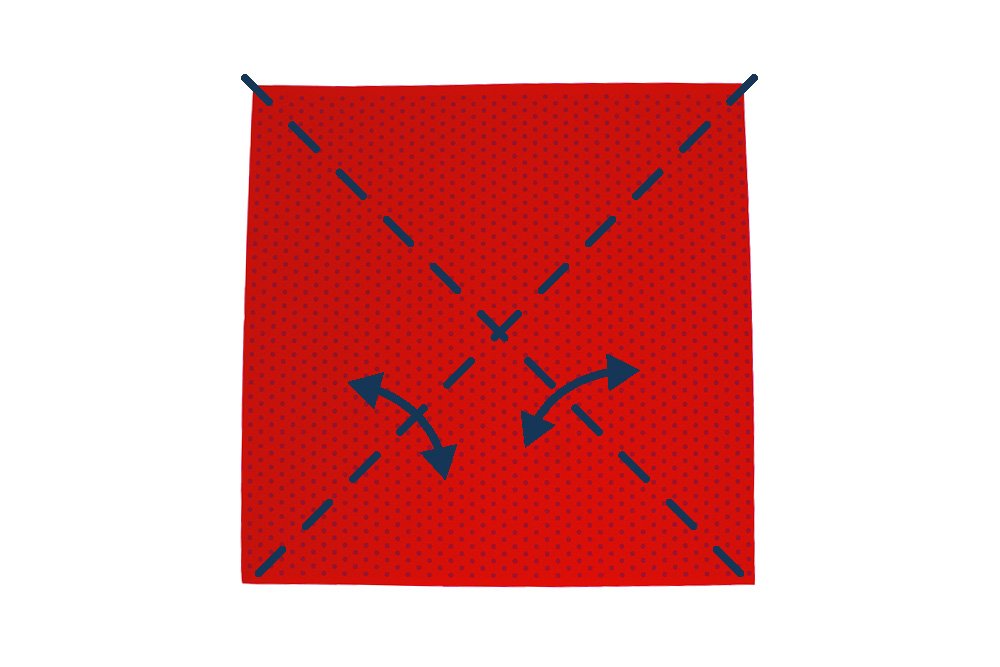
Start with a piece of square origami paper. Diagonally fold the paper along the dashed lines. Crease the paper well and unfold.

Flip the paper over and the next step is to fold the paper crosswise and lengthwise in half. Crease the paper well and unfold.
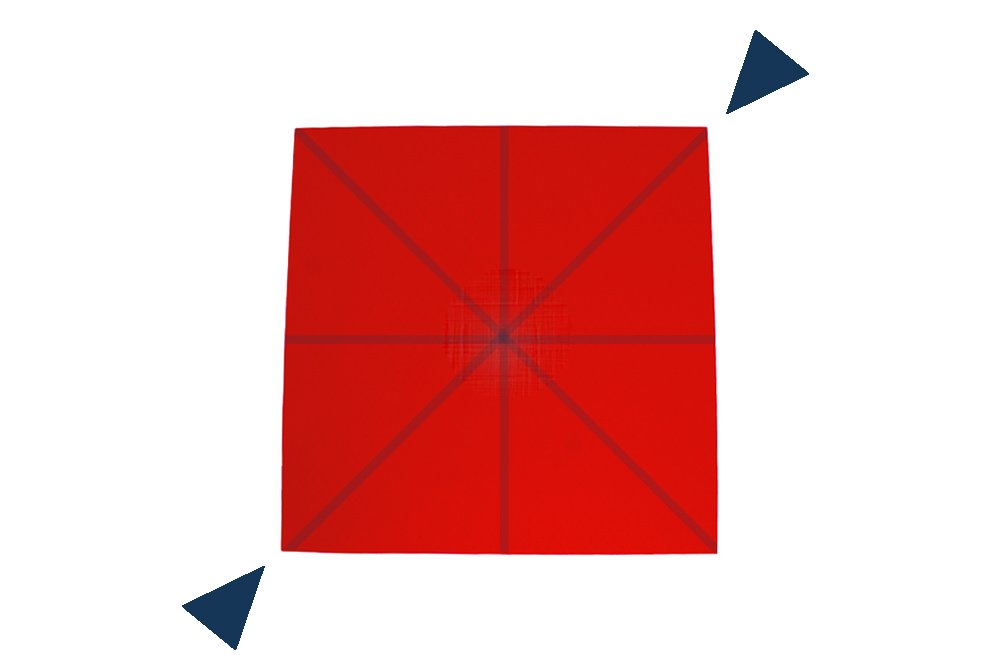
See the creases made, these creases will help form the square base. This base will form the origami car. Hold the top right corner and the bottom left corner. Bring these two corners together.
Flatten it to form a square. This is the square base. Now rotate it into a diamond-like an image above and crease the top part along the dashed lines.
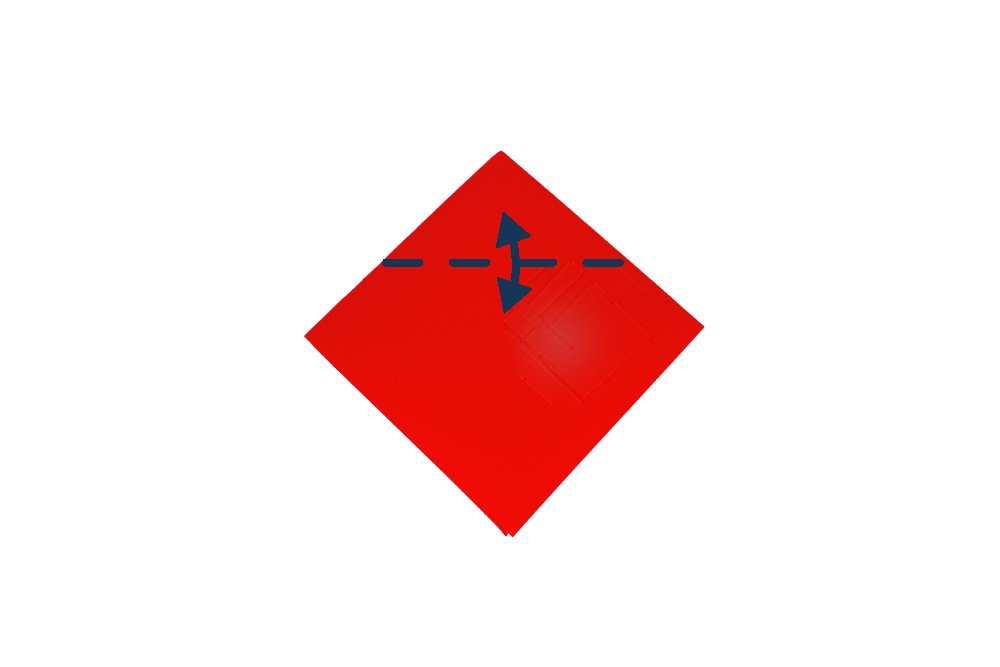
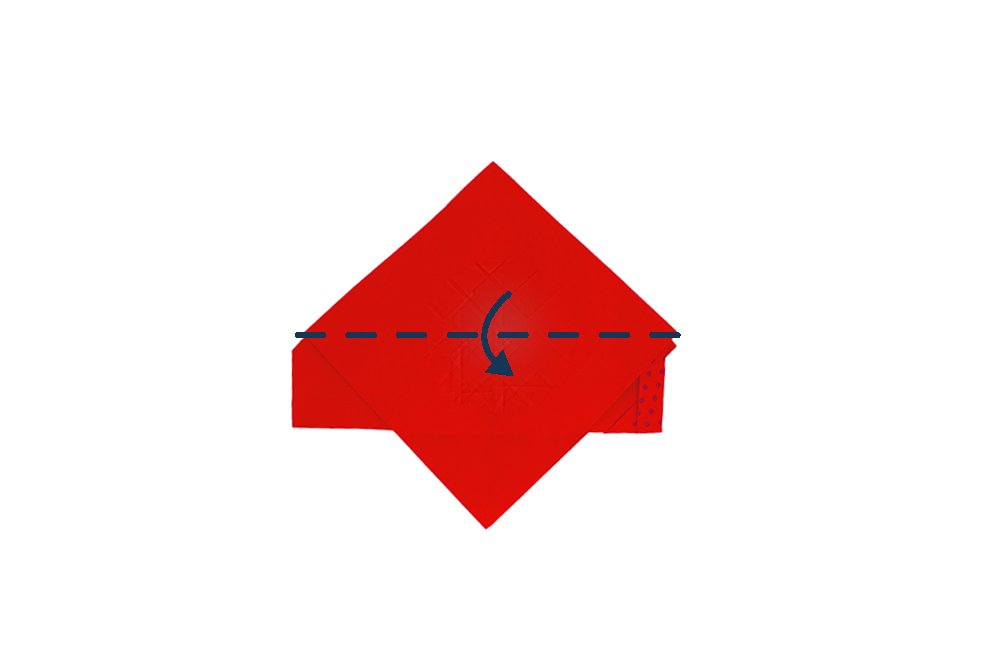
Horizontally fold the paper downwards along the dashed lines. Crease the paper well.
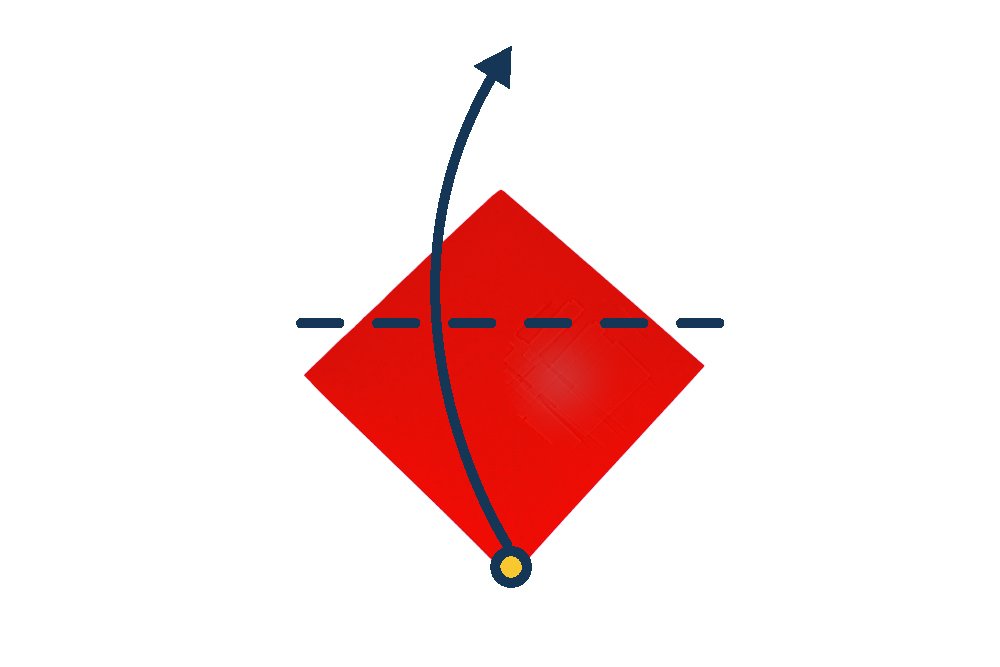
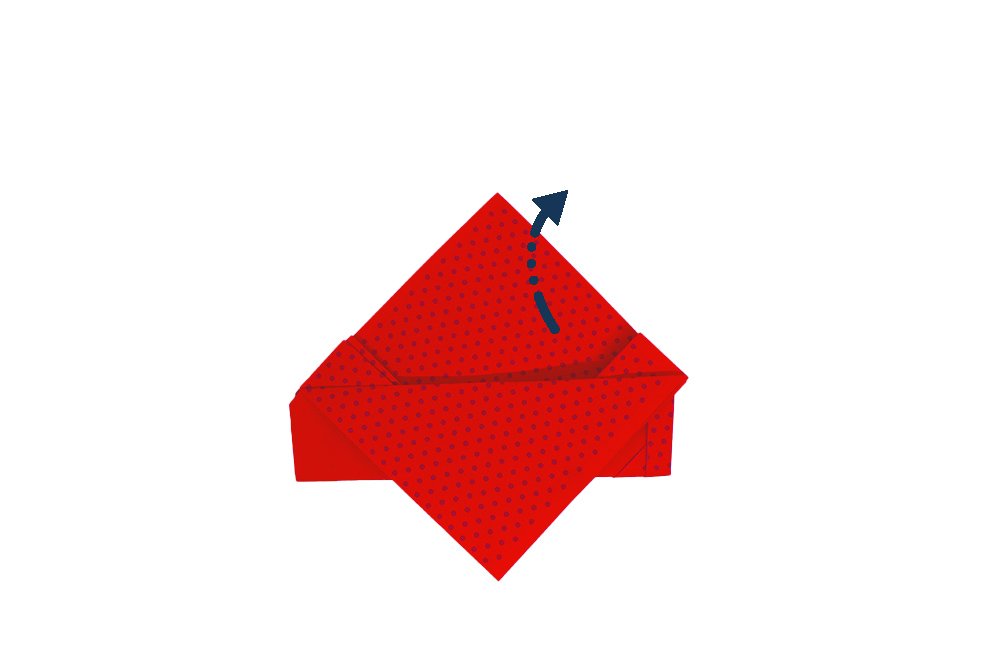
Lift the outer layer upwards to the top part. Fold it upwards along the crease line made in the previous step.
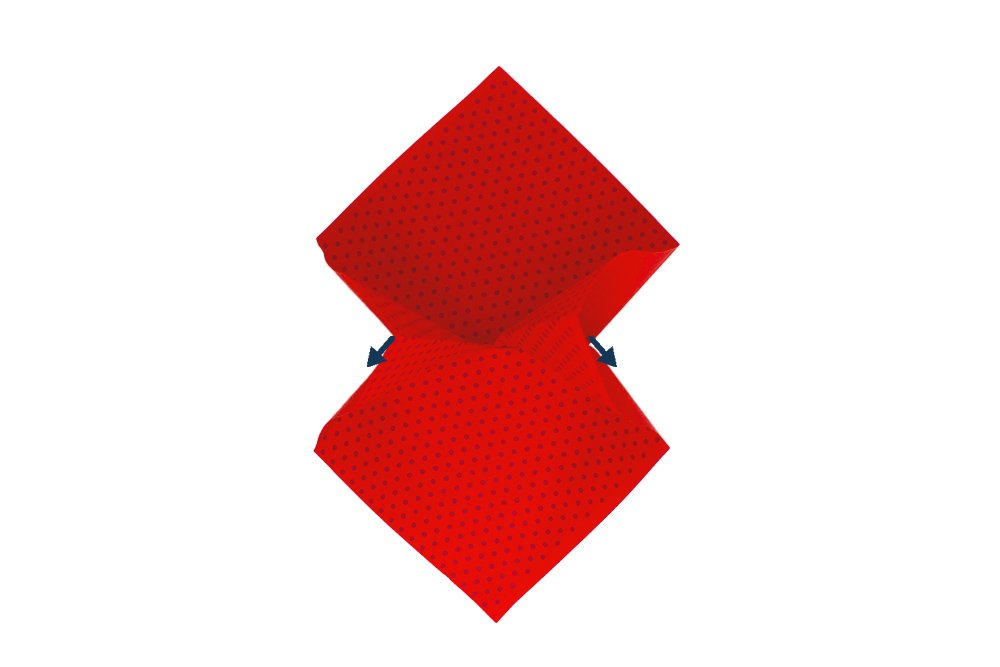
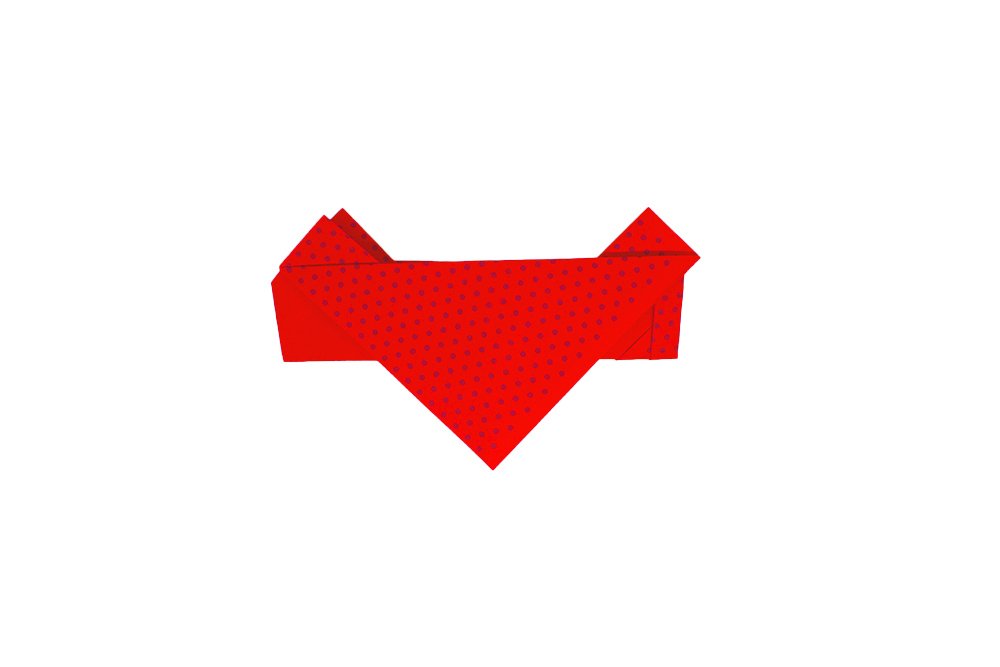
Squash the origami paper on both sides to form a diamond. Good, now it's time to move on the next set of steps.
Fold the base of the origami vehicle

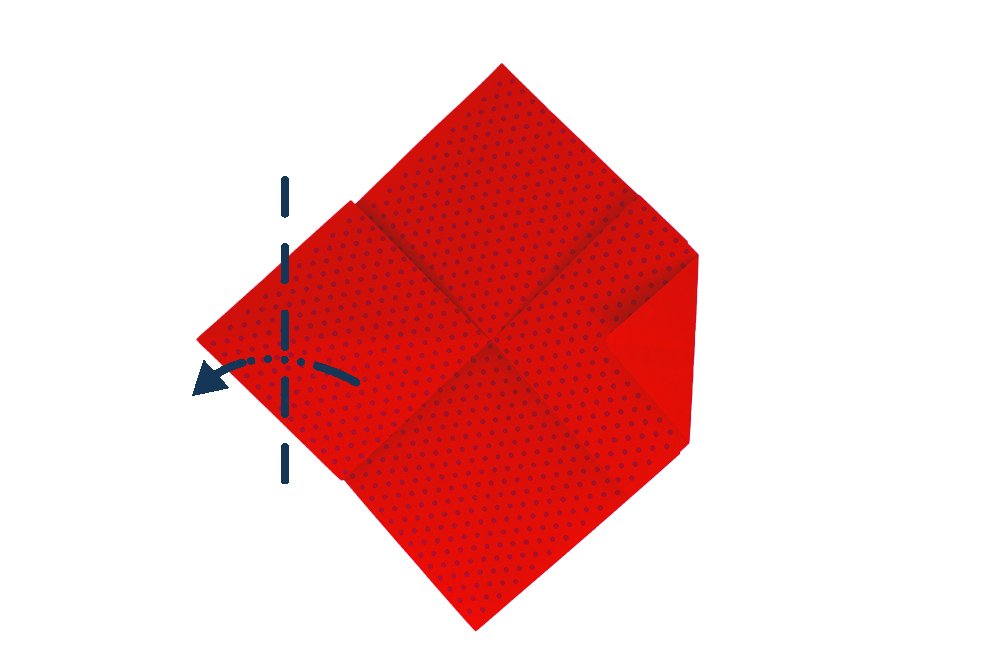
This will be the base of the paper car. Fold the right corner to the left. Follow the dashed line for guidance.
Fold the left corner of the origami paper as well, but fold it to the back rather than inwards.
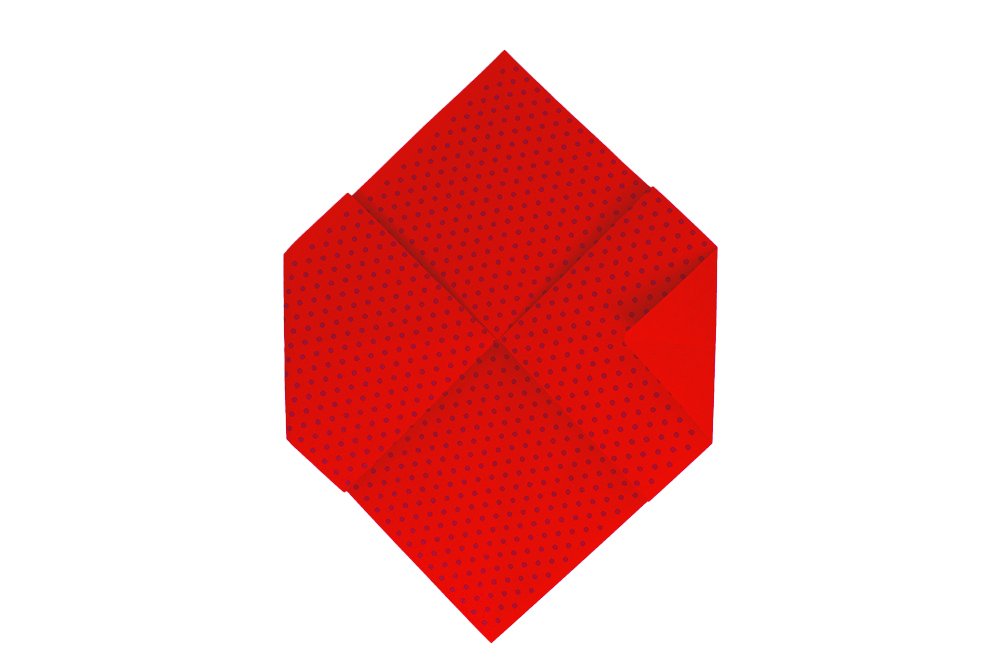
The origami paper should look like this.

Turn the origami paper to the other side. And mountain fold the right flap. Follow along the dashed lines in the image above.
Bring the bottom half part of the origami car to the back.
Shape the paper into a car
It's starting to look like a car! Fold the top layer downwards in half. Make sure to fold the outer layer ONLY.
Then fold the back layer towards the back. Basically, repeat the previous step to the back layer.
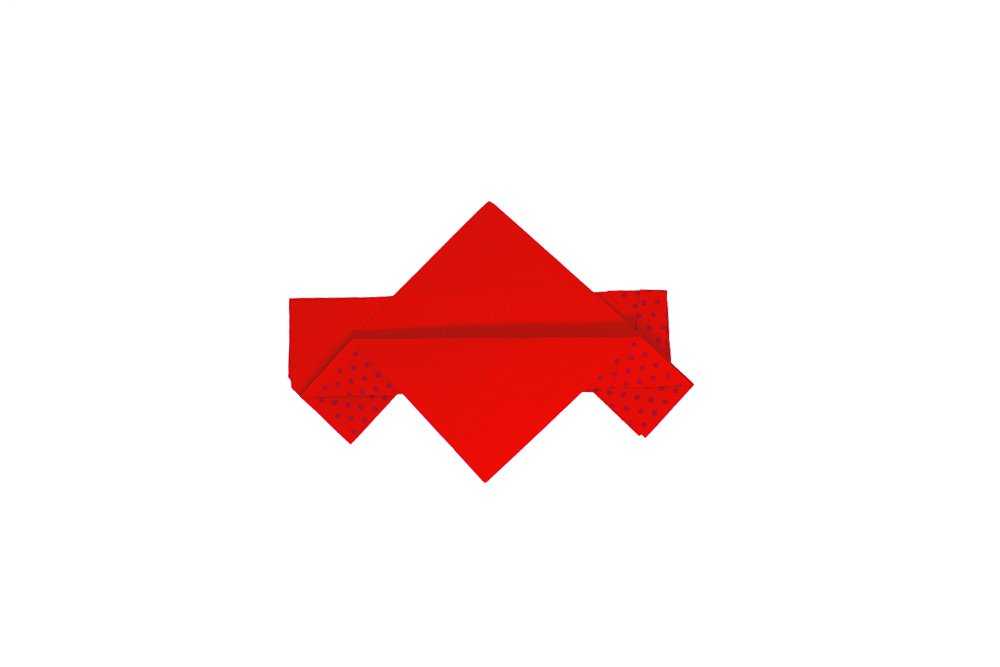
This is what your paper should look now.
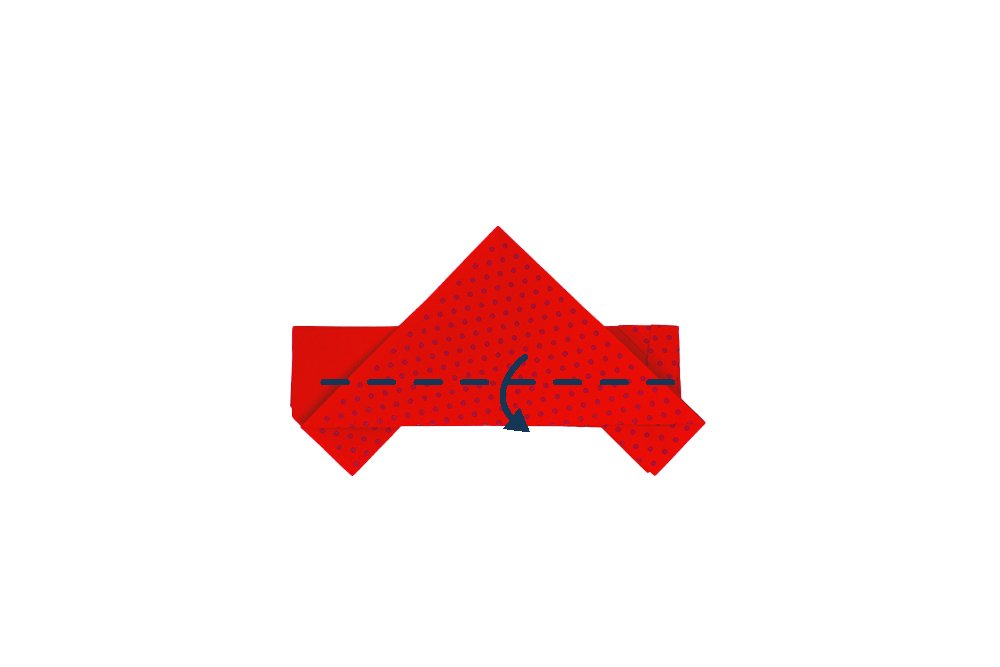
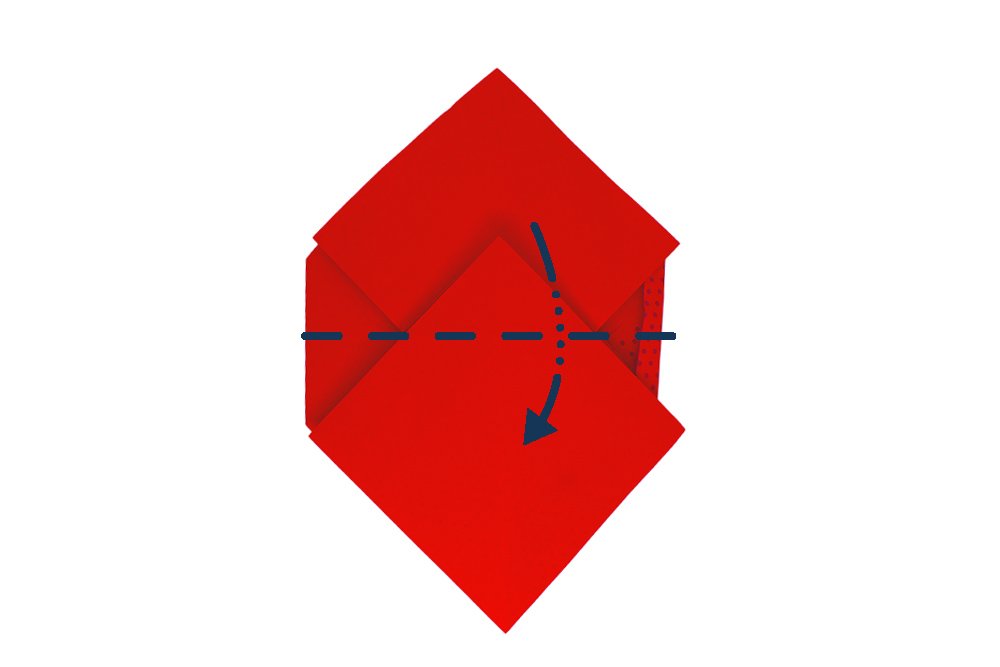
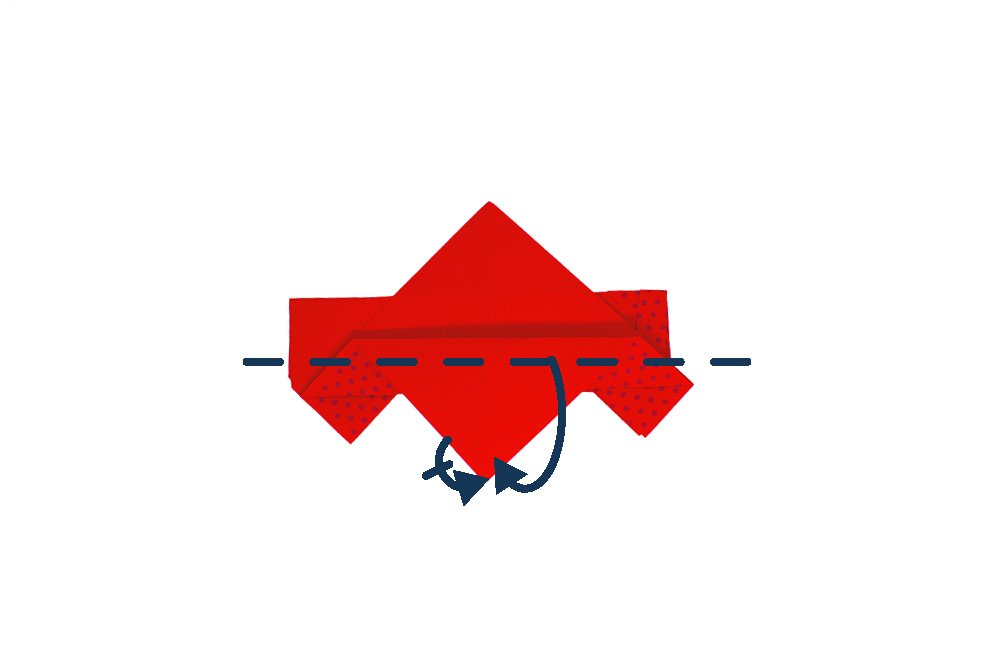
Rotate the origami car 180 degrees counterclockwise. Then, fold the topmost layer to the bottom along the dashed line.
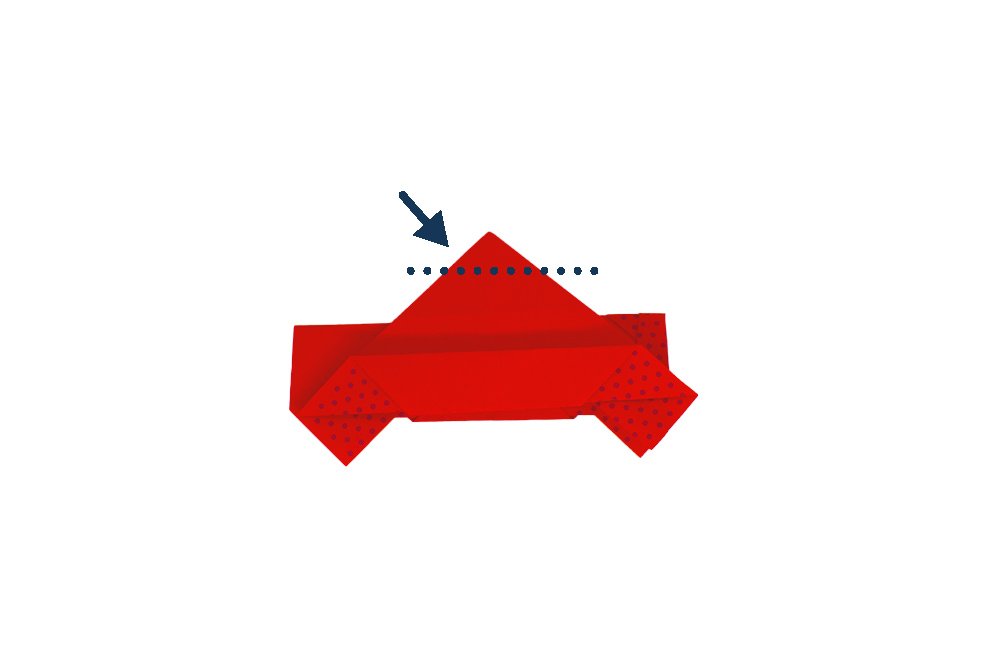
Bring the top corner downwards along the dashed line. Fold the top layer ONLY.
Do the same for the back side flap as well. Fold the flap towards the back.
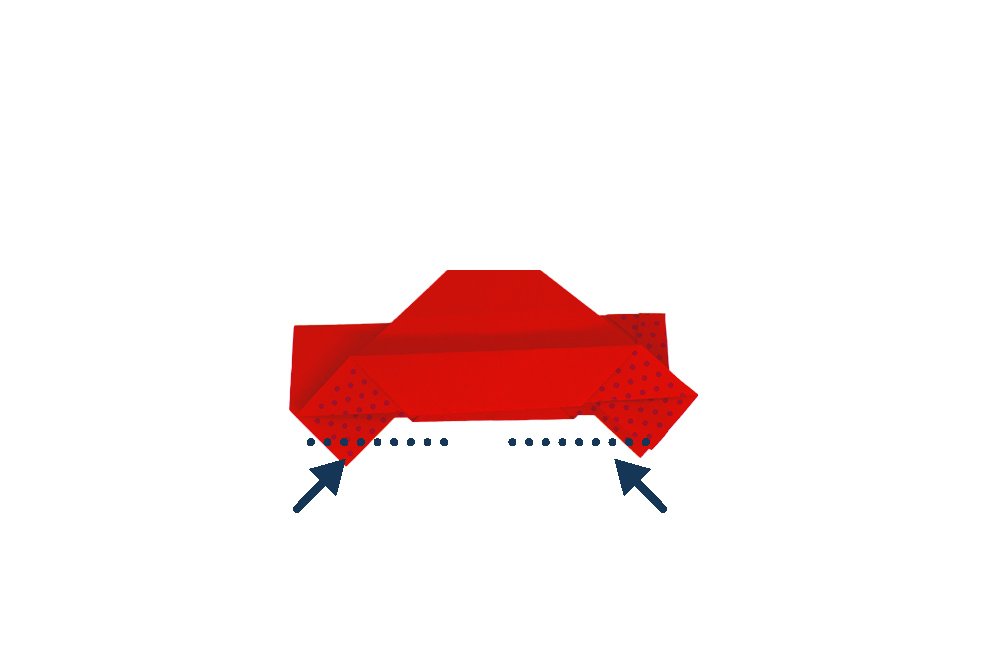
Tuck the front and back bottom corner flaps inward to the pocket. This will slim out the origami car.
To shape the hood of the car, make an inside reverse fold at the top corner. To make an inside reverse fold, make a crease along the dotted line, then push the top corner down inwards to the center then flatten it.
The shape of the car’s hood should now look like the image above. It's time to shape the wheels. As you can see, the wheels are pointy. Make an inside reverse fold as shown to mimic tires. This will make the wheels of the car.
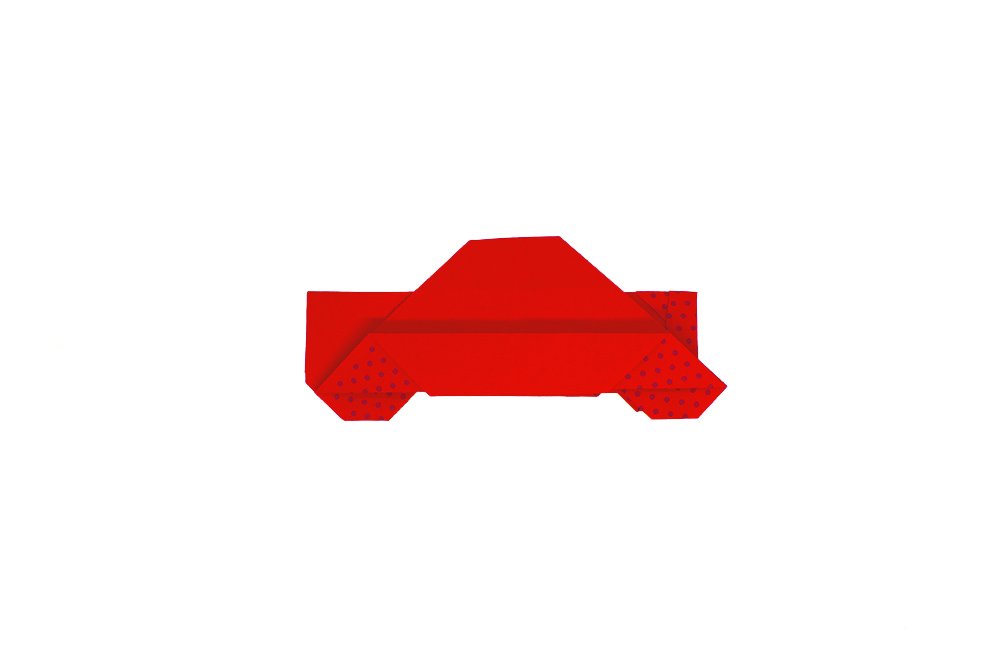
Your origami car is done!
Extra Tips
- Make other origami vehicles from our catalog! Be sure to check out the suggested articles below.
- What's great about this paper car is that you can personalize it after you're done making it. You may draw some details like windows and car lights to make it more realistic. Add some decorations like stickers to make it one-of-a-kind or draw some flames on it so it would look like an origami race car.
- Do your kids love cars? They might enjoy coloring these cool vehicles! Check out car coloring pages where you can download for free!

awesome car, what materials will make this origami car look better?
hmm, poster paint would be alright. There’s really a lot to choose from – comes down to execution. Have fun!
Fantastic guide
Lovely <3 my 8 yr old will this
This is one my fav origami!!