DIY Mobile with 3D Origami Stars – Tutorial with Pictures

Introduction:
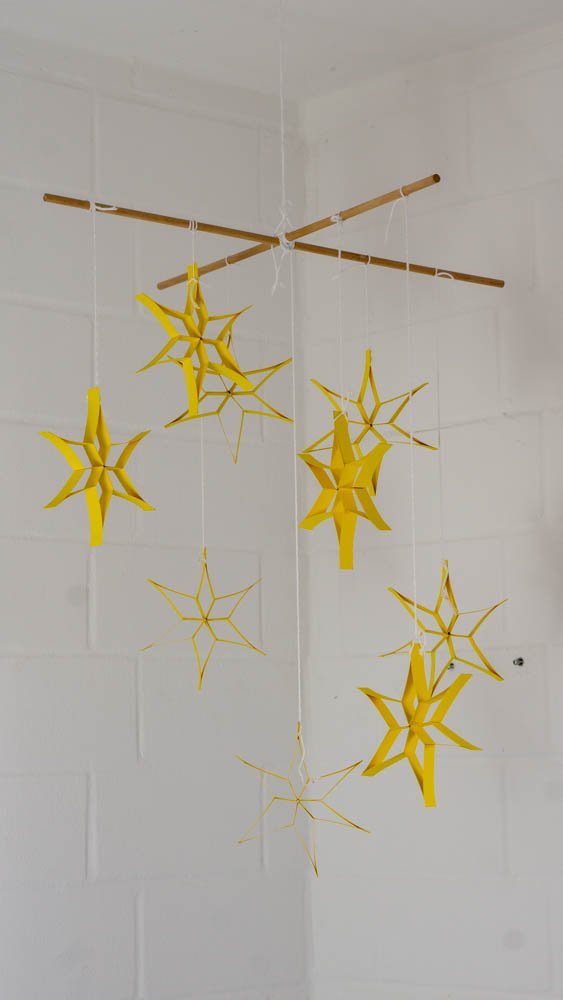
This beautiful 3D star made out of cardboard is a great decoration that can be used anywhere. This star mobile suits almost all festivities and whether it’s spring, summer, fall, or even winter, you can hang this star in any season you like. To make this star, follow the instruction below to get started!
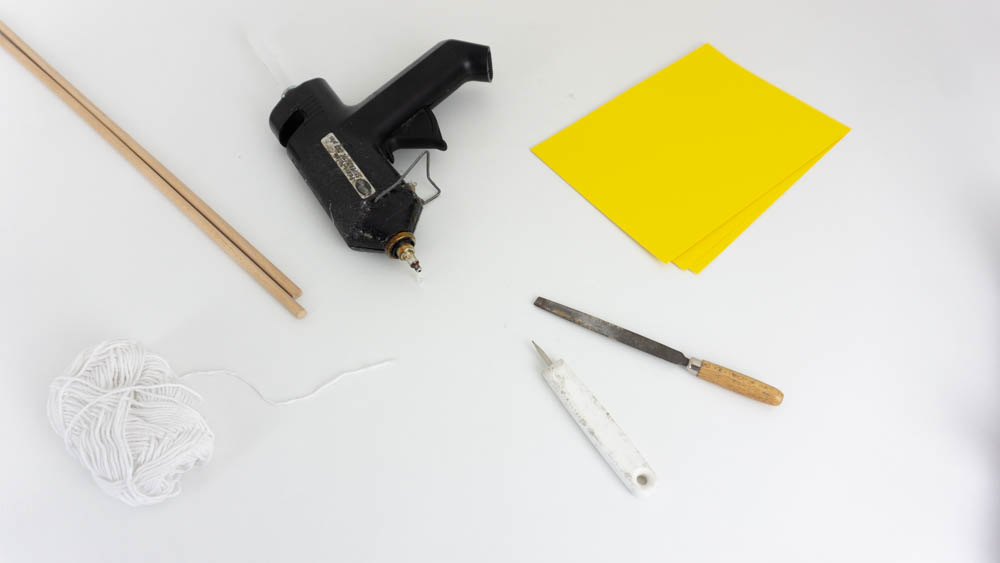
Tools
- Round file
- Hole puncher/scissors or similar
- 9 origami papers (stars were used)
- Ruler (in centimeters)
- Small saw
Supplies
- Hot glue
- Round bar (100cm)
- Wool/thread
Prepare the Rods
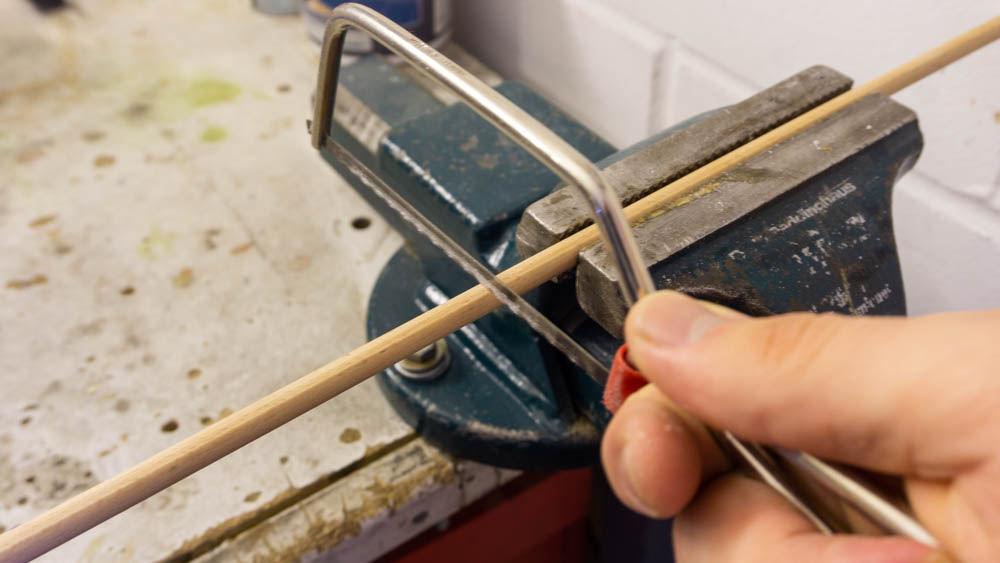
Take a 100cm long wooden rod and saw it in half. Then take the file and flatten the saw edge.
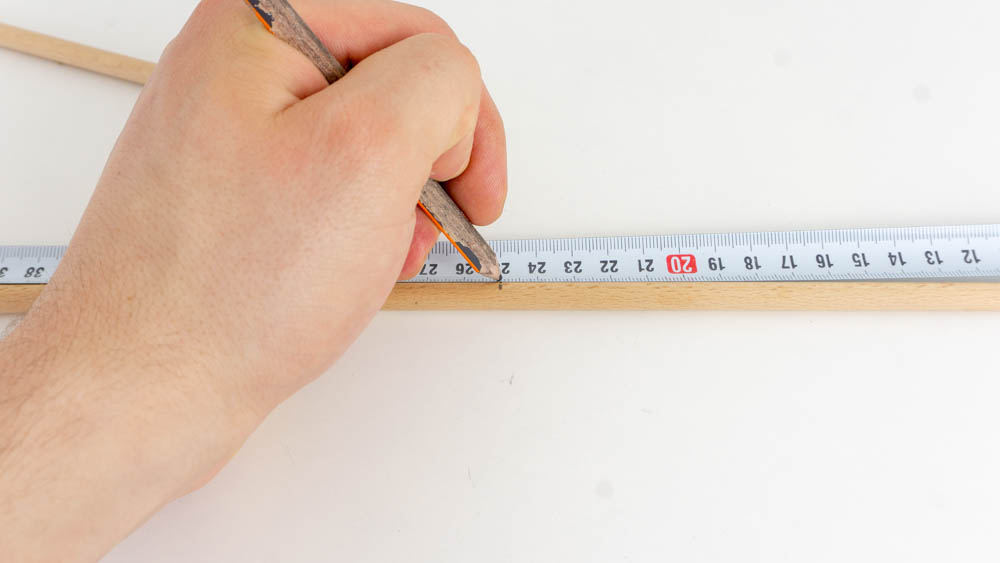
Mark 10 cm on each wooden rod with a marker/pen.
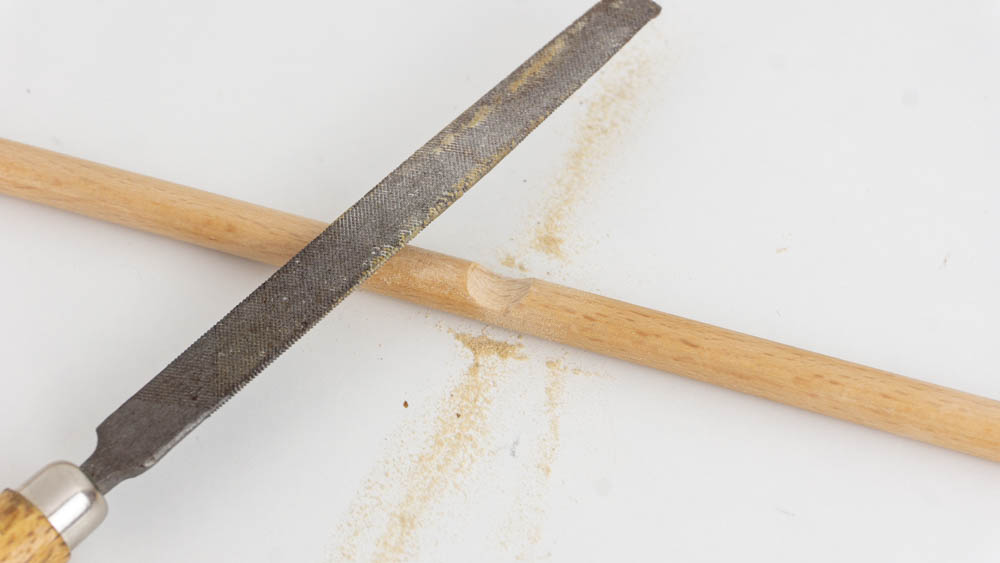
In the next step, use the file to make a deep wedge cut in the rod at the marking made from the previous step. Now repeat this step with the other rod. The two wedges must fit perfectly into each other.
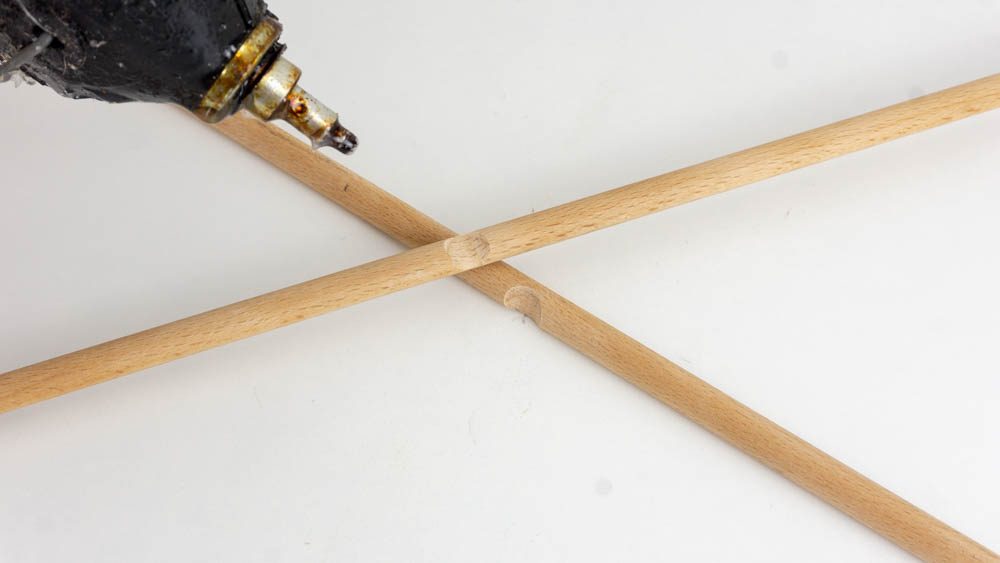
Once the wedges have been filed, glue the mobile together with hot glue. Make sure that both rods are at 90-degree angles to each other.
Attach the String
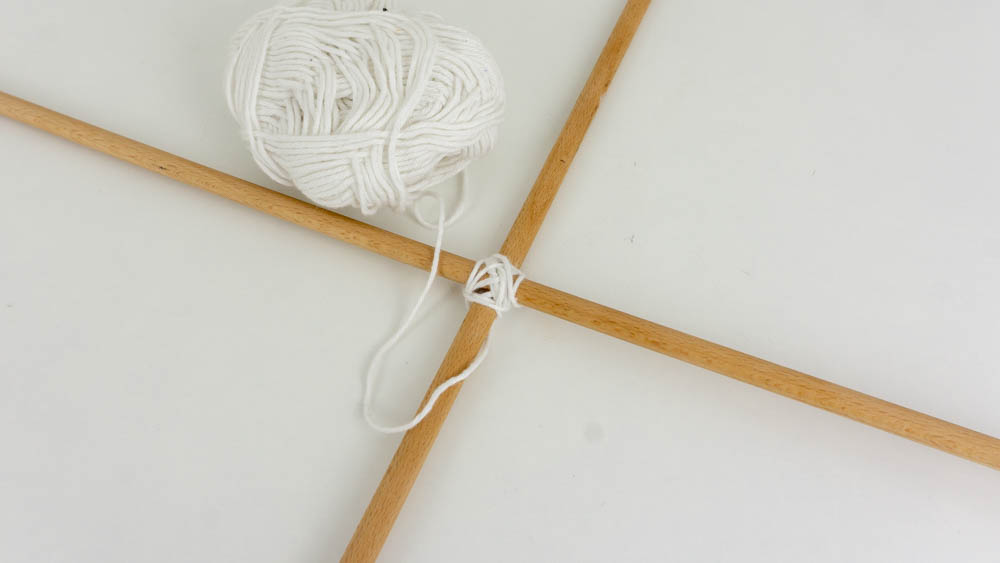
After the hot glue has dried, wrap the wool several times around the middle of the mobile.
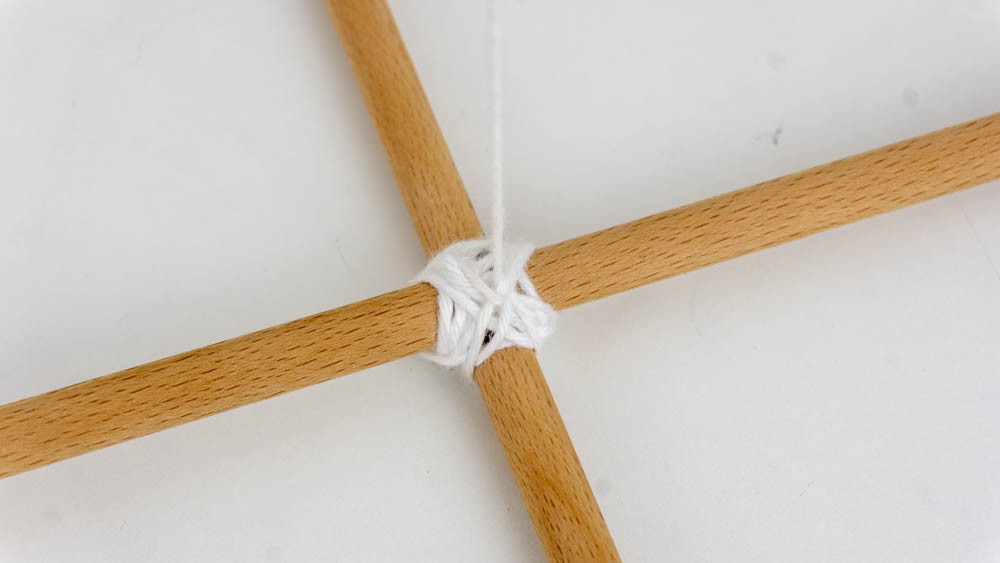
Then cut the thread to around 50 centimeters. Tie the end of the thread to the mobile. To do this, thread the wool under one of the layers and guide the end of the thread through the loop that has been created. Ideally, the thread should now be knotted in the center
Attach the Stars
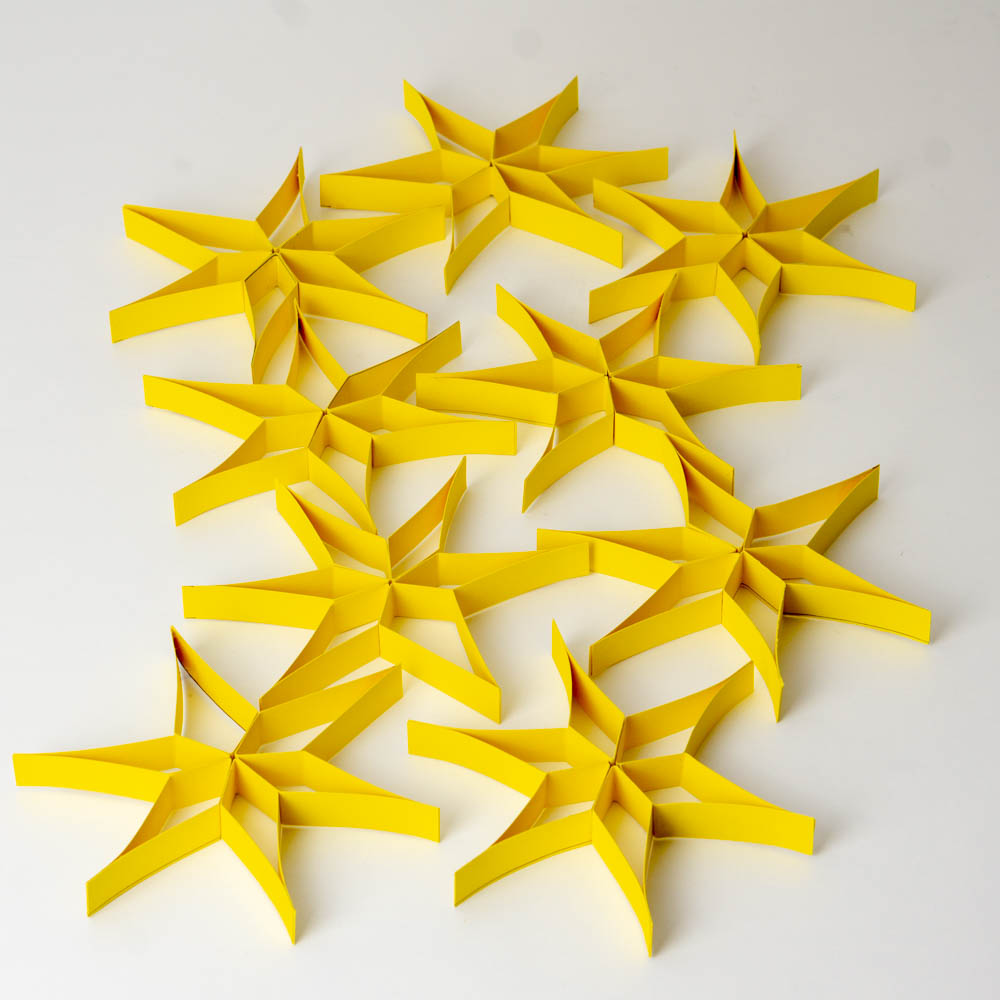
Then, take the wool and your stars and then tie them to the mobile. You will find out which pattern was used to hang the stars on the mobile later.
Your done!
Extra Tips
- When hanging each star, it is important to find the exact balance. Accordingly, hang a star in the middle and one star on the inside, and one star on the outside on each side.
- To make the star mobile better, you have to hang the stars at different heights. The star in the middle should hang deepest. Then take a position of your choice and knot a star just below the mobile. Turn the mobile and leave a little more string for each star.
- First, start from the inside and then attach the outer stars to the mobile. If you follow these instructions, you will get a spiral pattern. This pattern looks especially nice when your mobile is turning.
- Have fun with the 3D Star mobile! If you liked these instructions, please comment down below where you hung your mobile. All you have to do is enter any name and your comment. Thank you: D


awesome mobile! keep it up!
best to do this with adult supervison 😗
Your directions were very clear to follow.👍
Very interesting handwork.
nice nice!