Make a Lovely Paper Plate Panda Bear Mask

Introduction:
Learn how to make a lovely paper plate panda bear easily with our step-by-step instructions. This mask craft is a great activity for kids and their parents/ guardians to do as it is simple and easy to do! If you’re looking for a quick costume for anyone to easily wear, then you’re at the right place! All you need to do is grab a few materials and you’re all set!
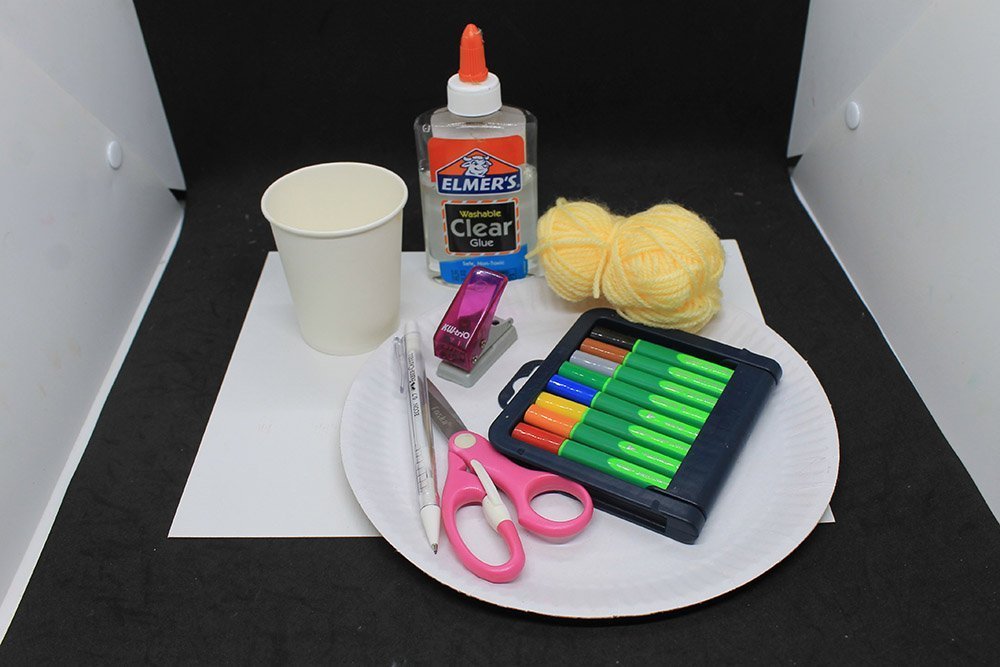
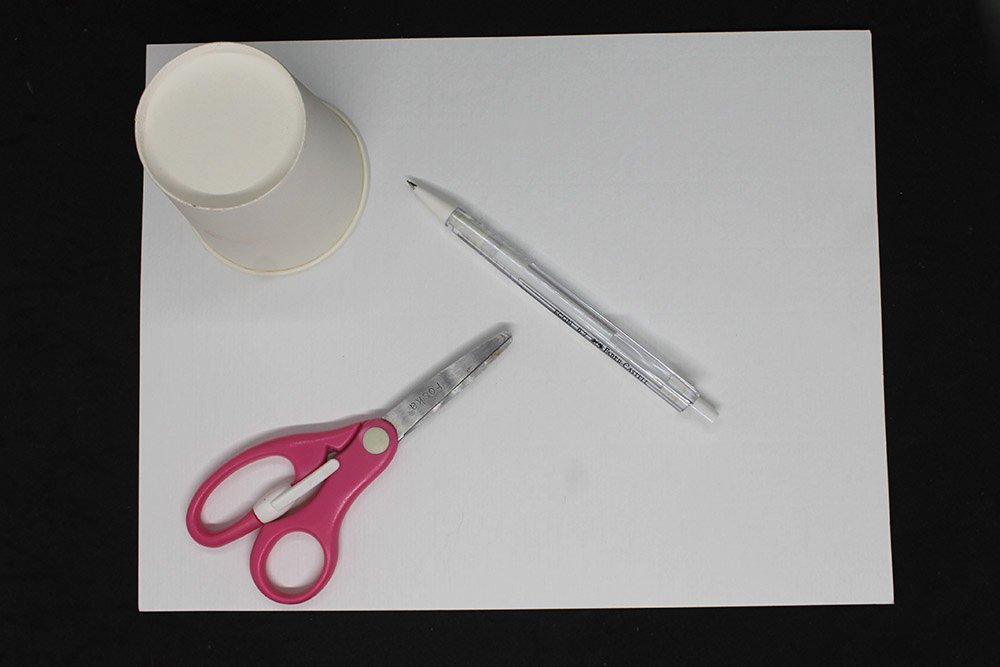
Tools
- Paper cup or anything small and circular to trace with
- Scissors
- Pencil
- Black Marker
- Marker or Crayons
- Hole puncher
Supplies
- Paper Plate
- Glue or Hot Glue
- Yarn or String
- A piece of white thick paper (vellum board, cardstock, or a thick piece of bond paper will do)
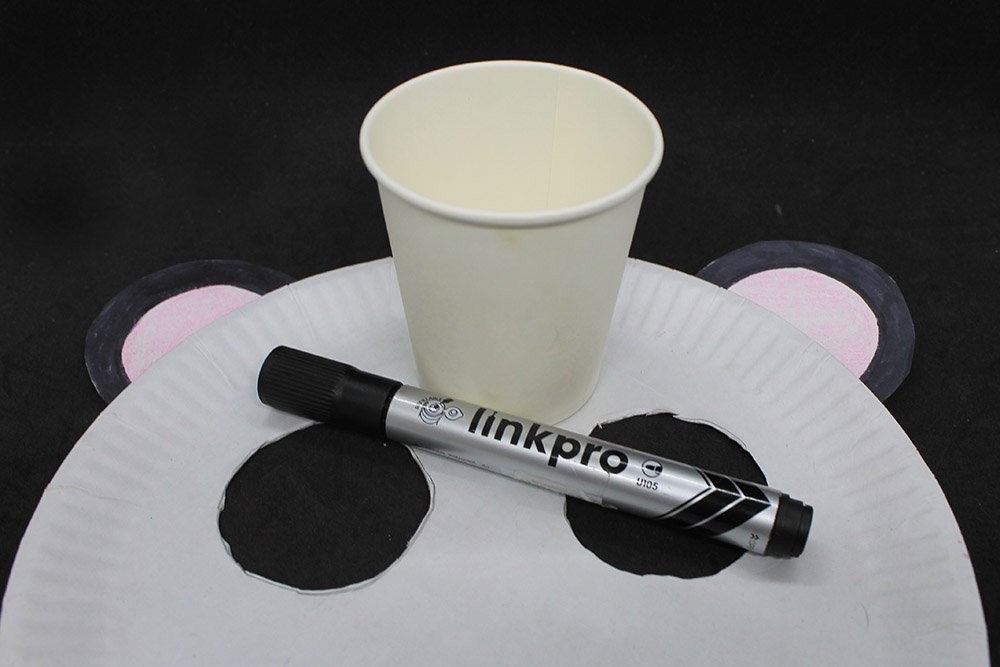
Make the base mask for the paper plate panda mask
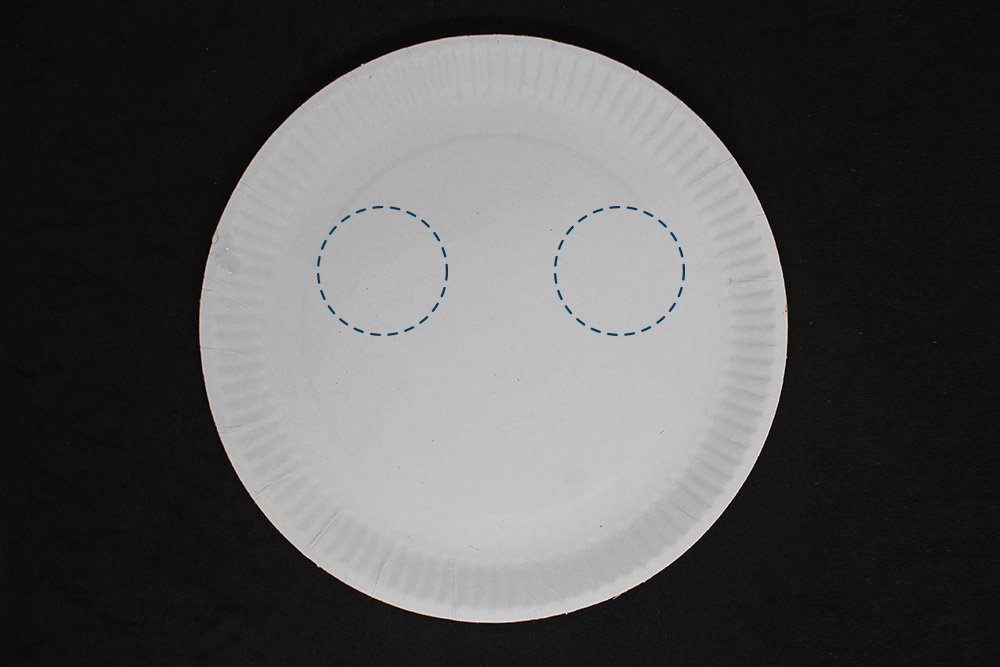
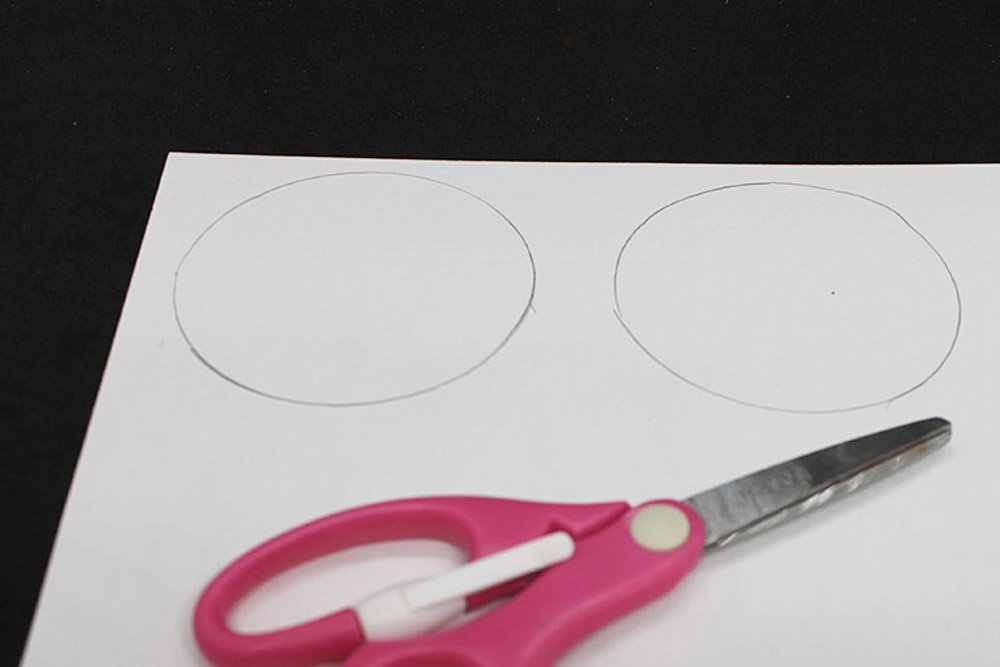
Draw two circles for the peephole of the mask using a cup and pencil.
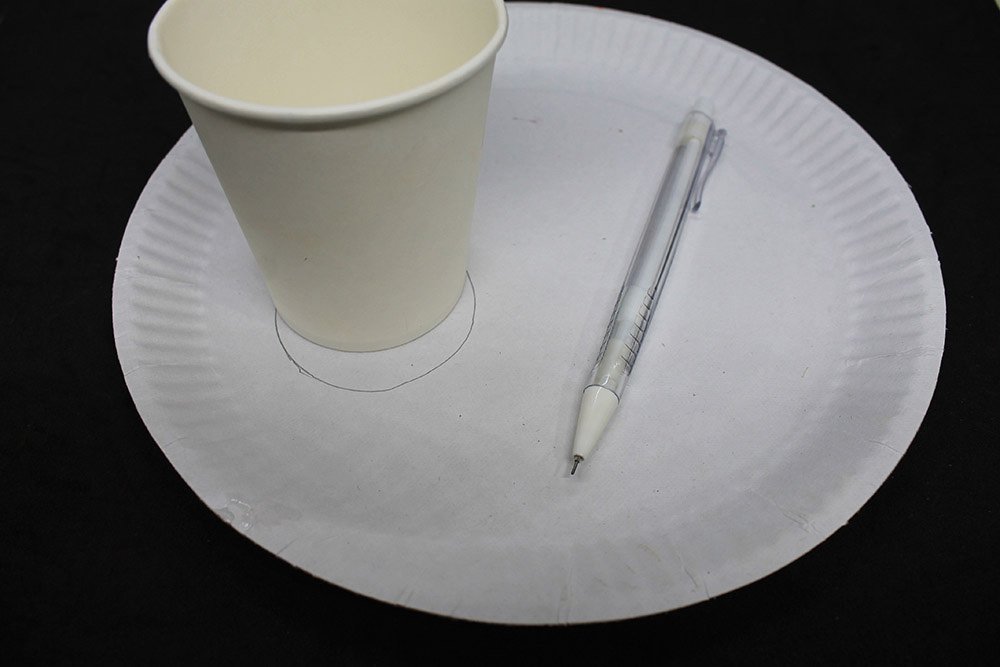
Use the bottom of a paper cup to trace a circle in the mask with a pencil.
Besides a cup, you may use any circular object to trace
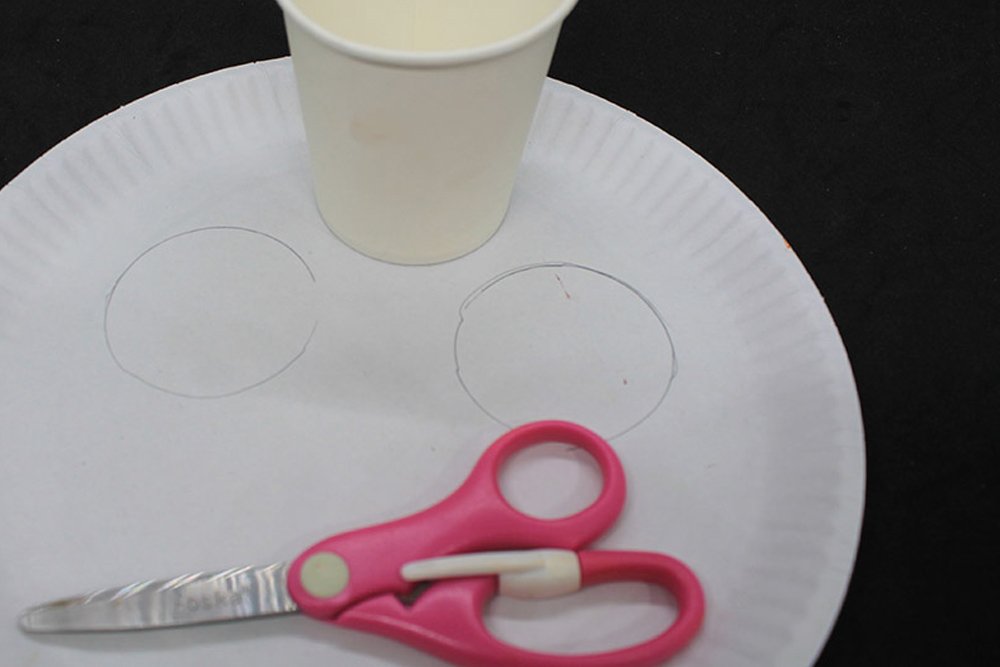
Cut along the outline made to make the peephole.
You may use a cutter if you find it easier. Just be very careful when handling sharp objects. Ask an adult to help, and do not let small children use a cutter on their own.
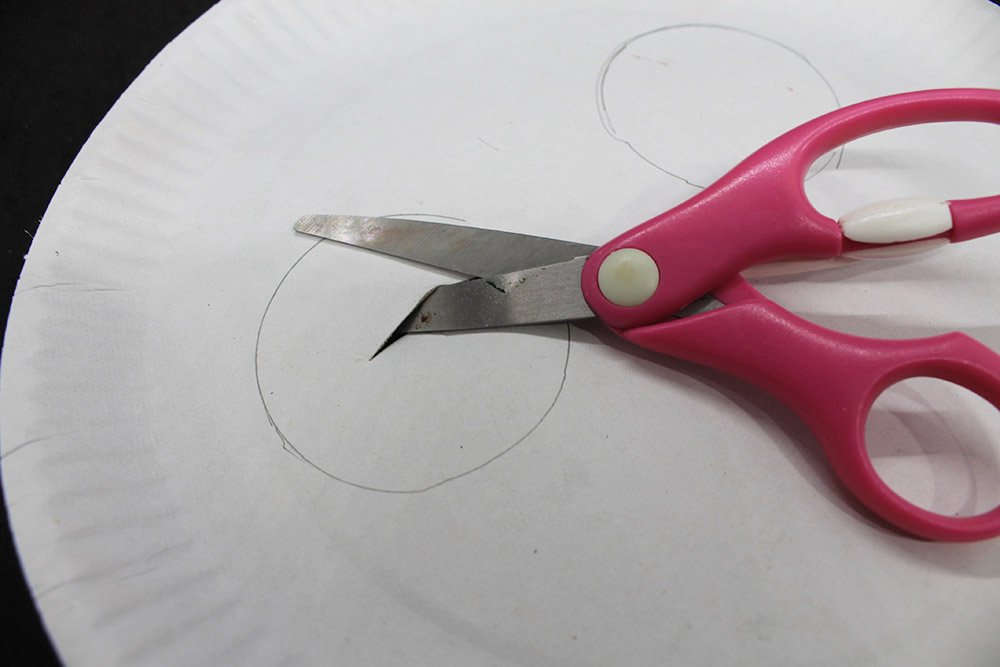
Here’s a tip: Cut a small slit at the center to make it easier to cut. Insert the scissors on the slit, then start cutting along the outline.
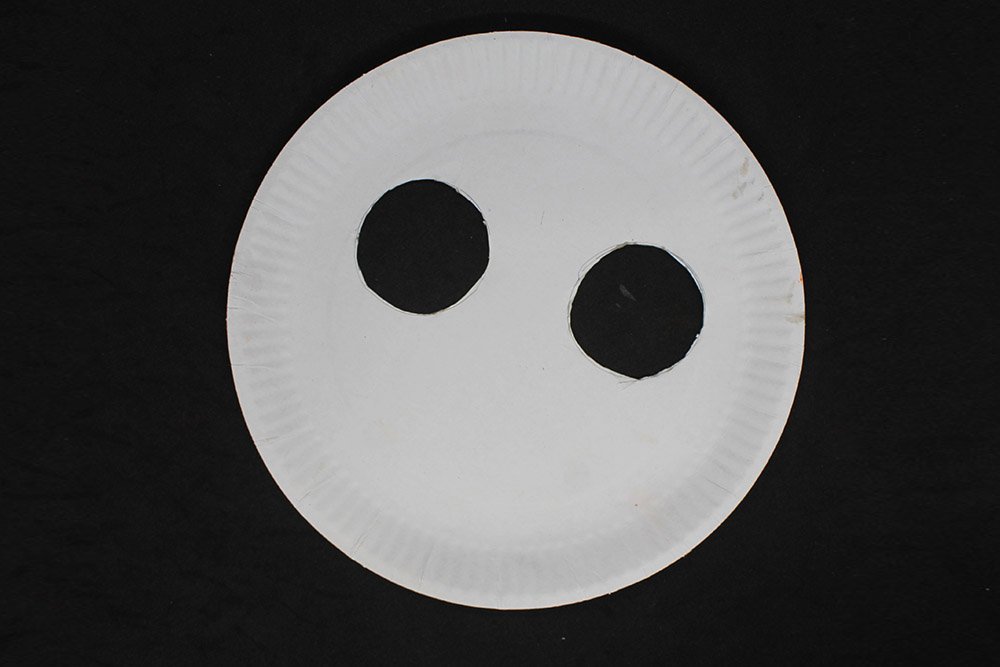
The peephole of your mask is finished! Set this plate aside for now.
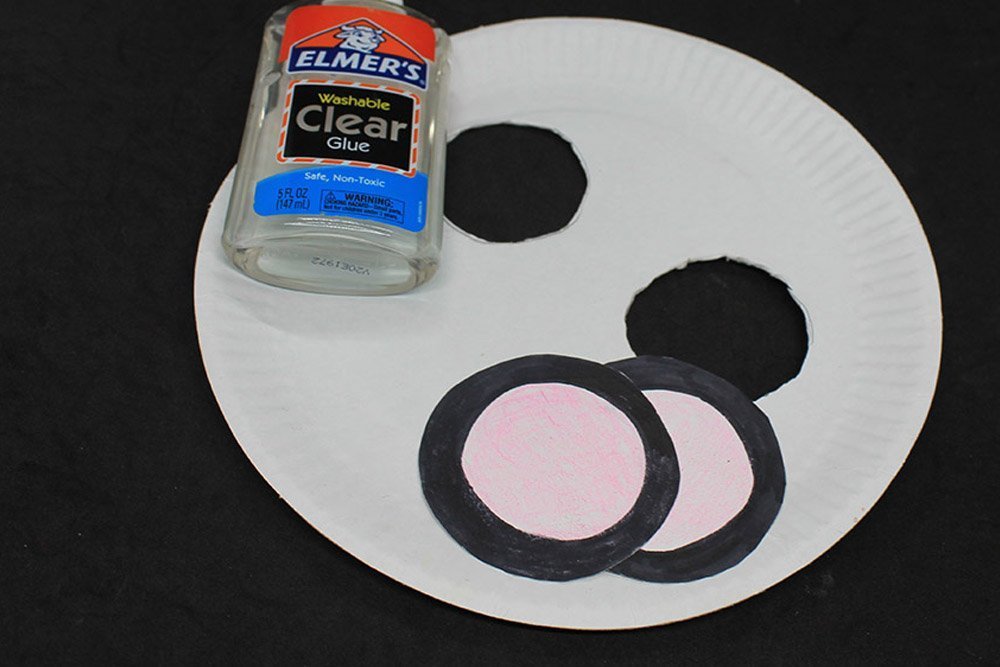
Cut out the paper plate panda’s ears
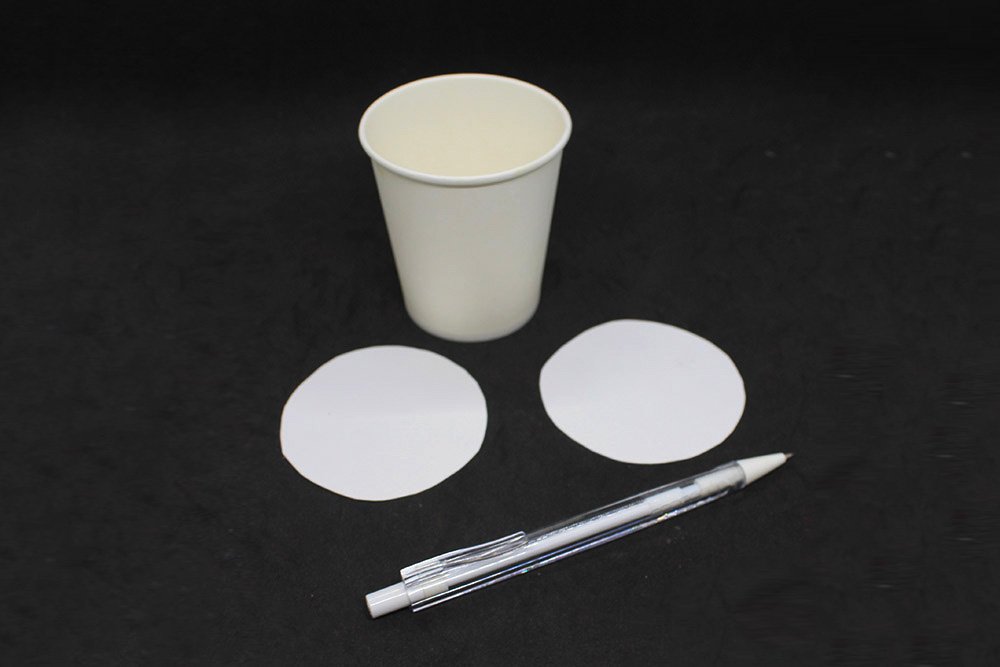
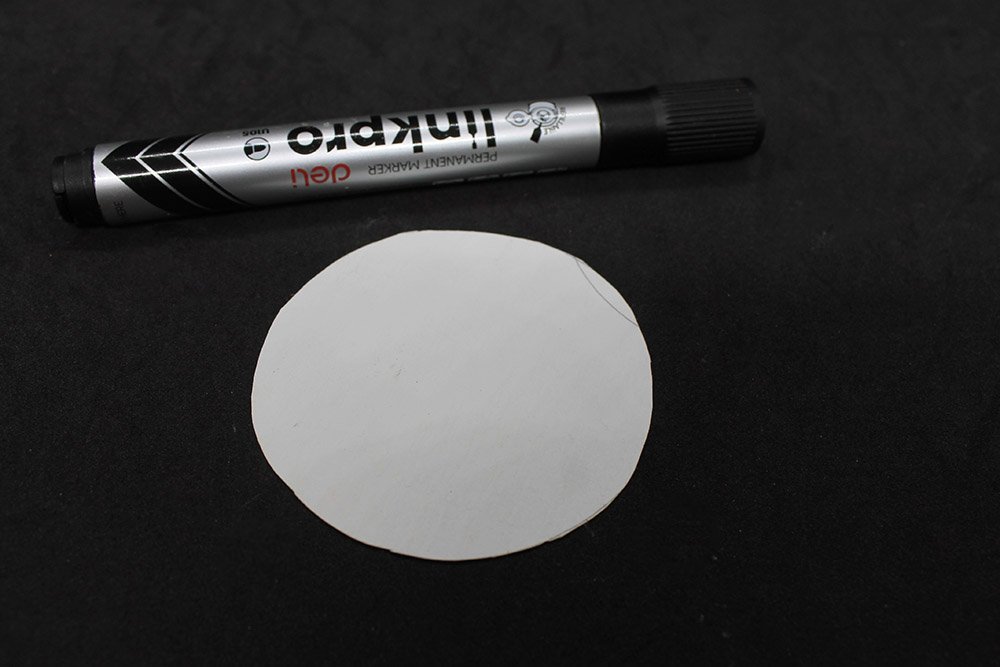
Grab a paper cup, pencil, and a thick piece of paper.
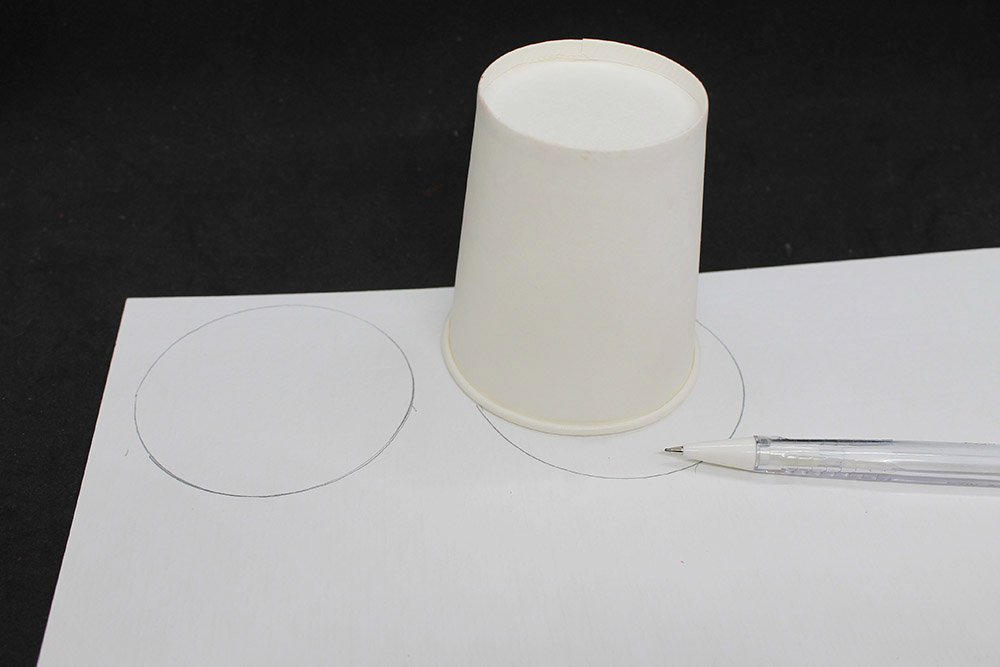
Trace the wider end of the paper to make a circle using a pencil. For this project, we need THREE circle cutouts. Make 3 circle outlines using the cup and pencil.
Cut the 3 circle outlines made with a pencil.
Decorate the ears of the paper plate panda
Trace a smaller circle on each center of the two cutouts made from the previous steps.
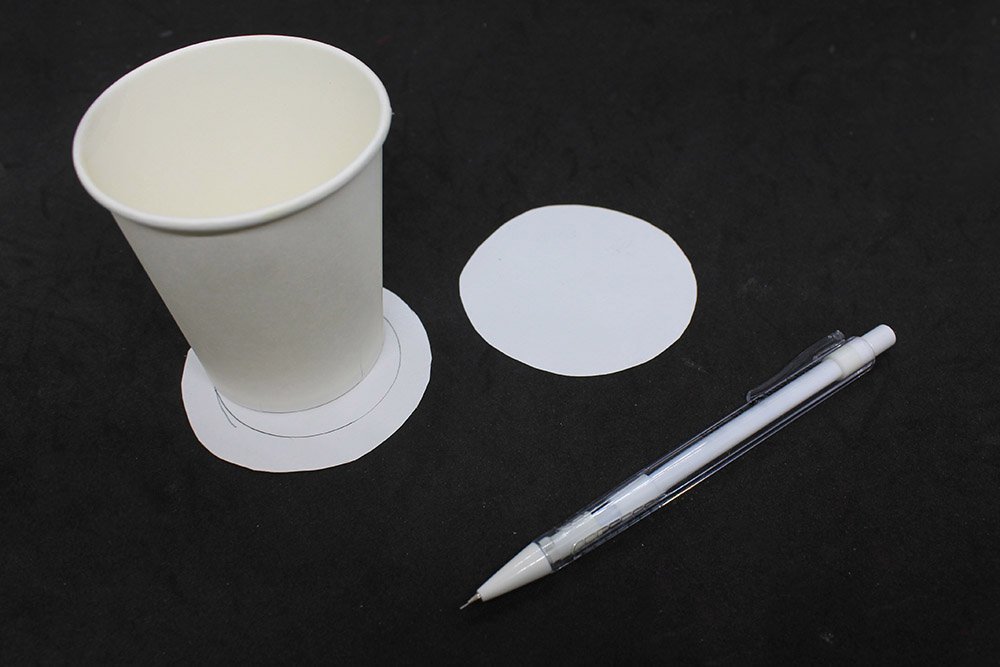
You may use the base of the paper cup to trace or a small circular object.
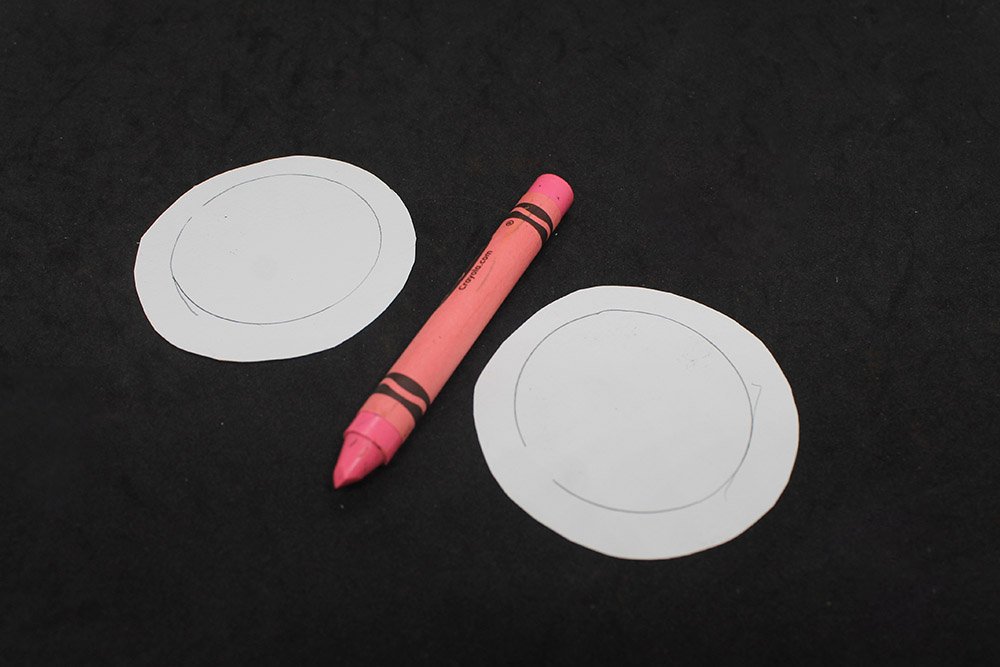
Color the inner circle pink using a marker or a crayon
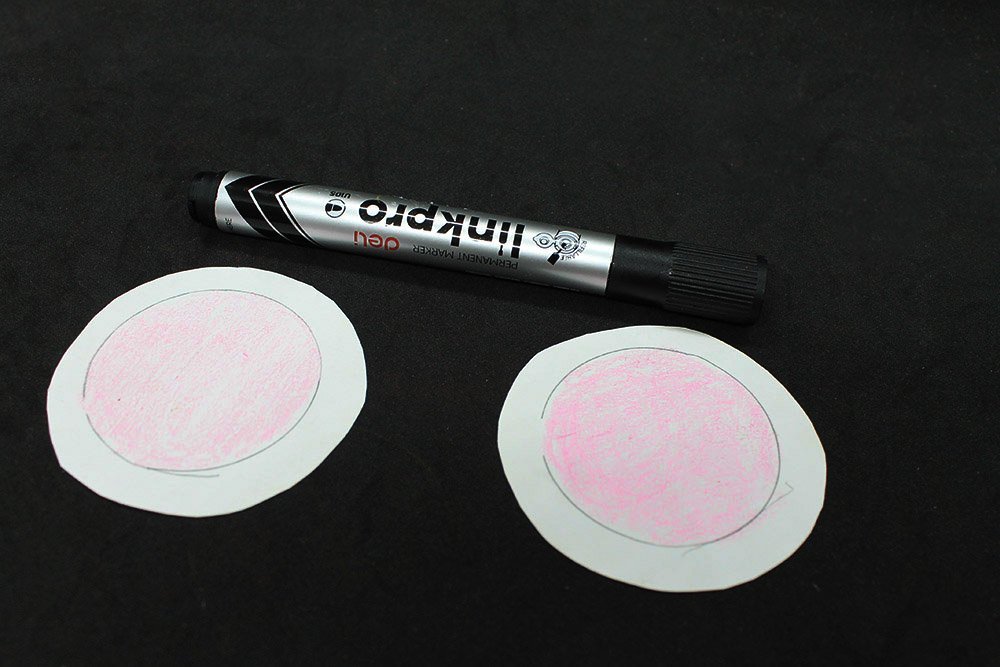
With a black marker, fill in the white spaces of each ear cutout.
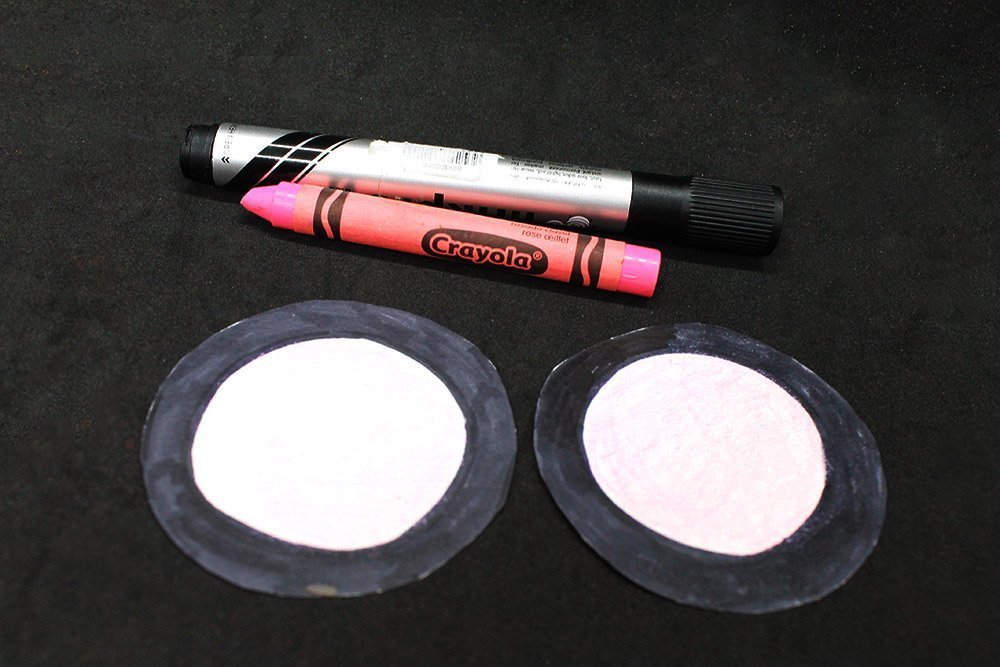
The panda’s ear has now been made. Set these cutouts aside for now and grab another circle cutout.
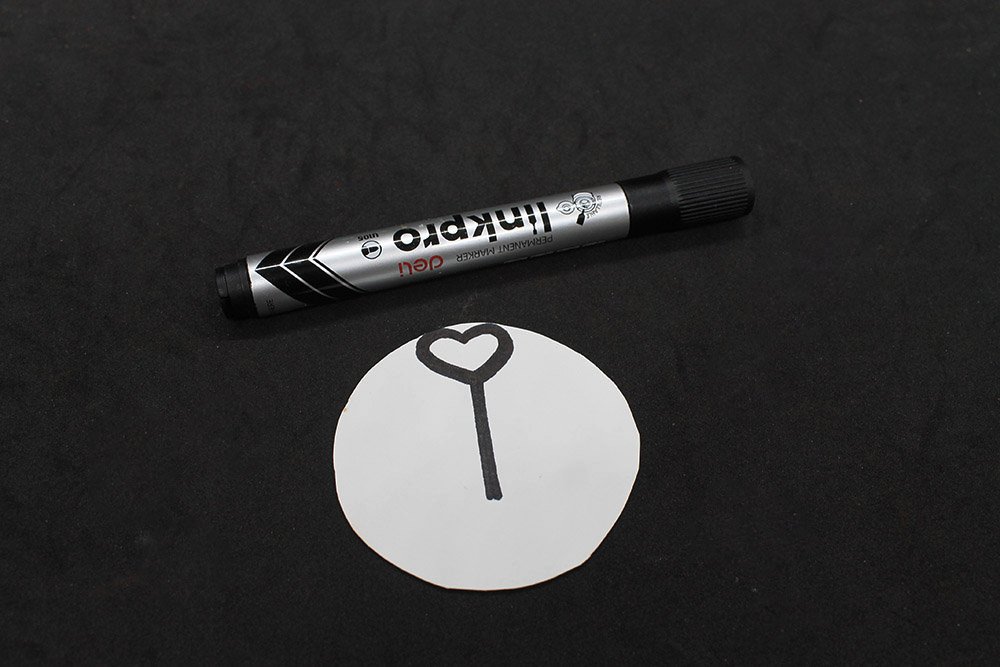
Make the snout of the paper plate panda
Using another circle cutout, draw a small heart on the top part of the paper.
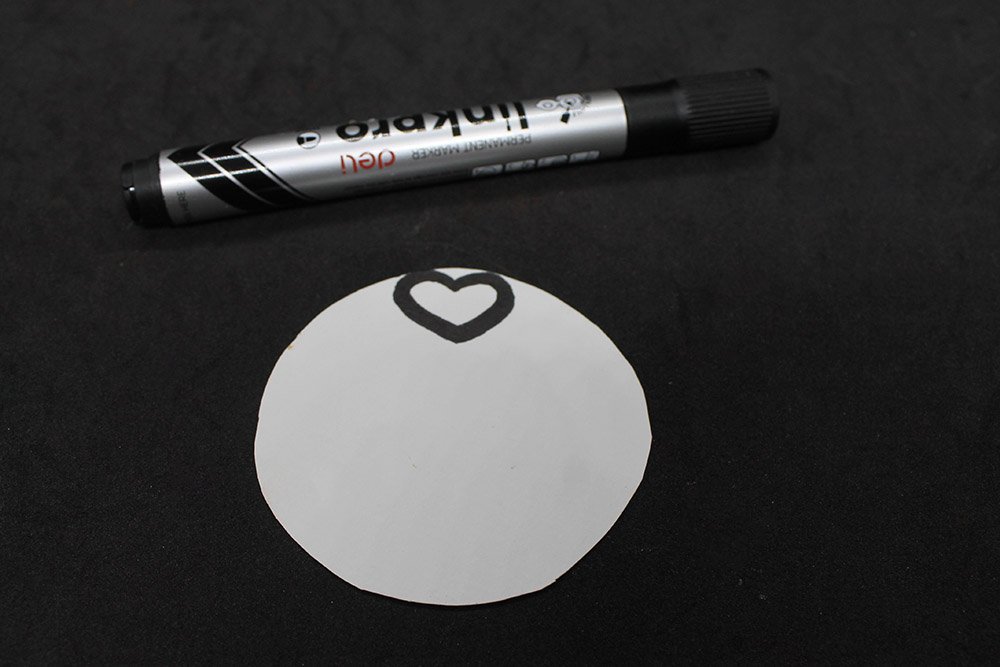
This will be the nose of the paper plate panda. Instead of a heart, you can draw any shape of a nose for this bear.
Draw a straight line below the nose as illustrated in the picture above.
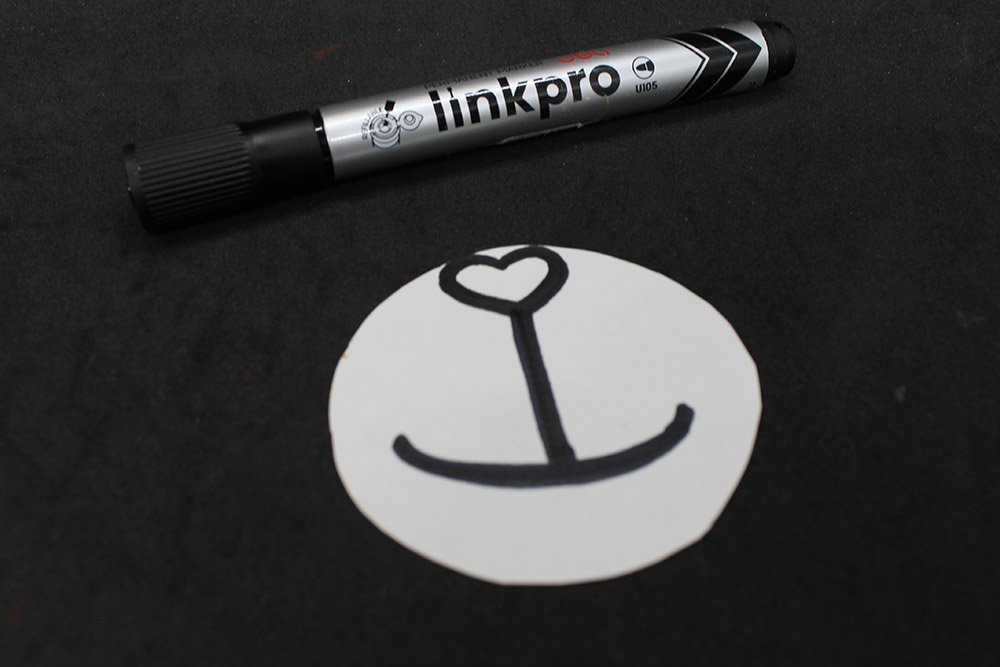
Now draw a smile by making an upward curved path like the sample image above.
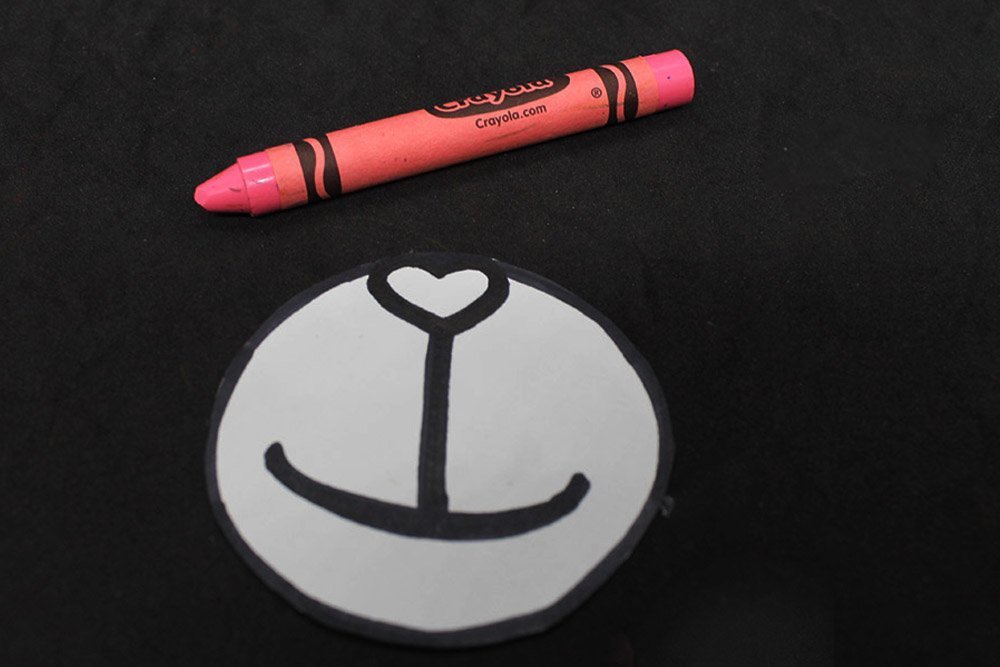
Color the nose pink or any color you wish your paper plate bear to have.
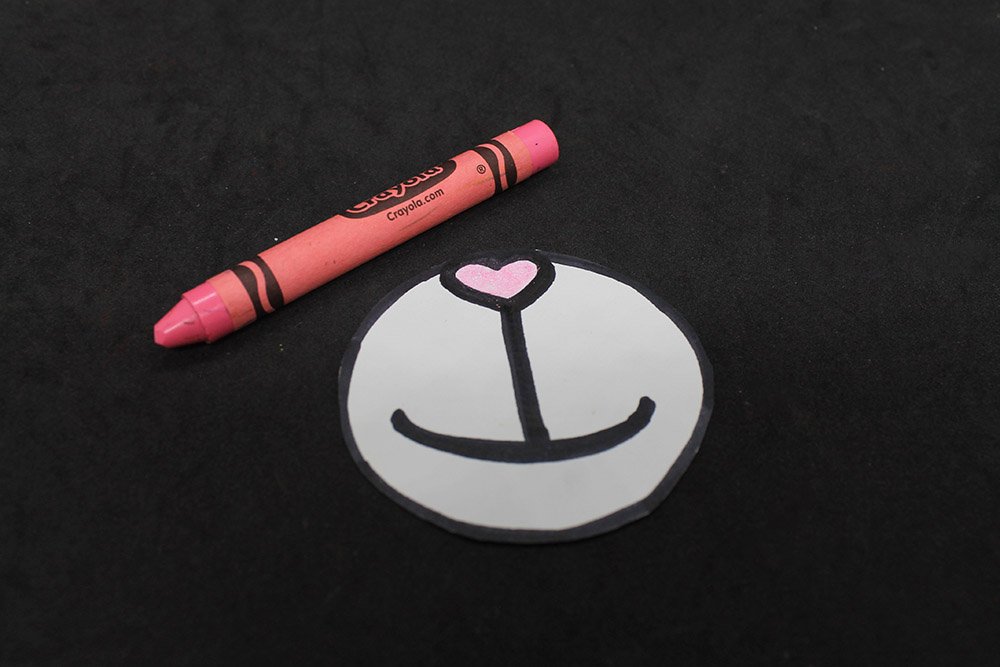
The snout of the paper plate panda is now done!
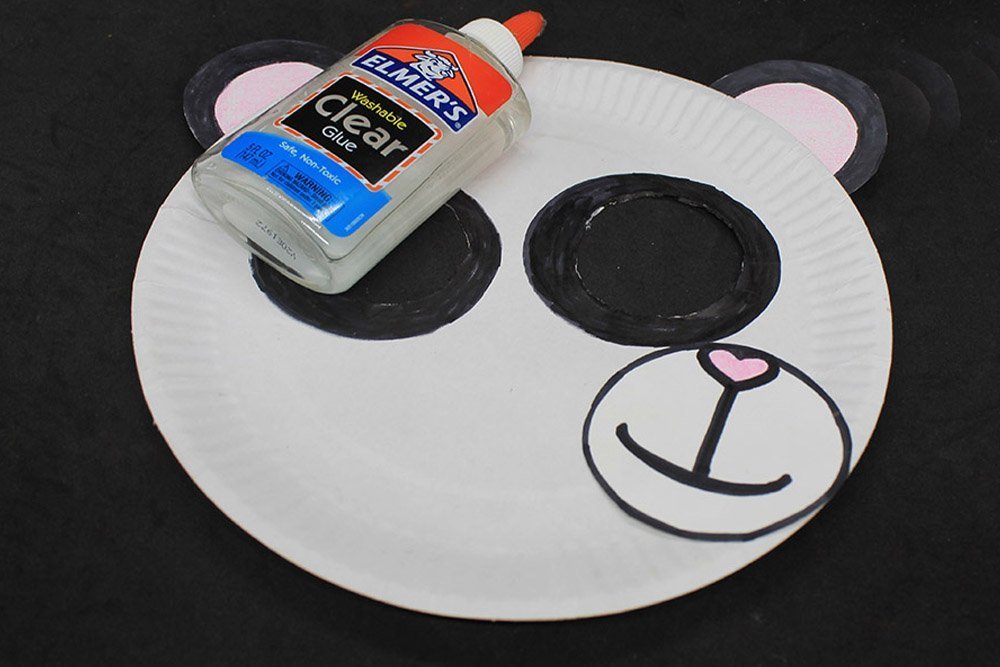
Assemble the ears and draw the eye patches of the panda bear
Stick the ear cutouts at the back of the paper plate mask with some glue or hot glue.
Using a paper cup, draw an outer circle on each of the peepholes to make the panda’s eye patches. Use a black marker.
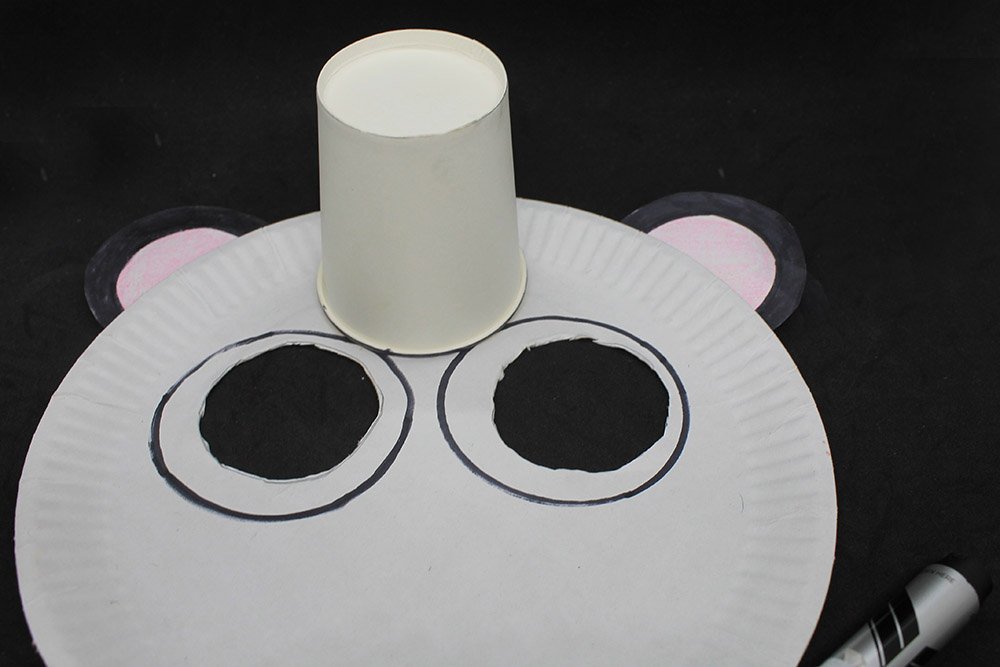
Fill the black outline with black using a marker.
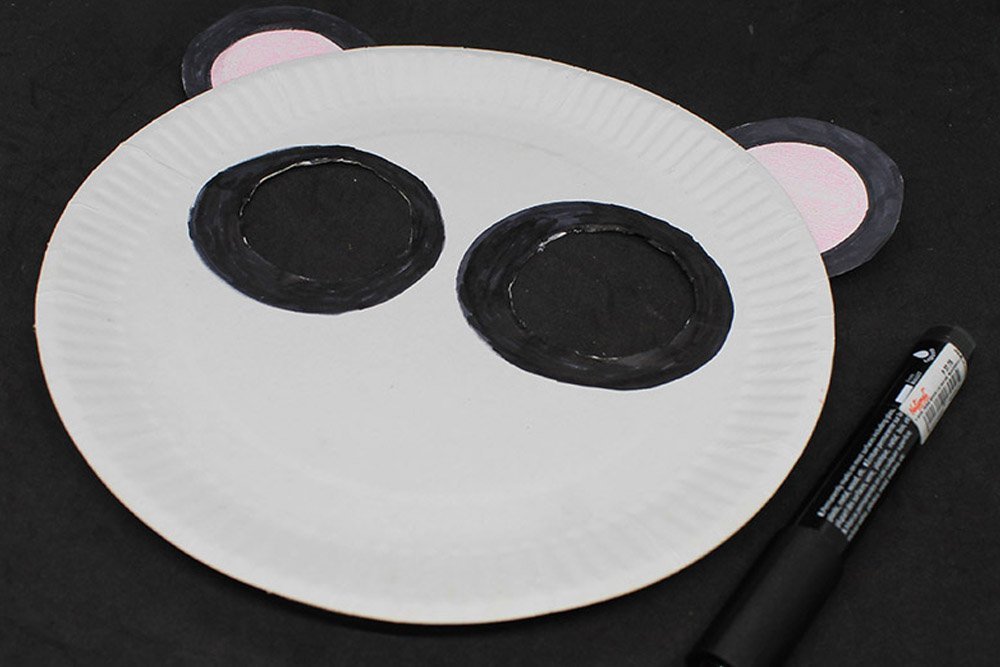
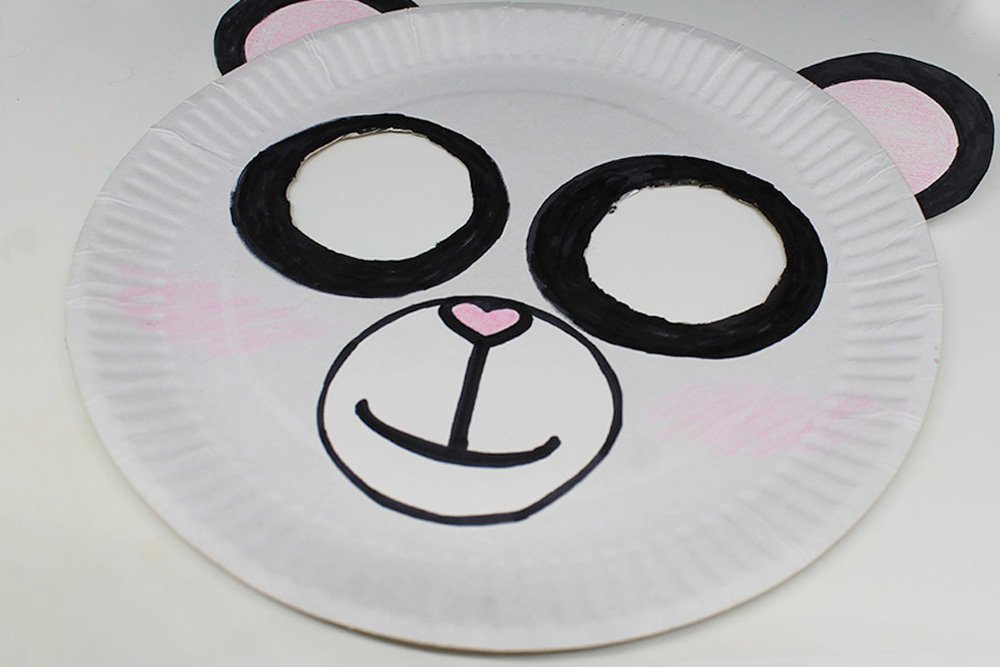
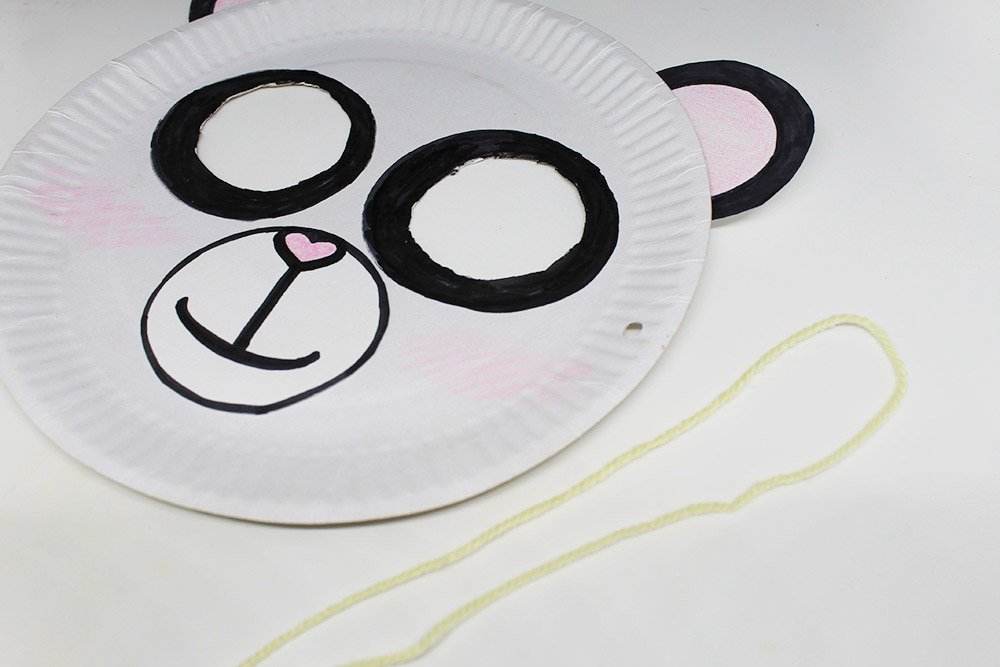
The panda mask should now look something like this
Attach the snout of the paper plate panda
Stick the snout at the center of the paper plate.
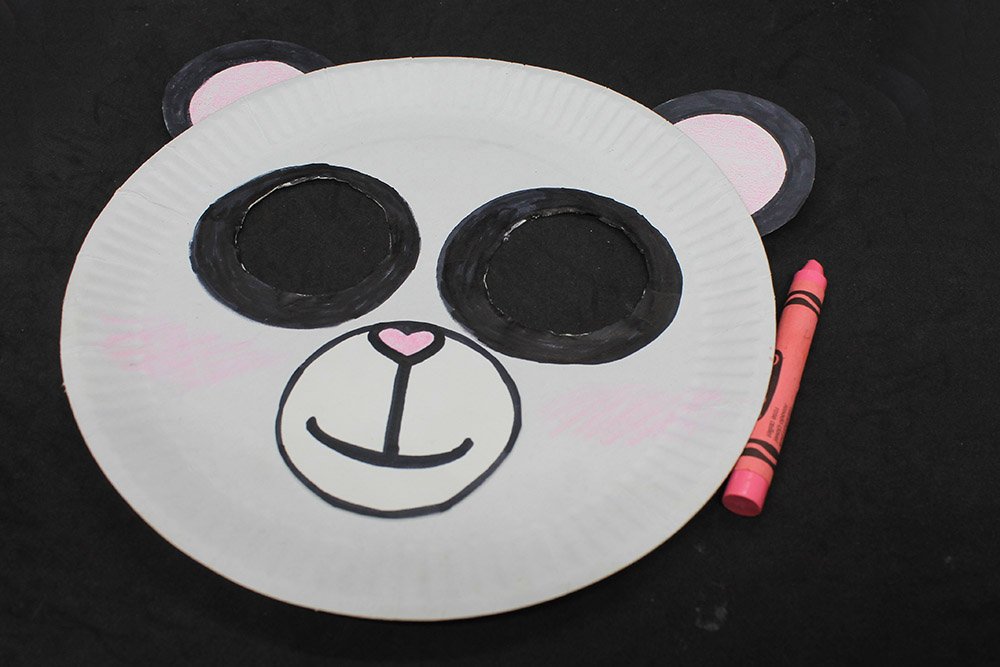
Optional: Give the bear a cute blush using a pink crayon.
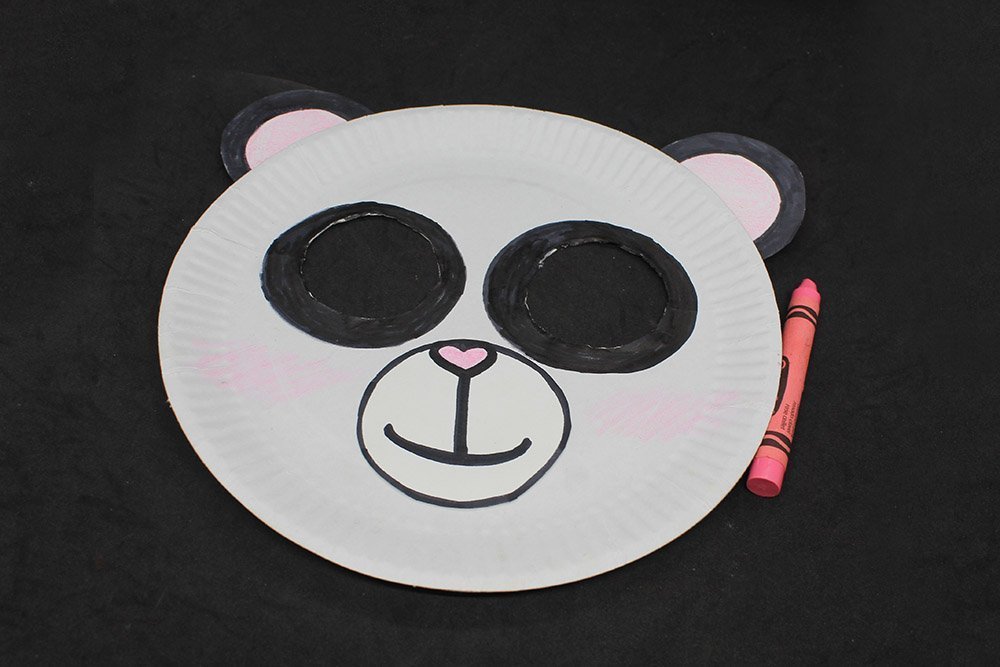
The paper plate panda mask is done!
Optional: Attach strings to the panda mask
Grab a puncher and two pieces of string.
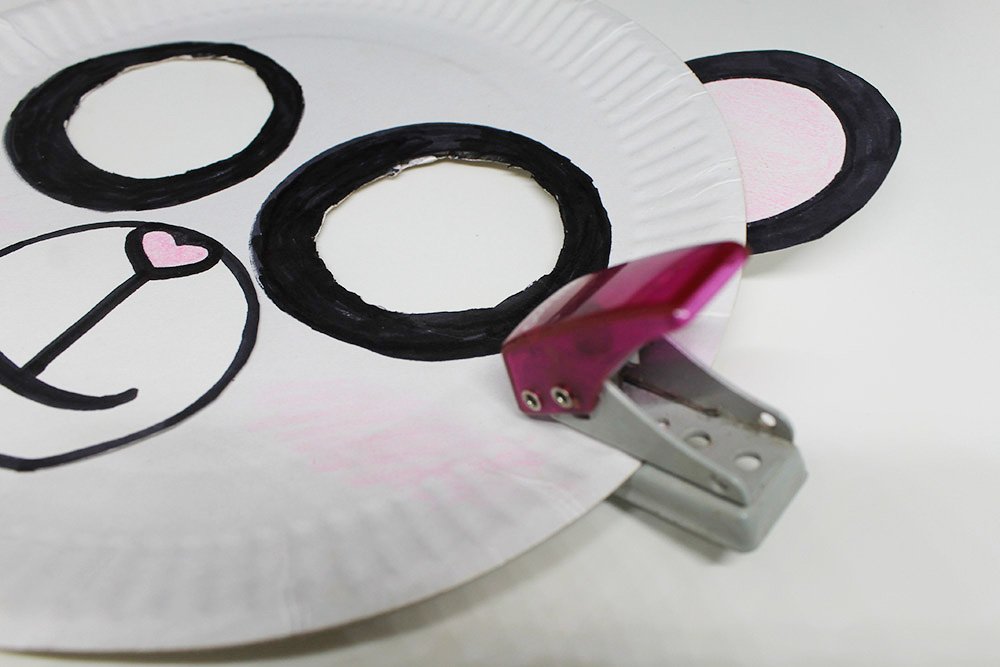
Punch a hole on one side of the paper plate near the peephole area.
Insert a string on the hole and tie a double knot. Do the same on the other side.
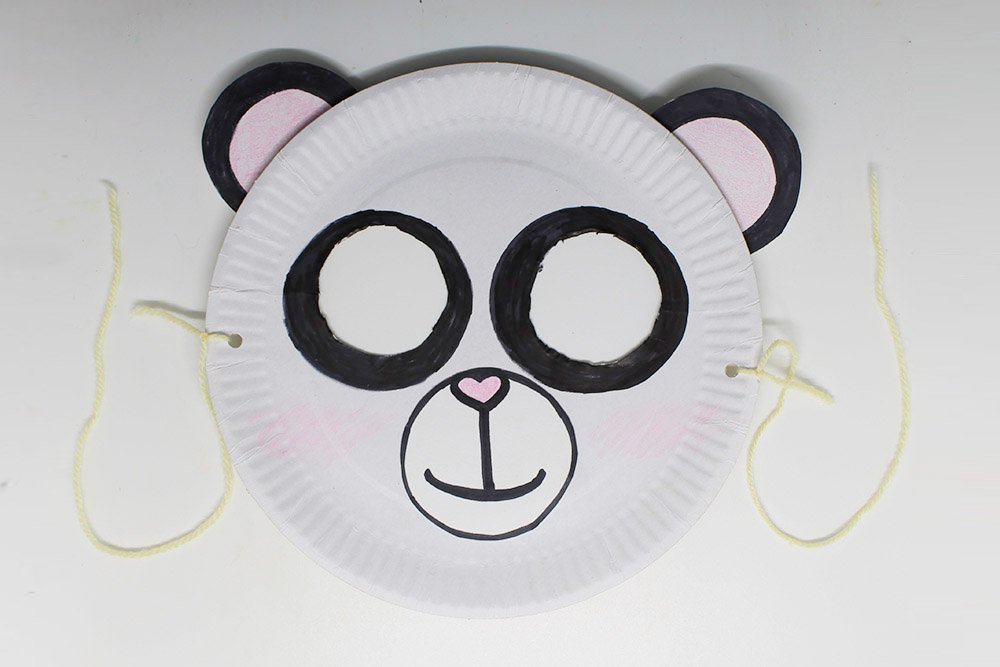
The paper plate panda bear mask is now done!


like this mask a lot. I had a panda custome – upper and lower – and I thought of buying online… now I don’t have to ahaha
Simple and fast, just like how i like it!
👏
I painted the ears of my mask pink 🙂
I think that it’s simple to do, and the things u need are easy to find. But it looks just to plain to me hehe 😕