How to Make a Paper Origami Ninja Star | Paper Shuriken Tutorial

Introduction:
The origami ninja star or Japanese Shuriken is a great papercraft that is easy to make. The Shuriken or ninja star is a weapon that originated in Japan.
It is commonly depicted in modern culture as a star-shaped weapon that is thrown onto something or someone during the olden days. It’s more for distraction than anything else though as it wasn’t used as the main weapon.
By following the instruction below, you can have your ninja star. This origami ninja star is very inexpensive to make compared to an actual Shuriken. It is also fun to play and throw around as it is a lot less lethal to play with than the actual metallic weapon.
Have fun
Make two strips of origami paper
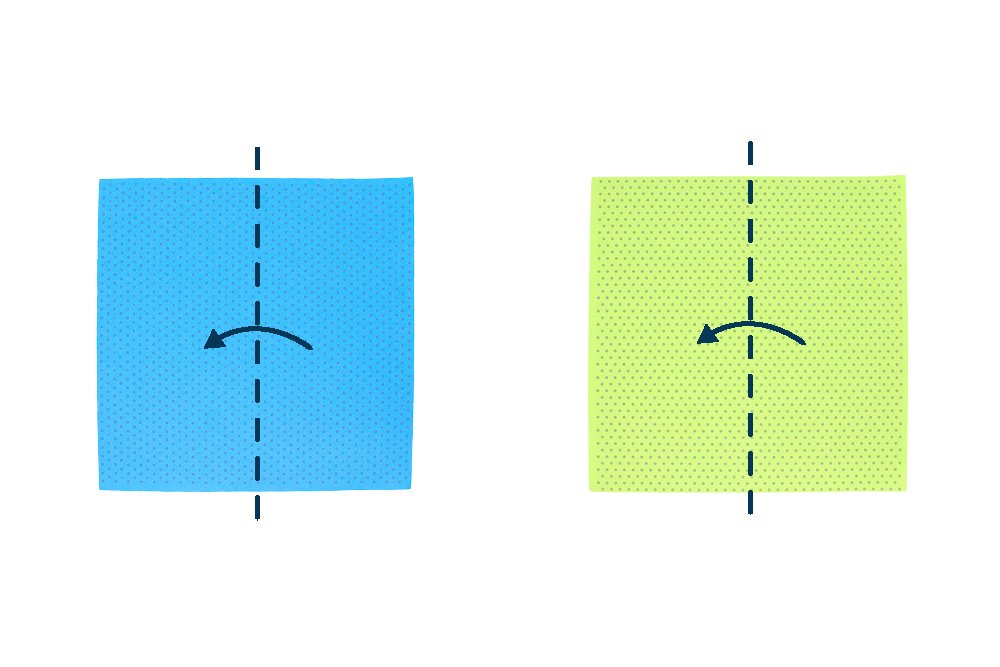
For this origami ninja star, you will need 2 pieces of square origami paper. It is better to use two different colored papers (e.g., Dark Green and Light Green) with one color on one side. That way, it looks nicer once finished, and you don’t get confused. Fold the paper lengthwise in half.
Crease both papers well and then unfold.
You would have a nice crease mark in the middle. On both the origami papers, fold the left and right edge to their respective crease line.
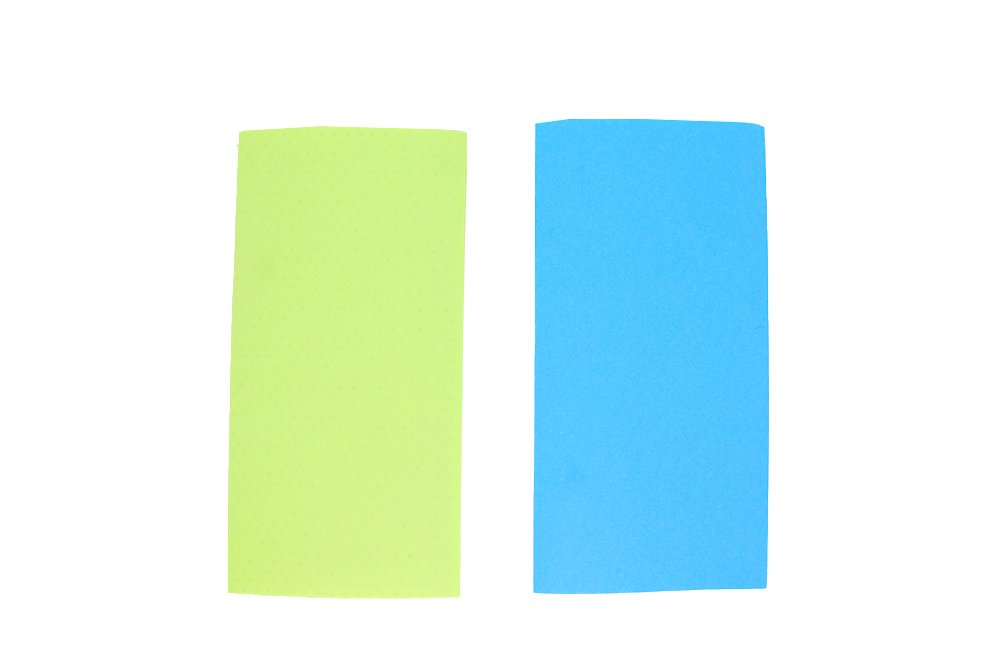
Great, this is what your origami paper should look like now. Make the papers slimmer by folding both papers lengthwise in half.
Make the segments to form the paper ninja star
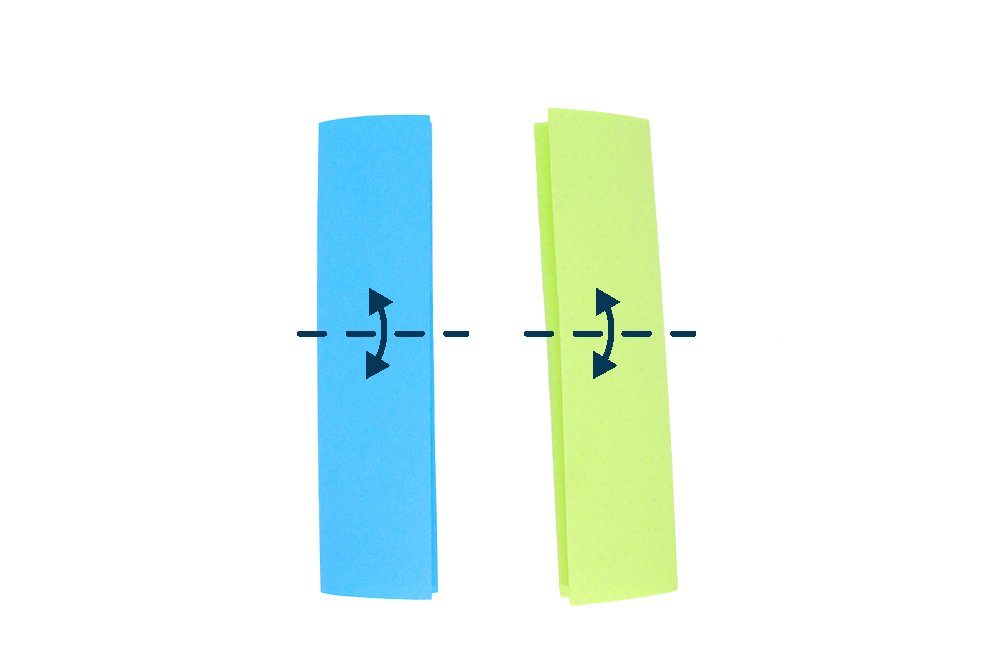
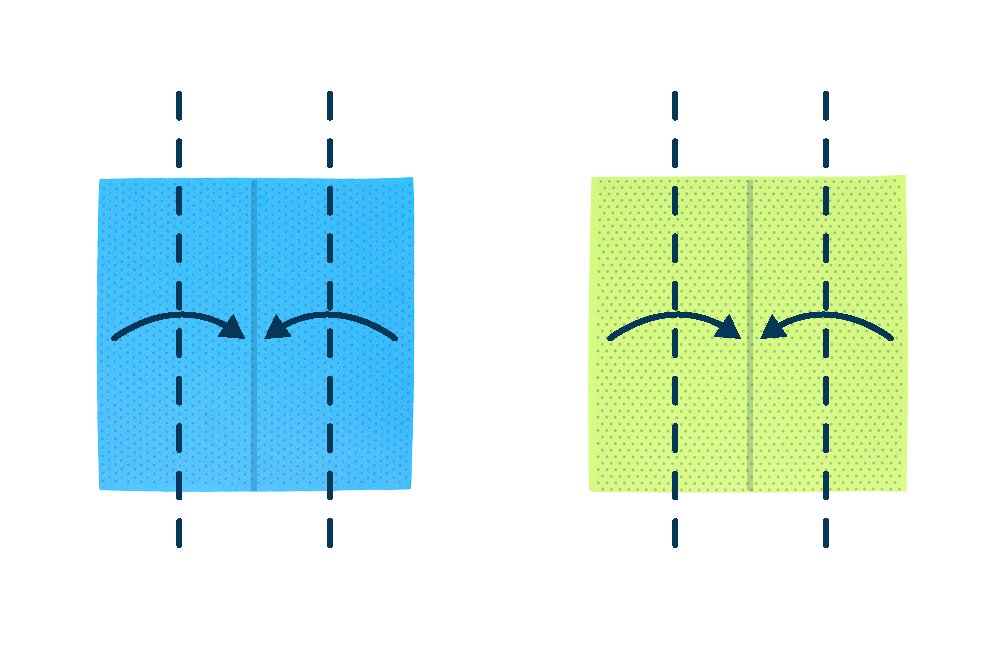
Your origami papers should now look like these rectangular strips. Fold both papers in half, then crease them well. Unfold both the origami papers after.
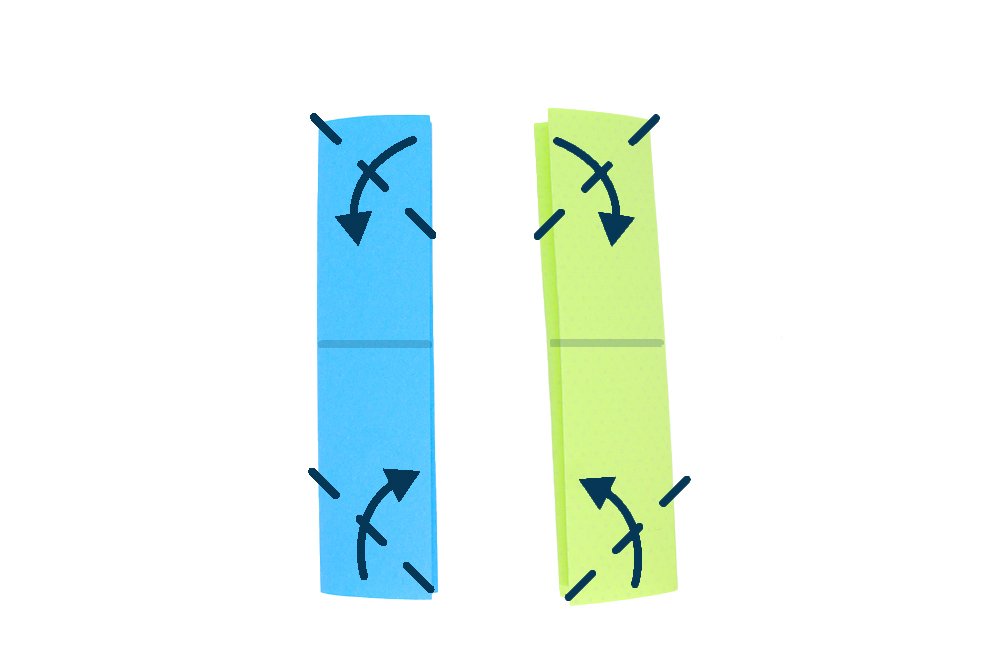
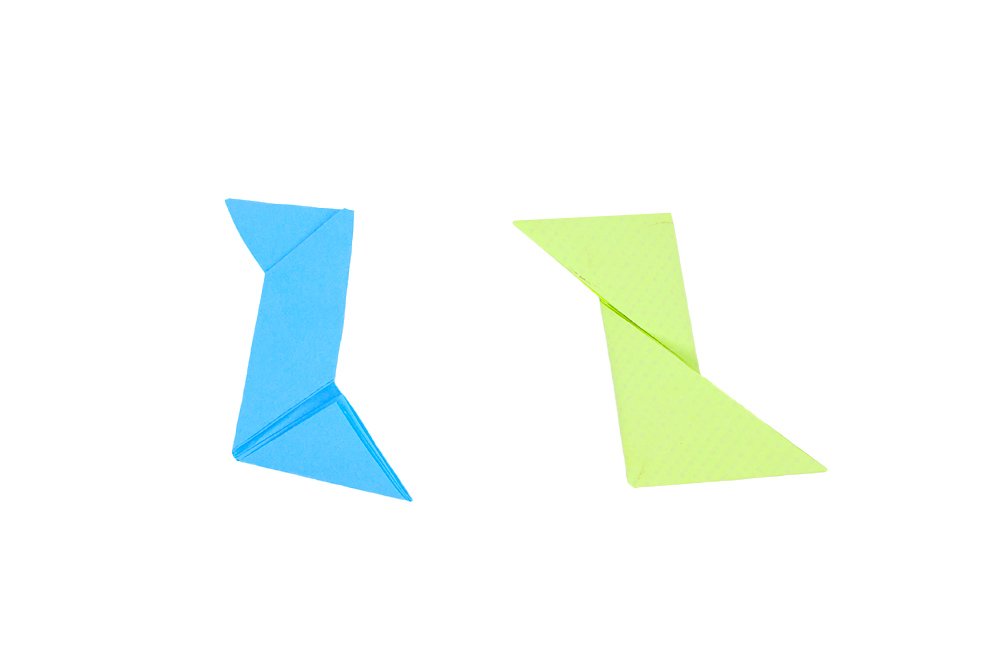
From the previous step onwards, the directions will be different for each paper.
Left Side (Light Blue): Fold the paper along the dashed line as shown.
Right Side (Light Green): Fold the paper along the dashed line as shown.
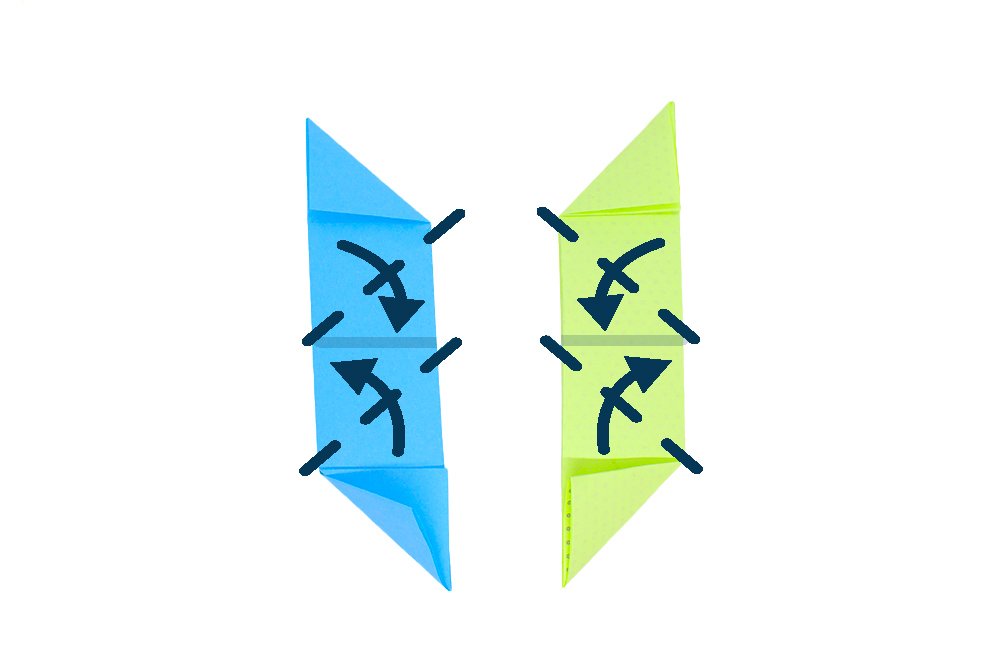
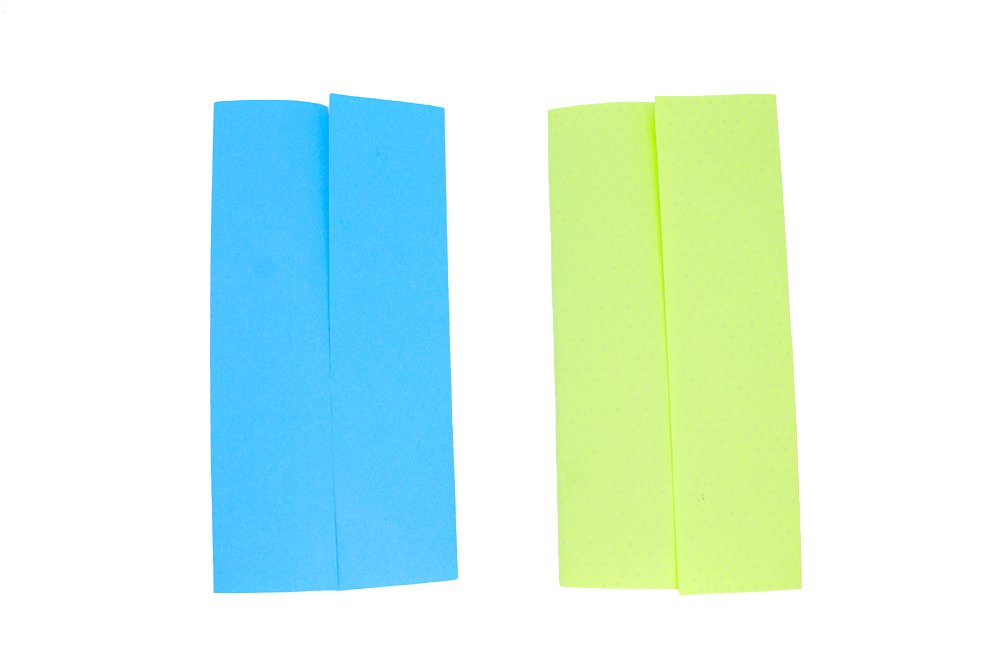
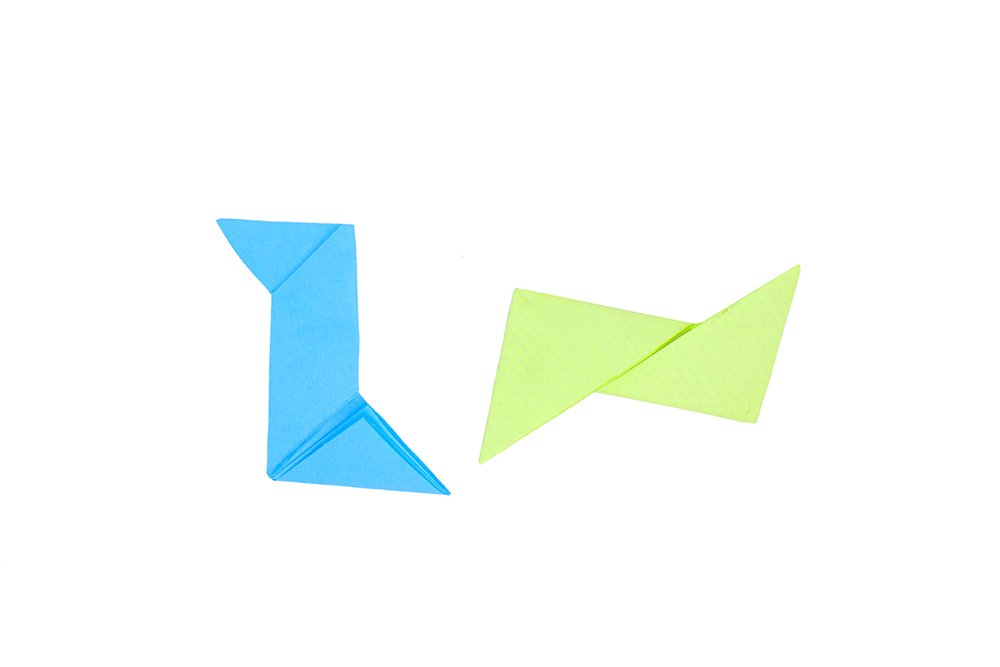
Left Side (Light Blue): Fold the paper along the dashed line as shown.
Right Side (Light Green): Fold the paper along the dashed line as shown.
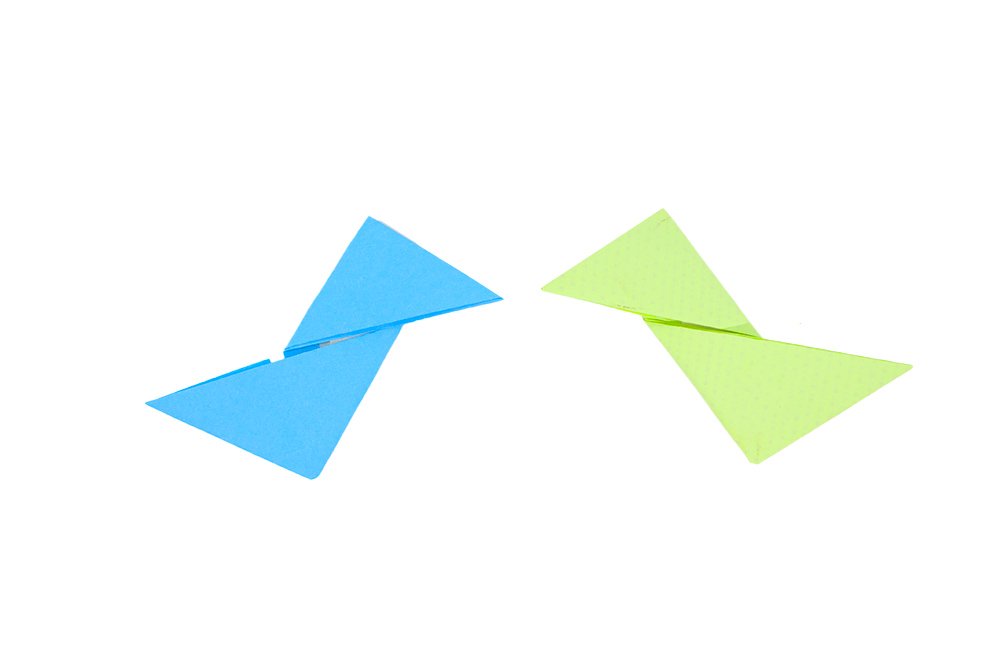
The origami paper strip should look like this,
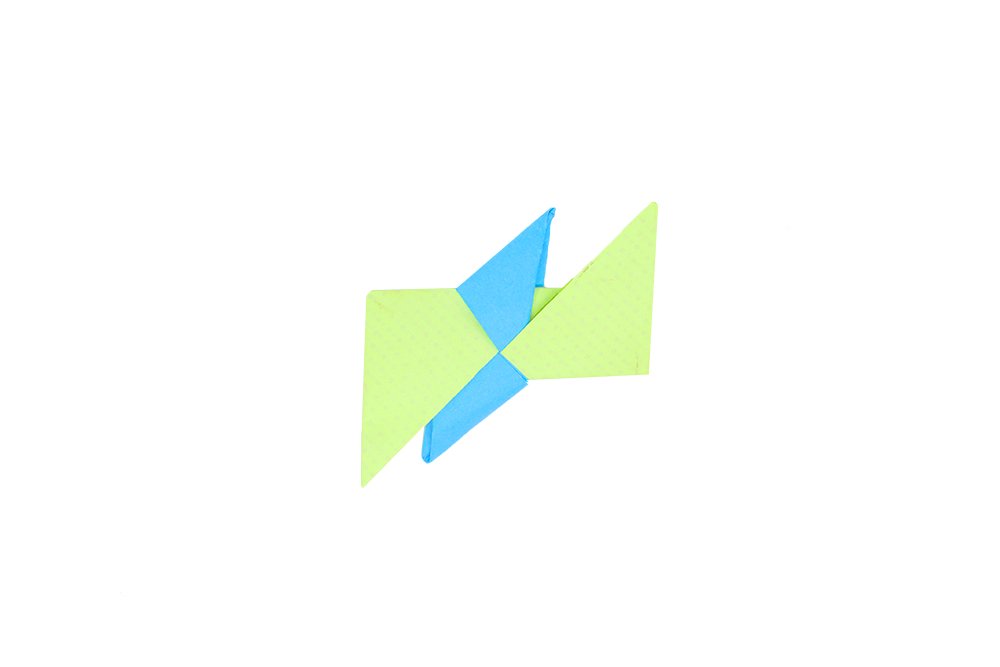
Combine the two pieces together
Rotate the two papers like the image above.
It's now time to combine these two parts to make the origami ninja star.
Rotate ONLY the right (Light Green) origami paper like the image above. Place the right (Light Green) on top of the left (Light Blue) origami paper.

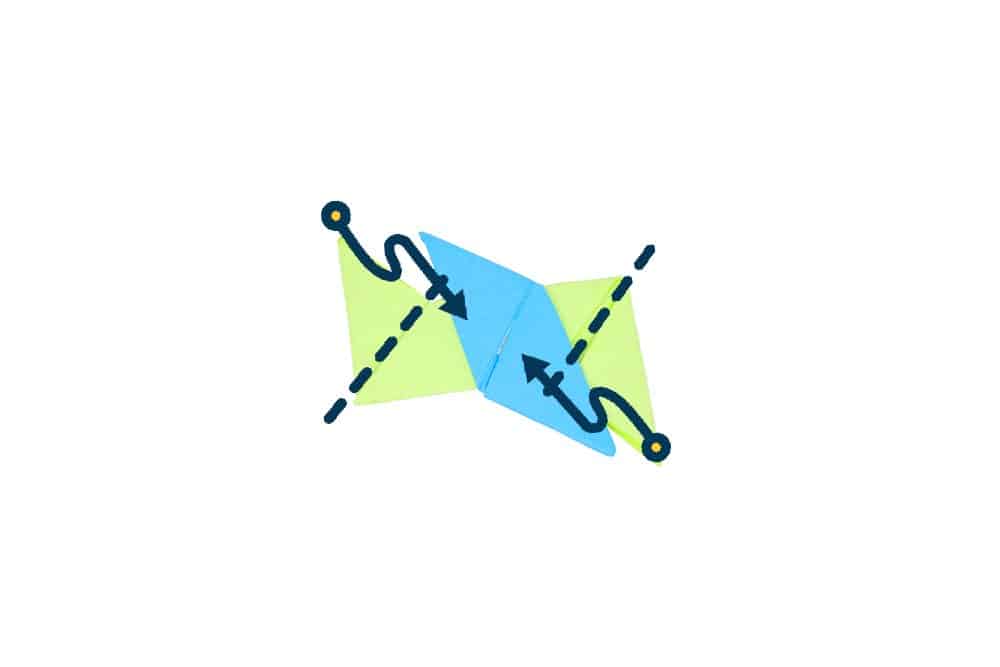
Insert the Light Blue paper’s top left corner into the “pocket” of the Light Green Paper. Then, insert the bottom right corner of the Light Blue paper into the “pocket” of the Light Green Paper.
The origami ninja star should now look like this once the papers are connected. Now, turn the origami paper around.
Just like the previous instruction, insert the corners of the “pockets” of the other paper. Do so by inserting the top and the bottom corners of the Light Green paper into the “pockets” of the Light Blue paper.

Your origami ninja star or Shuriken is done! Have fun playing with it, and be careful not to poke someone’s eye out.
Extra Tips
- You can make use of a dollar bill to make a dollar bill origami ninja star by folding each dollar crosswise in half and then starting at step 5. Or, you may try this tutorial.
- You can choose colors that are contrasting to make your origami star more visible. Or you can go with colors that have less of a 'pop'.
- Make sure to follow the steps closely. But don't forget to have fun!
- Fold straight and apply enough pressure.

Awesome!! Keep it up
Dude, I don’t usually comment, but let’s just say this is cool!
Seeing it all come together is freakin awesome
Ninja roleplay with ma cousins 💪💪
Thank you! It was super easy.😃
I find the tucking the corners into pockets is hard