Easy Plate Scarecrow Craft

Introduction:
Learn how to make a paper plate scarecrow with some help from our instructions below. What’s great about this project is that it’s a cut-and-paste activity where kids can develop their scissor skills and learn how to visualize and assemble.
Tools
- Scissors
- Black Marker
Supplies
- Paper Plate
- Yarn
- 2 Black Buttons
- Glue
- Tape
- Colored Yarn
- Printable We recommend downloading the printable in an A4 thick vellum board but a regular bond paper will do!

Download Area
Download TemplatePrepare the paper plate scarecrow printable
Print the free printable by clicking the yellow download button above.
Use this activity to practice scissor cutting.
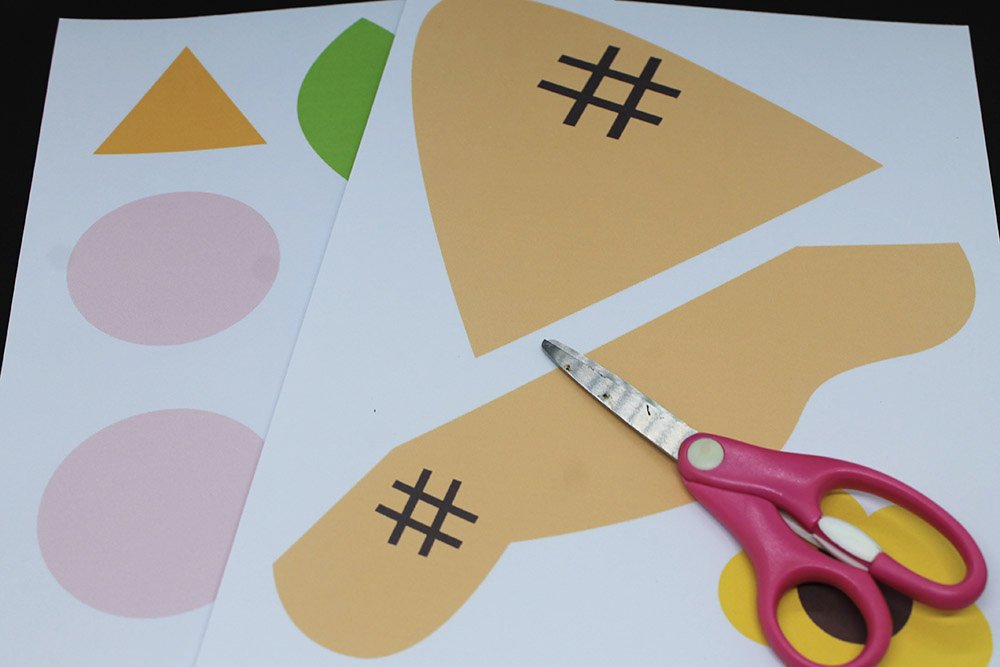
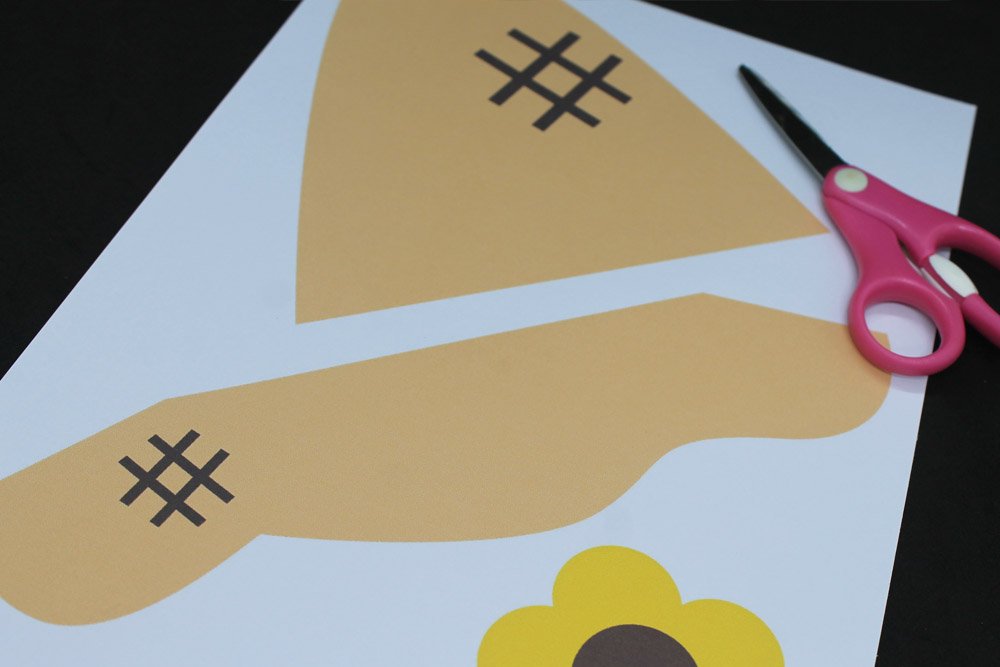
Cut along each edge of the shapes.
Once cut, it should look something like this. The first page consist of 6 cutouts.
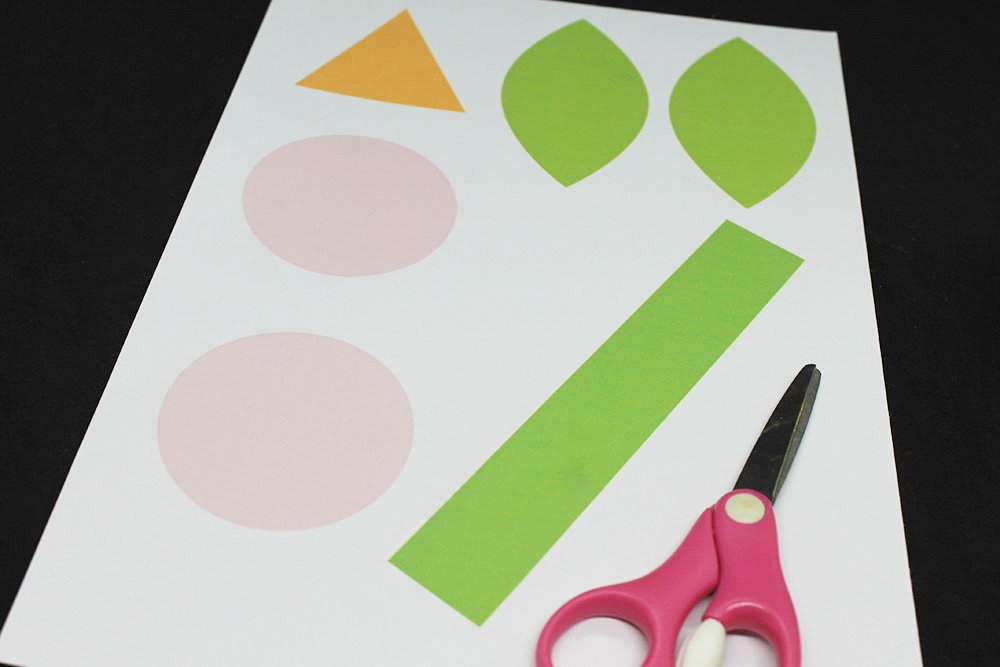
Cut the elements of the second page as well.
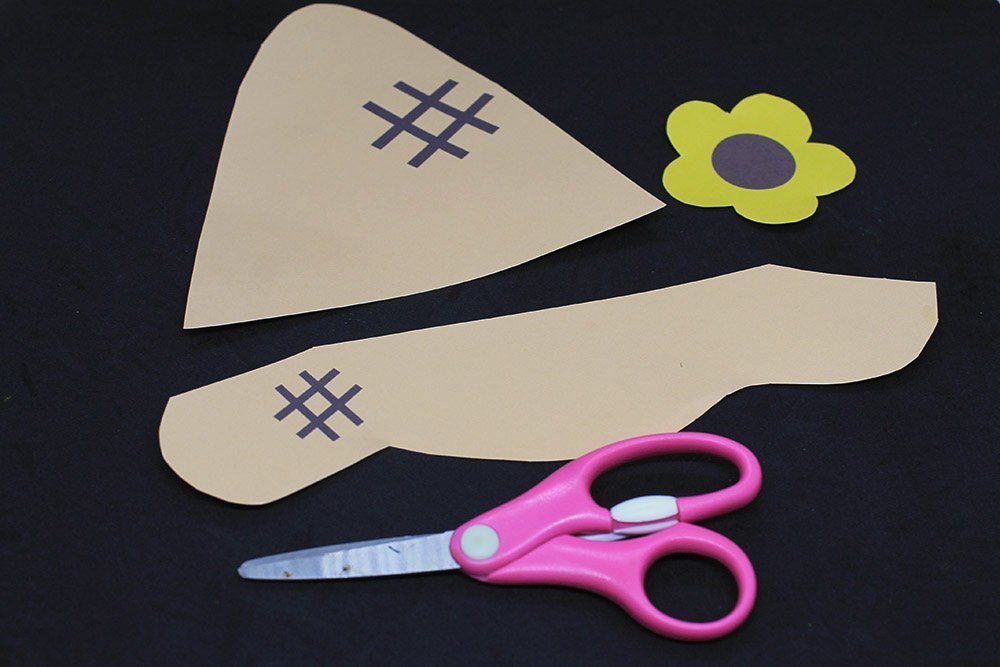
The second page consist of 3 cutouts.
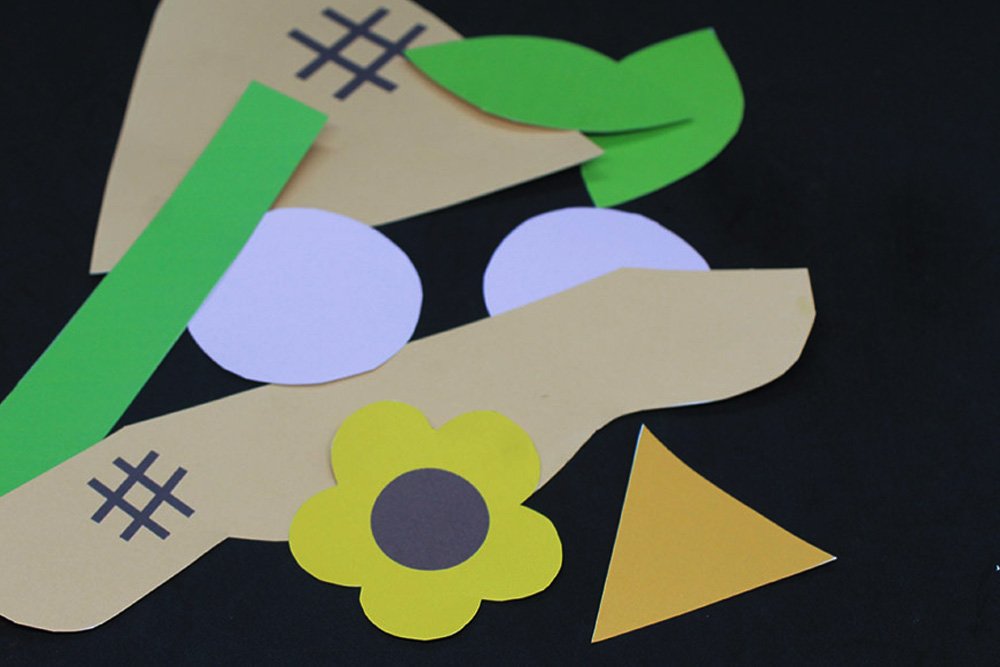
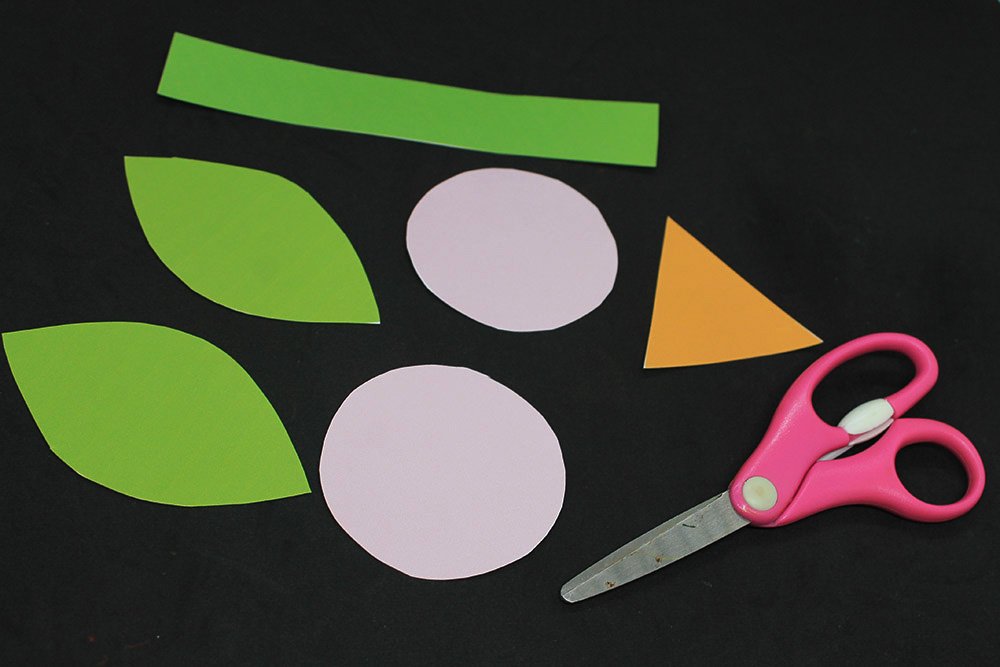
Once cut, set aside the cutouts made from the printable for now.
Create the hair of the paper plate scarecrow

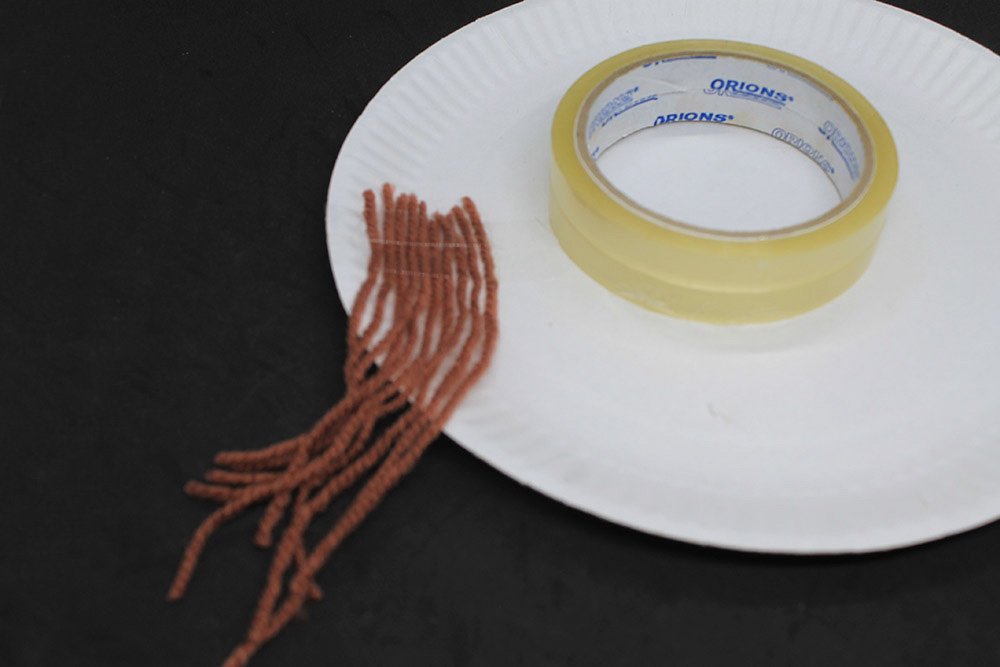
Grab a ball of yarn and some scissors.
It’s up to you what color of hair your scarecrow will be. Make it brunette by using brown, black, or yellow to make it blonde.
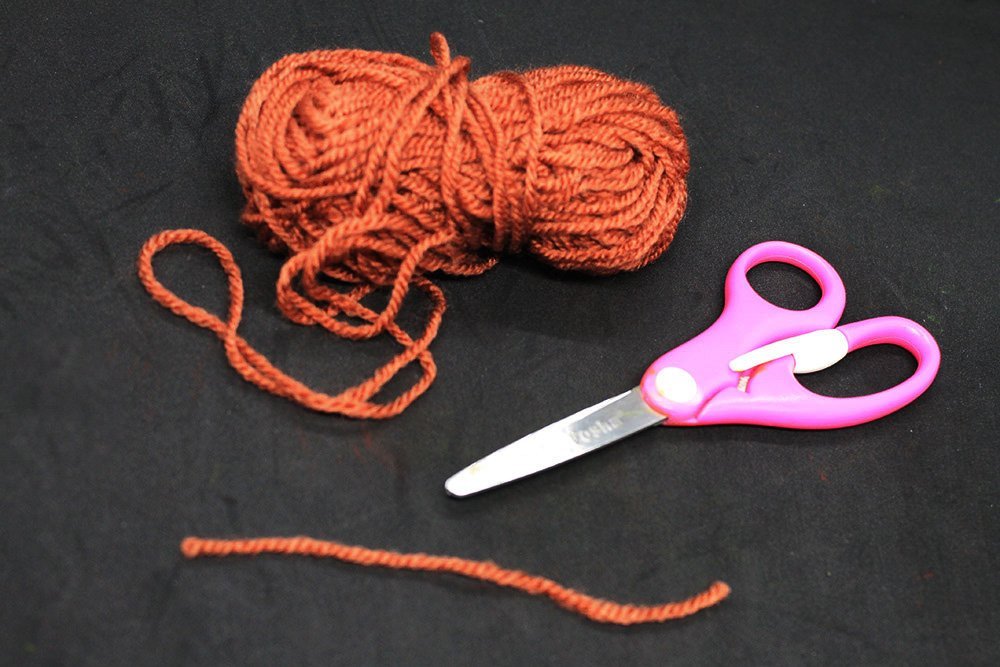
Snip around 5 inches of yarn.
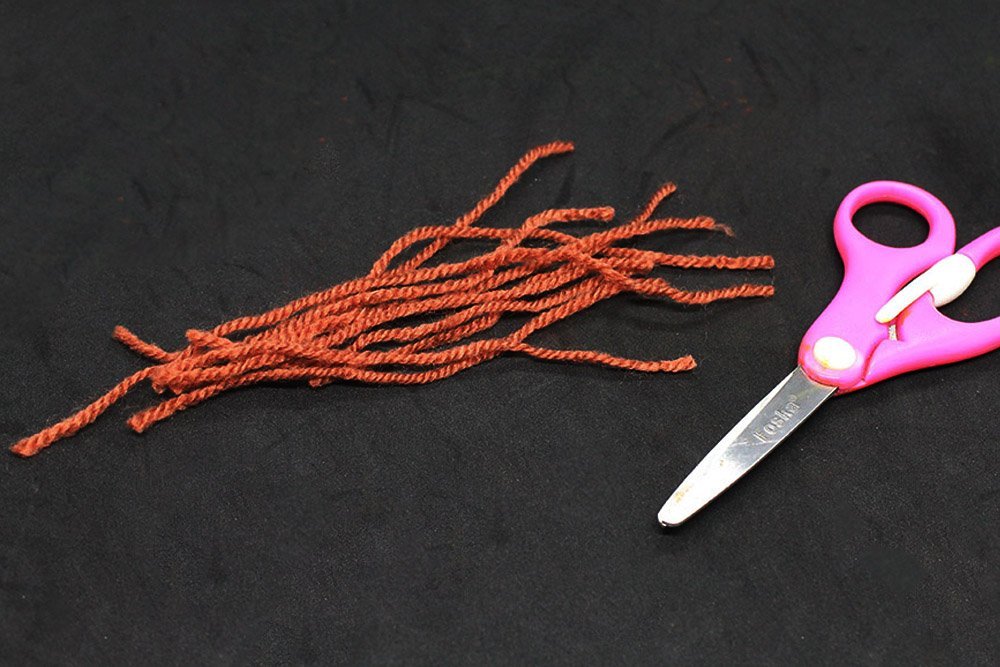
Cut at least 20 strands to make the hair of the paper plate scarecrow.

Bundle together a bunch of strands (at least 10) of yarn hair.

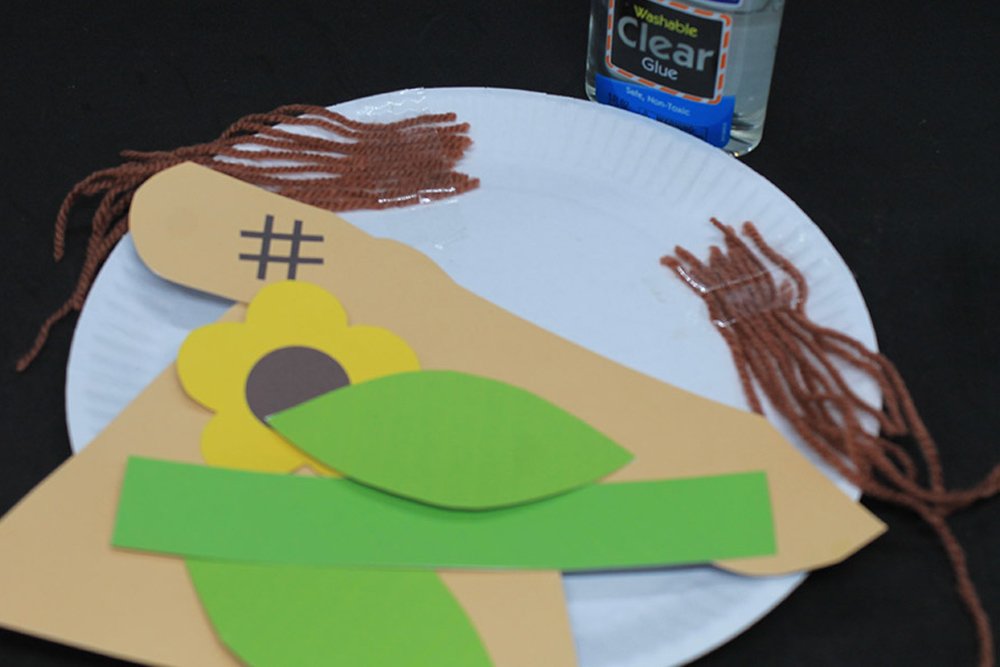
Place the yarn on the top left side of the paper plate. Use the sample image above as a guide on where to place the hair.
Tape the hair to keep it in place. You may use glue or other adhesives to stick the yarn strands in place.

Do this on the other side, as shown above.
The hair of the scarecrow is done!
Assemble the paper plate scarecrow
Grab the pintables and some black buttons.

Stick the cone shape cutout on top of the paper plate, just above the hair. This will be the top part of the scarecrow’s hat.

Paste the rim of the hat on top of the hair.
Decorate the hat by sticking the band on the middle area.

Stick the leaves and the flower. It is not necessary to paste it on the same location as the sample image above. Position it anywhere you like.
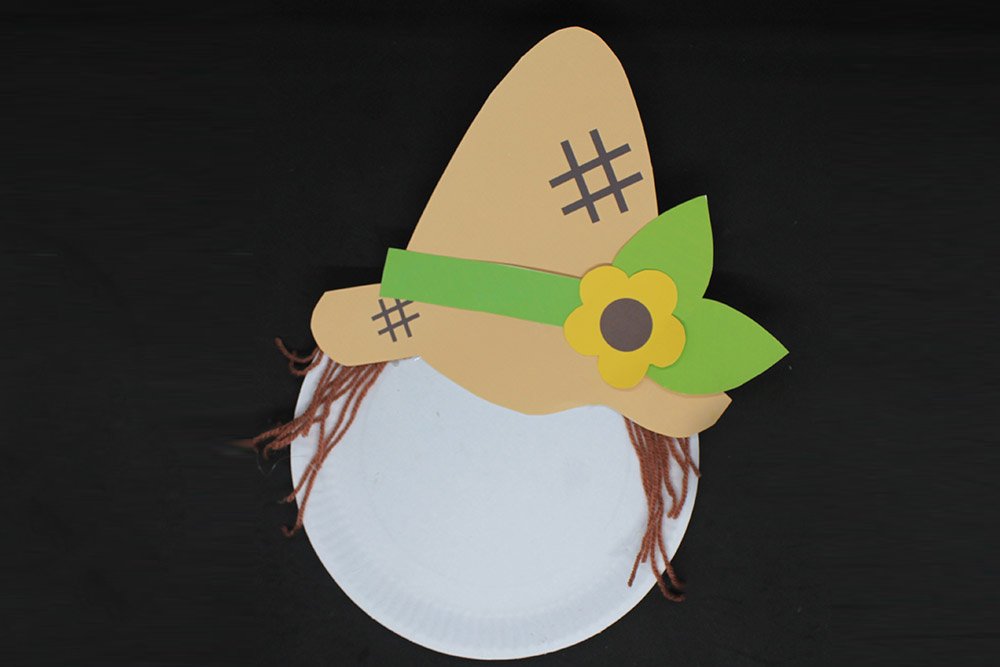
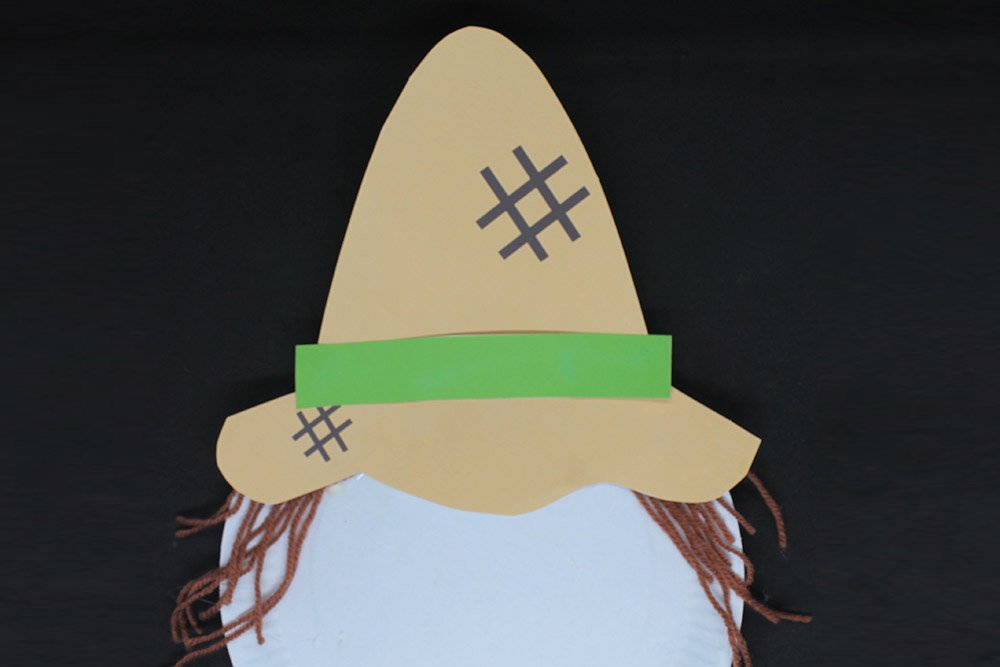
The hat assembled should look something like this.

The black buttons will be the eyes. Stick them below the hat area.
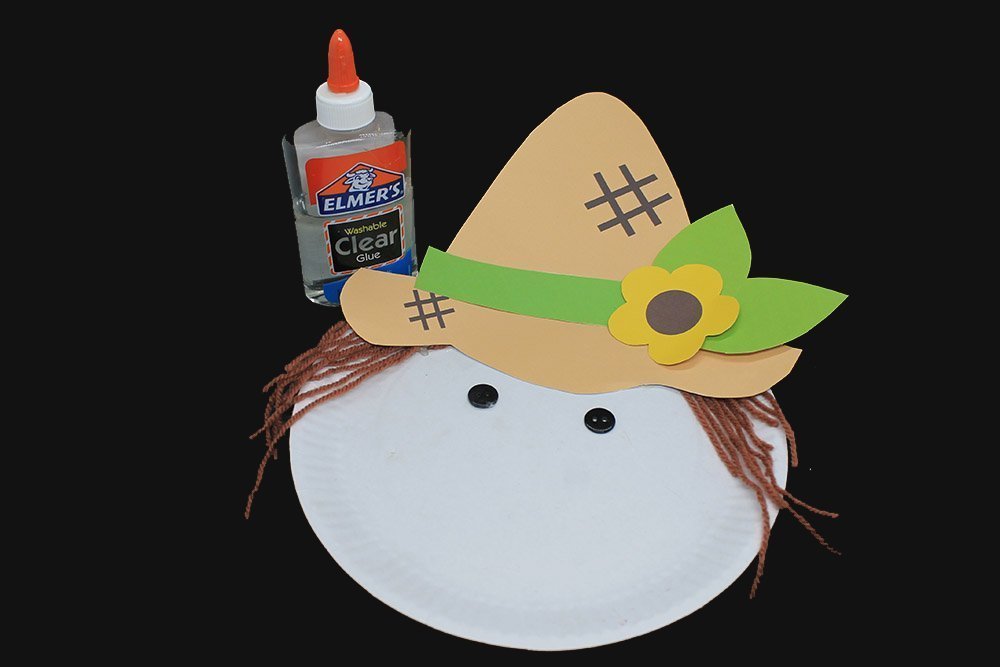
The position of the eyes should be similar to this. It does not have to be exact.
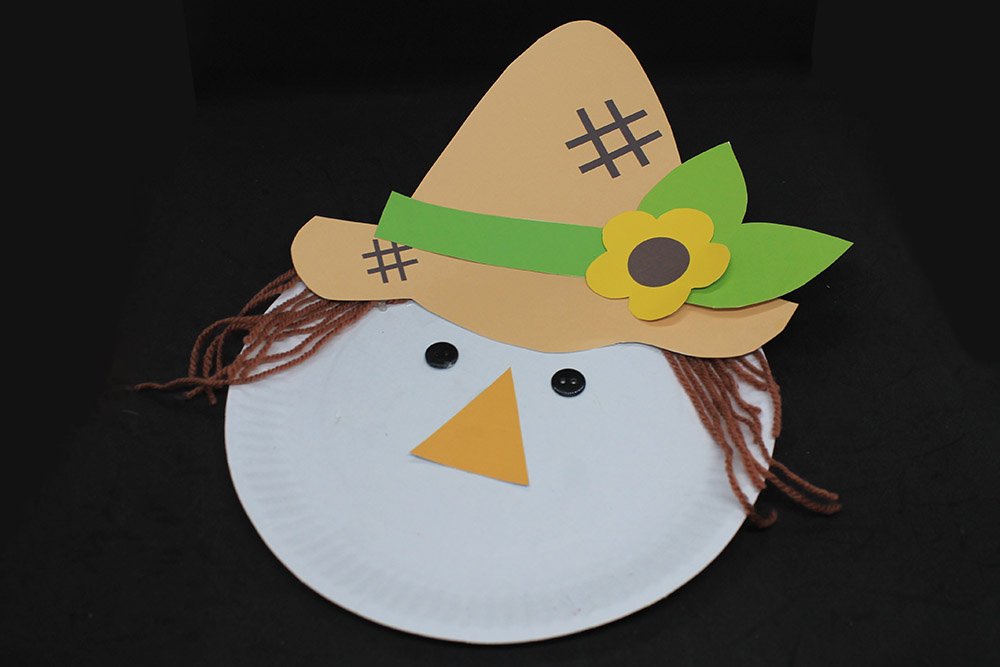
The triangle cutout is the nose of the scarecrow. Stick it around the center.
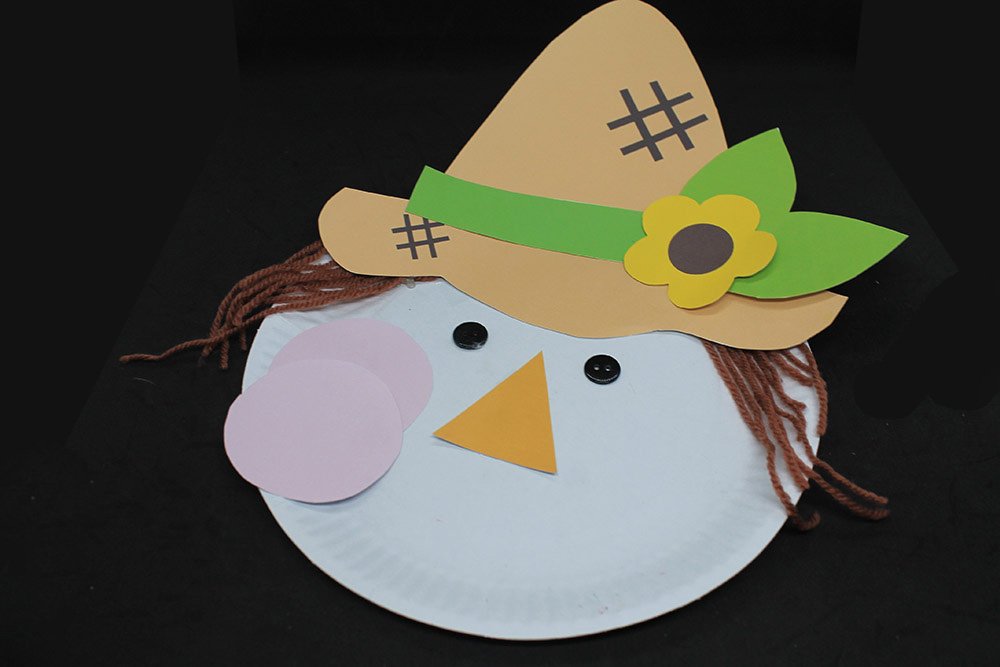
Give the scarecrow some blush by putting the pasting a pink circle on each side of the cheeks.
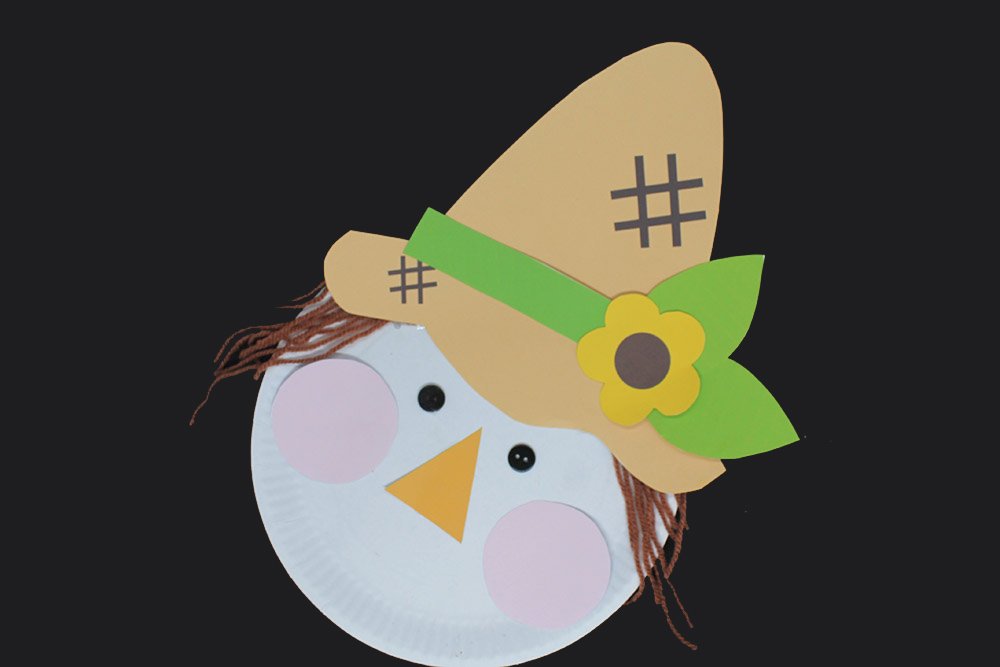
The scarecrow has now been assembled.
Give the scarecrow a smile
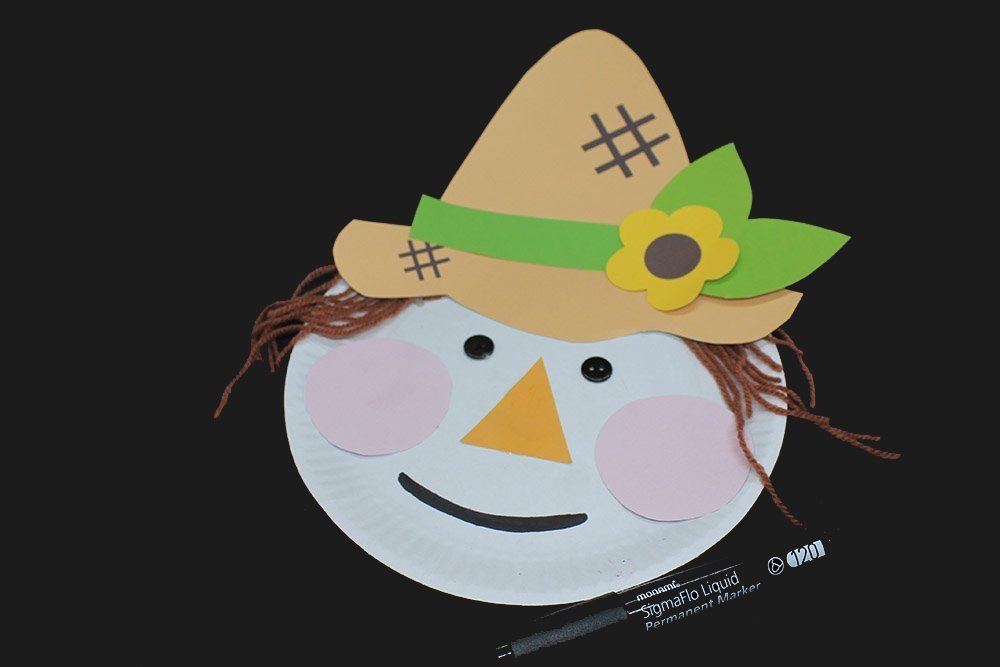
Using a black marker, draw a smile on the scarecrow’s fac
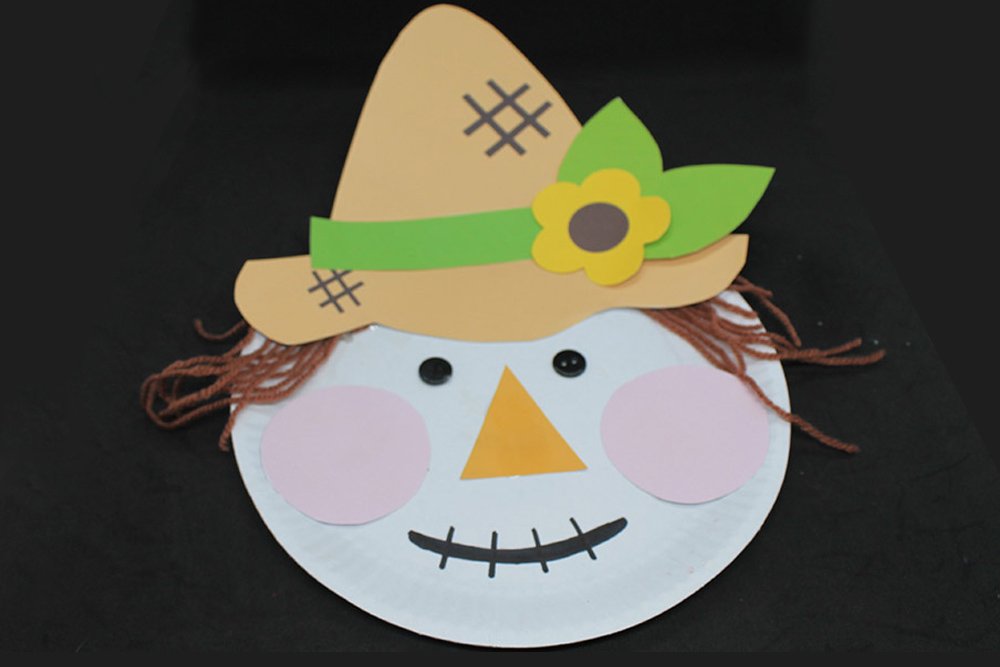
Draw some parallel vertical lines on top of the smile to mimic stitches.
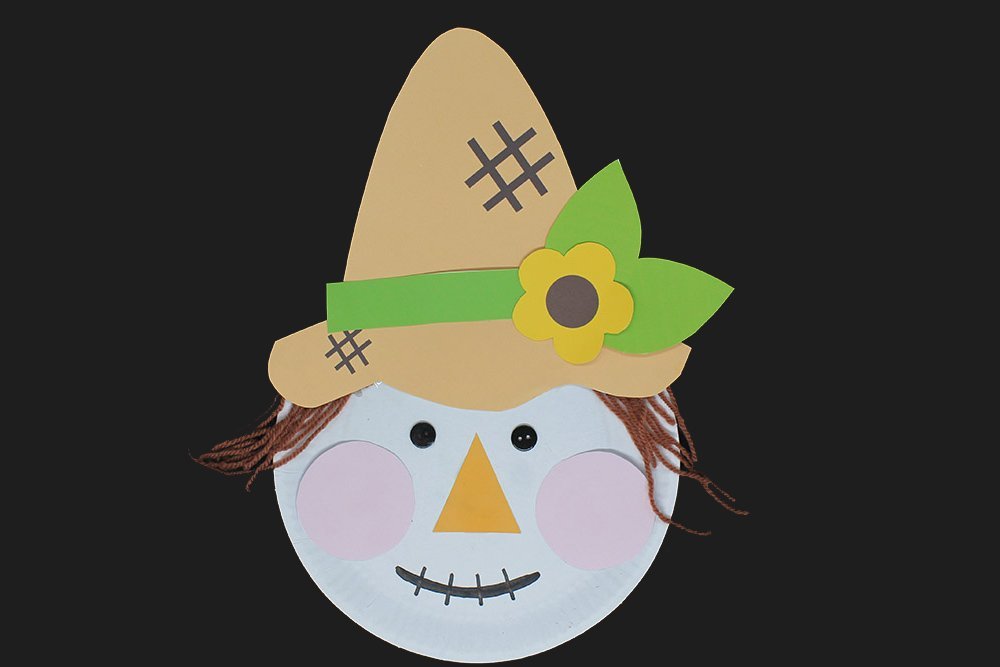
The paper plate scarecrow is finished! Use it as decoration anywhere, especially during the fall or Halloween season.


My five year old did this, proud mommy here <3
Congrats. I can’t get my five year old to do anything 🙁
Thanks for the activity
The cheeks makes it a cutiee even more
A pretty scare crow aahah