DIY Paper Plate Monster Party Hat

Introduction:
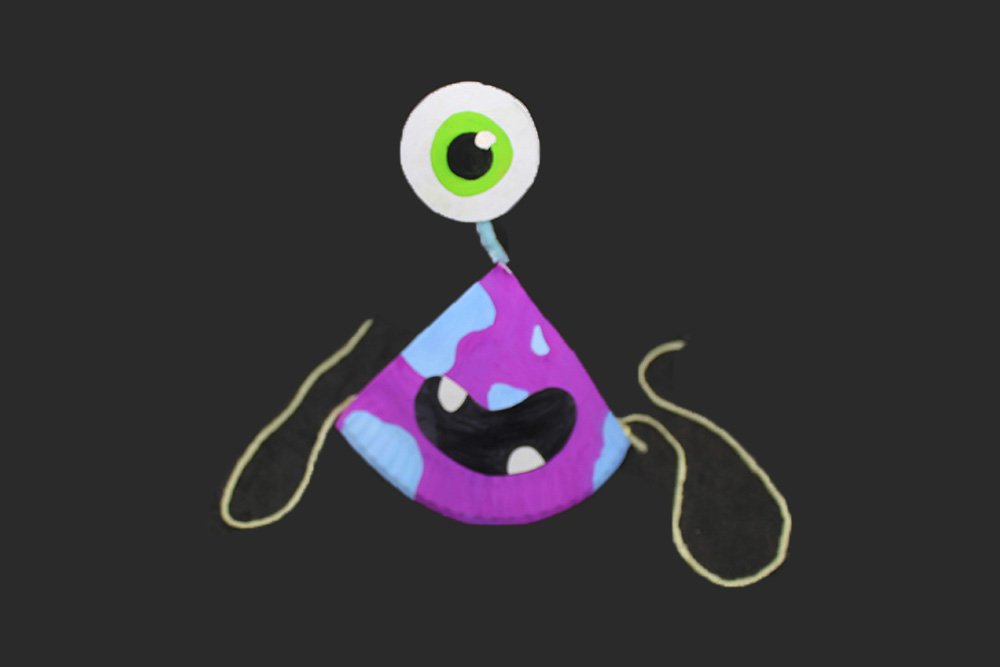
Create some cool party hats by making a paper plate monster. What’s awesome about this craft is that you can wear it as a hat or use these little monsters to decorate a bedroom or a Halloween party. A great project for kids and beginners, everyone will surely enjoy customizing their own little monsters. Have fun crafting!
Tools
- Pipe cleaners
- Paintbrushes
- Pencil
- Marker
- Puncher
Supplies
- 2 Paper Plates
- Paints (For this project, we used black, white, blue, purple, and yellow-green)
- Glue
- Scissors
- Yarn
- String

Create the base of the cone
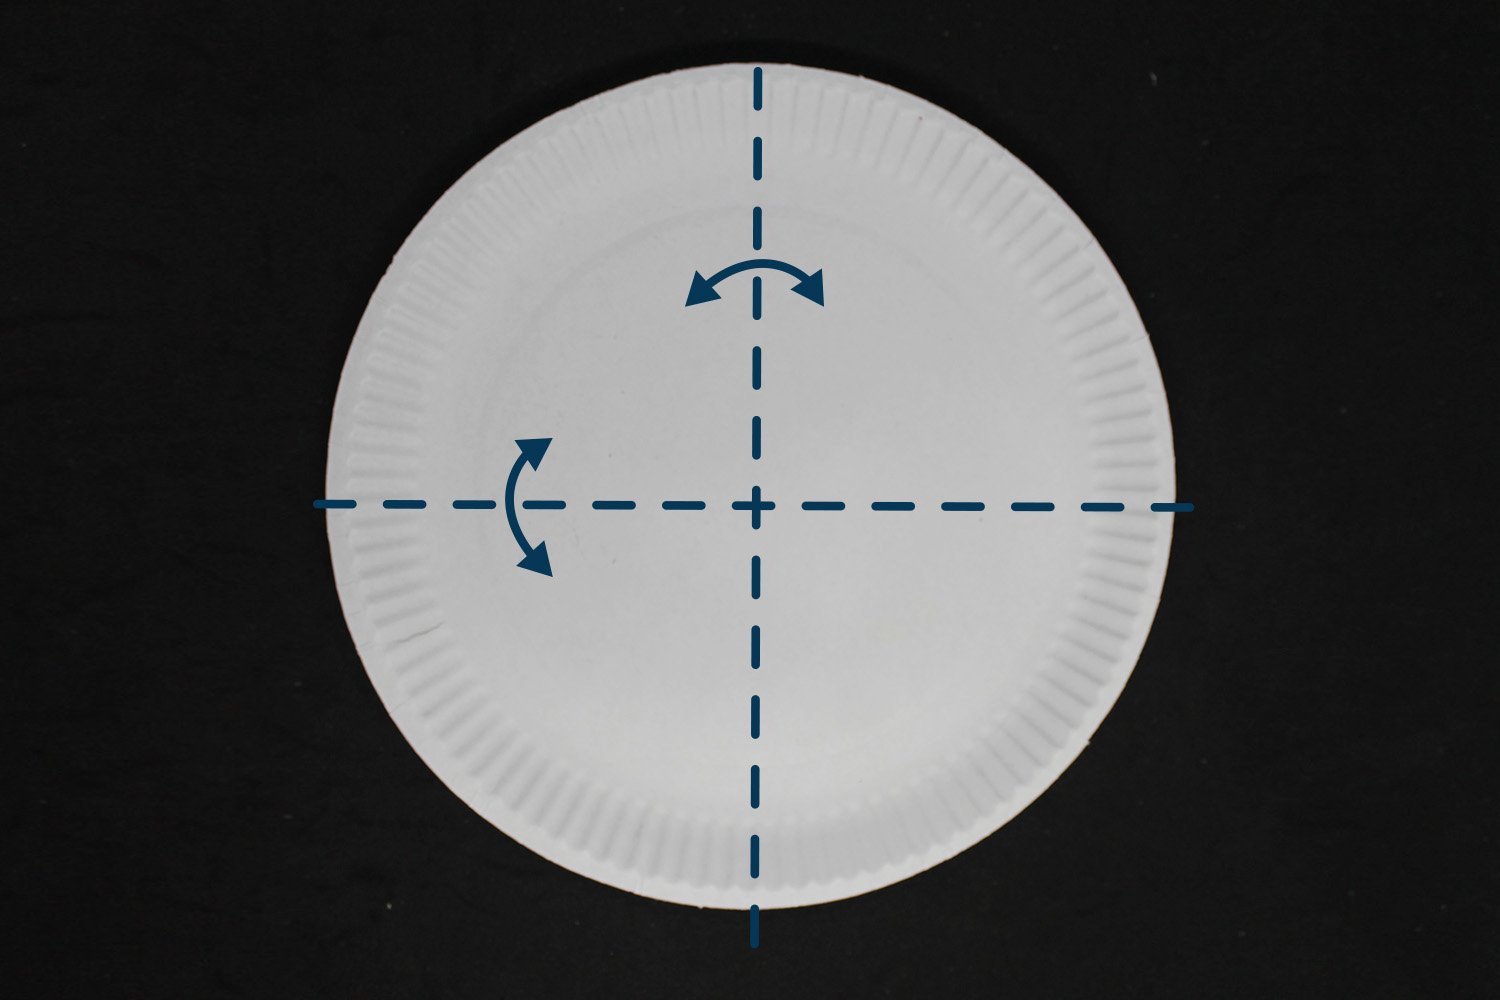
Get a paper plate. Fold and unfold along the dashed line to divide the plate into four parts.
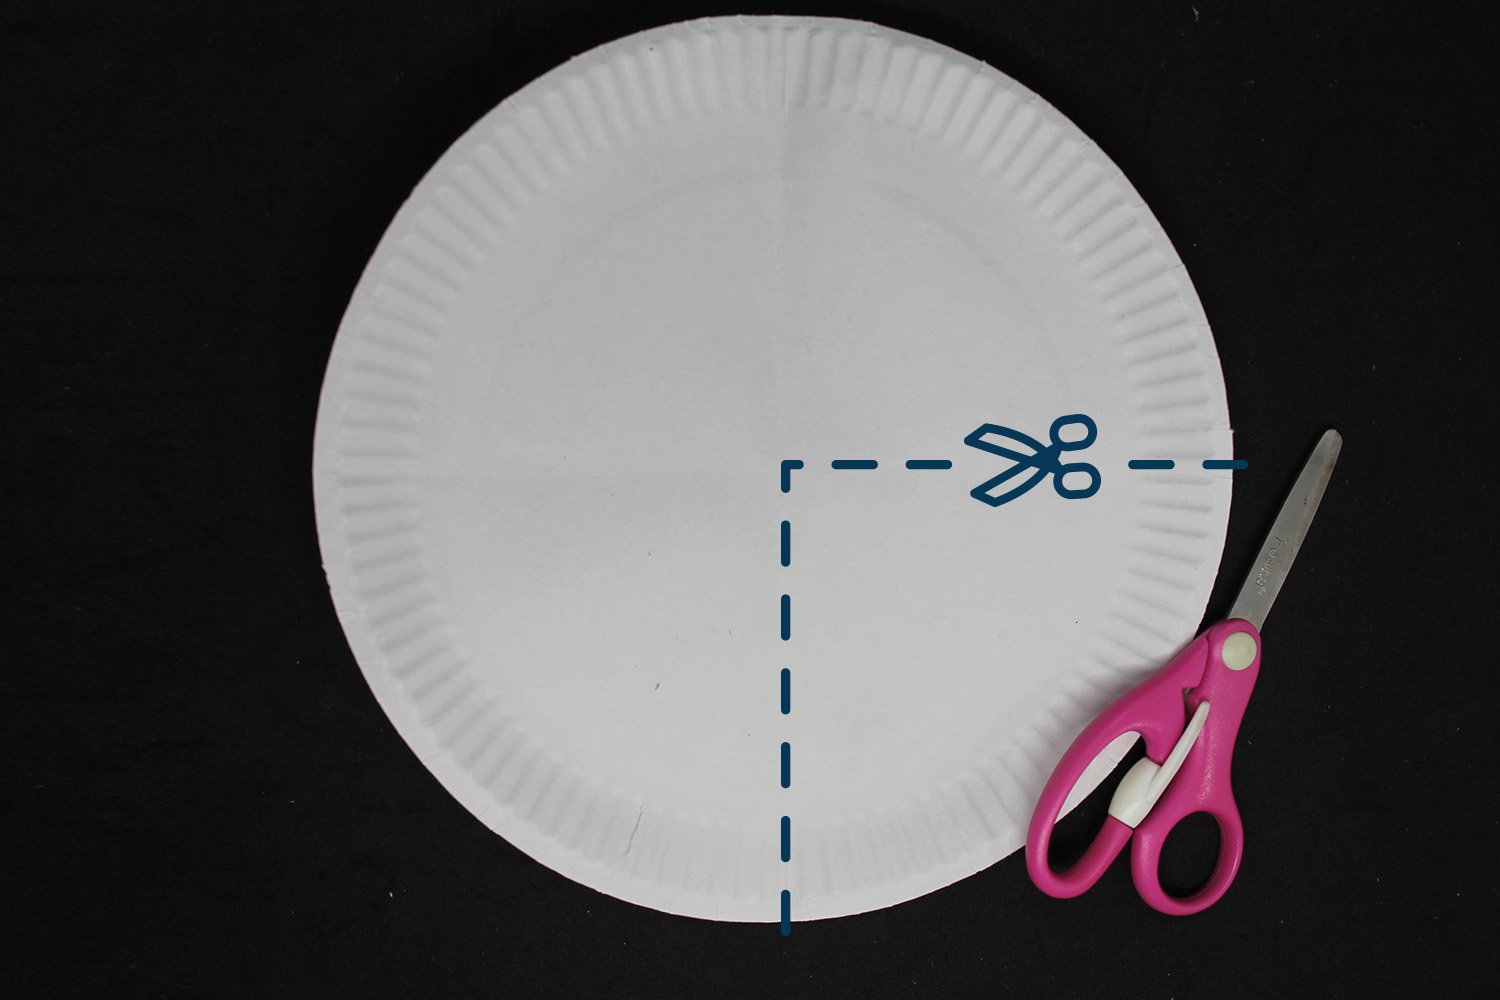
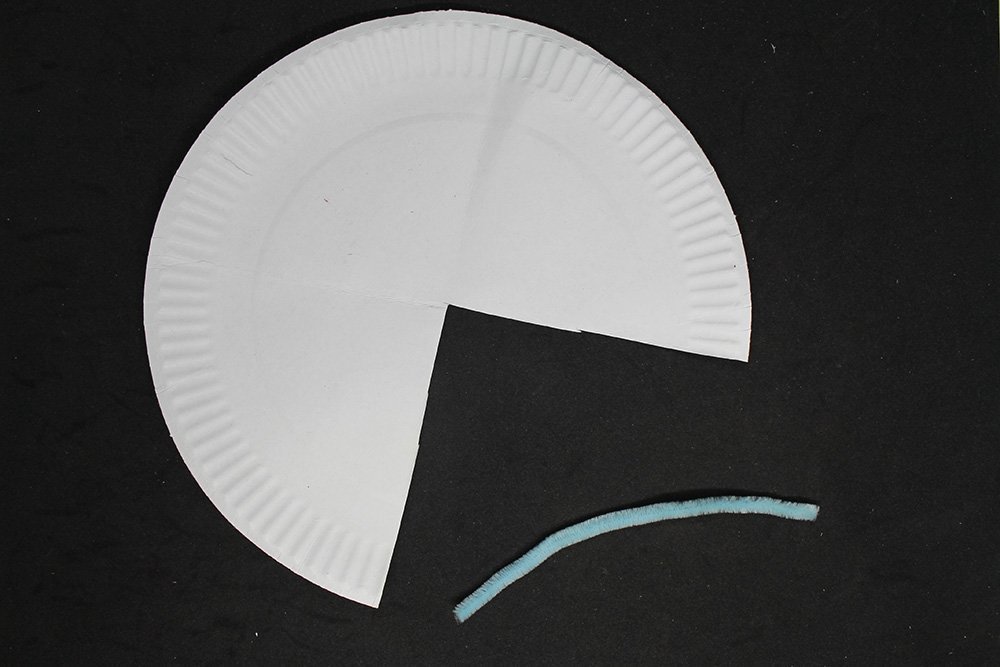
Once the paper plate is divided into 4 parts, cut 1/4 of the paper plate. Use the crease marks as a guide on where the division of the paper plate is divided.
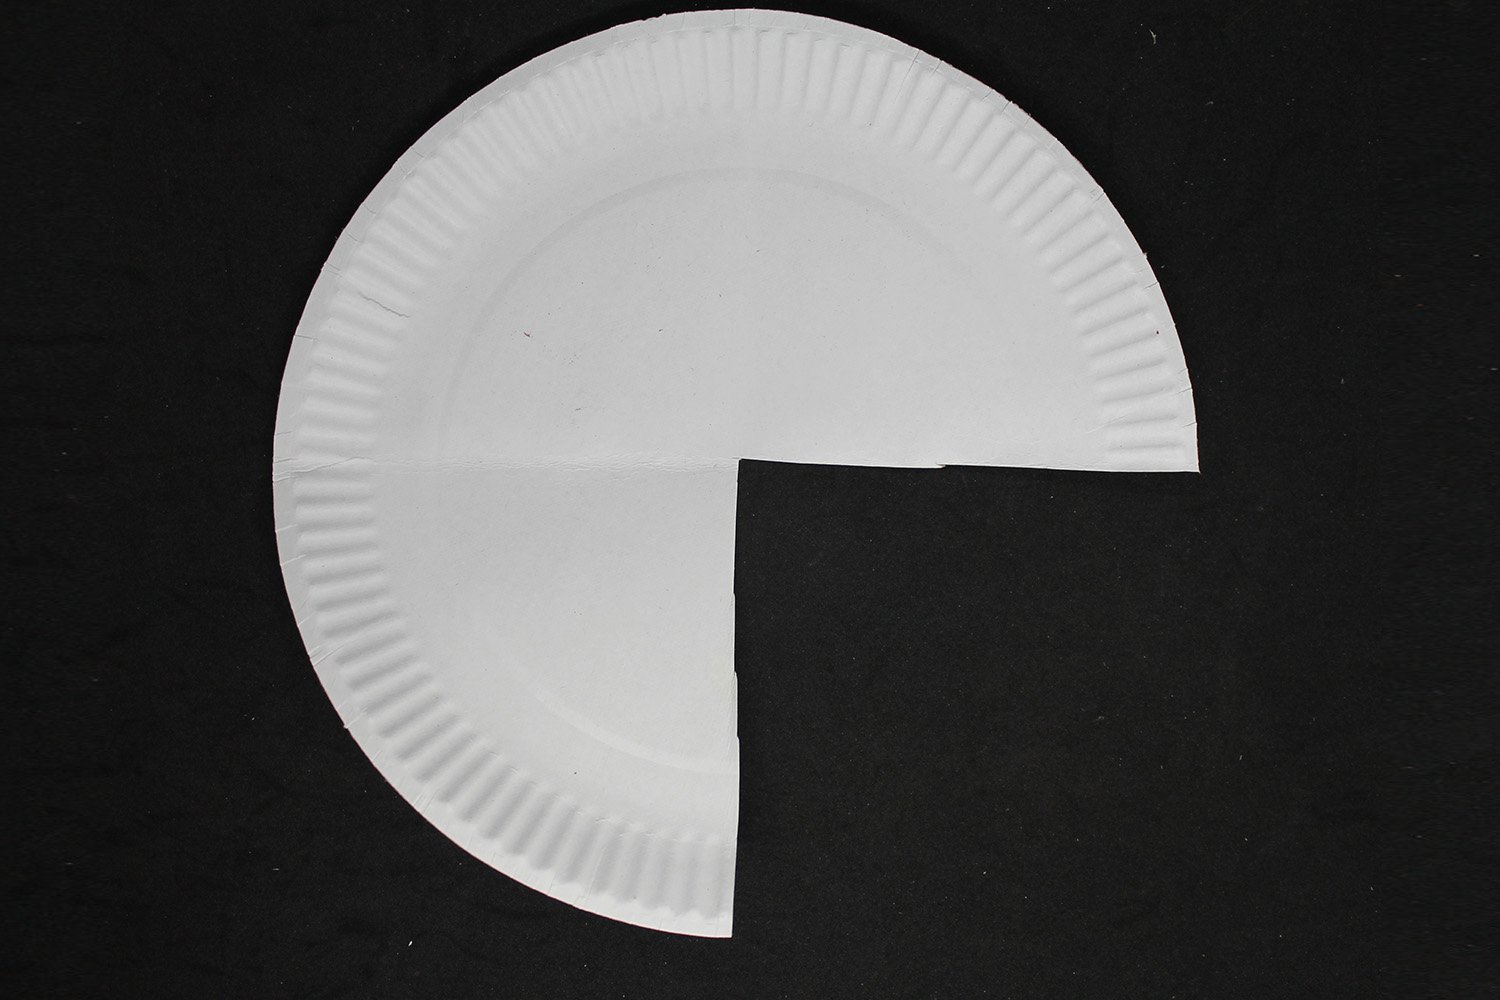
The paper plate should now look like the sample image above—time to shape it into a party hat.
Shape the paper plate into a cone
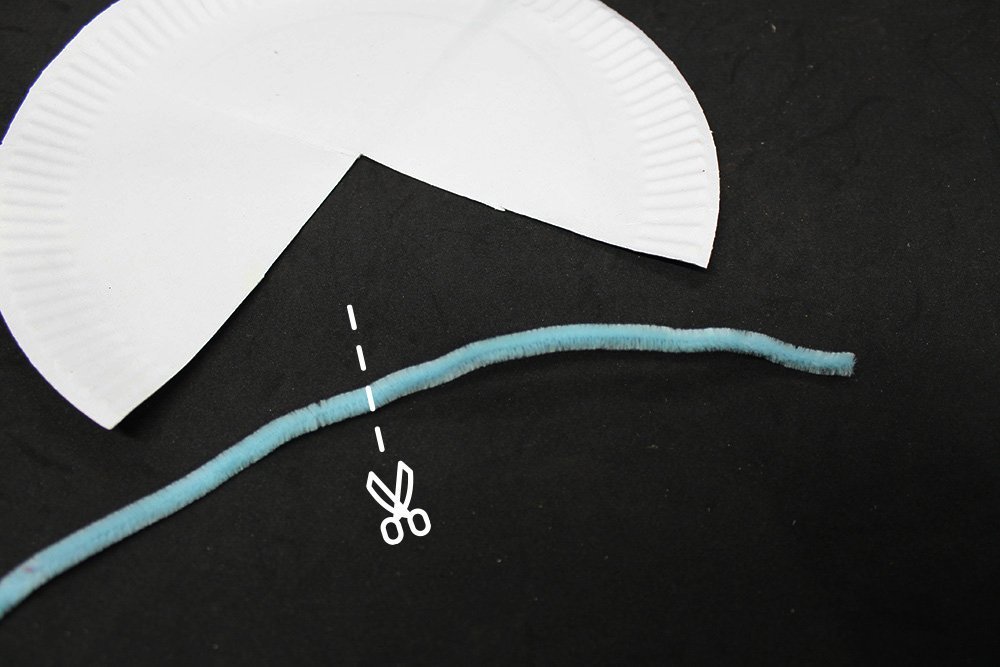
Before shaping the paper plate into a cone, get a piece of pipe cleaners and snip the pipe cleaner in half.
Tie a knot on one end of the pipe cleaner.
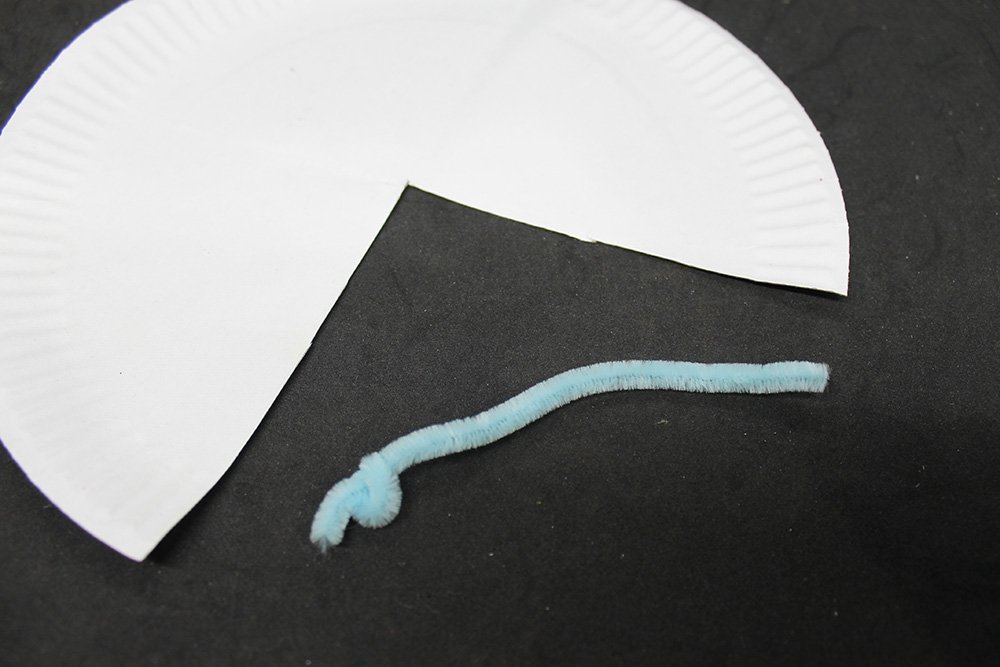
Knot it once, as shown in the picture above
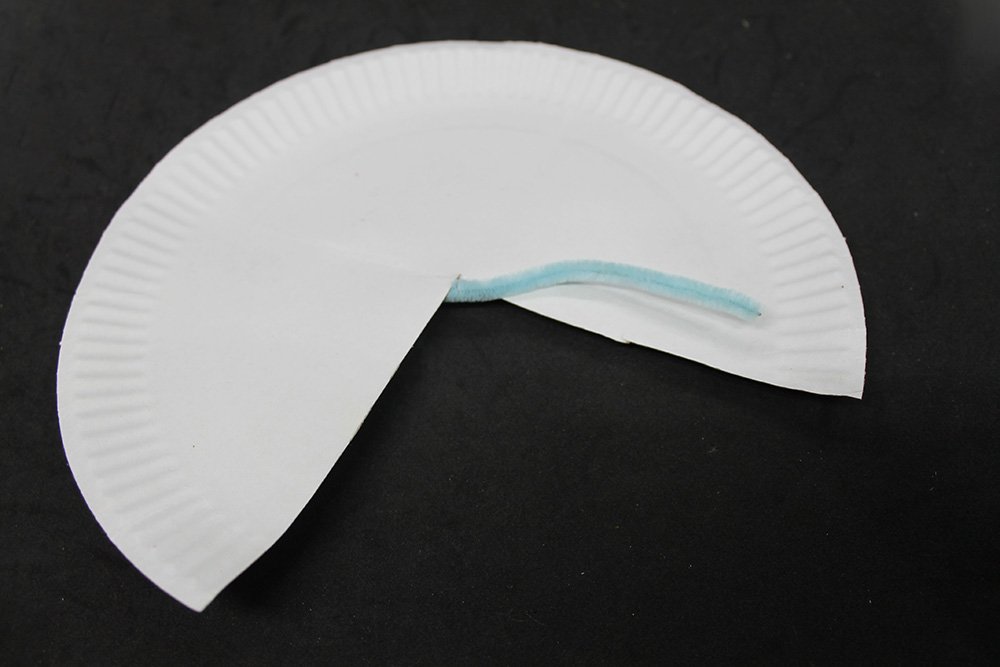
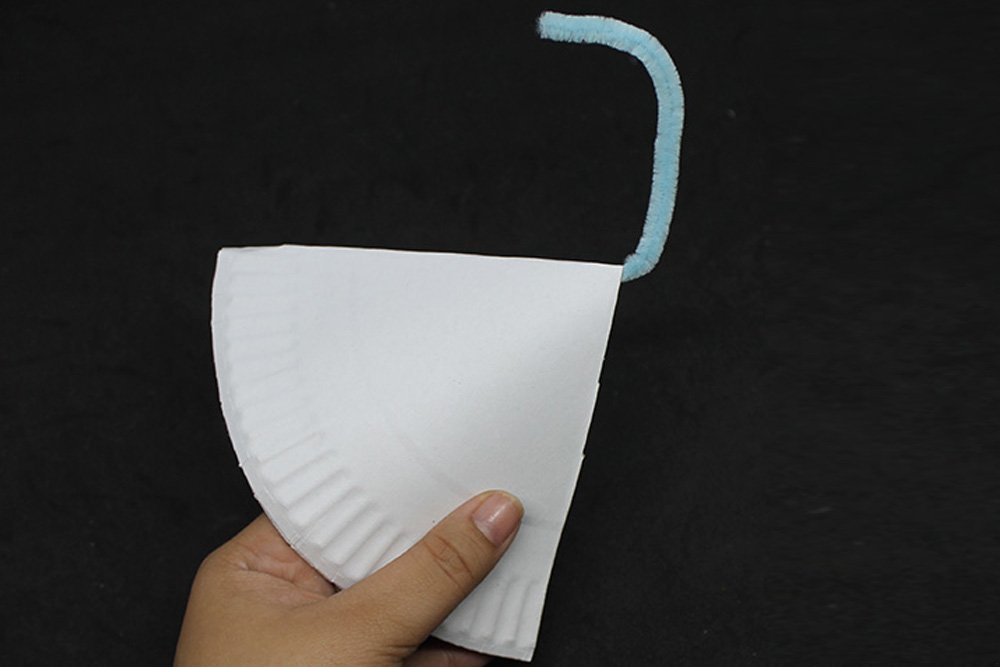
Put the pipe cleaner on the center of the paper plate. The knot should no longer be visible when you put it in the center.
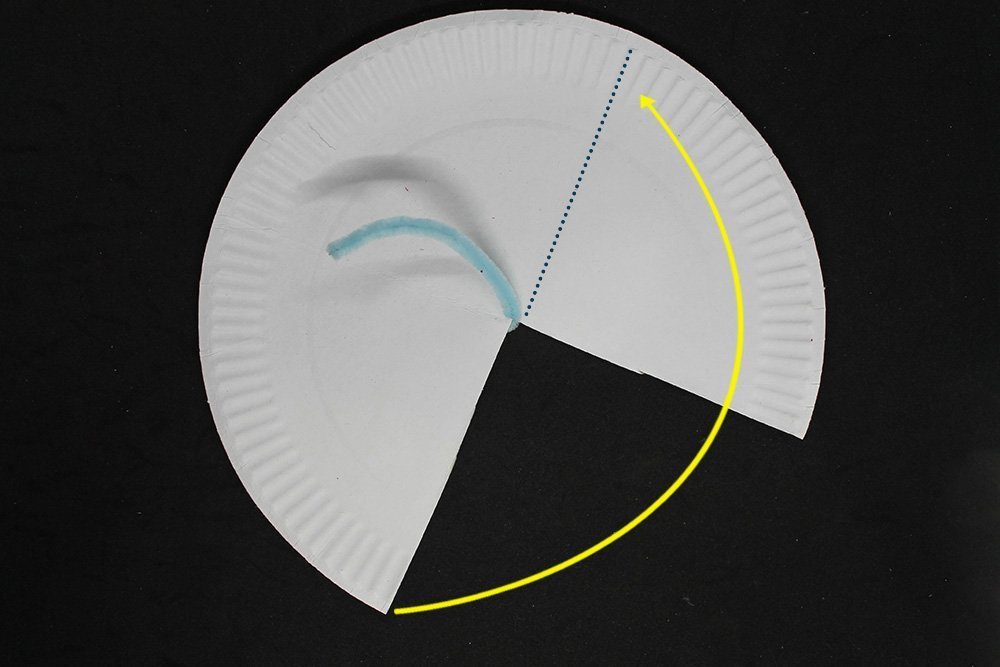
Time to shape the cone. Bring the left edge to the top crease mark (dotted line). Doing this will naturally mold the paper plate into a cone. The paper plate should hold the pipe cleaner firmly in the center.
The paper plate should now look like this. Please keep it in place by using a stapler.
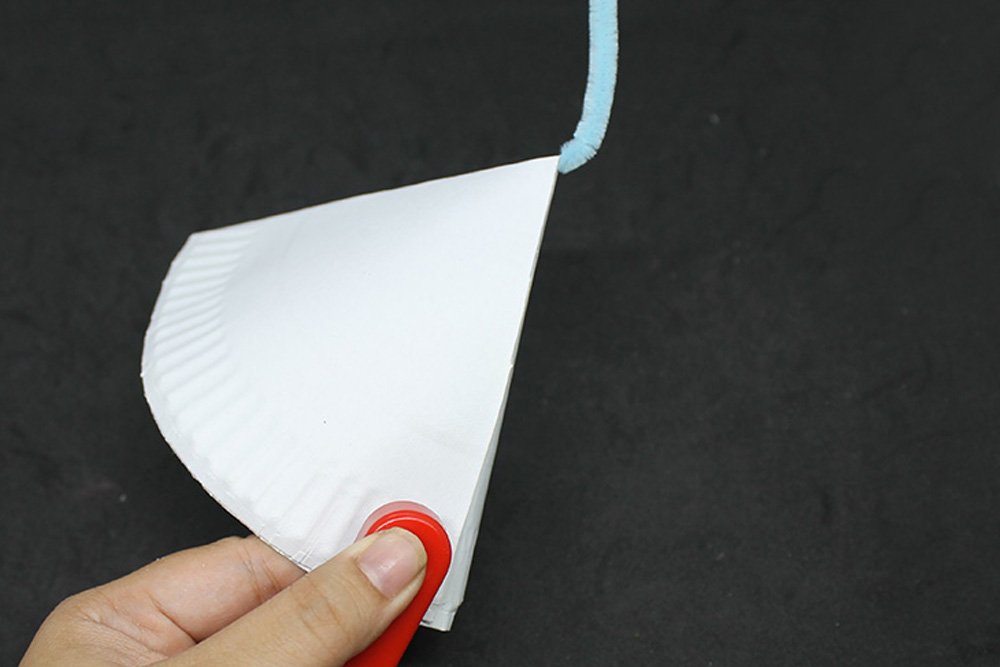
Staple the edges to keep the paper plate in place.
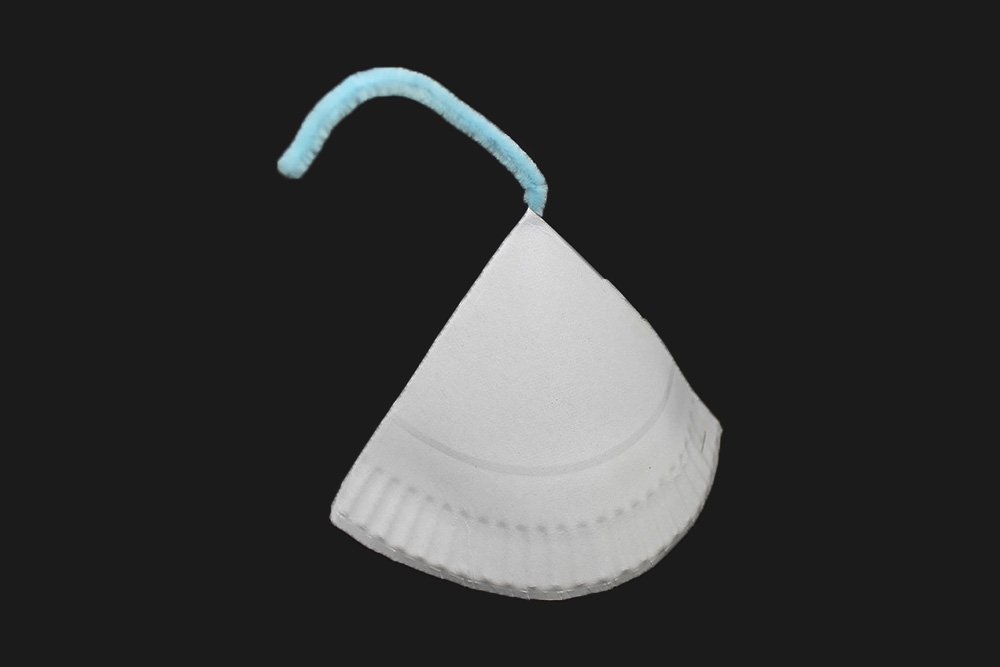
The base of the paper plate monster is done!
Glue is fine to keep the cone in place. Just make sure that you allow the glue to set in completely, or the cone will not hold in place.
Decorate the body of the paper plate monster
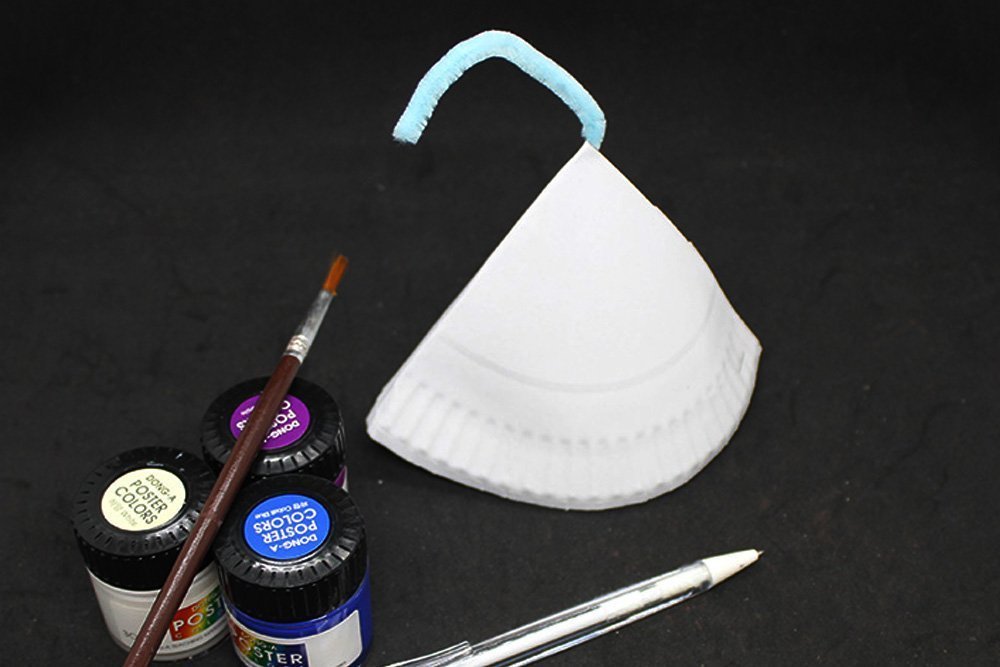
Time to decorate! It’s up to you how you want to decorate the skin/fur of the monster, or you may follow how we made it to give you some inspiration.
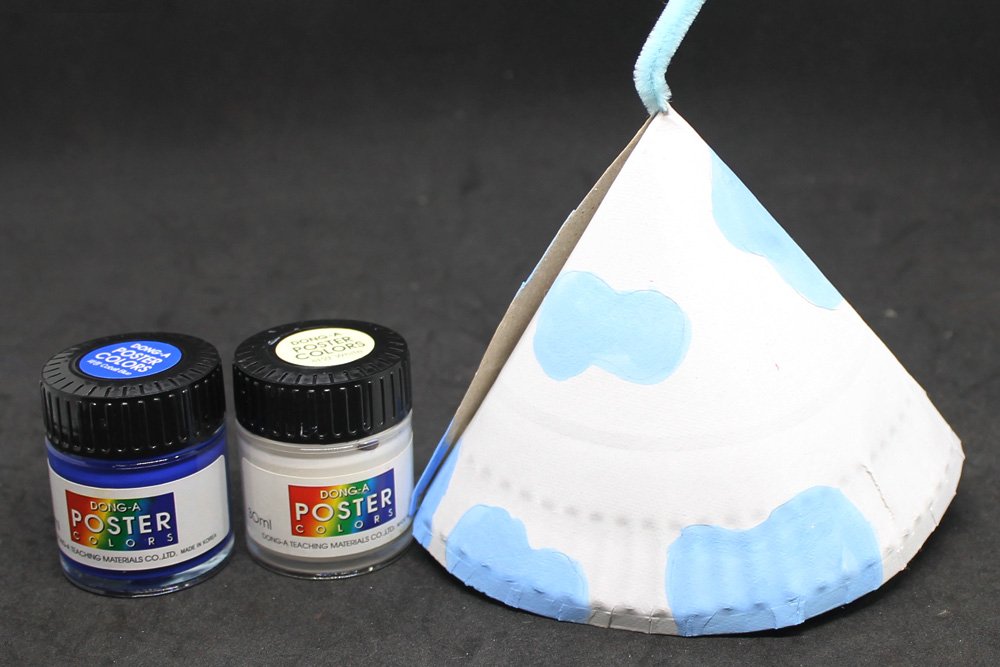
With a pencil, we drew some irregular shapes to make the design of the monster skin. Then, color the pattern using a light blue shade by mixing blue and white paint.

After painting the patterns with a light blue shade, we painted the background with purple paint.
Here’s a tip: It is best to use poster paints for these kinds of projects for crafts for kids. Besides being inexpensive, poster paint is a forgiving medium. Kids won’t have a hard time because the colors are easy to mix. Also, you cannot go wrong with painting from light to dark or dark to light colors. Let them experiment with various kinds of colors to make their own one-of-a-kind masterpiece.
Make cutouts of the eyes and mouth of the paper monster
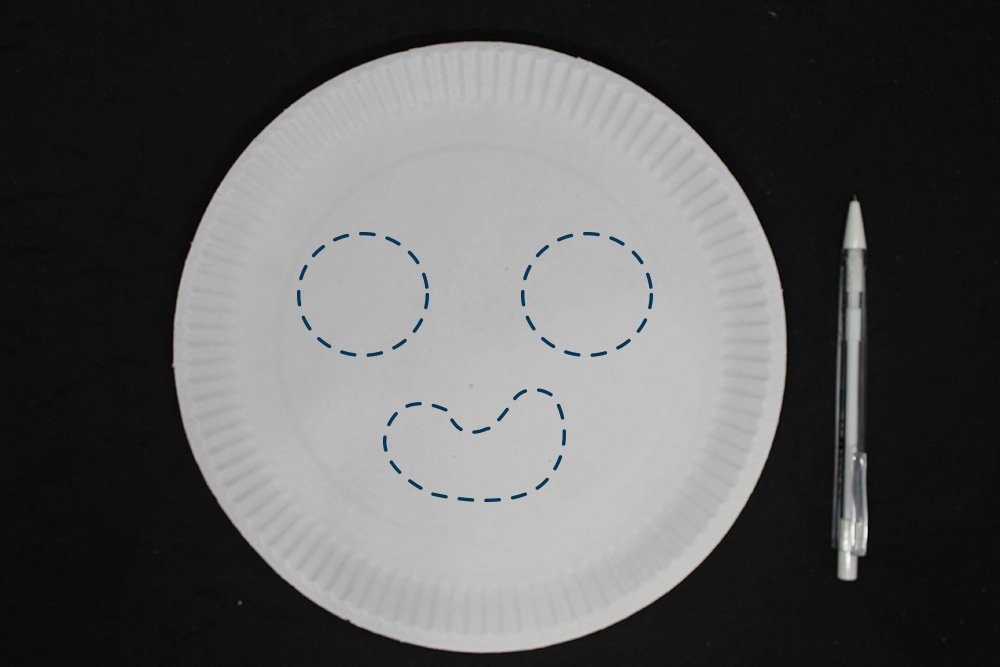
Draw 2 circles with the same measurements to one another and a mouth outline. Just make sure to keep it proportionate to the paper plate cone.
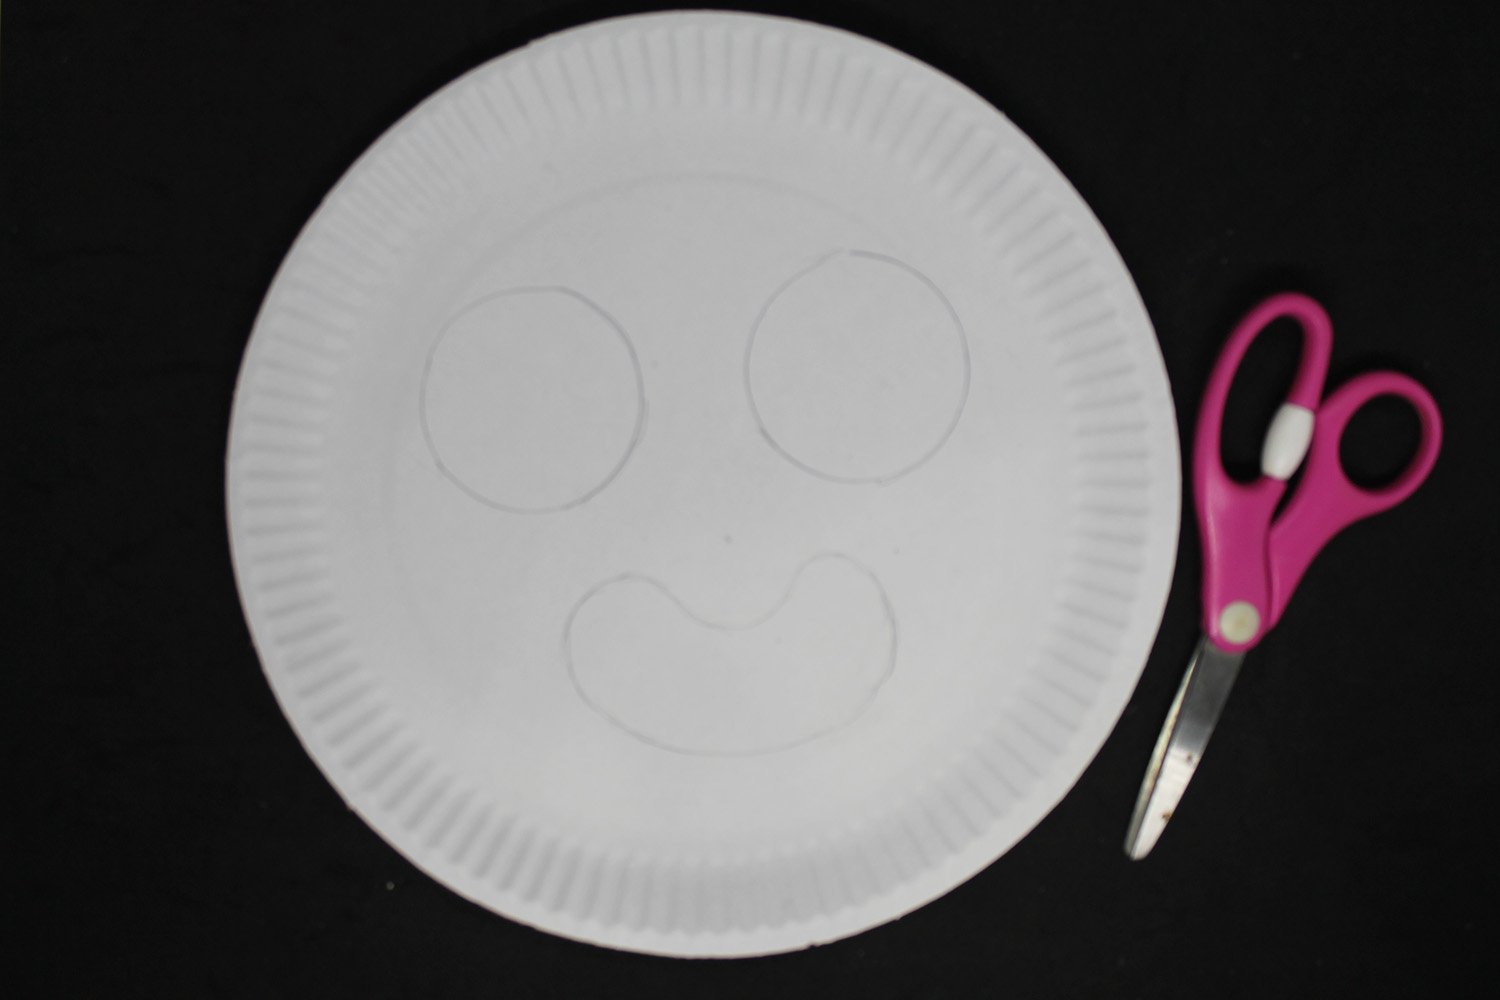
Cut out the outlines that you have made.

Time to decorate the eyes and mouth.
Decorate the eyeball

Paint the iris by painting a circle with the color of your choice. Here we used green.
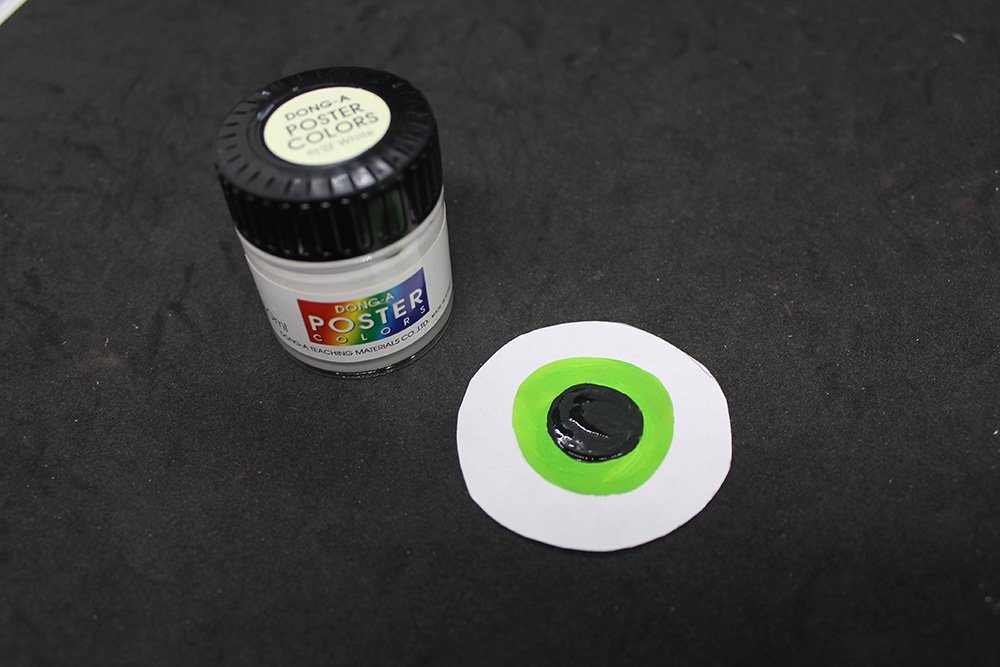
Paint the pupil using black paint.

Give the eye some shine using white paint. The eyeball is done!
Give the little monster a mouth
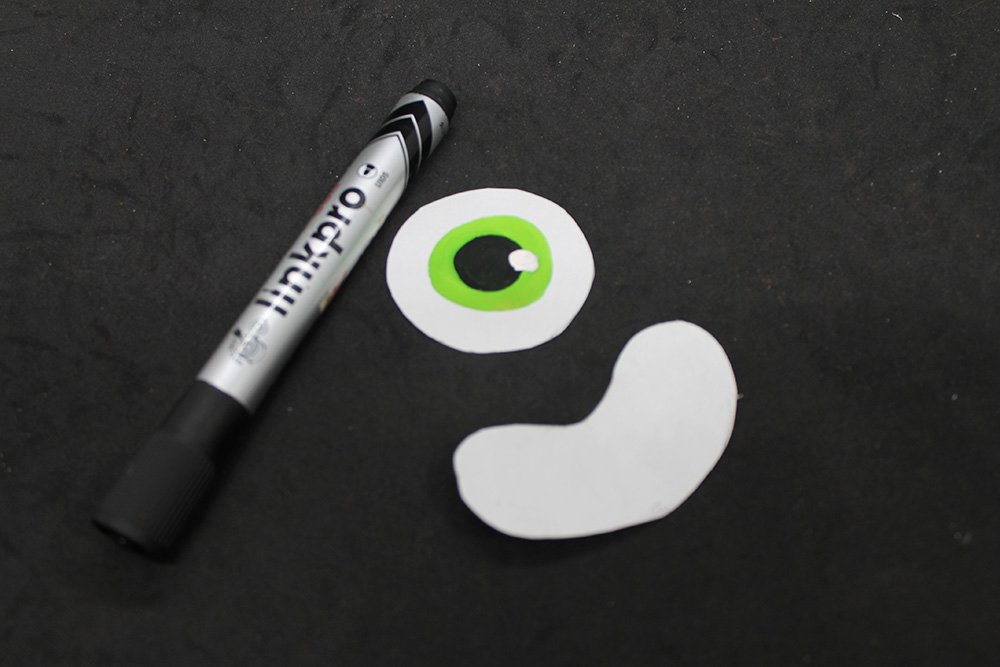
For this little monster, we decided to give our friend a toothy smile.
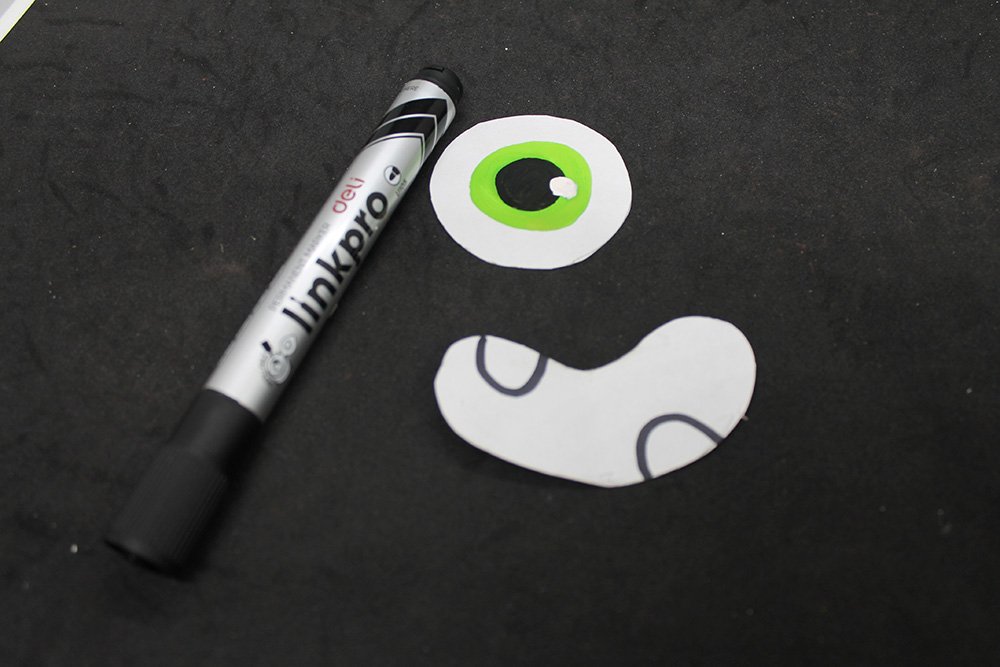
We gave it a toothy grin by outlining the tooth with a marker.
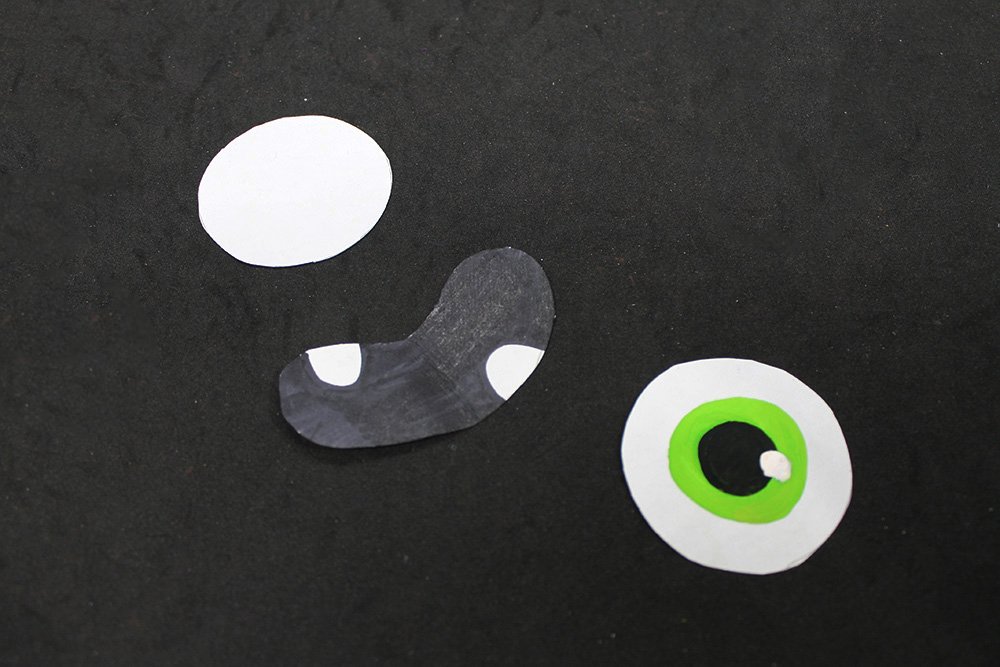
Fill the mouth with a black marker or black paint, and the mouth is done!
Assemble the paper plate monster

Glue the two circle cutouts together with the pipe cleaner from the cone in between.
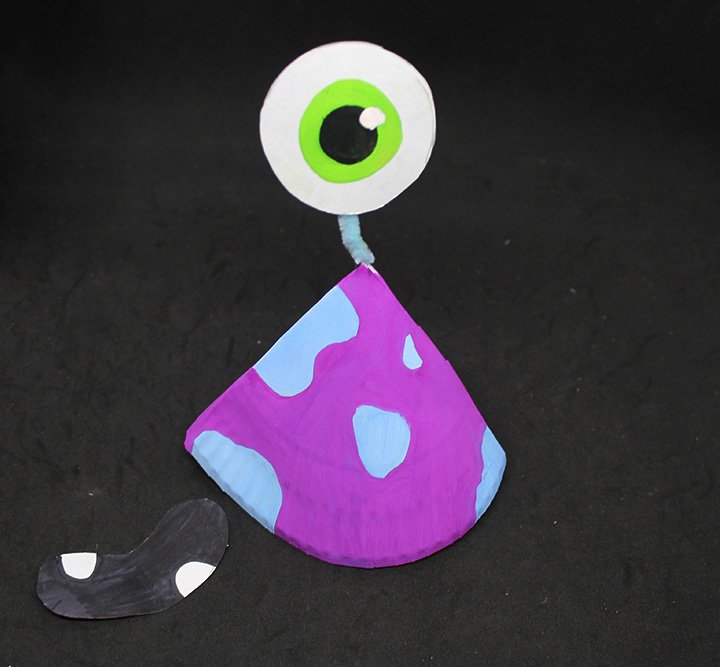
Stick the mouth cutout in the middle of the cone
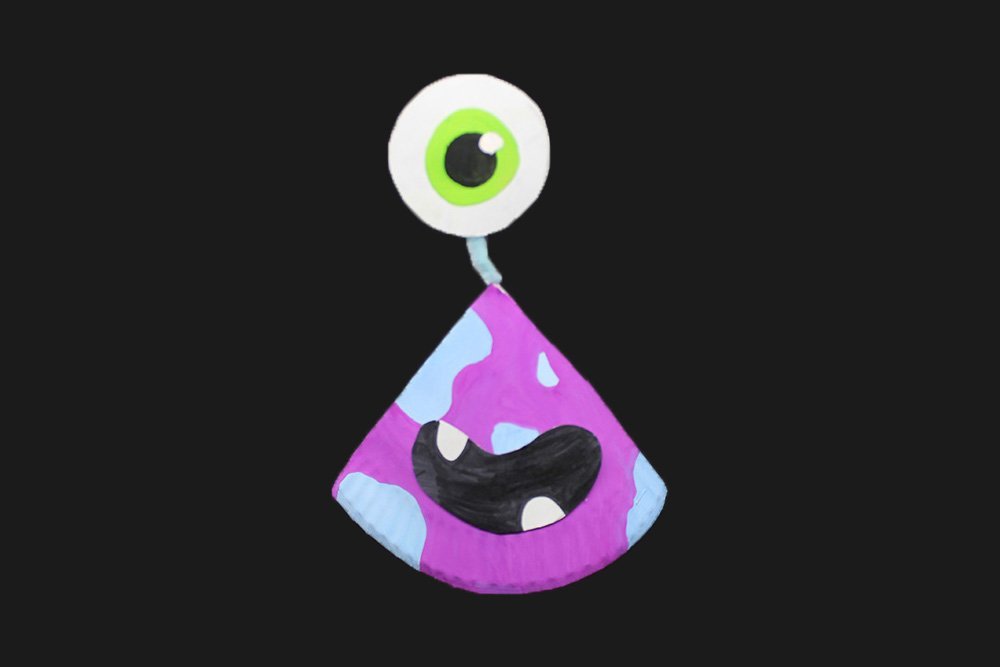
The paper plate monster is done. You may follow the next step below to make this little guy into a hat.
Attach the strings to make it into a party hat
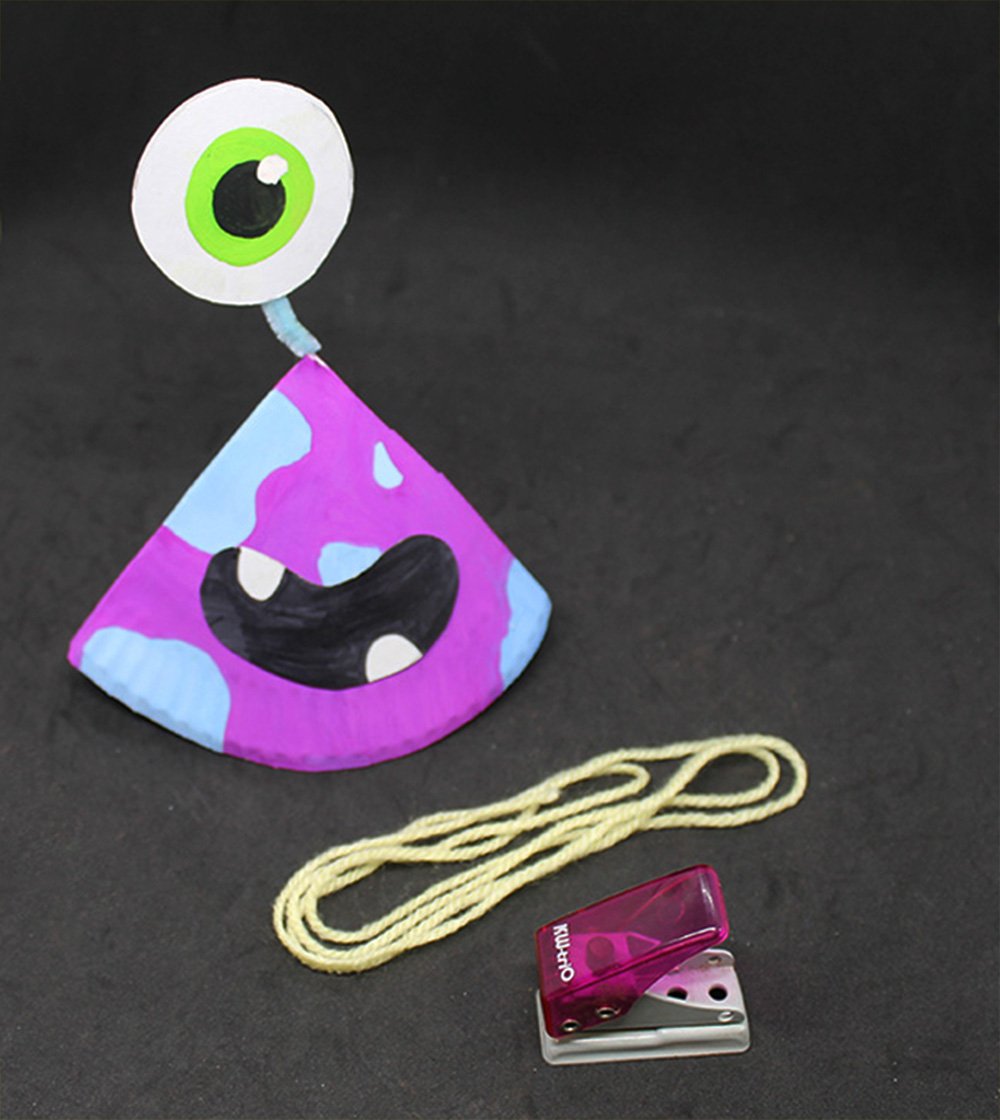
Grab a puncher and 2 pieces of string or yarn.
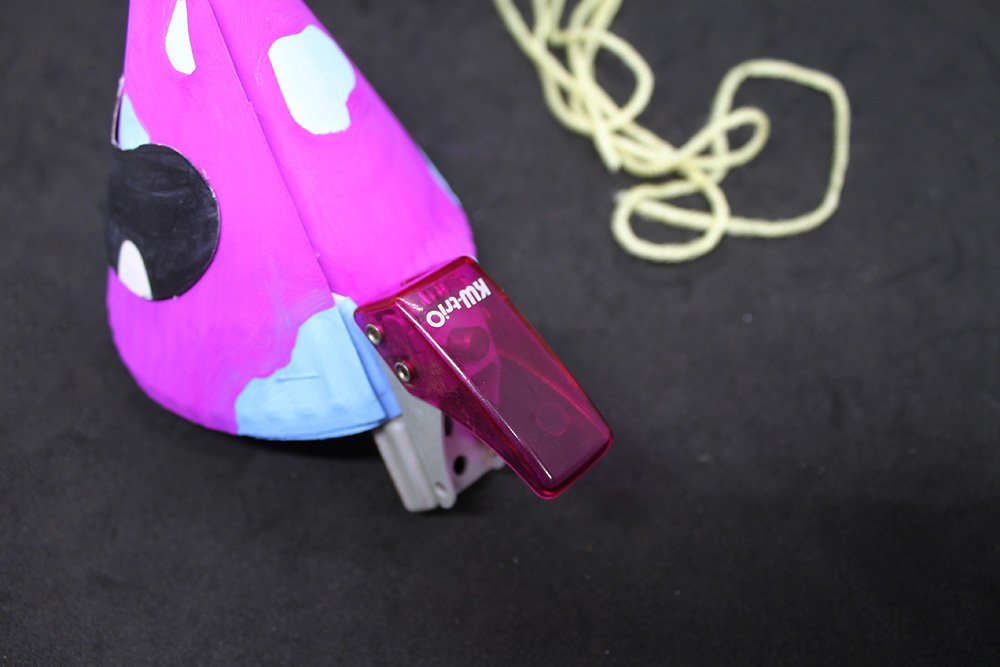
Punch a hole on one side of the monster craft.
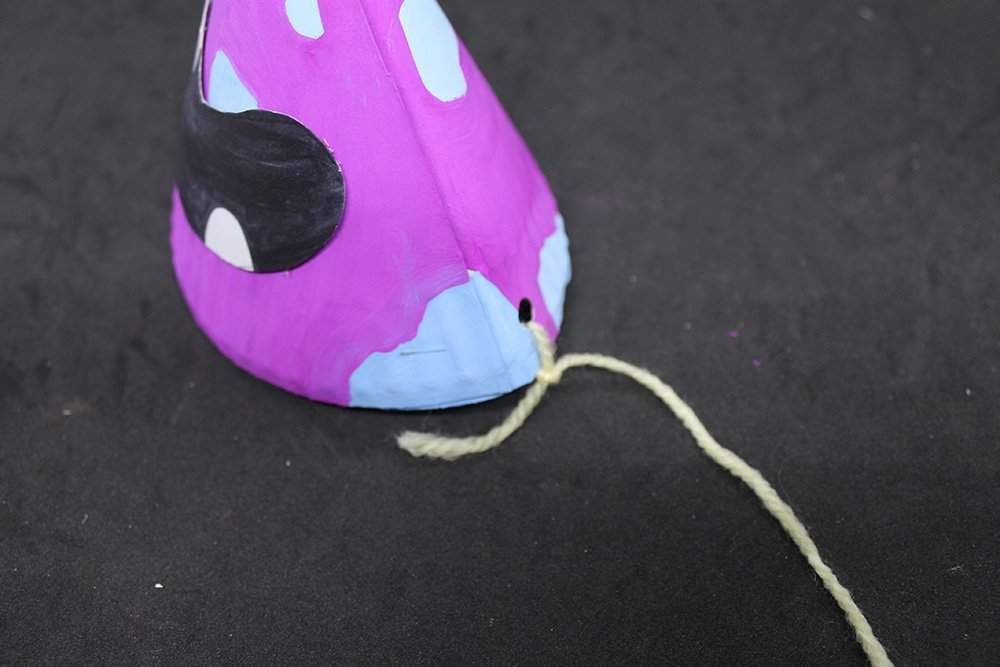
Tie a string on the hole, then repeat the same step on the other side.
The monster part hat is now finished. You may now tie it securely on your head.


Definitely good for a party! I can testify ahaha
Tried making the young kids do this and the moms helped. it became a little bit competitive a bit later ahaha
That’s dumb but funny 🥸
I think that the craft looks great 🙂 Really had fun making different styles but it’s just sad other kids don’t take care. But its okayy. Thanks DIY Magizine!
That’s what I like about this craft – the colors, shapes, props, etc. YOu can really make it your own everytime!