How to Make a Paper Plate Snow Globe for Kids | Amazing DIY Ideas For Christmas

Introduction:
Make a DIY paper plate snow globe for Christmas! Turn a paper plate into a snow globe that you can shake to make it look like actual snow is falling! This Christmas season, why not create something meaningful together? With this DIY Christmas snow globe, you can turn it into a decoration or give it as a special gift. This globe is a fun and personal project for adults and children willing to spend some time painting and decorating their creations. Have fun crafting!
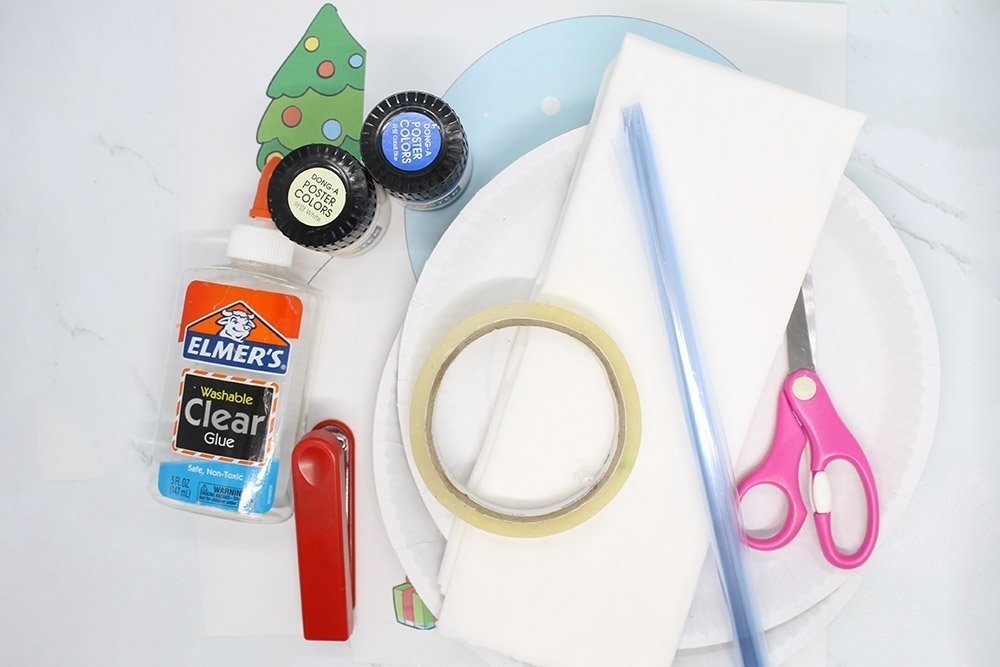
Tools
- Scissors
- Brush
- Stapler
Supplies
- 2 paper plates
- Printable
- Poster paint (blue and white)
- Glue
- Tape
- Clear plastic sheet
- Thin sheet of white paper (preferably crepe or Japanese paper)
Download Area
Download TemplateMake the frame of the paper plate snow globe
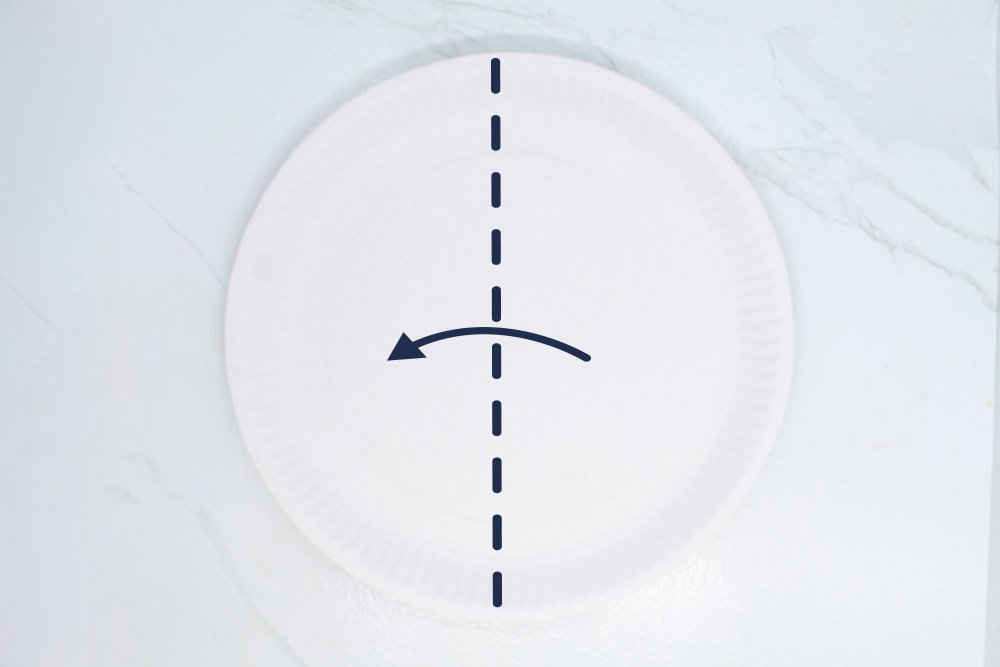
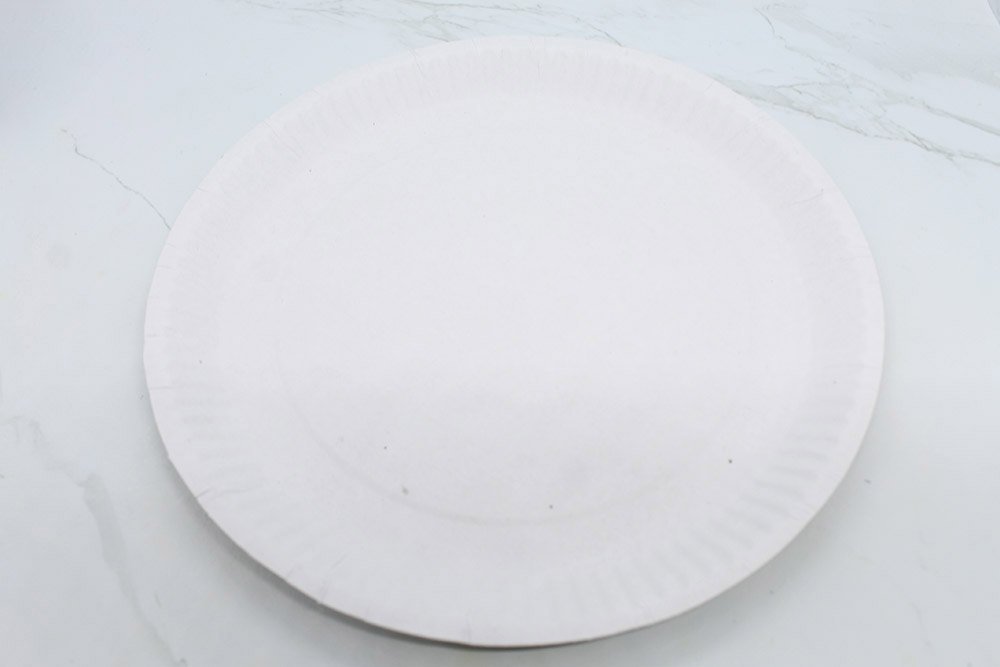
The first step is to get a paper plate and find a comfortable working space. Fold the paper plate lengthwise in half.
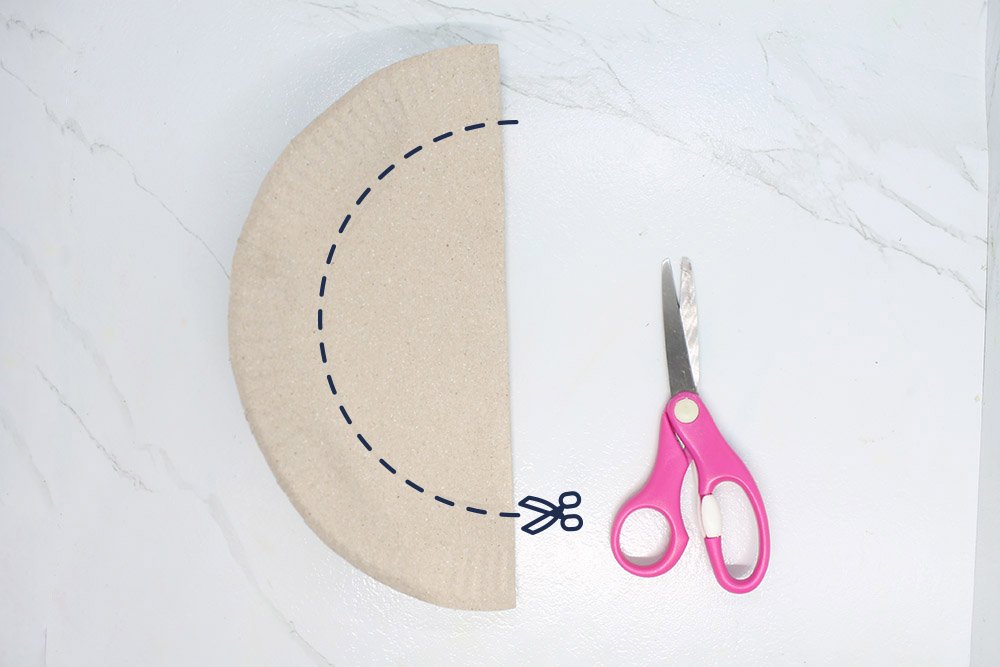
After folding the paper plate in half, cut a semi-circle along the dashed line. It helps to draw a semi-circle guide before cutting the paper plate.
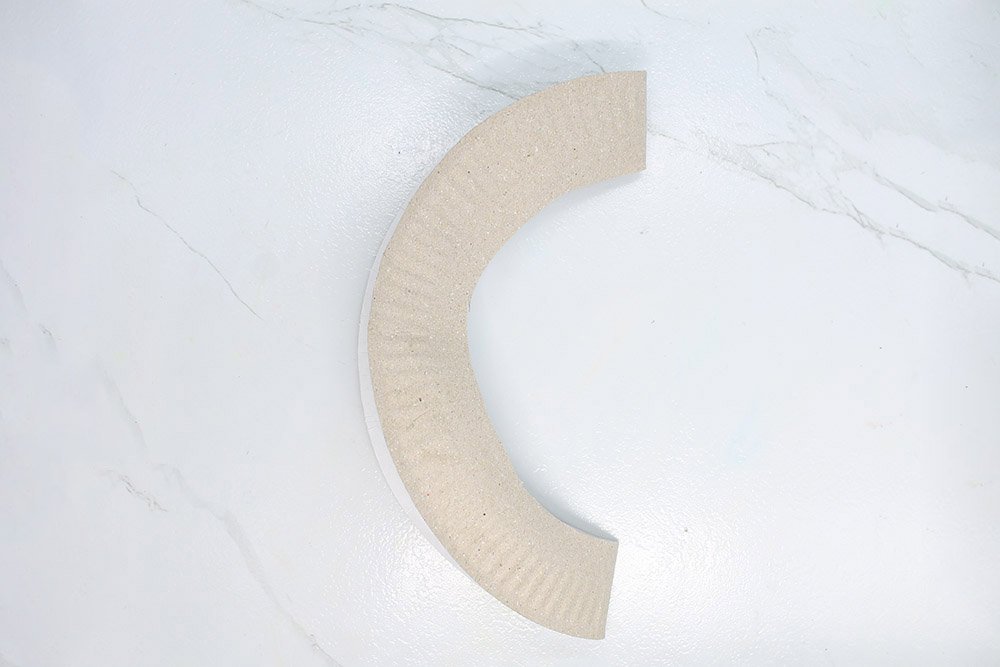
The paper plate once cut should look something like this, Unfold the paper plate.
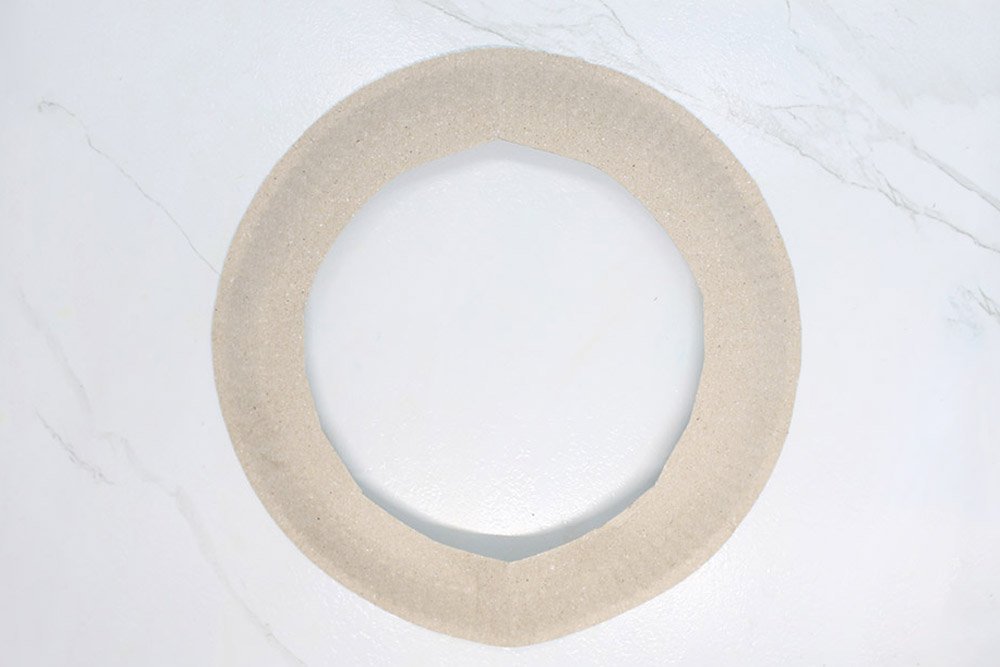
Once unfolded, the base of the frame is done! Now it needs some color.
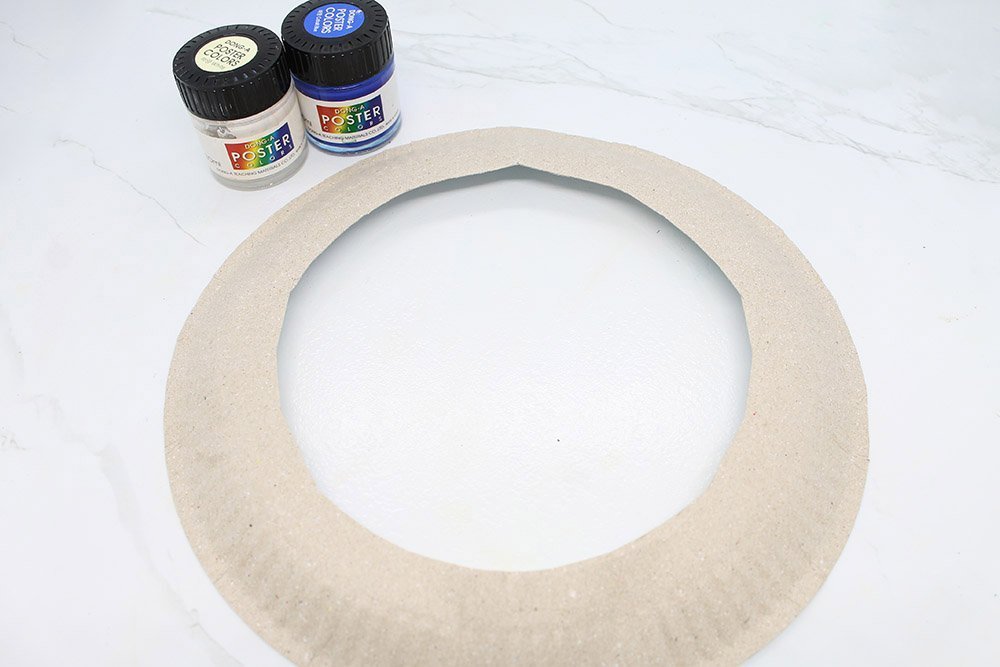
The color of the frame should be similar to the color of the sky (like the sky in the free printable). Get your blue and white paint. Then, mix them. In this example, pale blue was the color of our paper plate to resemble the sky! If you already have a light blue poster paint then you won't need to mix.
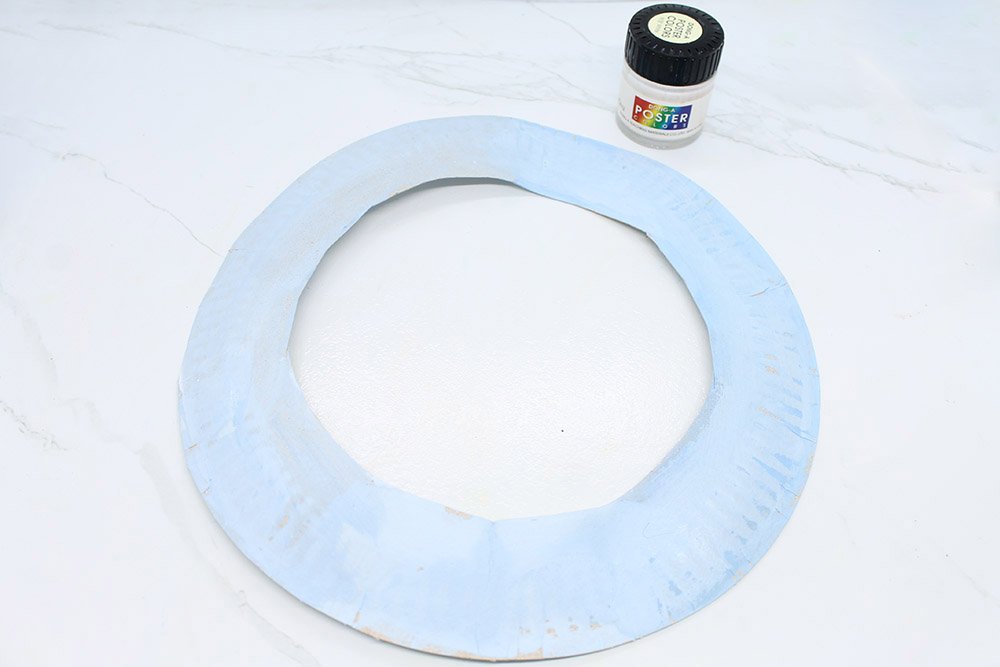
Paint the paper plate ring evenly with light blue paint (or the color of your choice). After letting the base paint dry, grab some white paint.
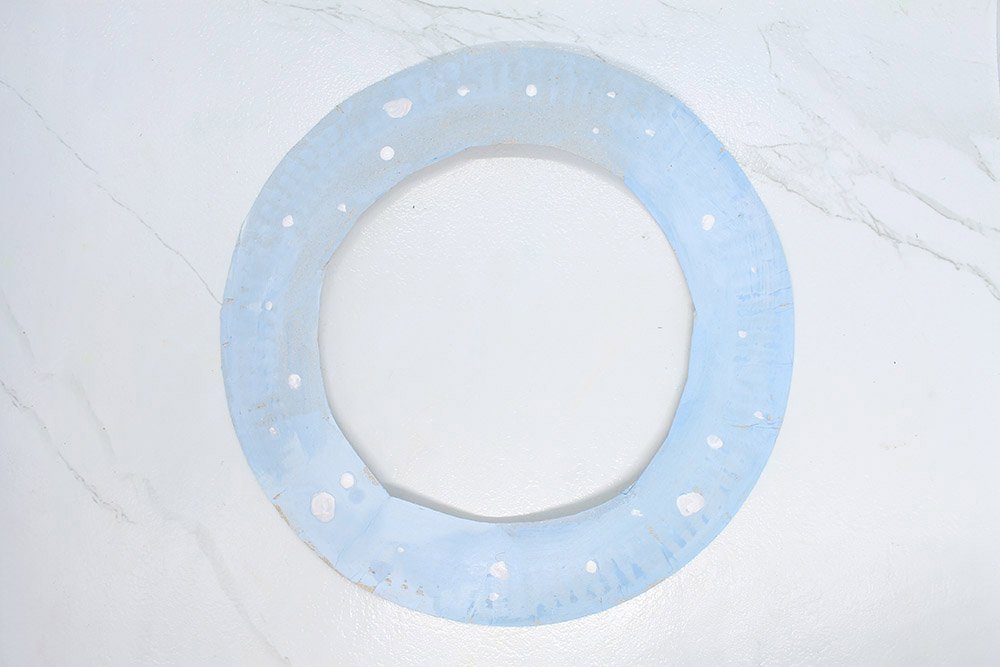
Decorate the frame with snow! Paint some dots of different sizes randomly. Great job so far! Now, it's time to move to the next set of steps.
Cover the inside of the frame with plastic

The goal now is to cover the hole in the center with a plastic sheet. So, get your transparent sheet and some tape. Cut a piece of plastic sheet that will cover the hole of the frame.
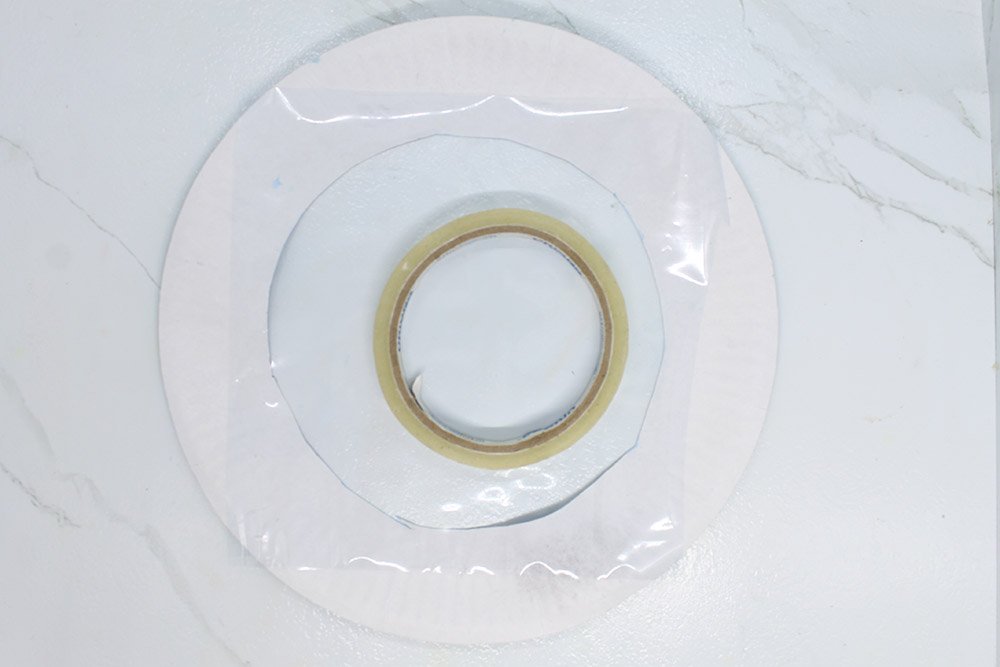
Flip the paper plate frame to the other side. Stick the transparent sheet at the back using tape.
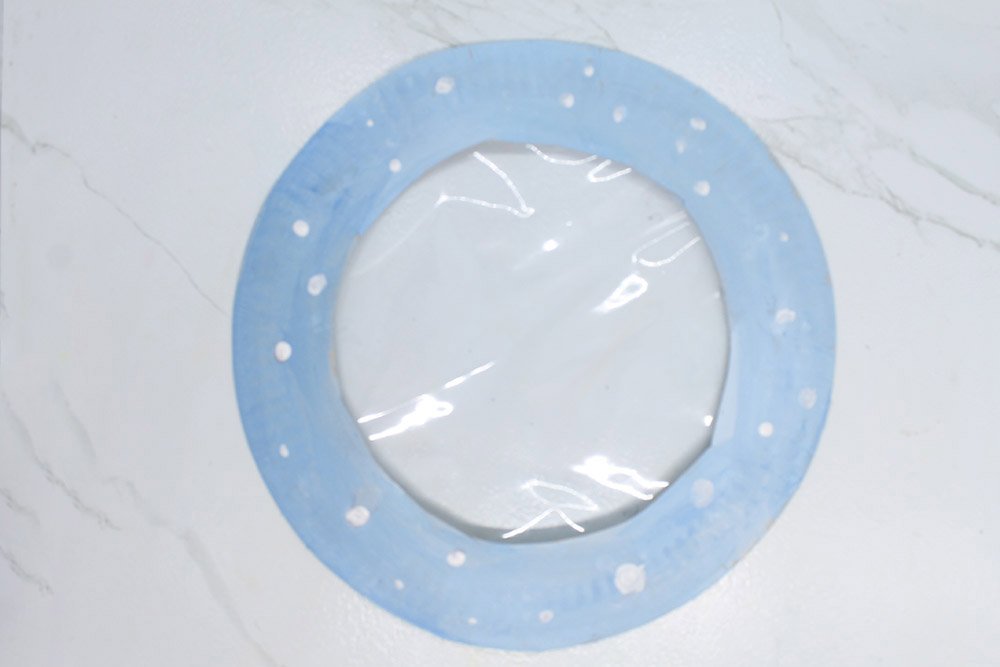
Flip the paper plate again. Looking good, ain't it? The snow globe frame is done! You've still got a long way to go but things are shaping up already!
Paste the printable cut outs onto a paper plate
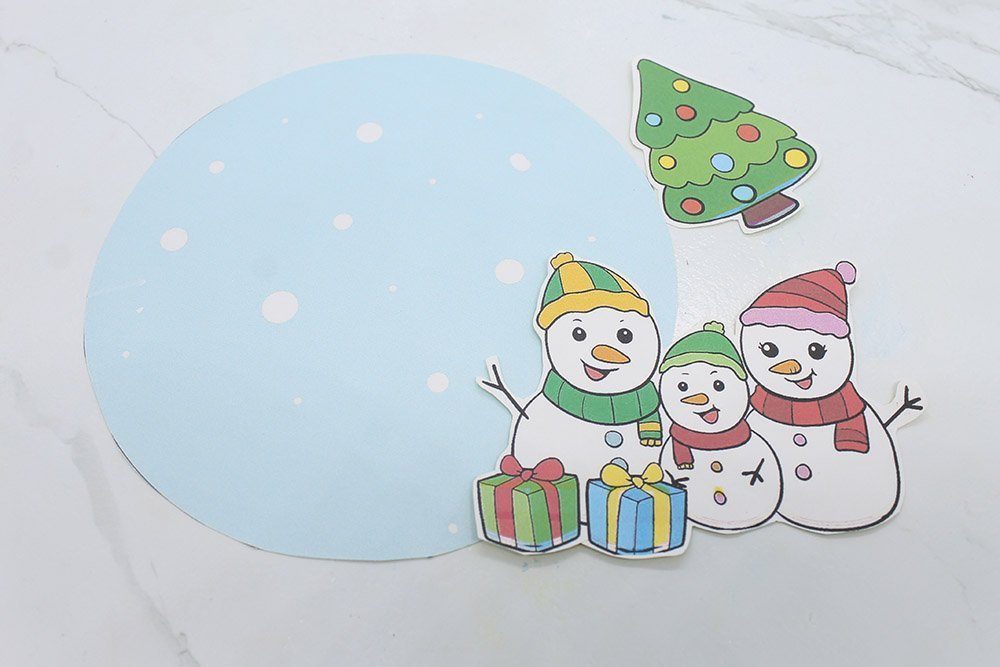
Download the printable found on the upper section of this guide. Print and cut out the circle, snowman family, and the Christmas tree. The snow family looks adorable, right?
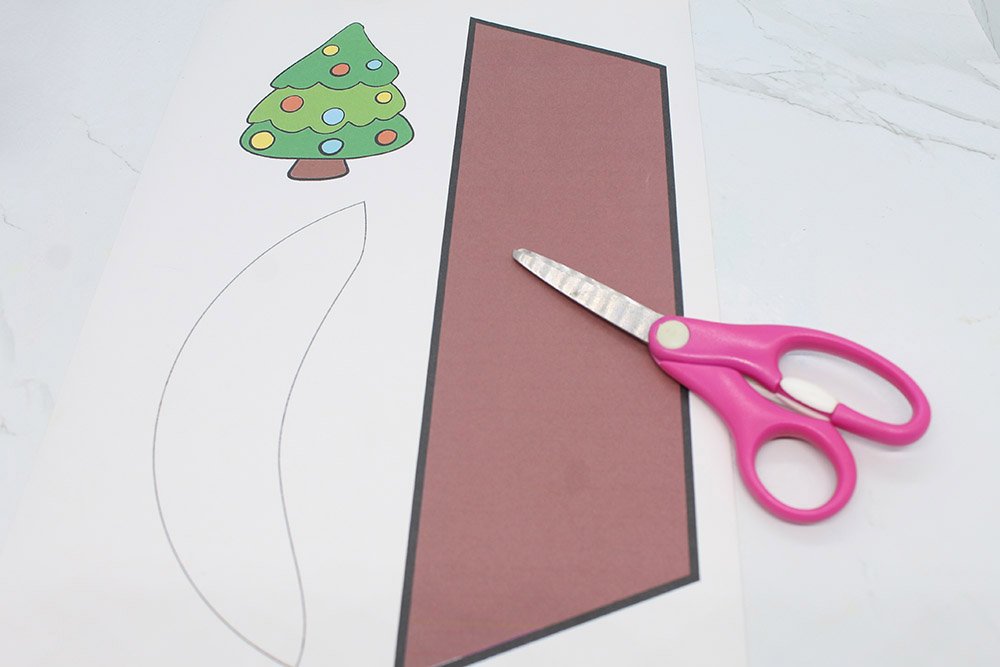
You will be doing the exact same thing for the second page.
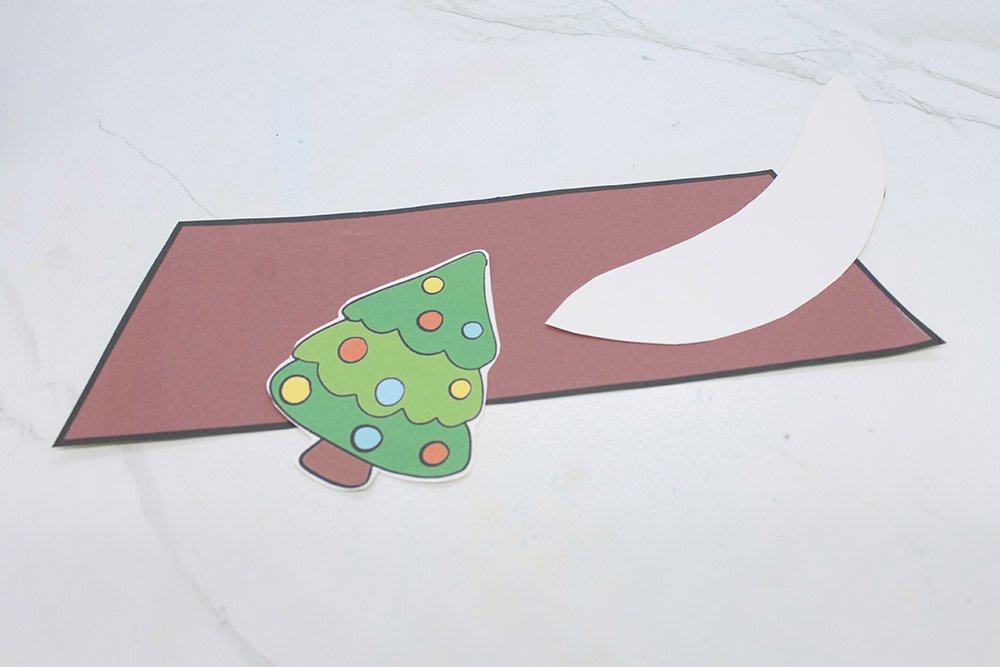
Yes, cut out the Christmas tree, the brown trapezoid, and that white part that will represent a snow pile. You'll find out what that trapezoid is used later on.
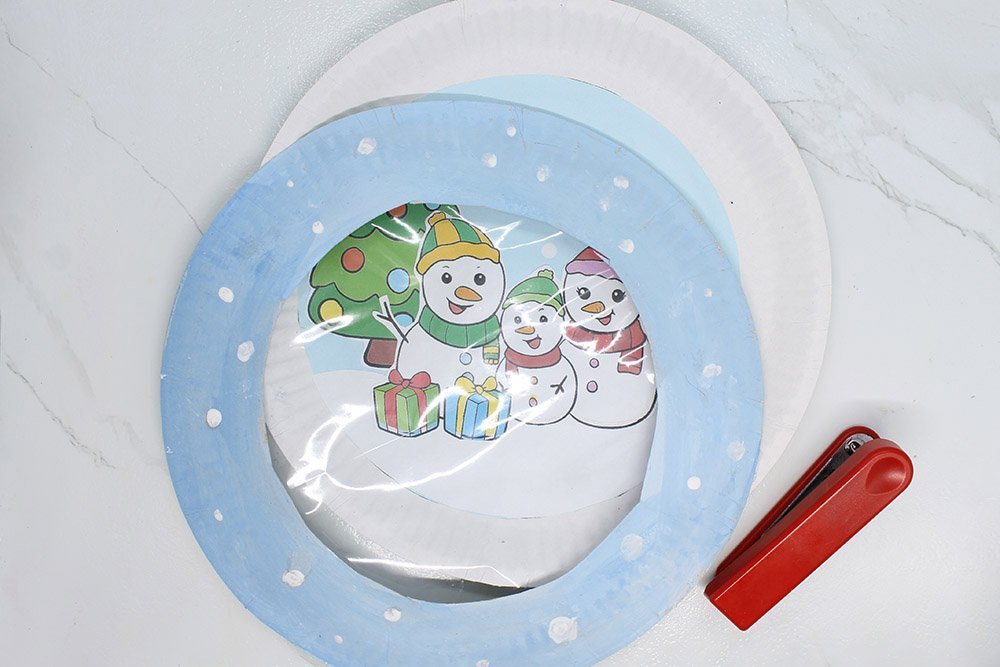
Get another paper plate. You will be pasting the trees, snowman's family, etc. here.
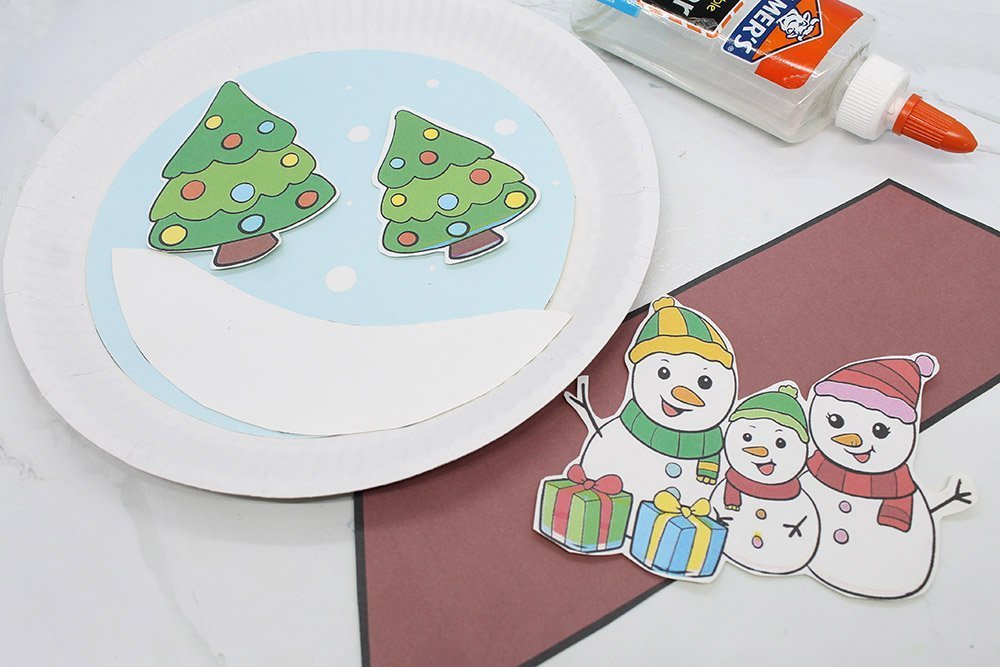
Get your glue and gather the cutouts in one place.
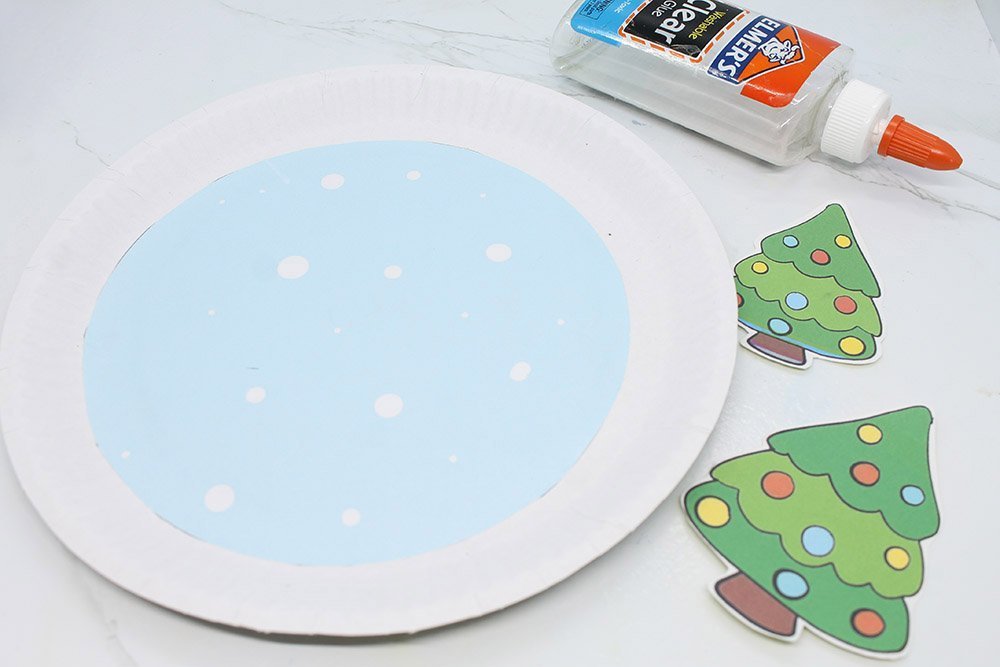
Glue the circular background on the center of the paper plate.
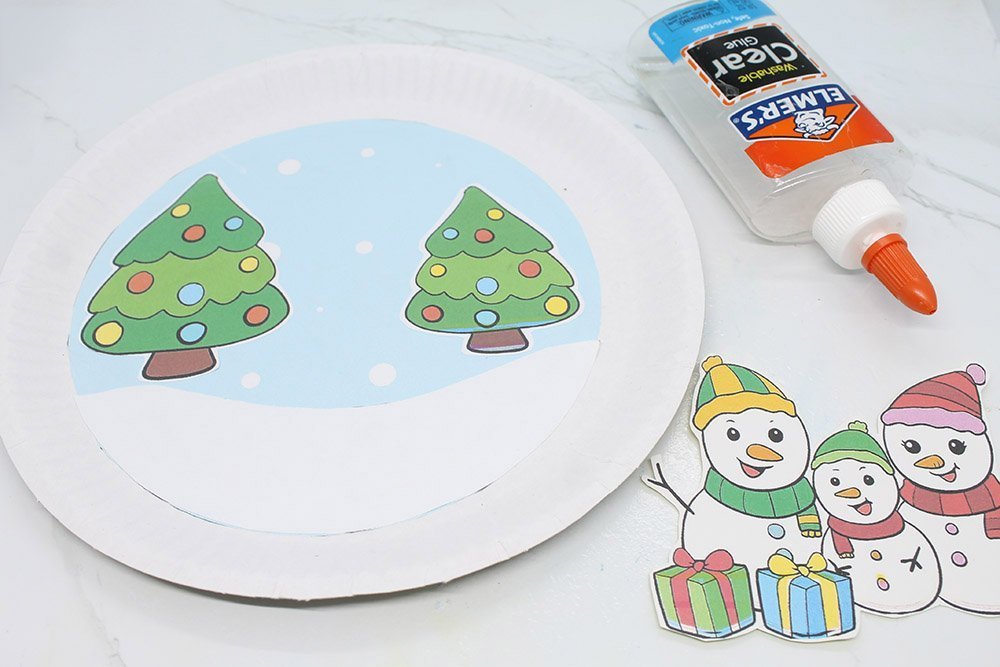
Then, paste the Christmas trees and snow pile like in the image above.
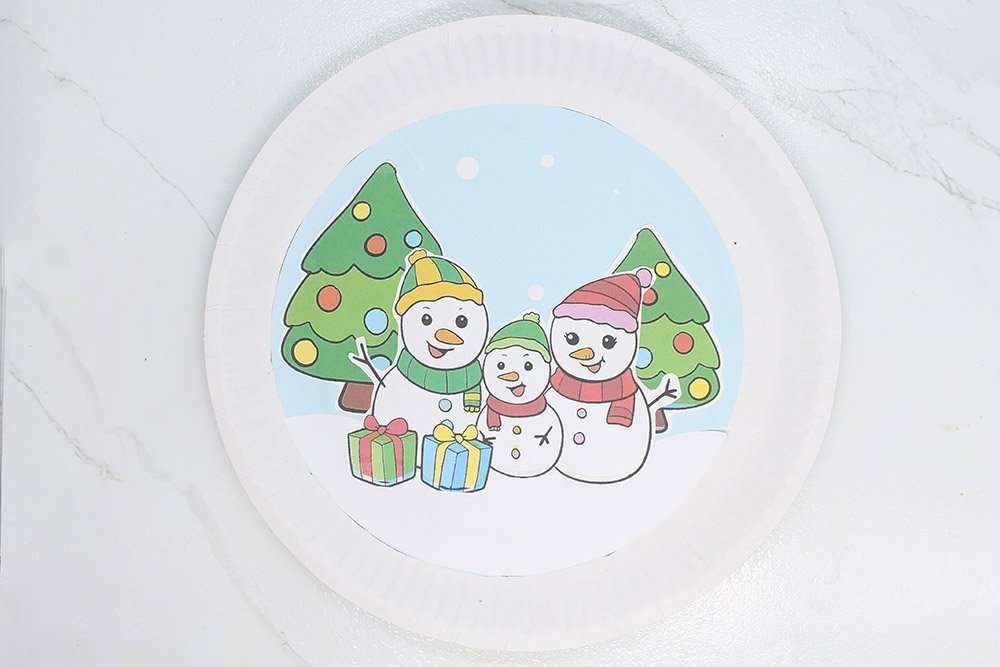
Finally, glue the family of snow people. What a festive scene, isn't it? Good job. Now it's time to finalize everything.
Finish making the snow globe craft
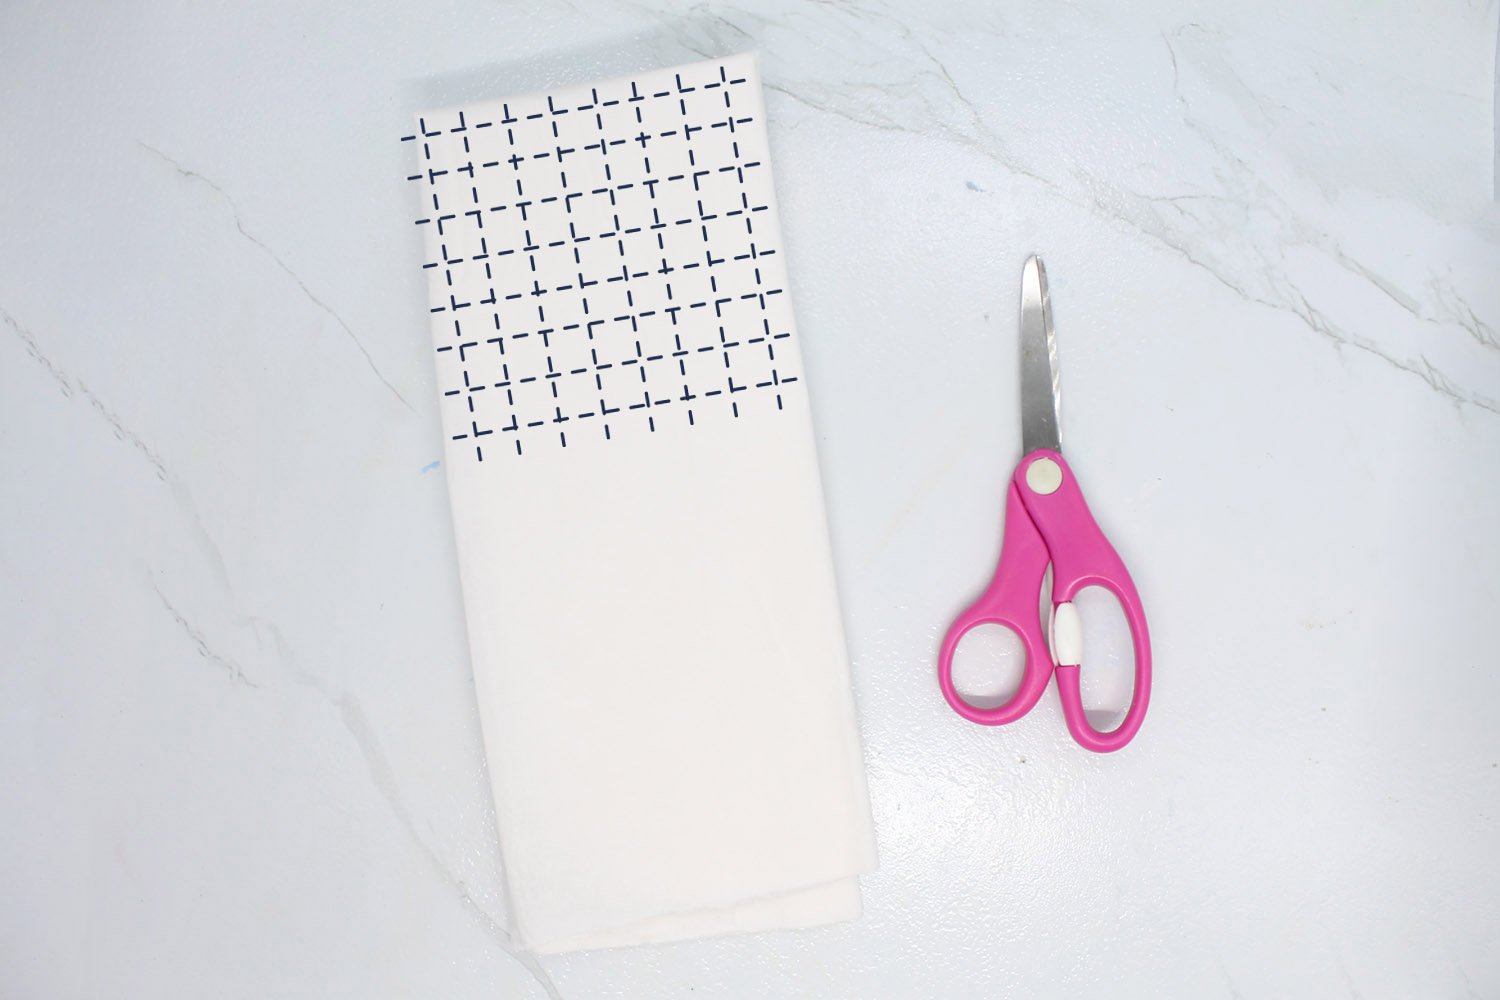
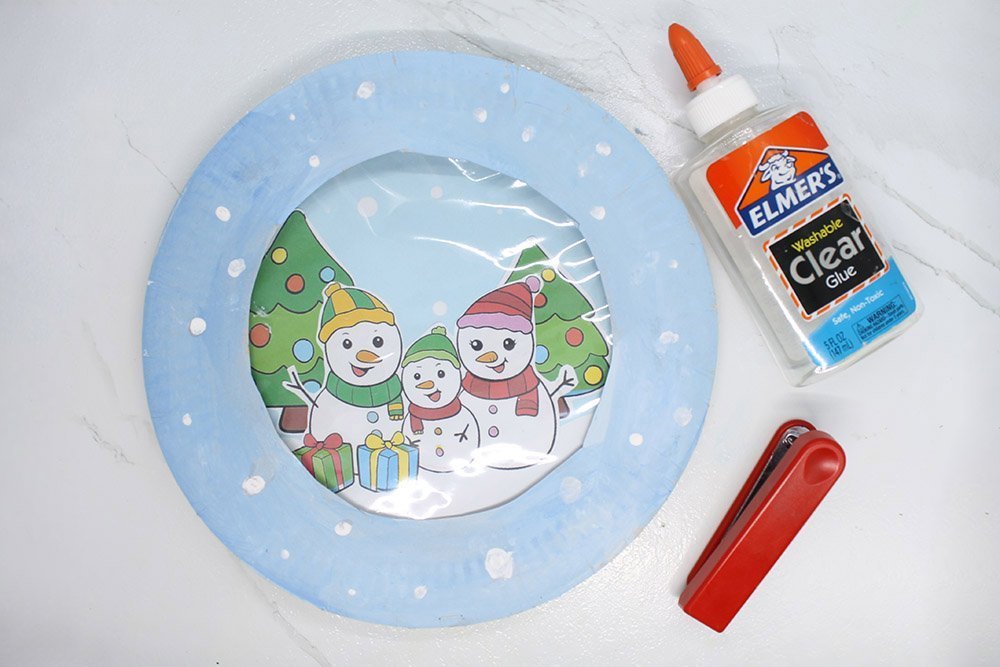
You are in the final stage of this snow globe paper plate craft! What type of snow globe would it be without the snowflakes or snow? Get a piece of white paper, then fold it in half. Cut along the dashed lines to make tiny squares.
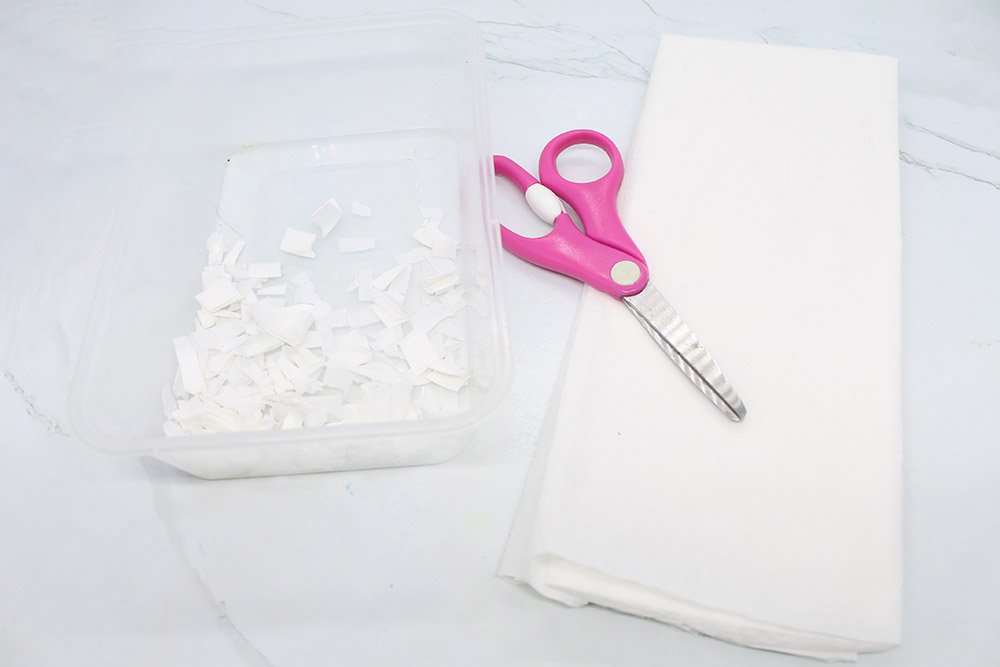
Gather all the fake snow in one pile. Set the snow aside for now.
Get your stapler and the paper plate frame made in the previous set of steps.
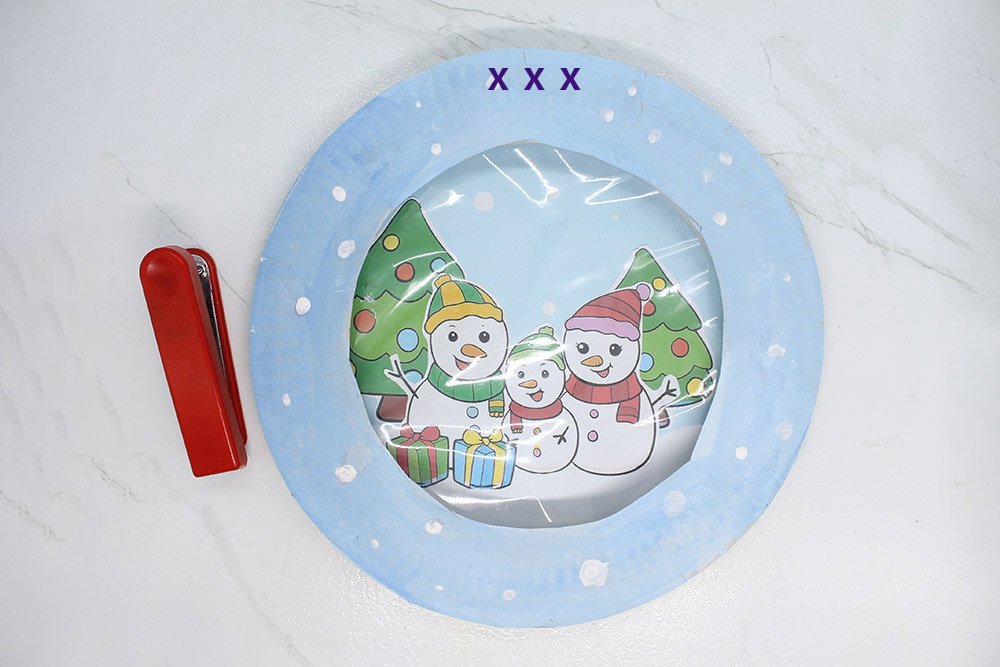
Staple the sides of the edges of the paper plate. Leave the top part open for now as you will be putting the snowflakes in there.
Make sure to staple the edges closely from one another so that the snow will not spill. You may glue the edges if you want just make sure to let the glue dry first before proceeding to the next step.
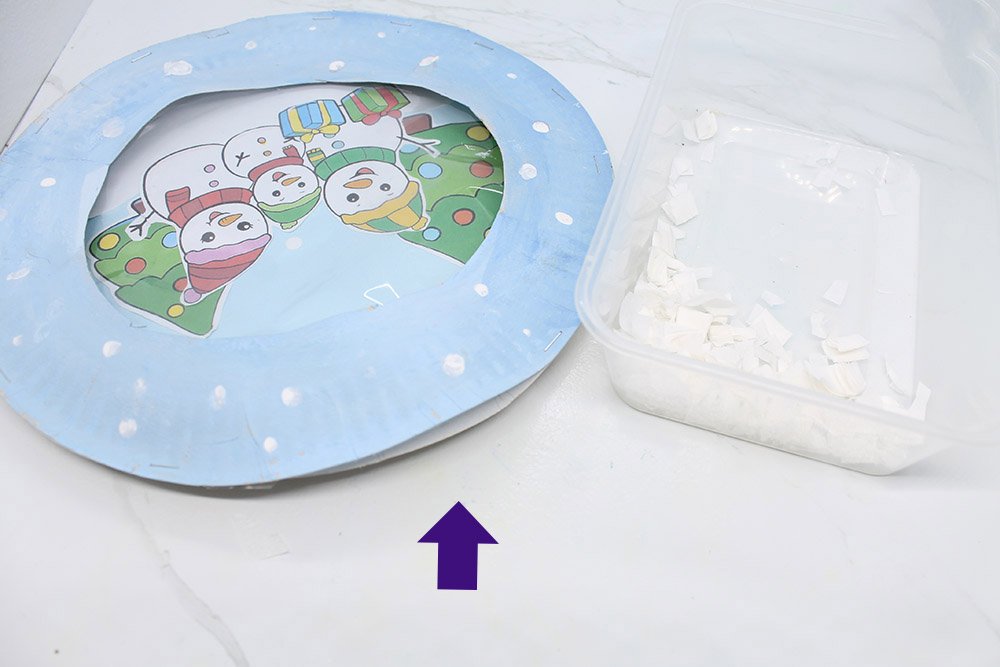
Pry open the top part so you could let the snowflakes in.
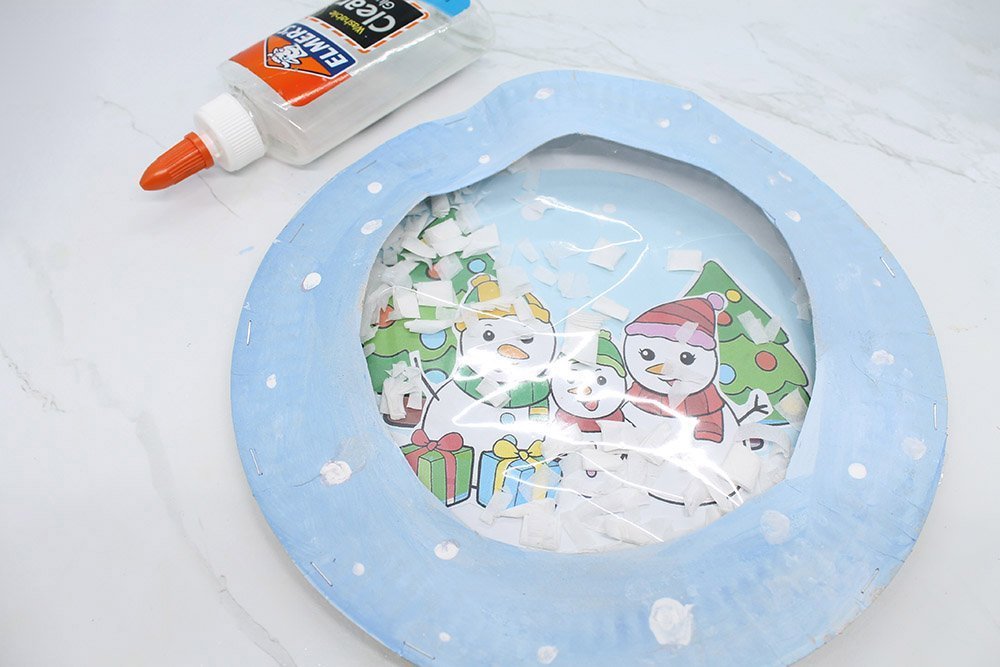
Put the snowflakes inside and seal the top edge using glue or a stapler.
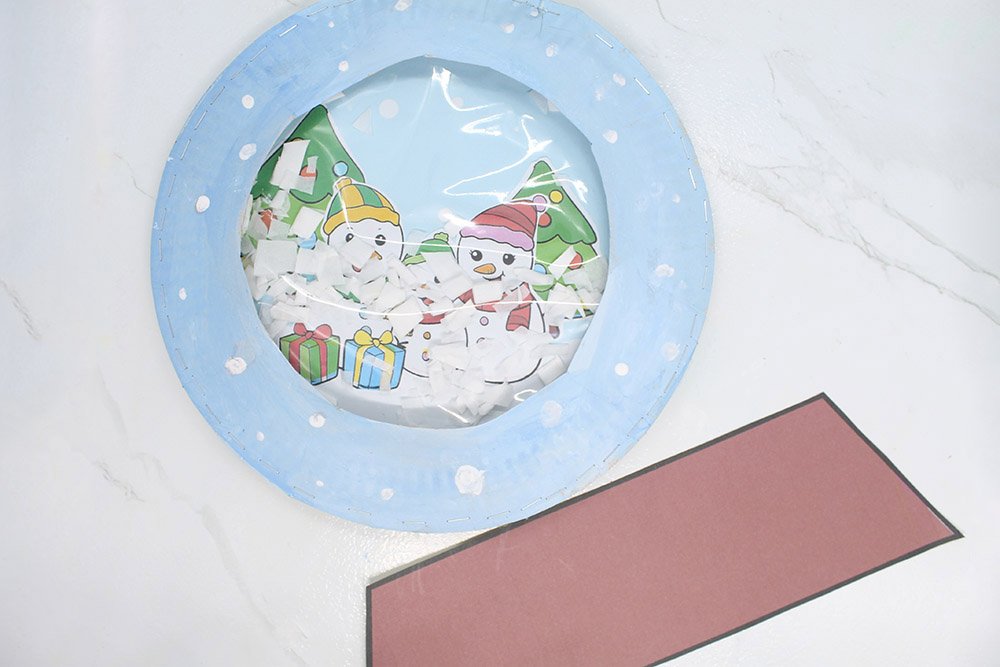
Get the trapezoid stand that you cut out from the printable earlier.
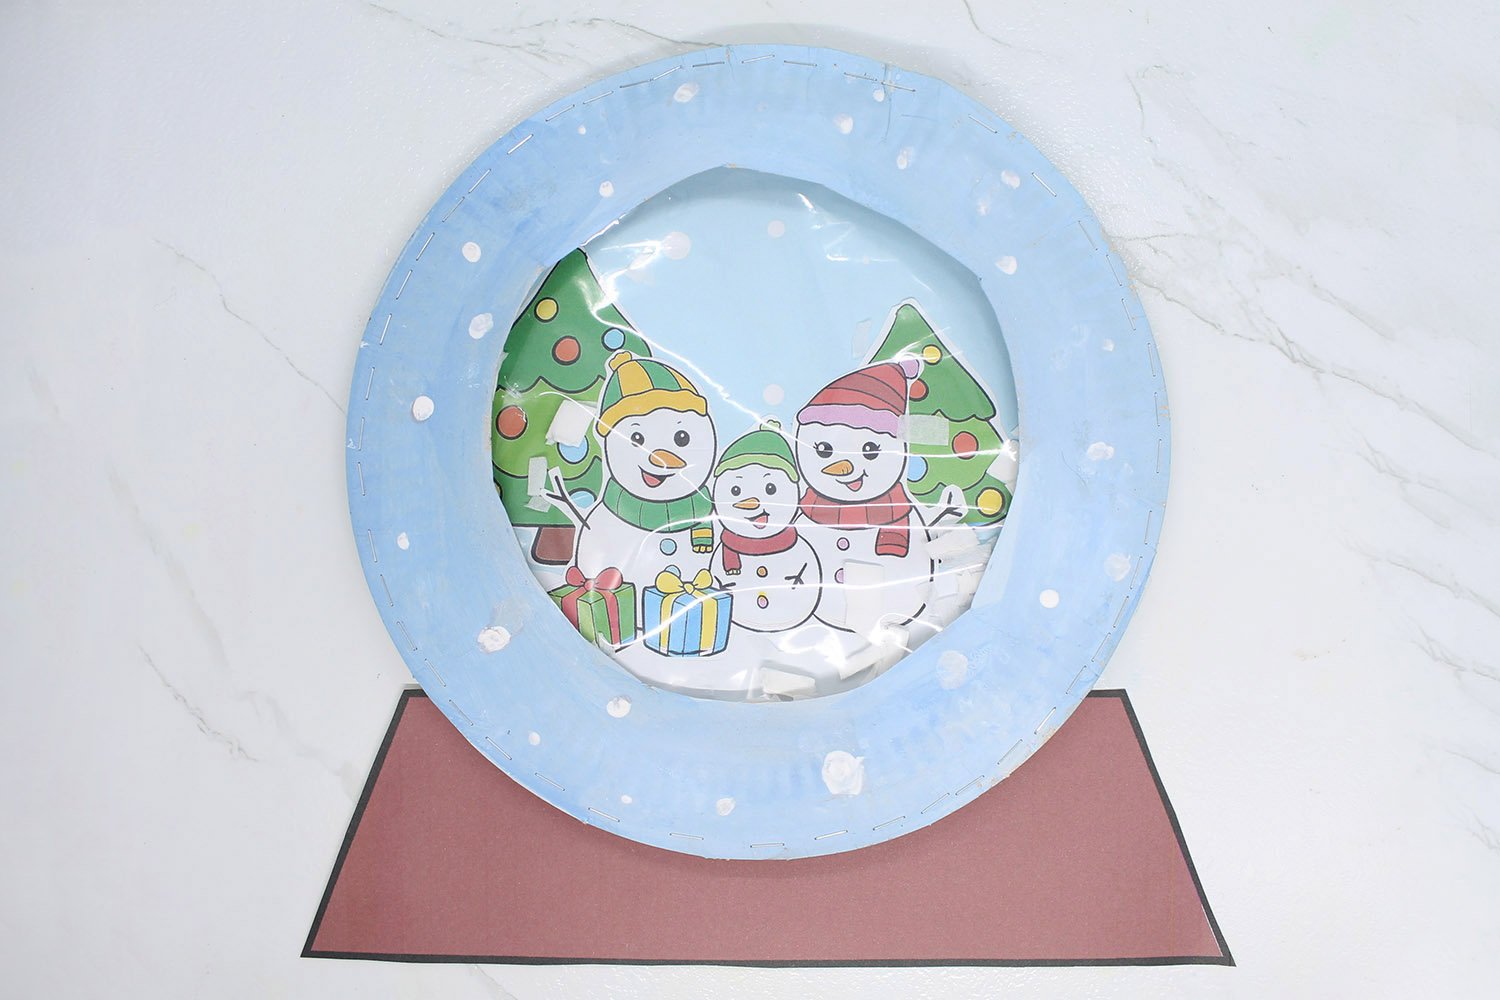
Glue it to the back of the paper plate snow globe. Shake the snow globe to make the snow fall. You have finished making this wonderful craft. For more awesome kids' projects, check out the articles below!
Extra Tips
- You could come up with your additional designs with this craft. Be creative and have fun with it.
- You could play around with the colors of the snow globe.
- Whenever a child is using a scissor, adult supervision is advised.


I was expecting 3-d but it’s still pretty creative
Fantastic guide, just what i wanted to see!
Mine turned out decently, I don’t think I did well
cool craft, y’all
Thanks for sharing this wonderful guide