Easy Paper Plate Witch Craft | Halloween Project for Kids

Introduction
Ever wanted to create something for Halloween? Try our adorable witch paper plate which is challenging but rewarding as well.
There will be lots of painting and decorating so your creative side will be brought out. What’s cool about this spooky sorceress is that you can make it cute or truly scary. Let nothing limit your imagination.
And remember to have fun and enjoy the process!
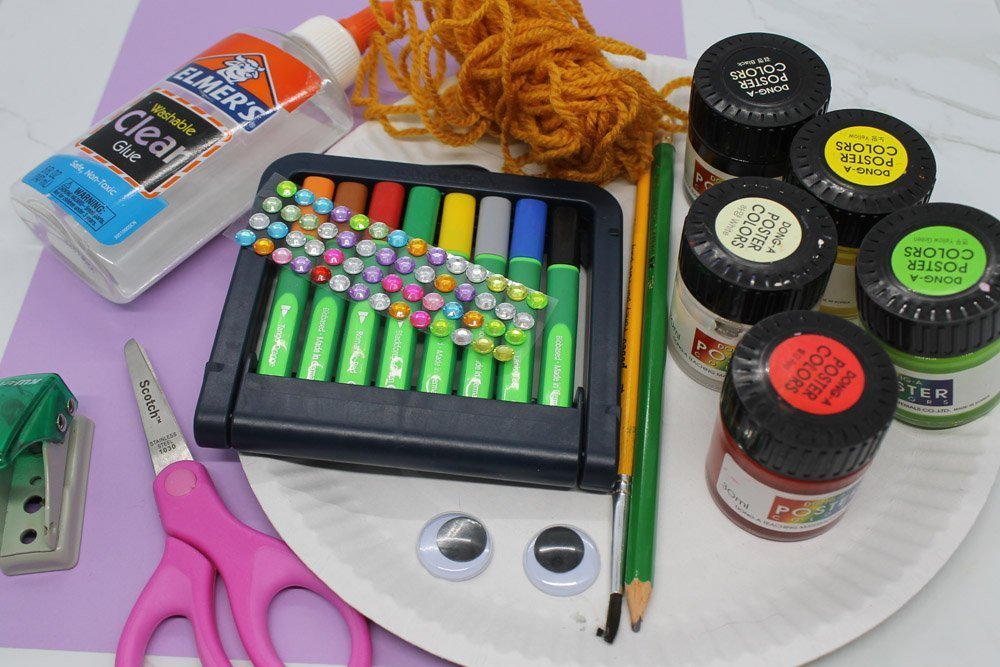
Tools
- Pencil
- Scissor
- Paint brush
- Puncher
Supplies
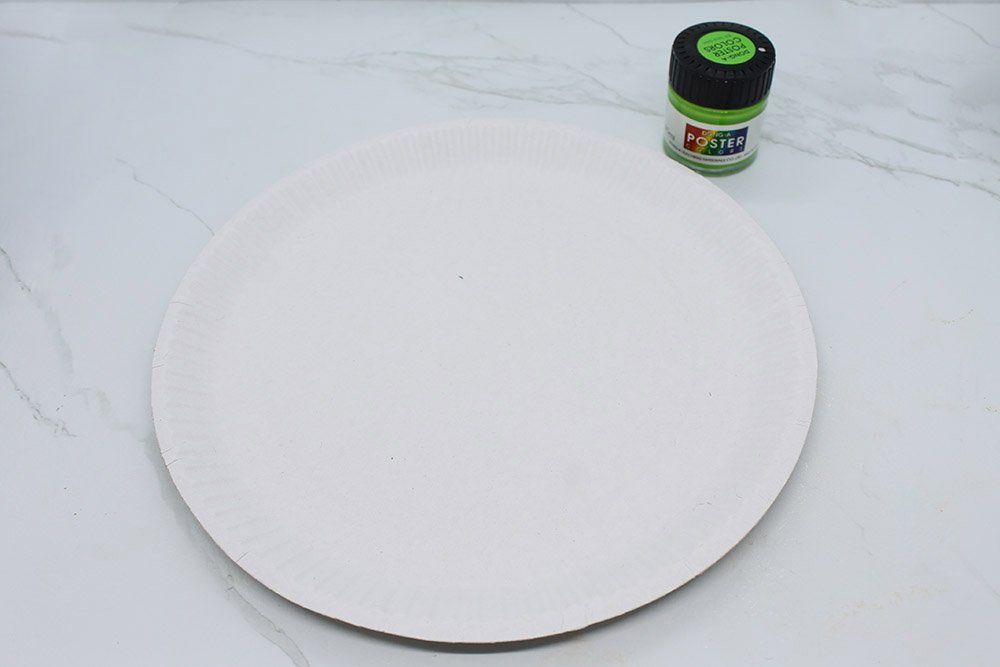
- 5 Poster Colors (White, Green, Red, Yellow, and Black)
- Paper plate
- Yarn
- Glue
- Circle stickers
- Googly eyes
- Purple construction paper
Make the Shape of the Witch's Hat
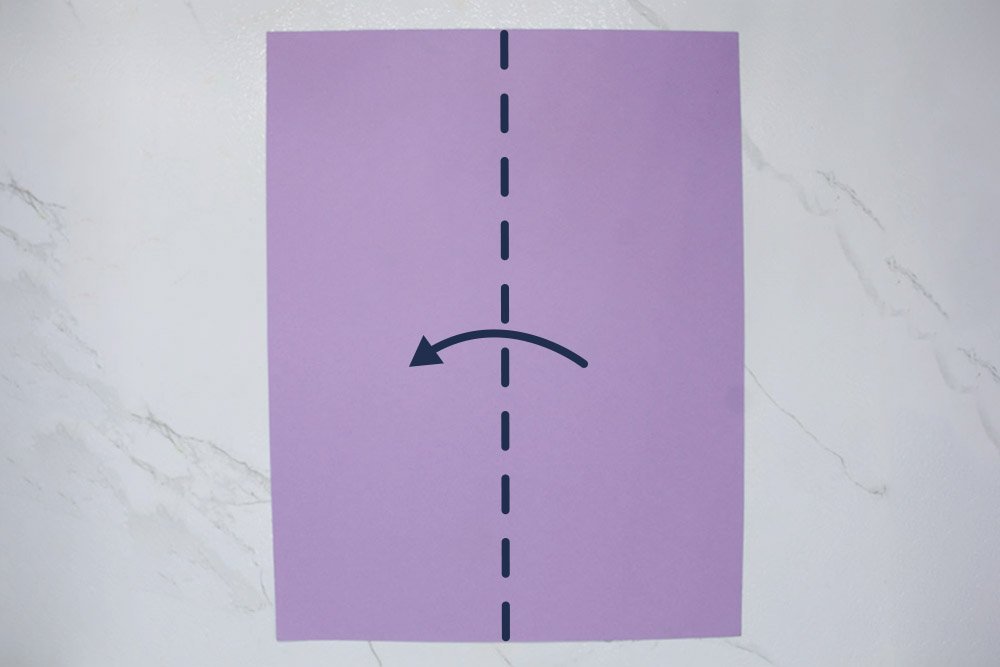
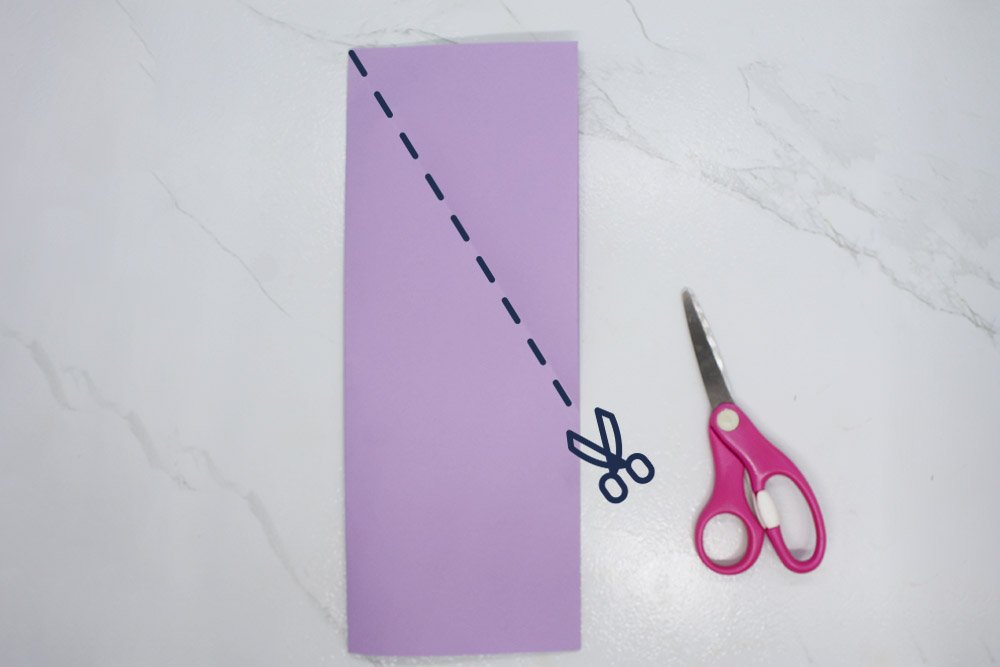
Fold one construction paper vertically. Make note of the dashed lines.
For this instruction, I've chosen violet as the base color but it can be another color of your choice.
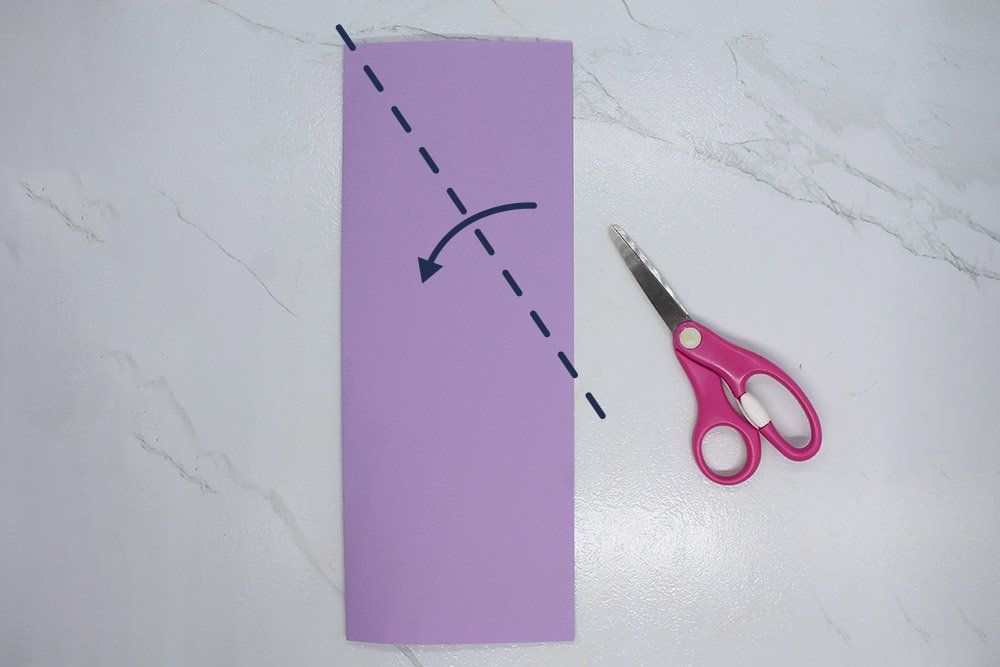
Fold the paper diagonally as shown in the picture above. This will aid you in getting a perfect cut.
Unfold the paper. There should be a crease mark that will be useful when using the scissors.
Cut as indicated by the dash lines. Use the crease mark as a guide.
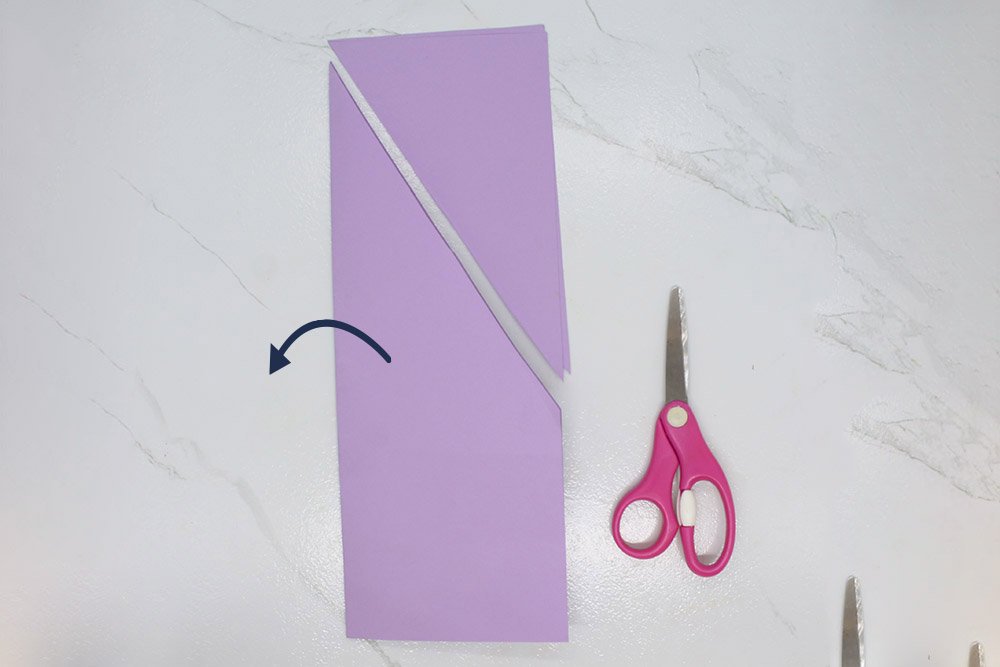
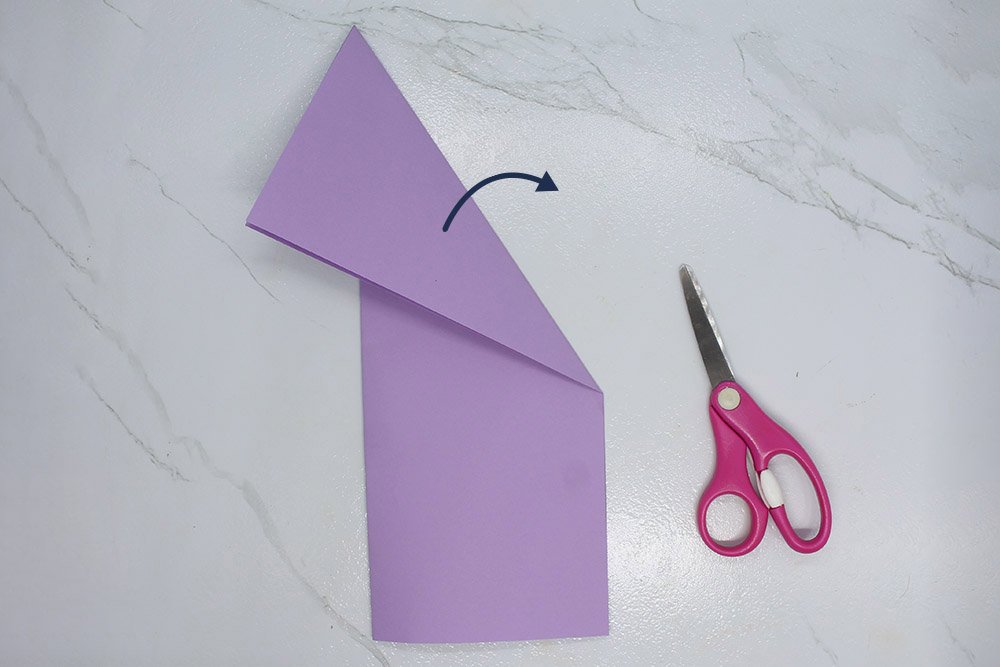
Unfold the larger piece of paper and discard the the other one.
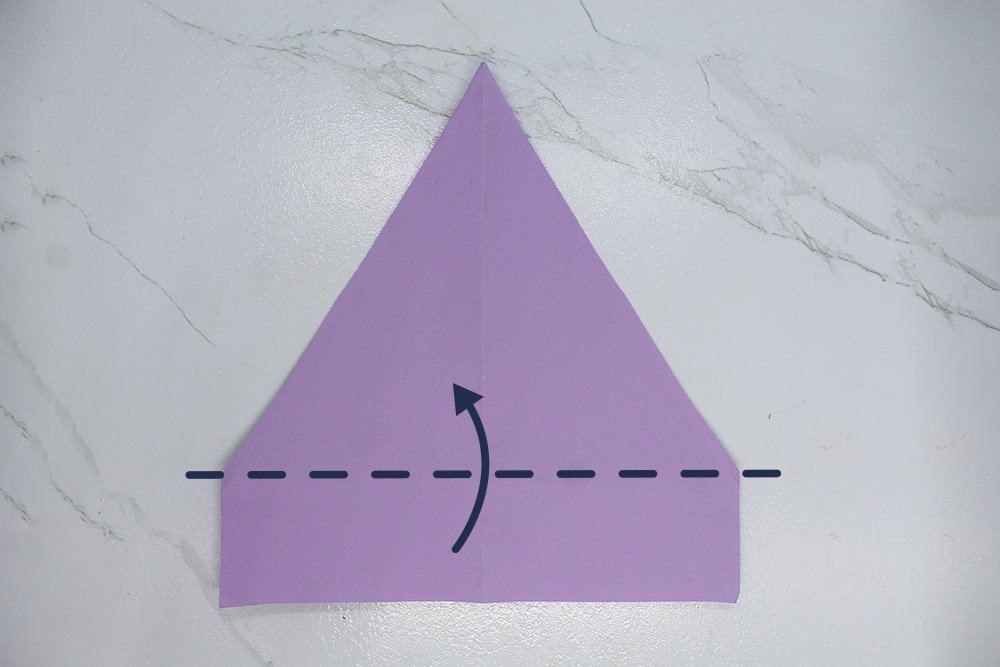
Fold the rectangle upwards as shown in the instruction.
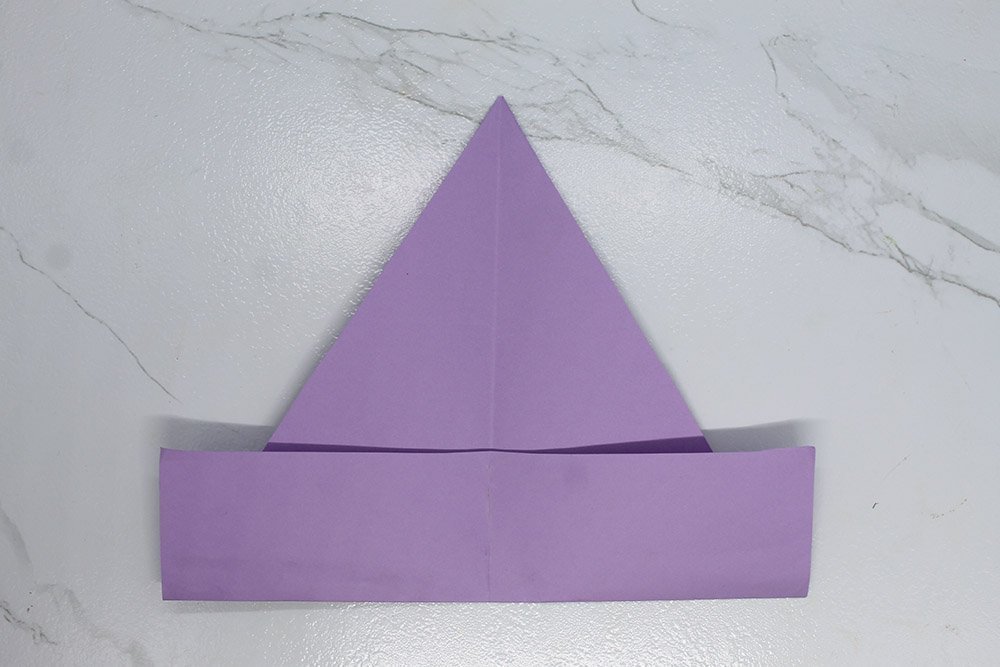
Good job! You have made the Paper plate witch hat. Now, it's time to decorate our witch hat.
Decorate the Halloween Paper Plate Witch's Hat
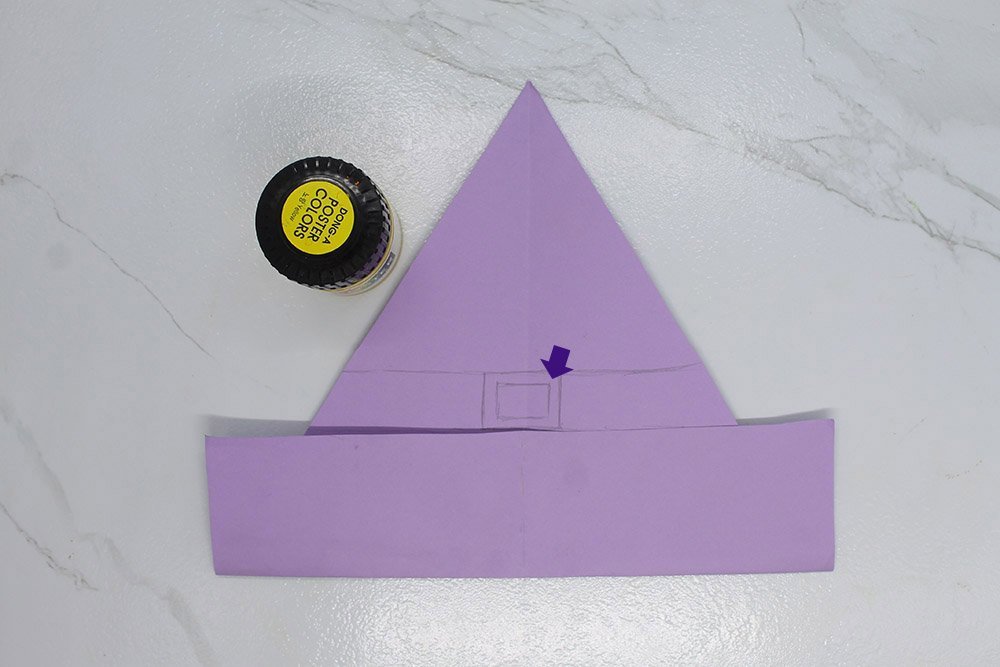
Draw some details at the base of the triangle. In making the hat band, think of making a belt. Our spooky friend will go to Halloween in style.
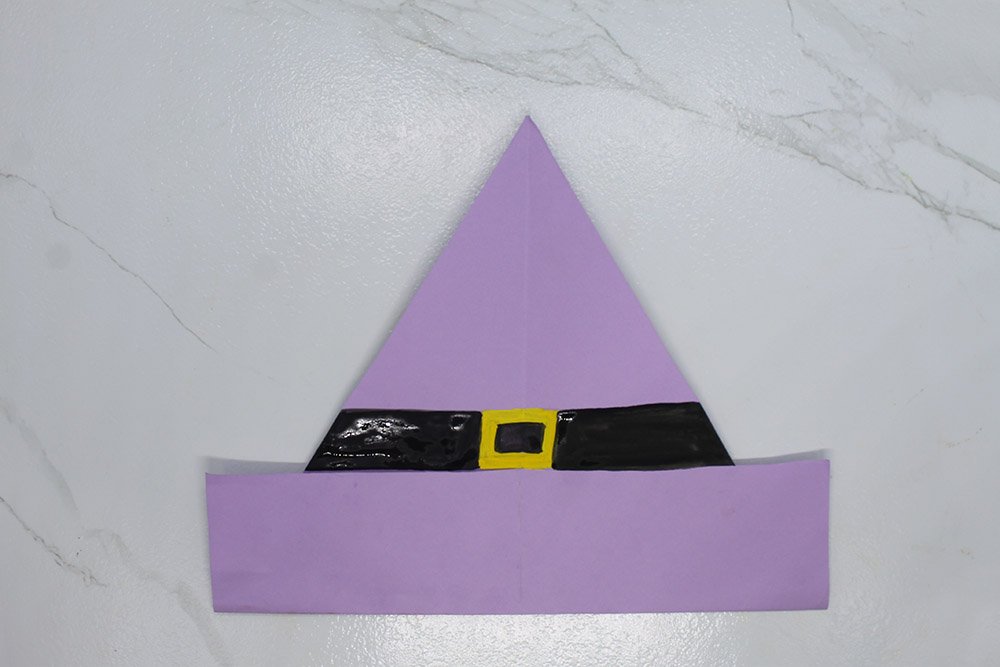
In our hat, we used black and yellow paint. What will yours be? Brown and silver would also look good.
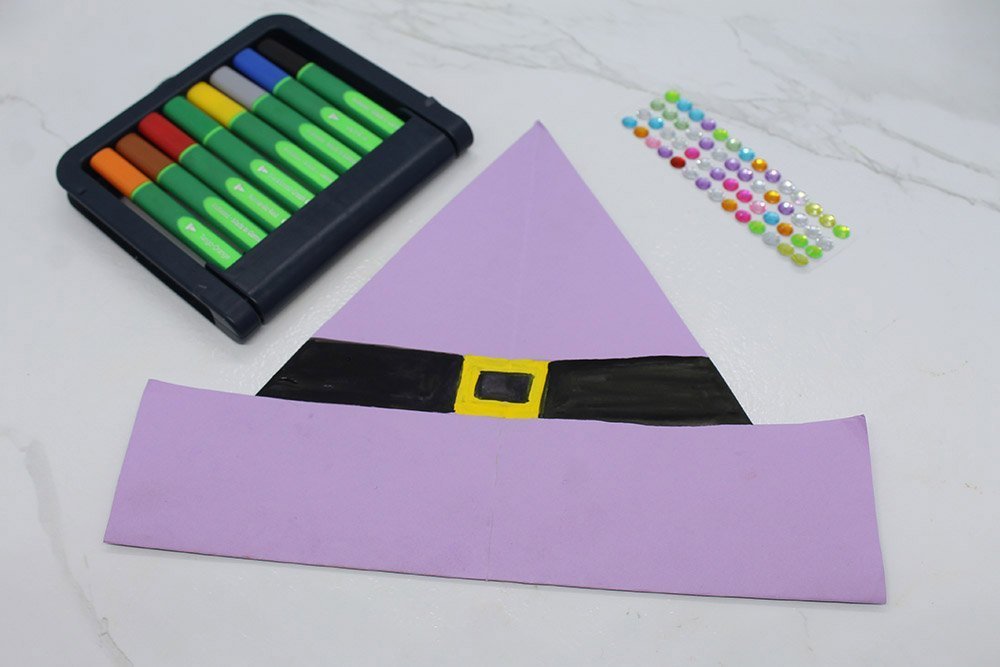
Time to add more details to our craft. You could use different art materials for making the decorations such as glitters, crayons, and paint.
I used stickers arrayed in a random pattern for my paper plate witch's hat.
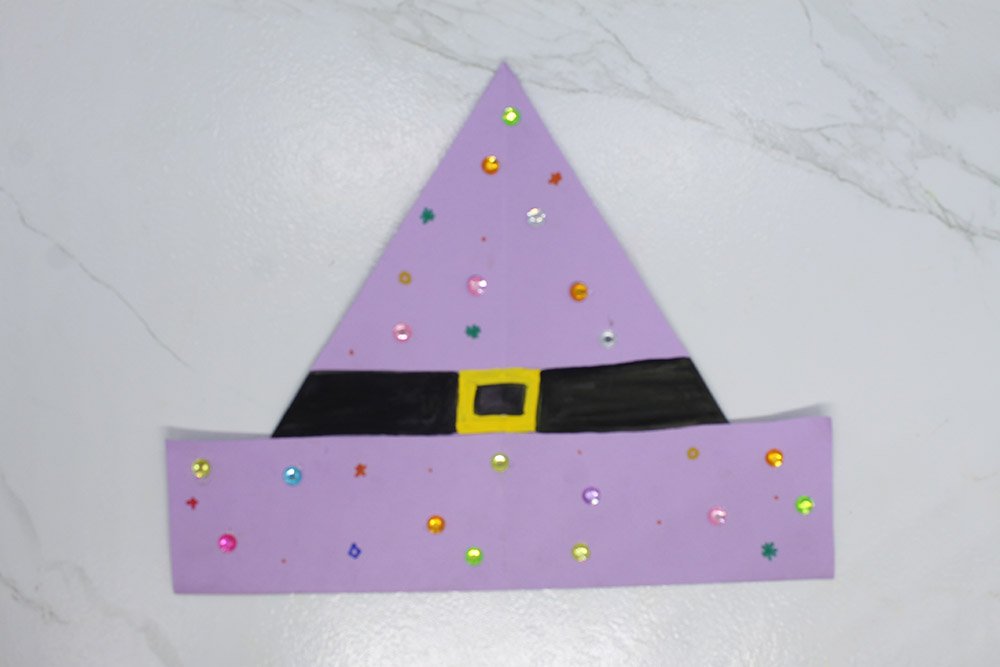
Excellent. You are halfway through making the witch paper plate.
Give the Paper Plate Witch Some Hair
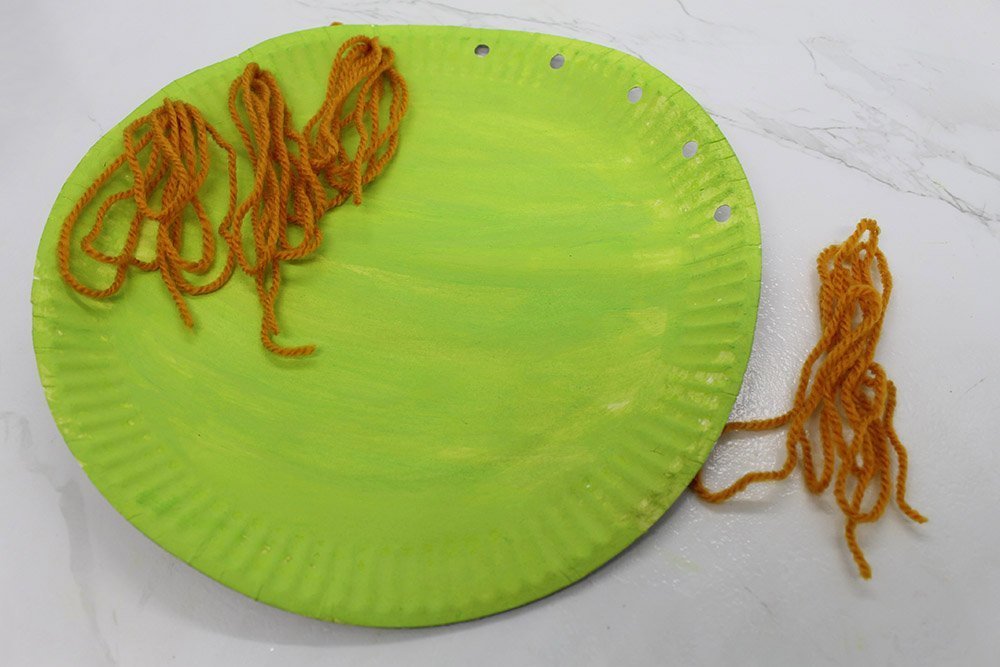
Paint the paper plate green, although you could choose another color. Green seems a spooky color for a face.

Mark eight spots to which you will use your puncher to make holes. Space them correctly as this will be the place to insert the hair of our witch.
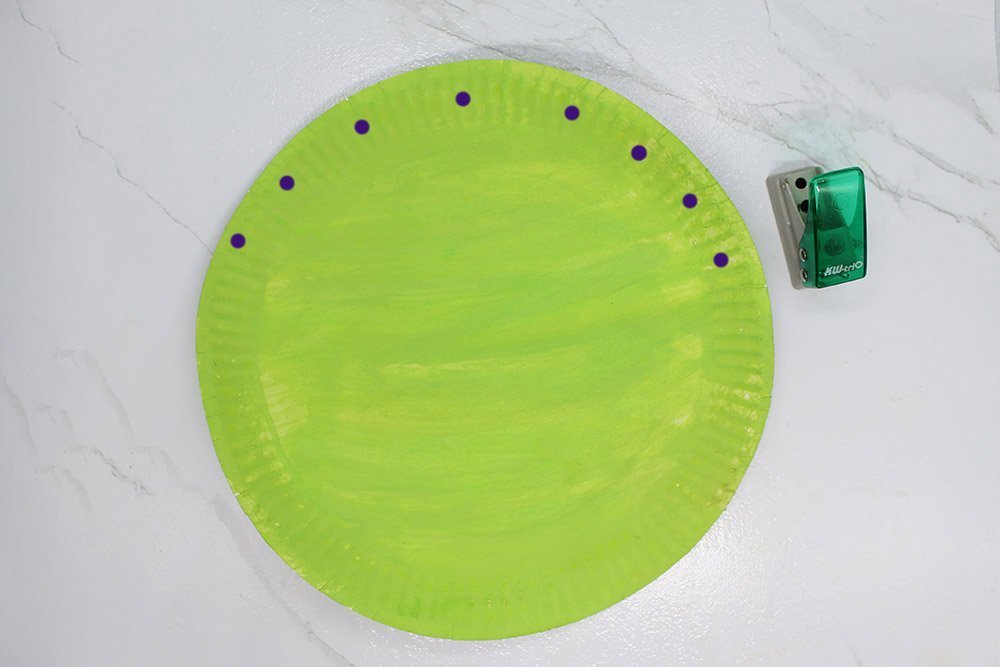
After using the puncher, our paper plate should now look like the image above. Next, get a length of yarn. It shouldn't be too long or too short.
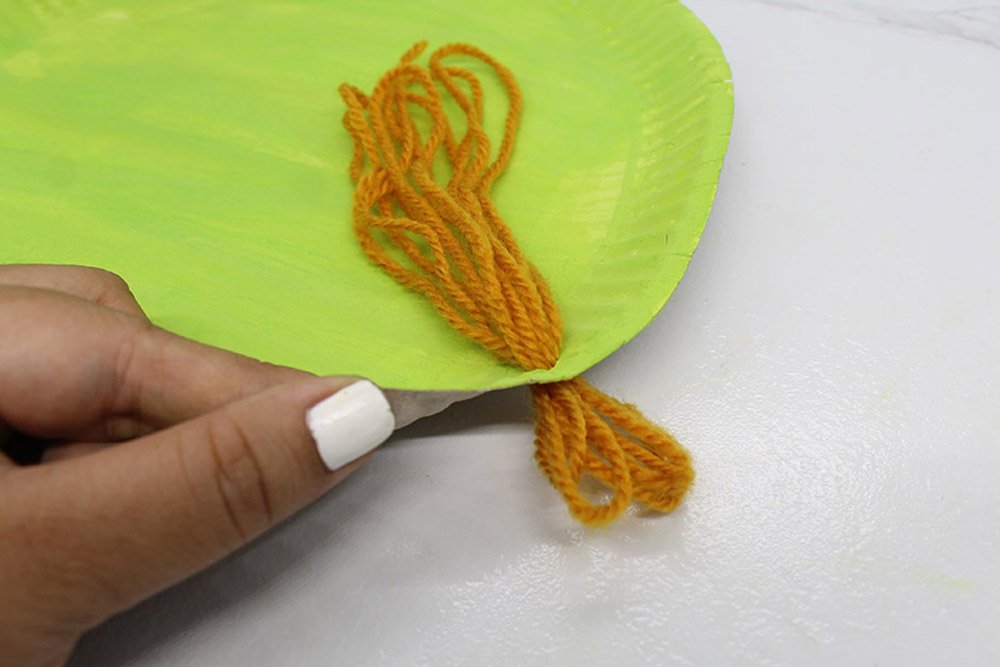
Now, keep on folding the yarn in equal lengths until it can't be done anymore.

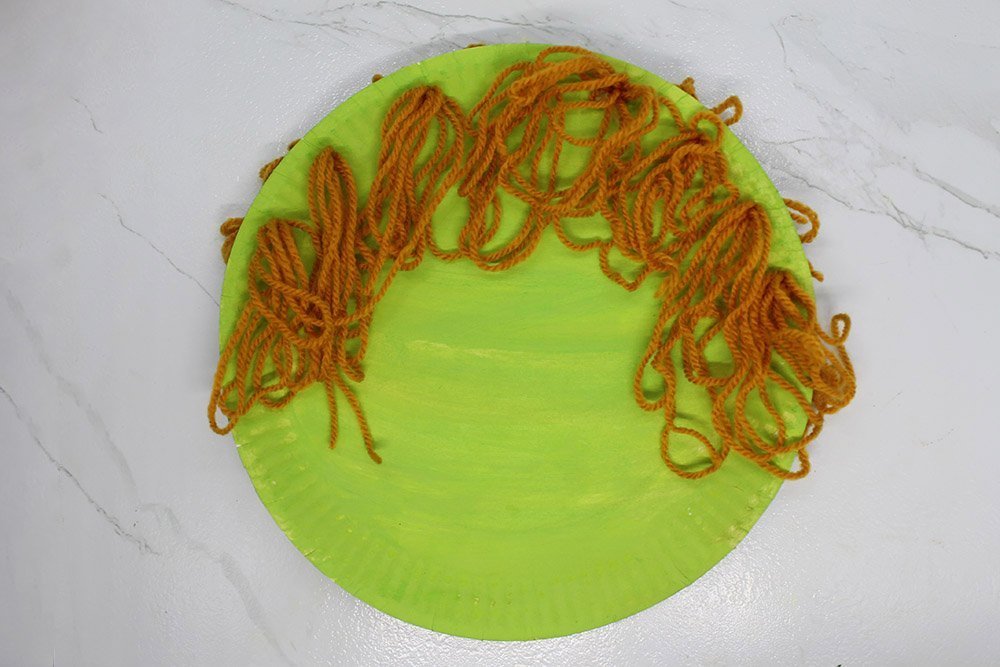
The yarn should look like the one above. Then insert the end of the coiled yarn into one of the holes.
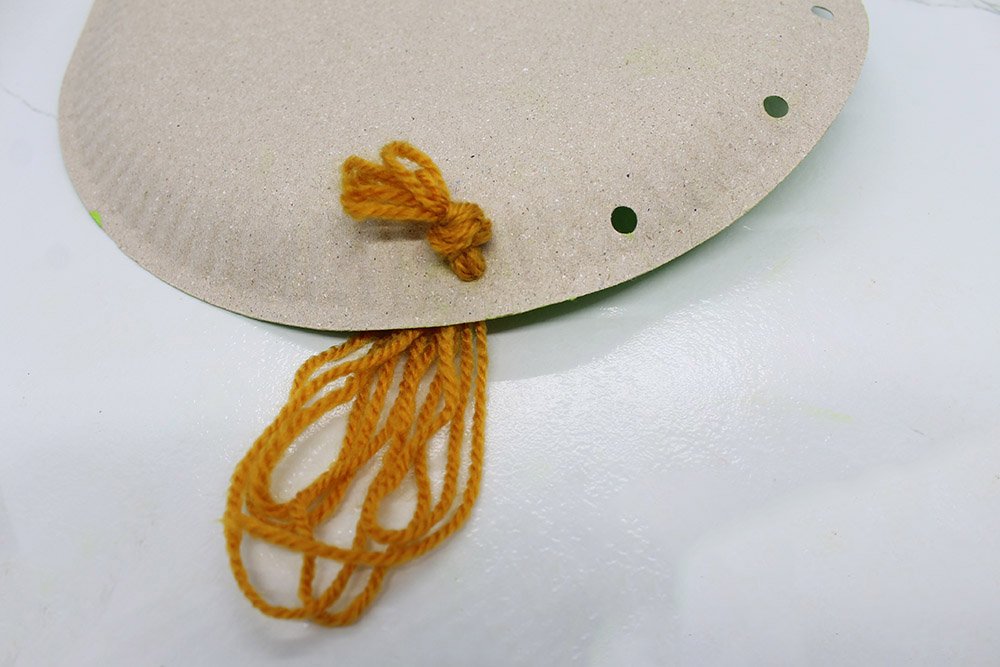
Make a knot on the unpainted side of the plate to seal the yarn/hair in place.
Tip: You can ask an adult to help you on this part or you could a pencil to assist you in the task. Be careful.
Flip the paper plate and start working on the other holes next.

The front side should look like the image above. Continue repeating the steps until all holes are filled with hair.
You are almost done with making the hair!
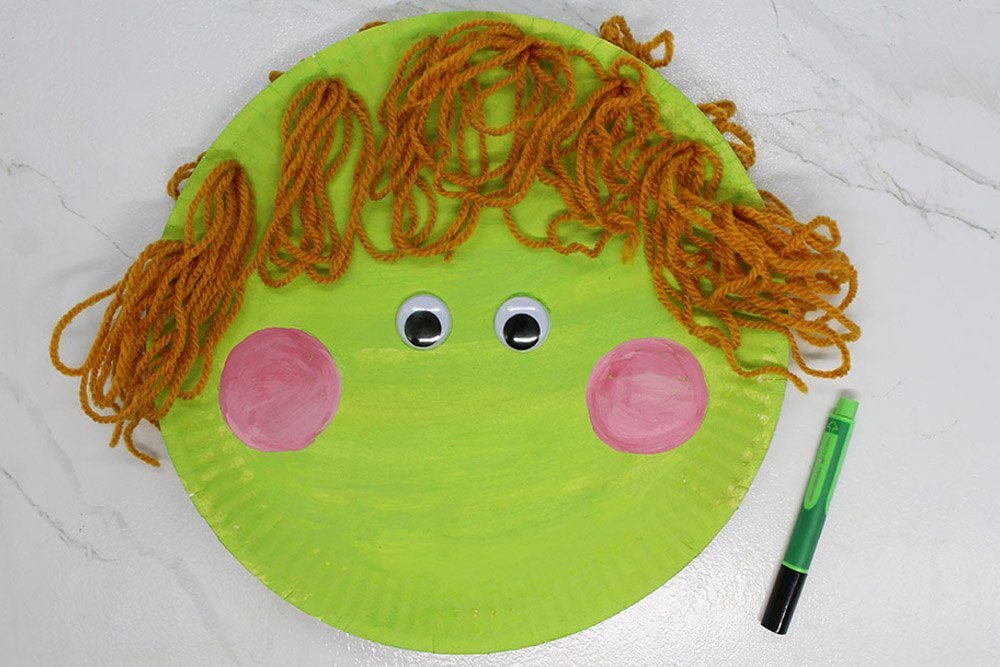
You have successfully made the hair's witch. Next we will complete the face of our character.
Make the face of the Witch
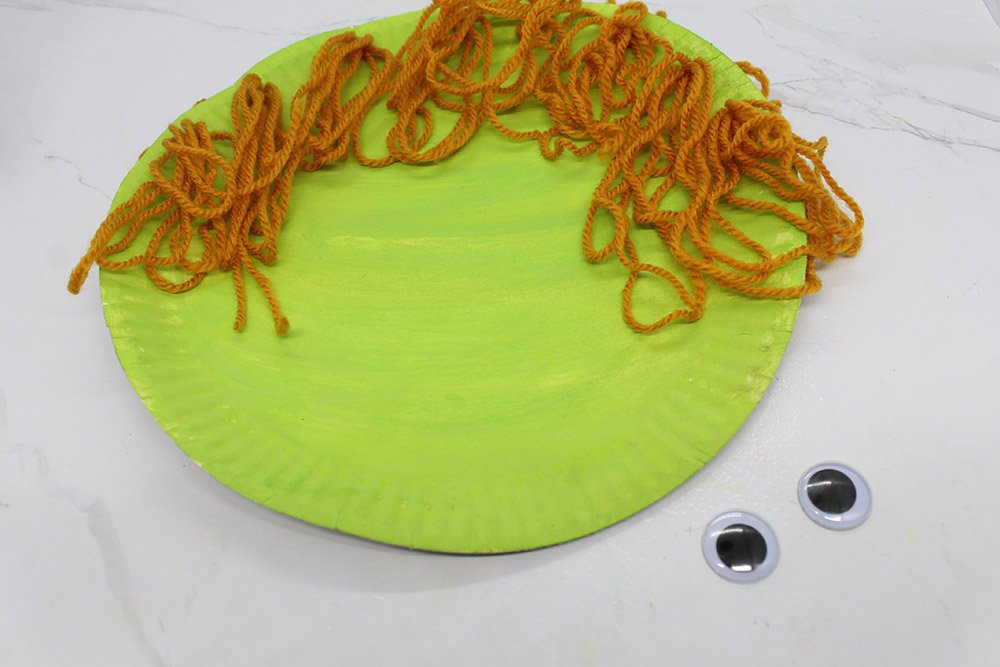
Add the googly eyes with some glue.
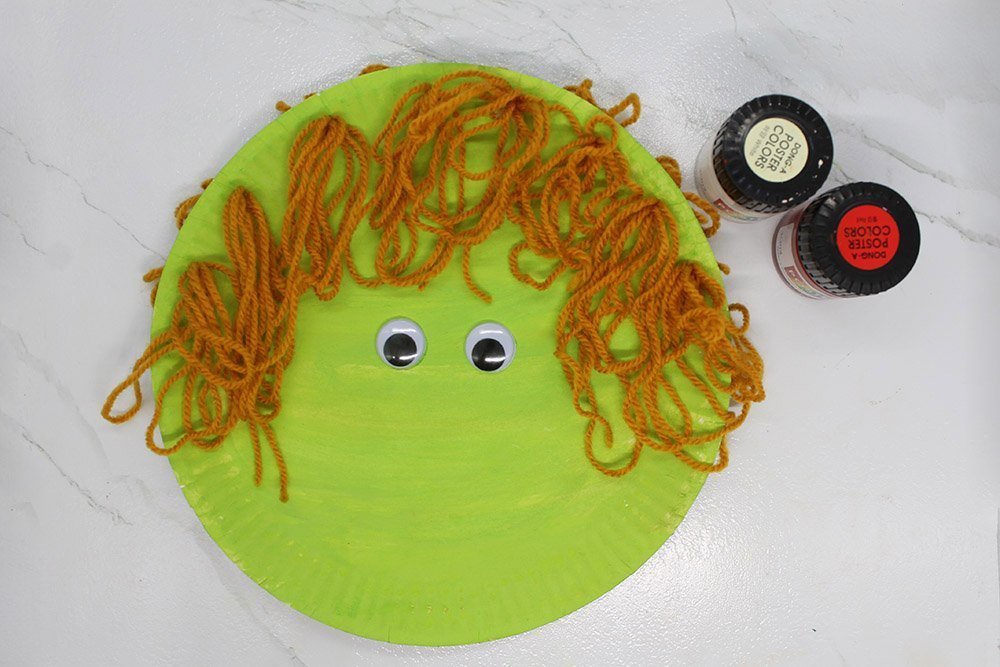
Draw and paint pink circles for the cheeks. Of course, other color options are alright as well.
Add the nose with a black marker or pentel pen. I choose a simple triangle nose for my witch.

Draw a simple smile to complete the face.
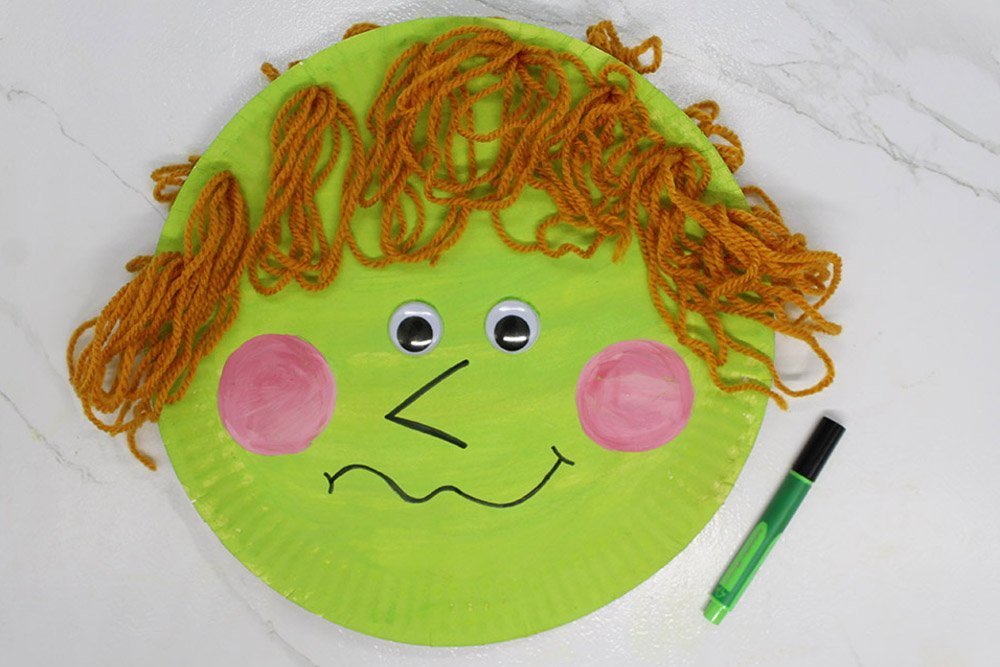
Good job! You are close to making this Halloween art piece.
Bring the Hat and Face Together
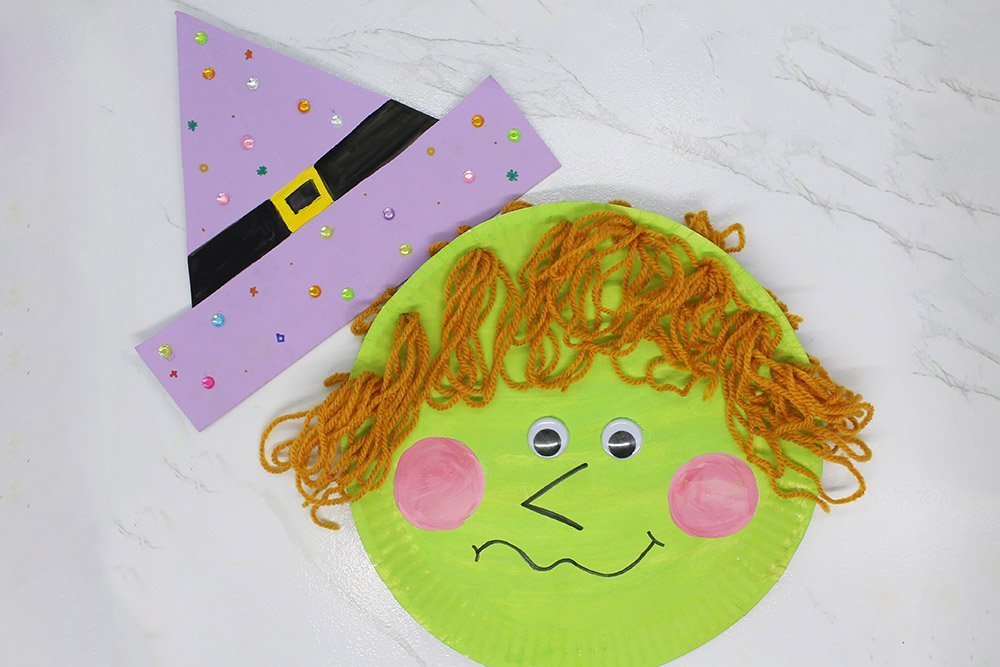
Join the hat and face together with some glue. Doing so would complete our paper plate witch.
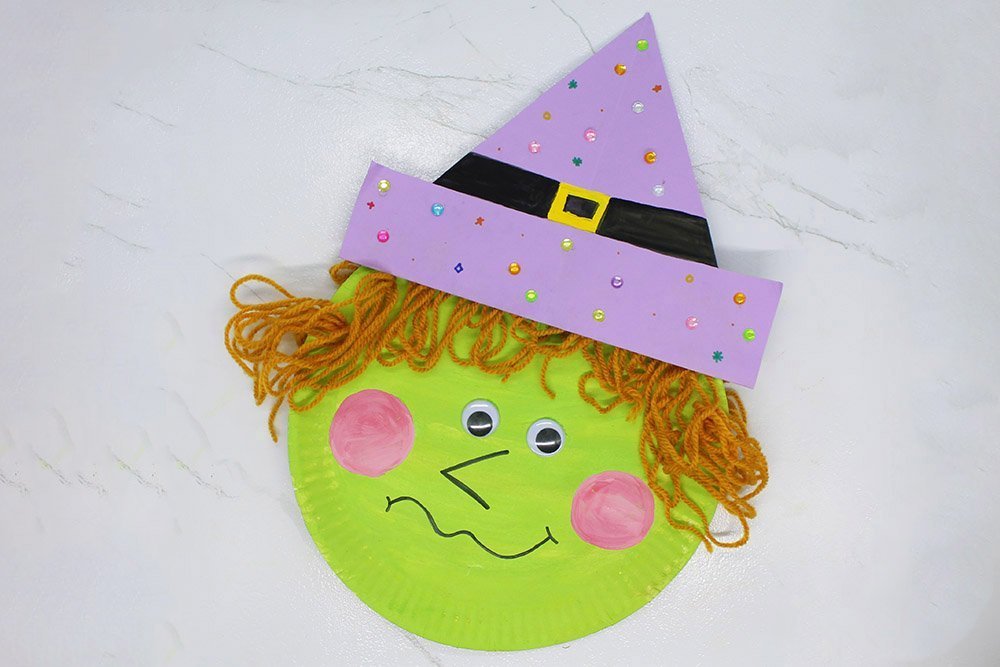
Congratulations! You have made your own Halloween sorceress. Now, you can let your kids display their crafts as decorations come Halloween.
Extra Tips
- The longer the yarn the thicker the hair would be. Try to make the length of each yarn even so that the thickness of each strand would be the same.
- Instead of circles for the cheeks try to explore other shapes likes stars or crescent moons.


Friendly looking withc 😄😄
Well, kids get scared easily hehe.
But it was a fun craft to make with my kid though ahaha if not if not slightly annoying
I love this. I imagined it would be a lot of work but the steps were clear and you can see that the writer is encouraging, like a friend teaching you stuff
Your paper plate witch is nice <3, will probably make this come Halloween