Best Paper Airplane for Distance Tutorial

Introduction
This paper airplane glider is ideally designed for long distances thanks to its large wings. The plane’s multi-layer fuselage makes it more stable when flown in the air. That is why the winglets of the wings are deliberately left for this glider. For this airplane, it is better to use a DIN a4 paper. If you don’t have an A4 paper on hand, other papers in DIN format are okay to use.
Make a Triangle Tip on the Left Side
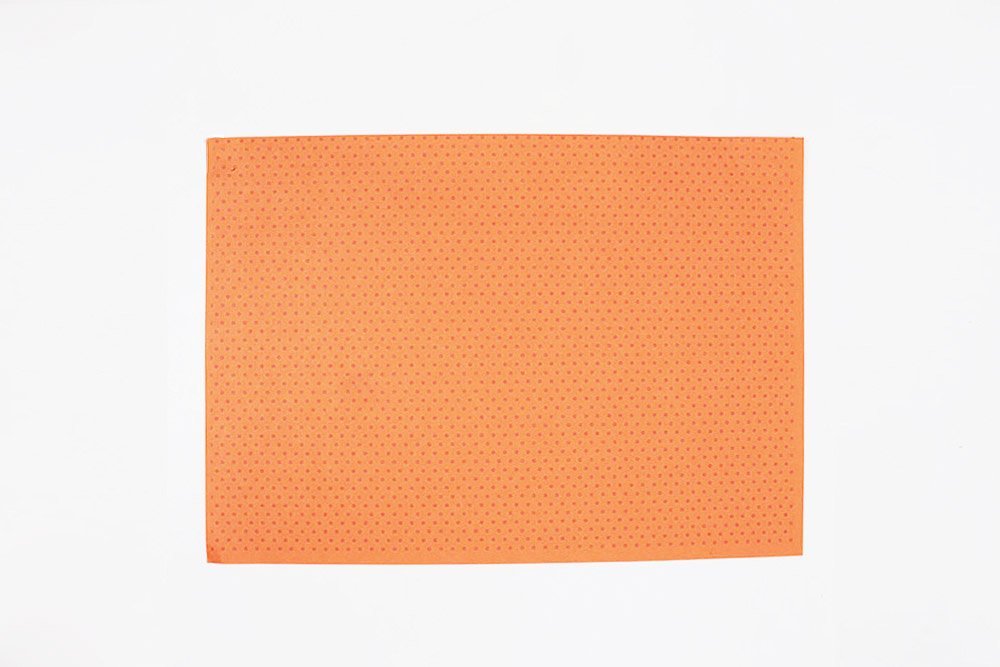
Lay the paper in a landscape format.
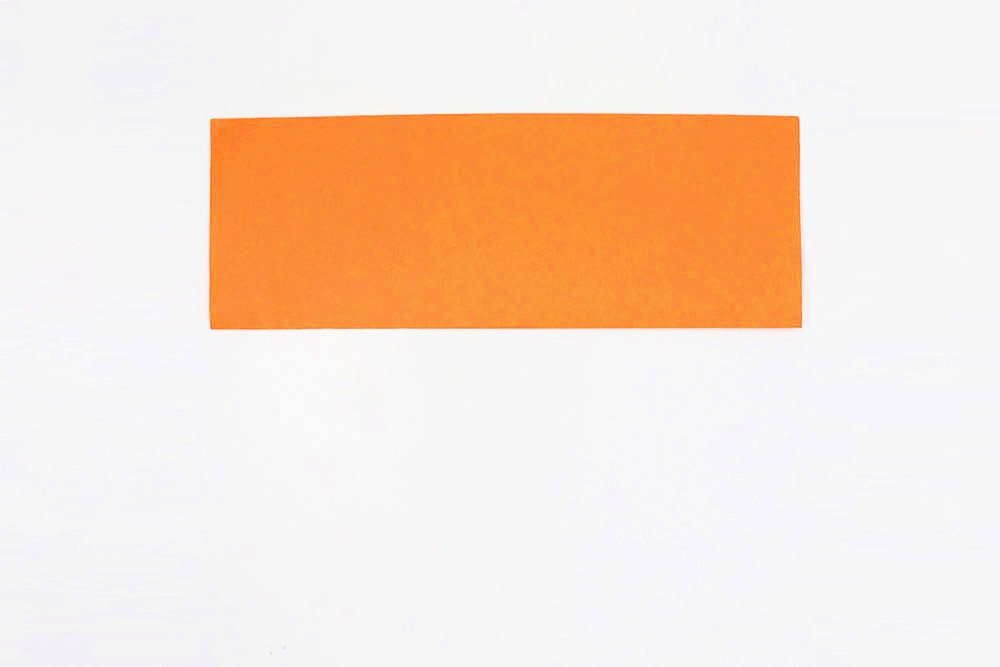
Fold in horizontally in half. Crease it well and then unfold.
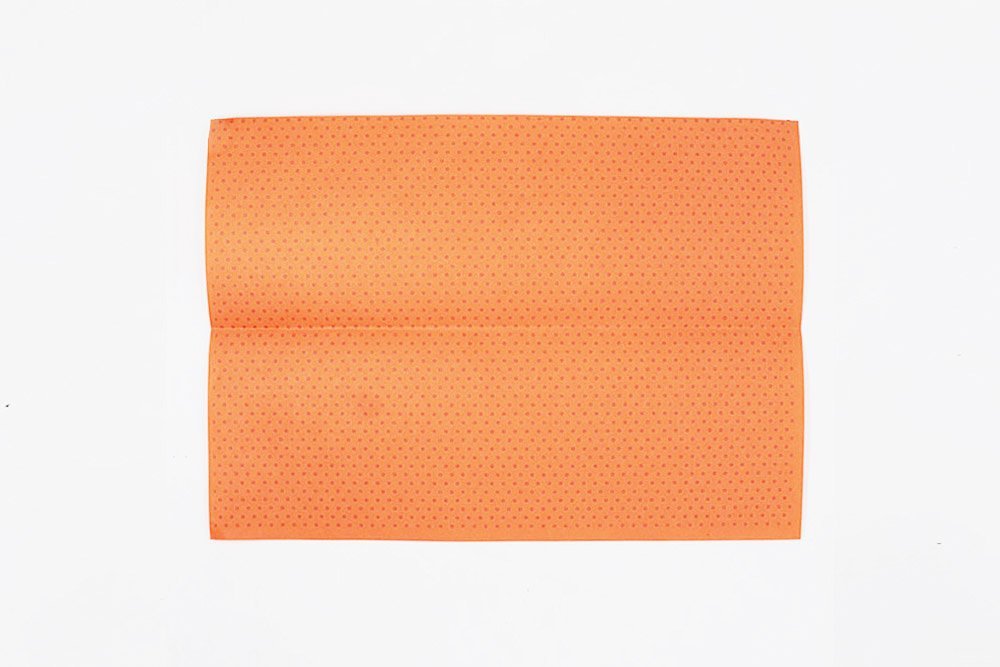
Fold in horizontally in half. Crease it well and then unfold.
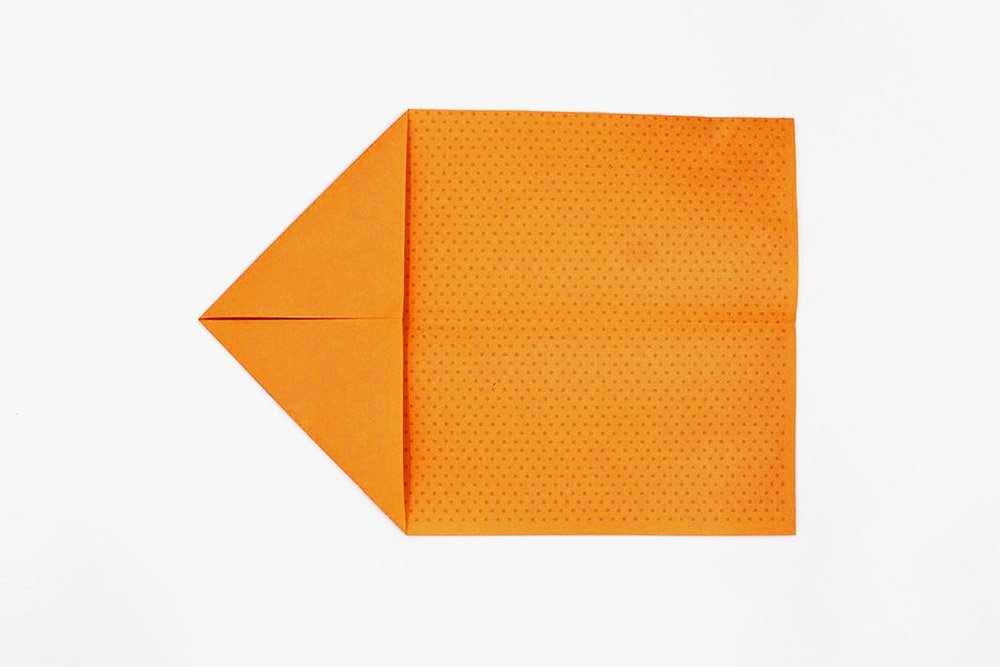
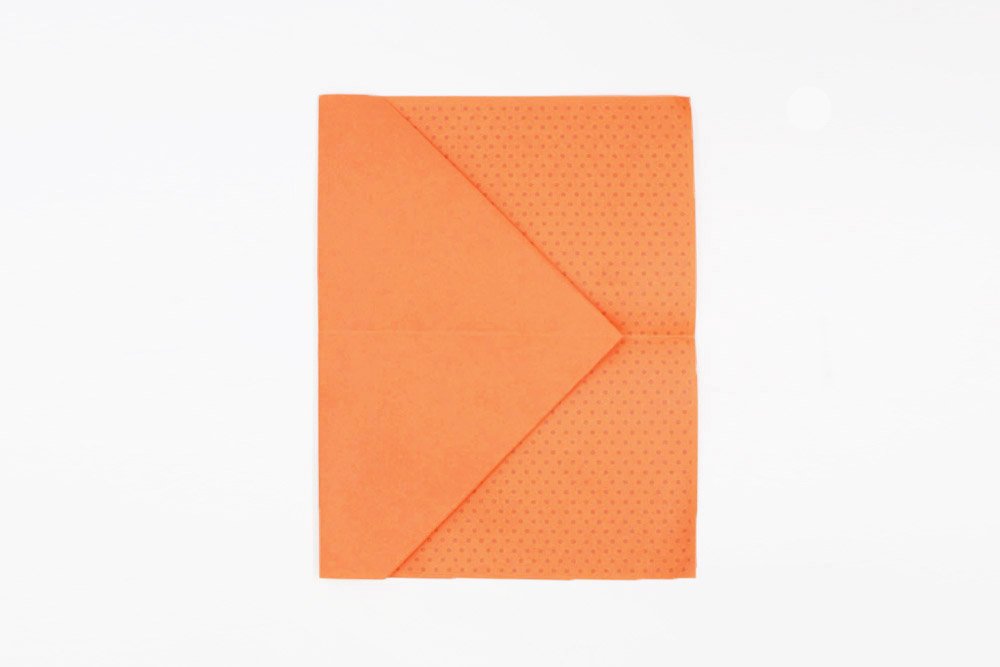
Fold the left top and right corners to the middle crease line made from the previous step.
Make the Body of the Plane
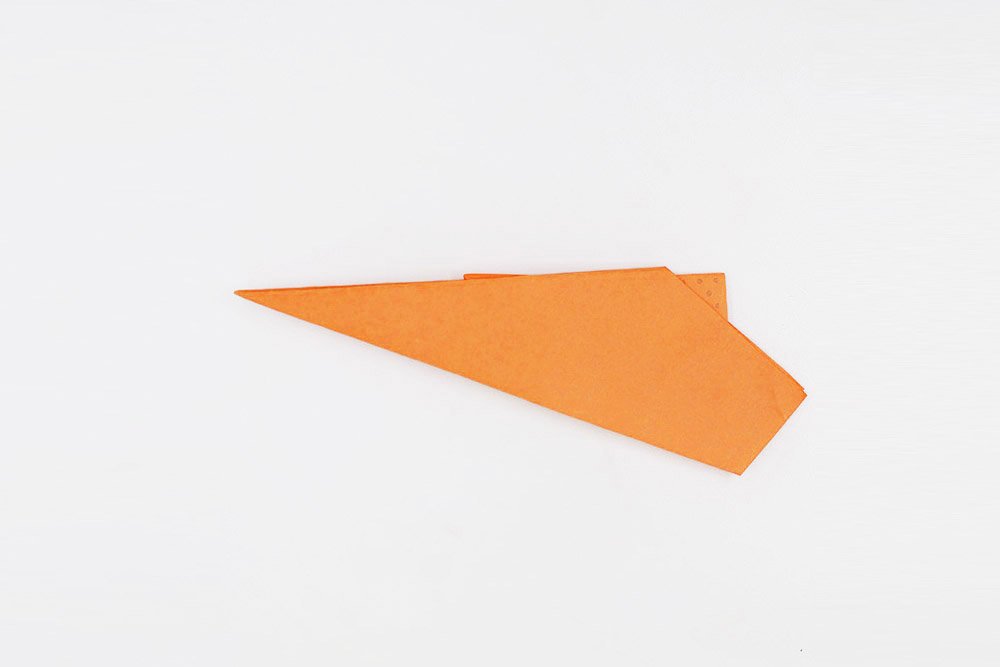
Bring the left corner to the right side.
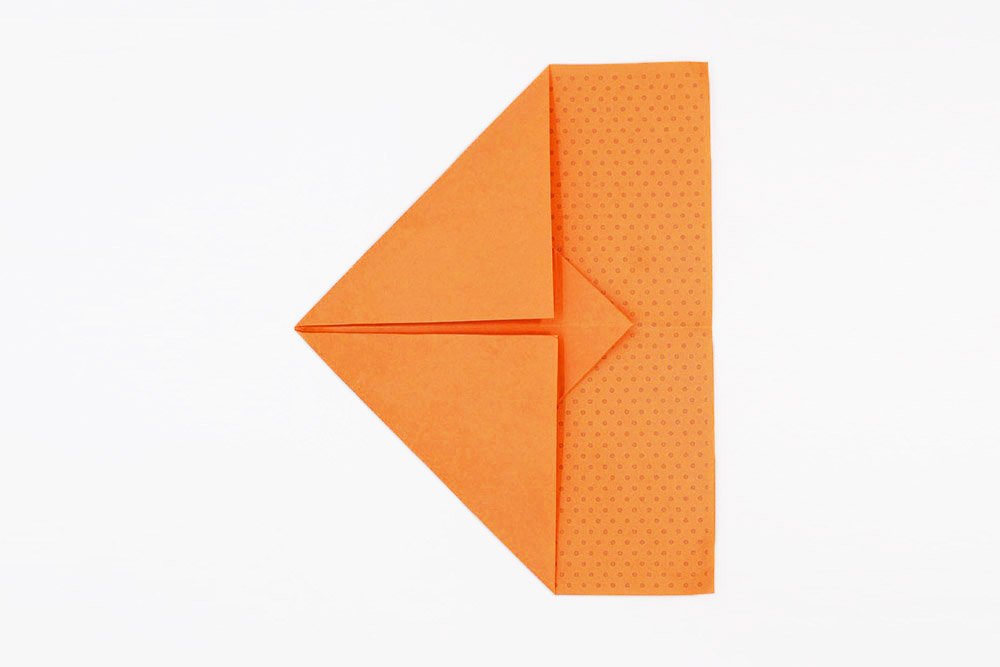
Bring the top and bottom corners of the left side to the middle of the paper.
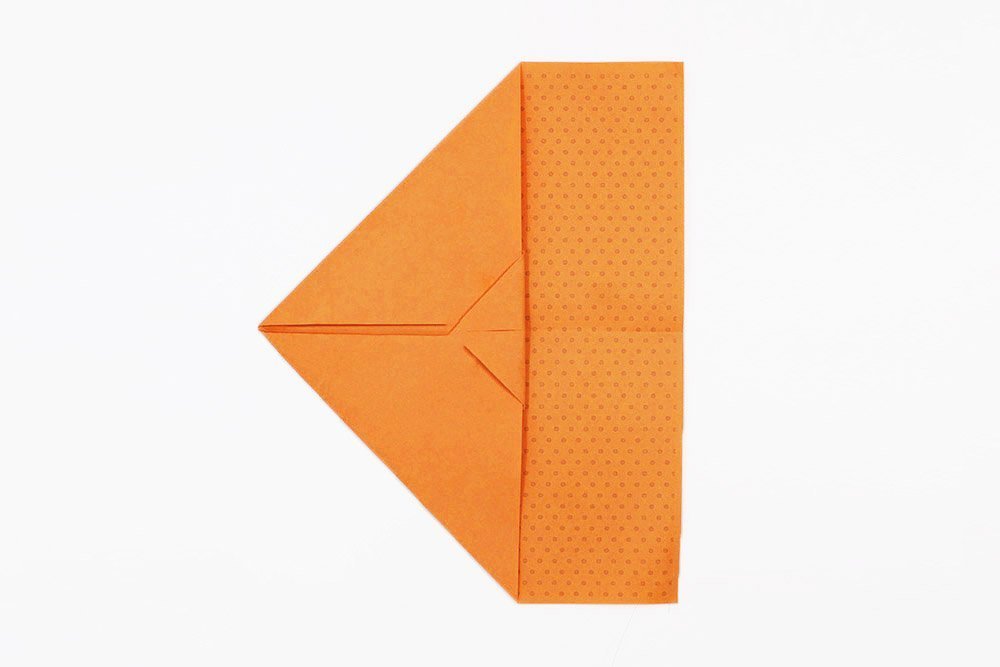
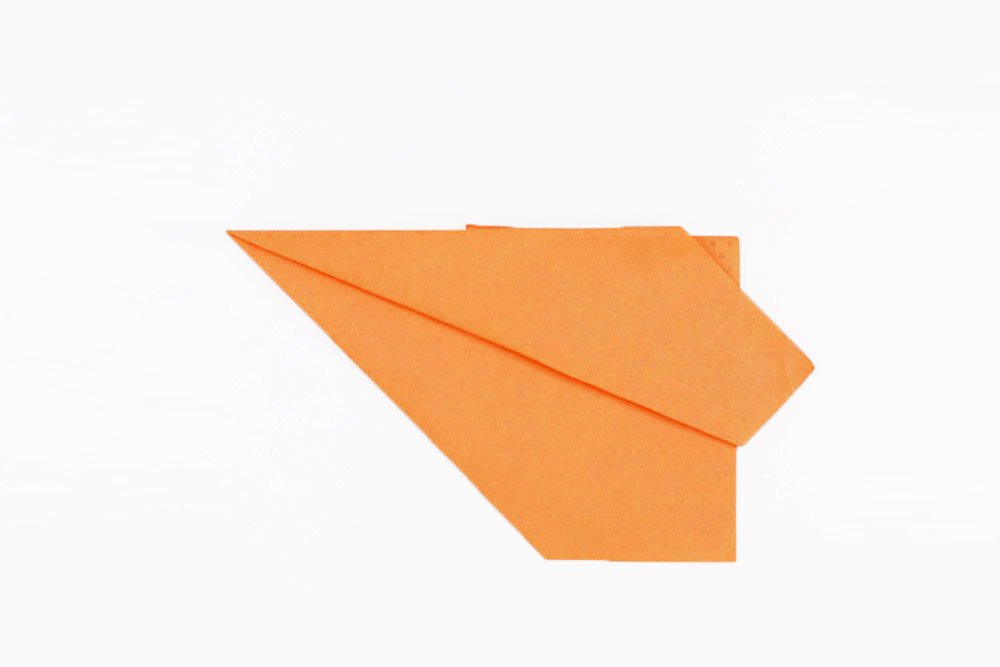
Fold the flap of the second layer to the left. It should overlap the top layer.
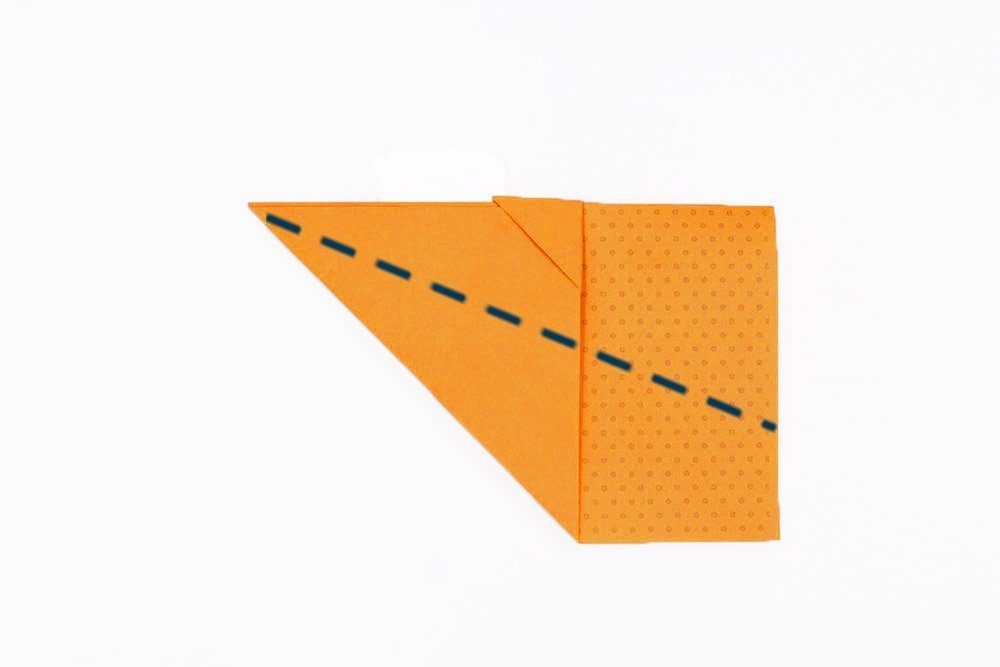
The paper plane now looks like this. Please take note of the dashed lines as you will make one of the wings next.
Make the Wings of the Plane
Fold the top flap upwards along the dashed line from the previous image.
Repeat the previous step on the backside to make the other wing.
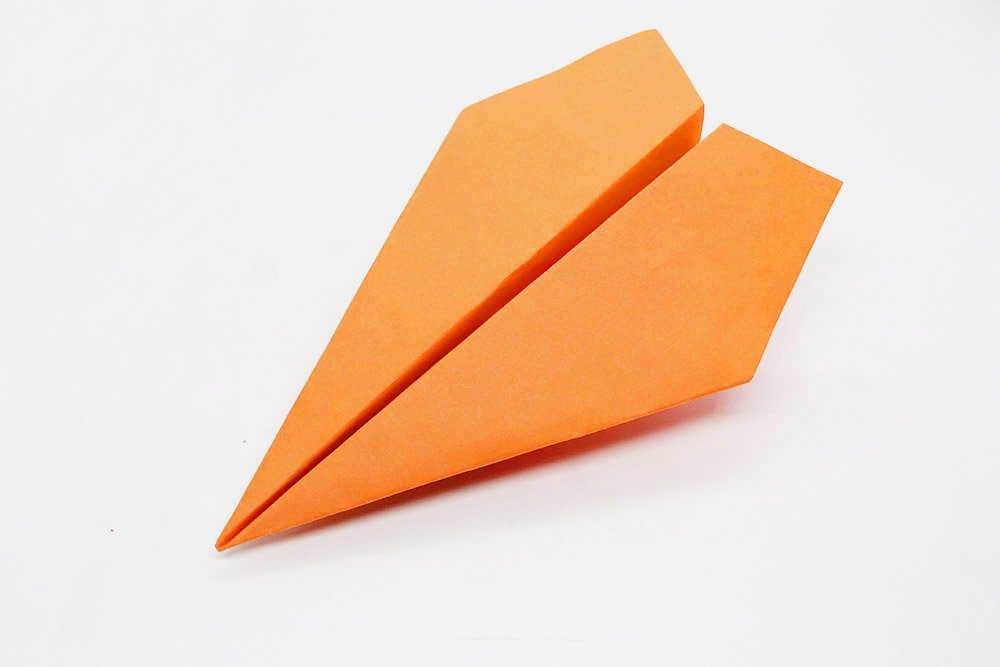
Flare out each of the wings at a 90-degree angle.
Congratulations! Have fun flying your paper plane glider! Comment down below on how far your paper plane has flown!
Extra Tips
- Since the glider consists of many layers, the wings fold apart in flight. You can prevent this by taping both wings together with the help of a piece of scotch tape. This will significantly improve the flight behavior of your paper plane glider.
- Take your paper plane and cut a small corner about an inch from the tip. Now take a rubber band and clamp it into the incision made. Pinch the rubber band between your fingers and let your paper plane flip.


Reaally wanna test this out on a big open space. Our apartment is cramped
nice! a standard for beginners like me
Wow! So cool, amazing! Thank you so much foe these. Now, we have learned how to make a flying airplane the flies far. And now, we have a lot of so much fun because of this one 🙂
Thanku bro I won with my friends airplane challenge
Thank you so much now I make paper airplane