Origami Chicken Step by Step Instructions

Introduction:
Making an origami chicken is a great papercraft for kids and beginners. This easy bird kirigami only requires simple folds and a few materials to make. You will only be needing two pieces of origami paper, scissors, and glue. For younger kids, it is better to ask an adult for help when using scissors.
Prepare the base
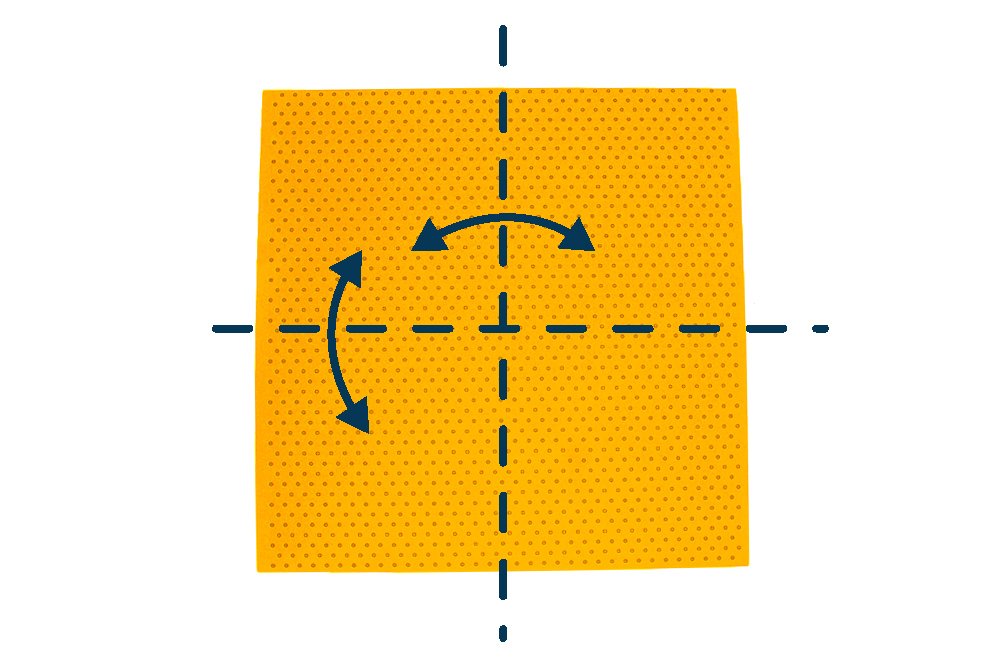
To make the origami chicken, get a piece of square origami paper. Horizontally and vertically fold the paper in half. Crease the paper well and unfold.
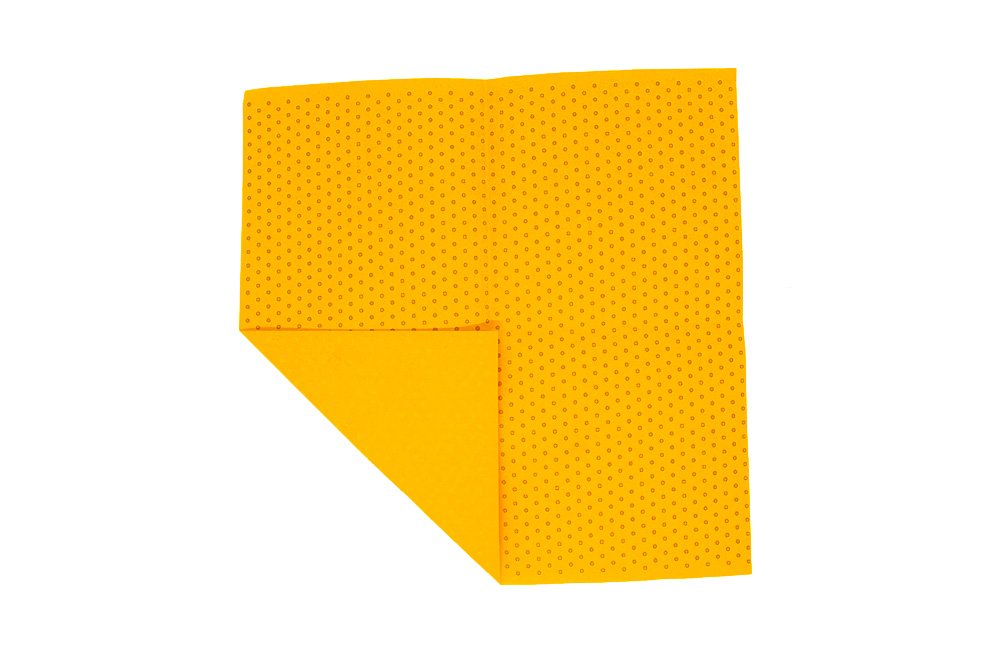
In step 2, Bring all the four (4) corners to the center of the origami paper (like the bottom left part). The center of the paper is where the crease lines made in step 1 meet each other.

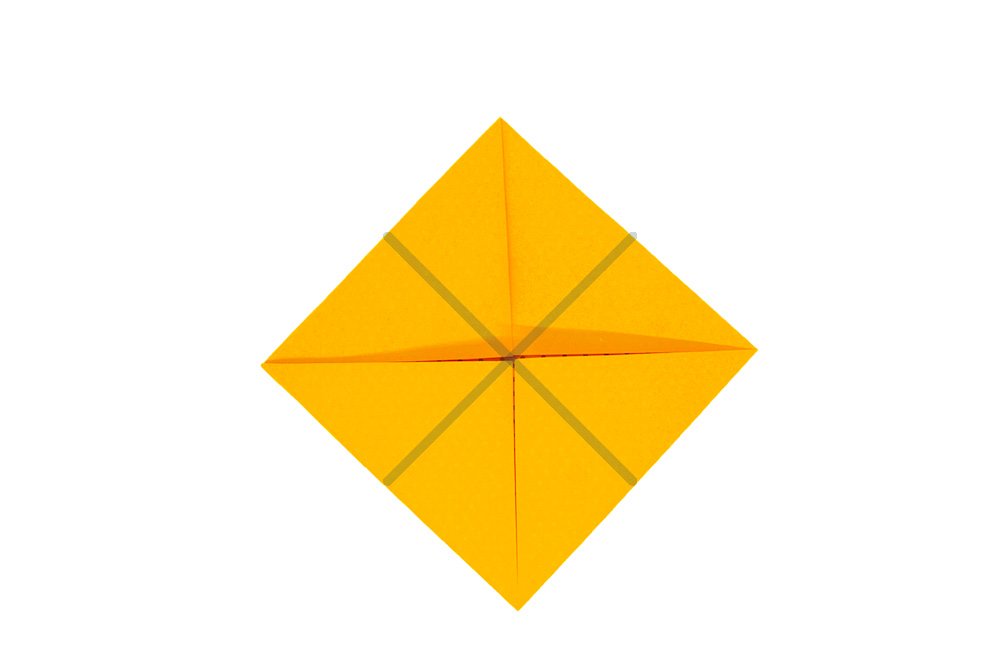
The origami paper should now look like this picture. Fold the paper diagonally by following the dashed lines and the direction of the arrow. Crease the paper well and unfold.
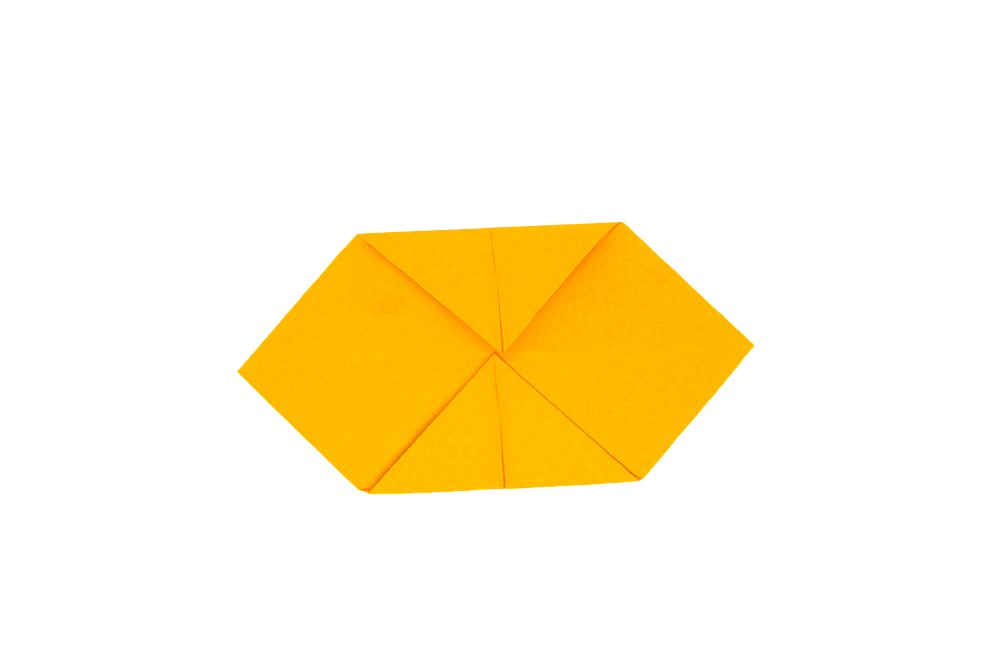
Turn the origami paper to the other side.

Fold the top and bottom corner to the center of the paper. The center of the paper is where the crease lines meet each other.
Build the origami chicken's body
Your paper in TOP VIEW should now look like this. Now, turn the origami paper around.
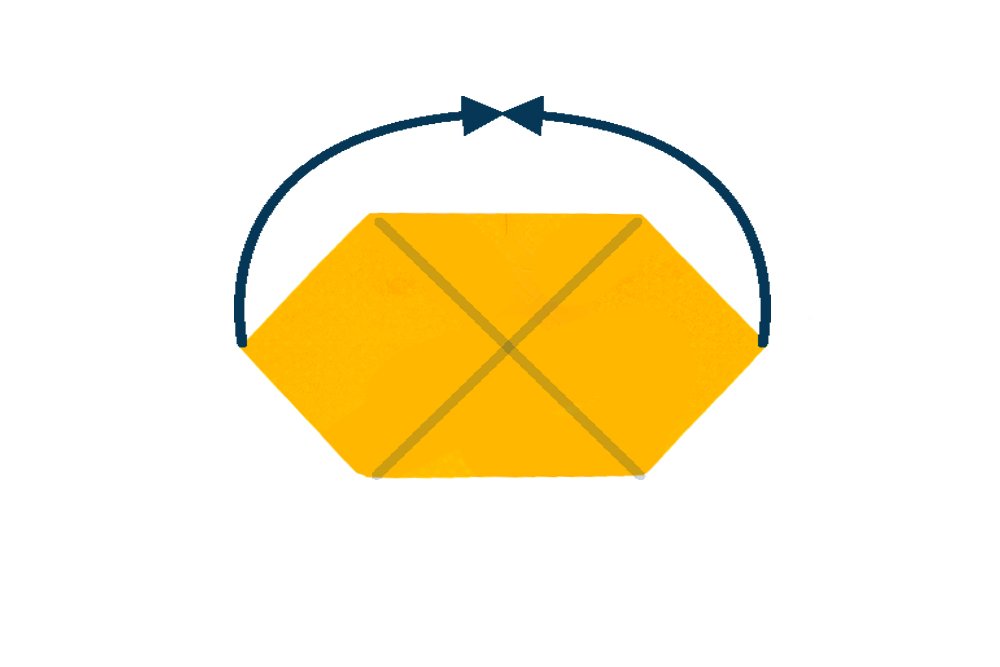
TOP VIEW: Connect the left and right corner together. You should connect the two side corners on top of the center of the paper.
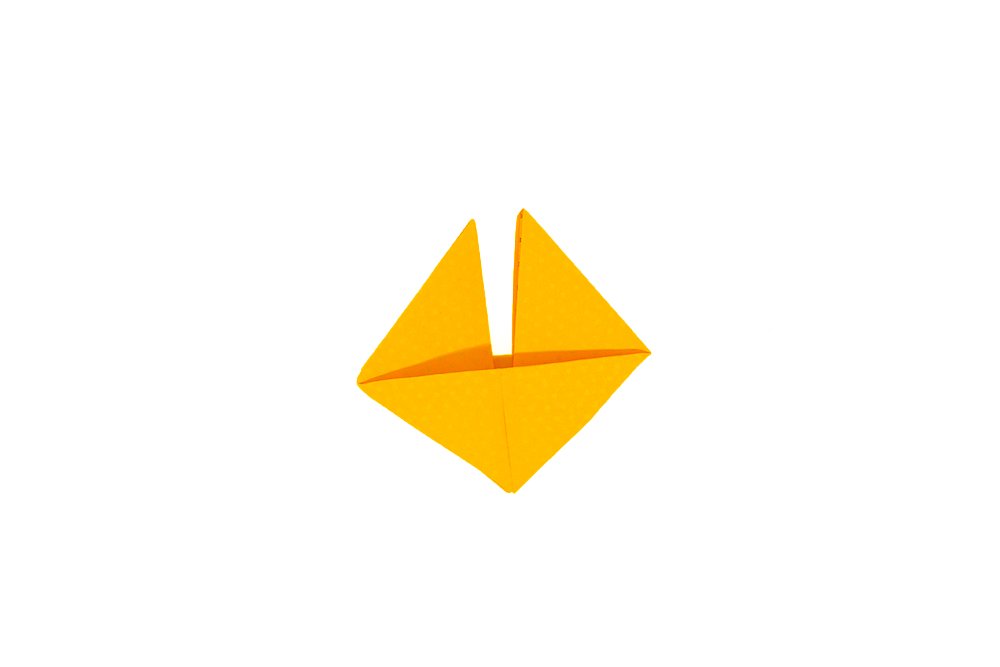
SIDE VIEW: Your origami chicken should now look like this diamond. Rotate the origami piece 45 degrees clockwise.

The next step is to make the beak of the chicken. Move the top right corner to the left side by pushing the paper inside along the dotted line (inside reverse fold). The left part will be the beak of the origami chicken.
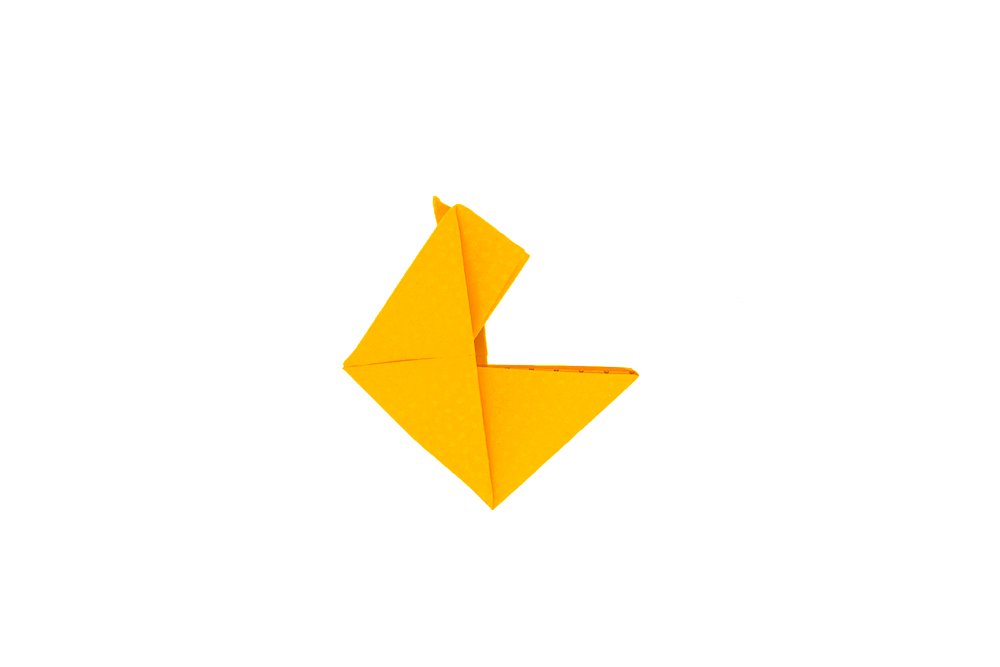
The body of the origami chicken is done!
Make the origami chicken's wattle and comb
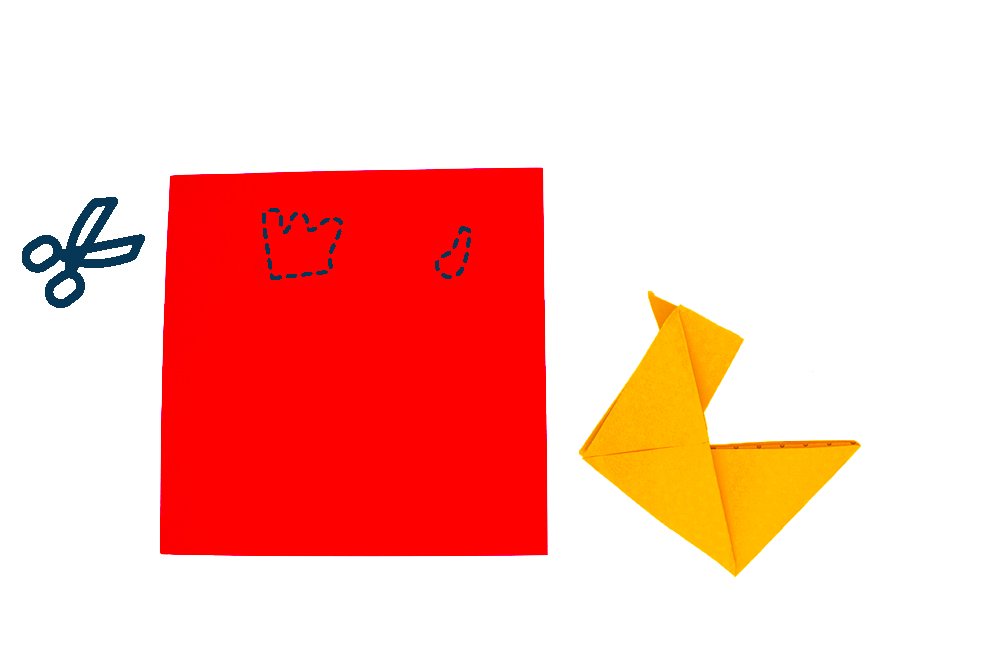
Get another piece of paper and cut the other parts (wattle and comb) of the chicken. Look at the image as a guide for cutting the shapes of the waddle and comb. Ask an adult to help you if you’re having a hard time cutting the origami paper with a pair of scissors or trace it first with a pencil.
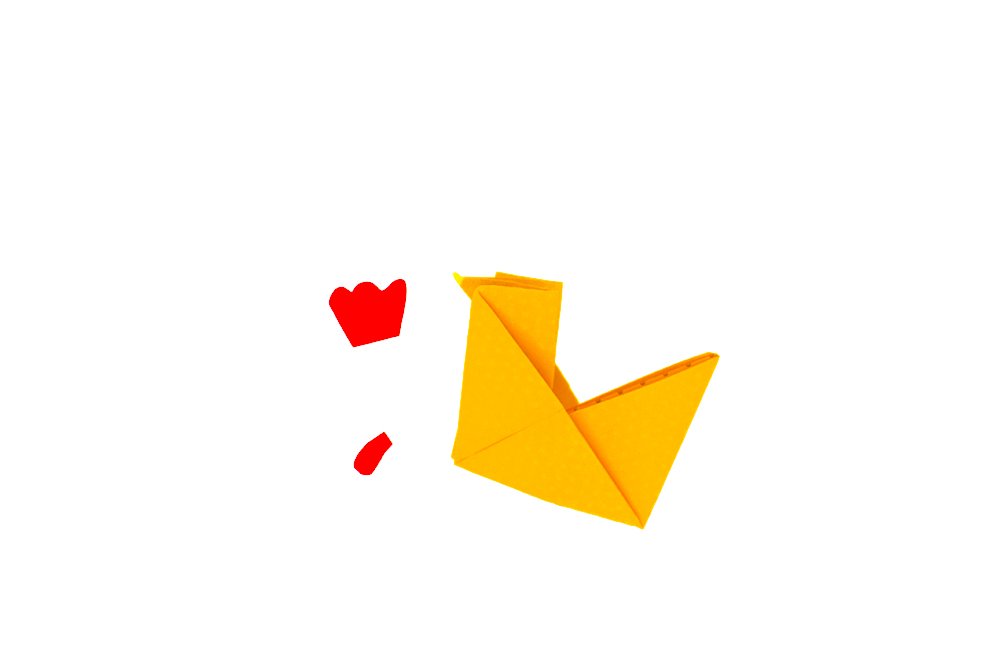
Use a glue to stick the wattle and comb of the origami chicken.
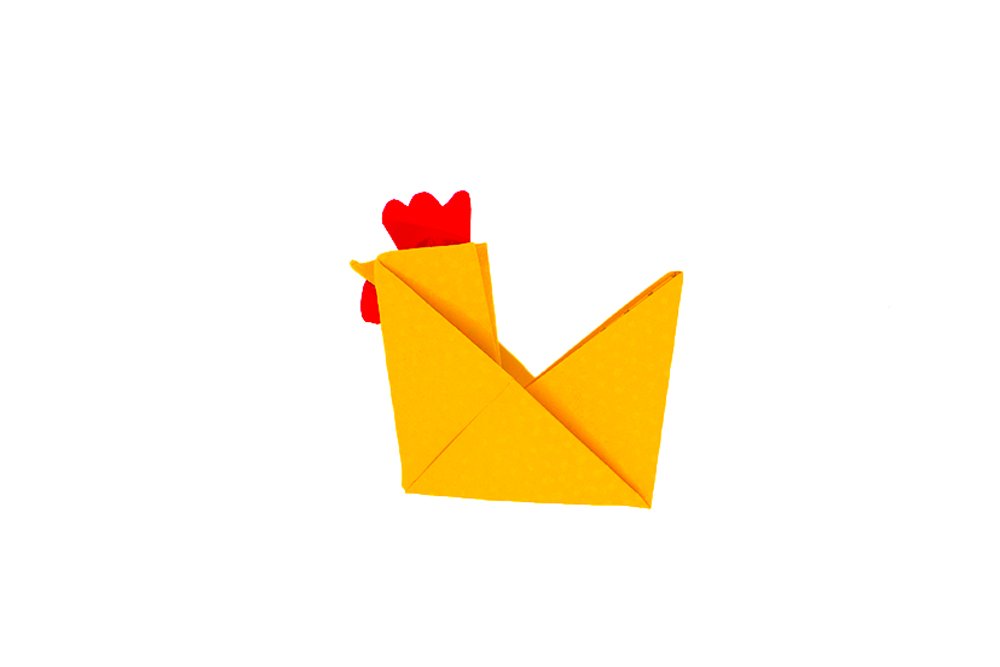
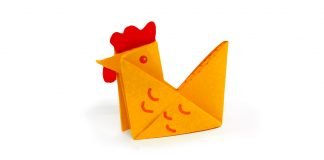
Ta-dah! Your origami chicken is done!
Extra Tips
- Draw some eyes to bring it to life or stick some googly eyes.
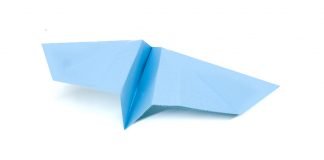
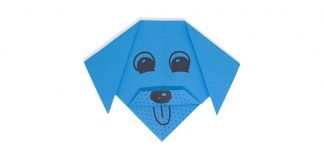
- If you don’t have scissors at glue, then you can still make a simpler version of a chicken. Try making our version of the origami hen!


Thanks so much!! I love all the birds that I make and I think I’m addicted to origami now!
This was helpful for completing a creative assignment for my class. TY
Love this! Interesting folds, nice origami model.
Isnt this kirigami ?
Wow amazing simply superb idea. certainly I’ll make my kids to do this 👍👍👌👌